初投稿
はじめてのQiita投稿になります。
Notionにまとめていたのですが、Notionの投稿を検索にヒットさせるには課金が必要とわかり、こちらにも投稿しようと思った次第です。
至らない部分もあるかと思いますが温かい目で見ていただけると幸いです。
間違いなどありましたら、どしどし書いていただけると自分自身の勘違いに気づけるのでとても助かります。
Corbadoとは
新規サービス・既存サービスにパスキー機能の簡単に実装することが出来るSaaSになります。
Corbado自体で数行のコード(デザインとか変更することは考えず)記載するだけで多くのパスキーに関するサポートをしてくれます。そのおかけで用意にパスキーの導入が可能になります。
パスキーについて詳しく知りたい場合はこちら↓の一読をお願いします
実際に実装していく
1. Next.jsの環境構築
⏩ 環境構築を知っている方はここは読み飛ばして問題ないです。
ただし、今回はNext.jsのバージョンを13.5.3で行っているため13.5.3以前のバージョンを使用する場合は読み替えての実装をお願いします。
親の顔より見た環境構築するためのコマンドを実行していく
npx create-next-app@latest
参考までに今回の環境は下記のような設定にしています
✔ What is your project named? … passkey-test
✔ Would you like to use TypeScript? … Yes
✔ Would you like to use ESLint? … Yes
✔ Would you like to use Tailwind CSS? … Yes
✔ Would you like to use `src/` directory? … Yes
✔ Would you like to use App Router? (recommended) … Yes
✔ Would you like to customize the default import alias? … Yes
✔ What import alias would you like configured? … @/*
一先ず正常に構築出来た確認していきます。
cd passkey-test
作成したプロジェクトに移動(プロジェクト名を変更している方は読み替えてコードを実行してください)
npm run dev
上記のコマンドを実行・localhost:3000にアクセスをして下記の画面が表示されれば問題なく環境構築完了になります。

Corbadoのアカウント作成・APIキーの取得・プロジェクトの設定
アカウントを作成してAPIキーを取得していきます。
- Corbadoのホームページにアクセスします。
-
アクセスしたら右上にある「Start for free」をクリック

-
「Name」と「Email」を入力後、パスキーを作成するかのポップアップが表示されるので「続行」をクリックしてください。

-
登録したアカウントのアクティベート
登録したEmailにCorbadoから「Your login request to Corbado」という件名でメールが届いているのでアクティベートをする
-
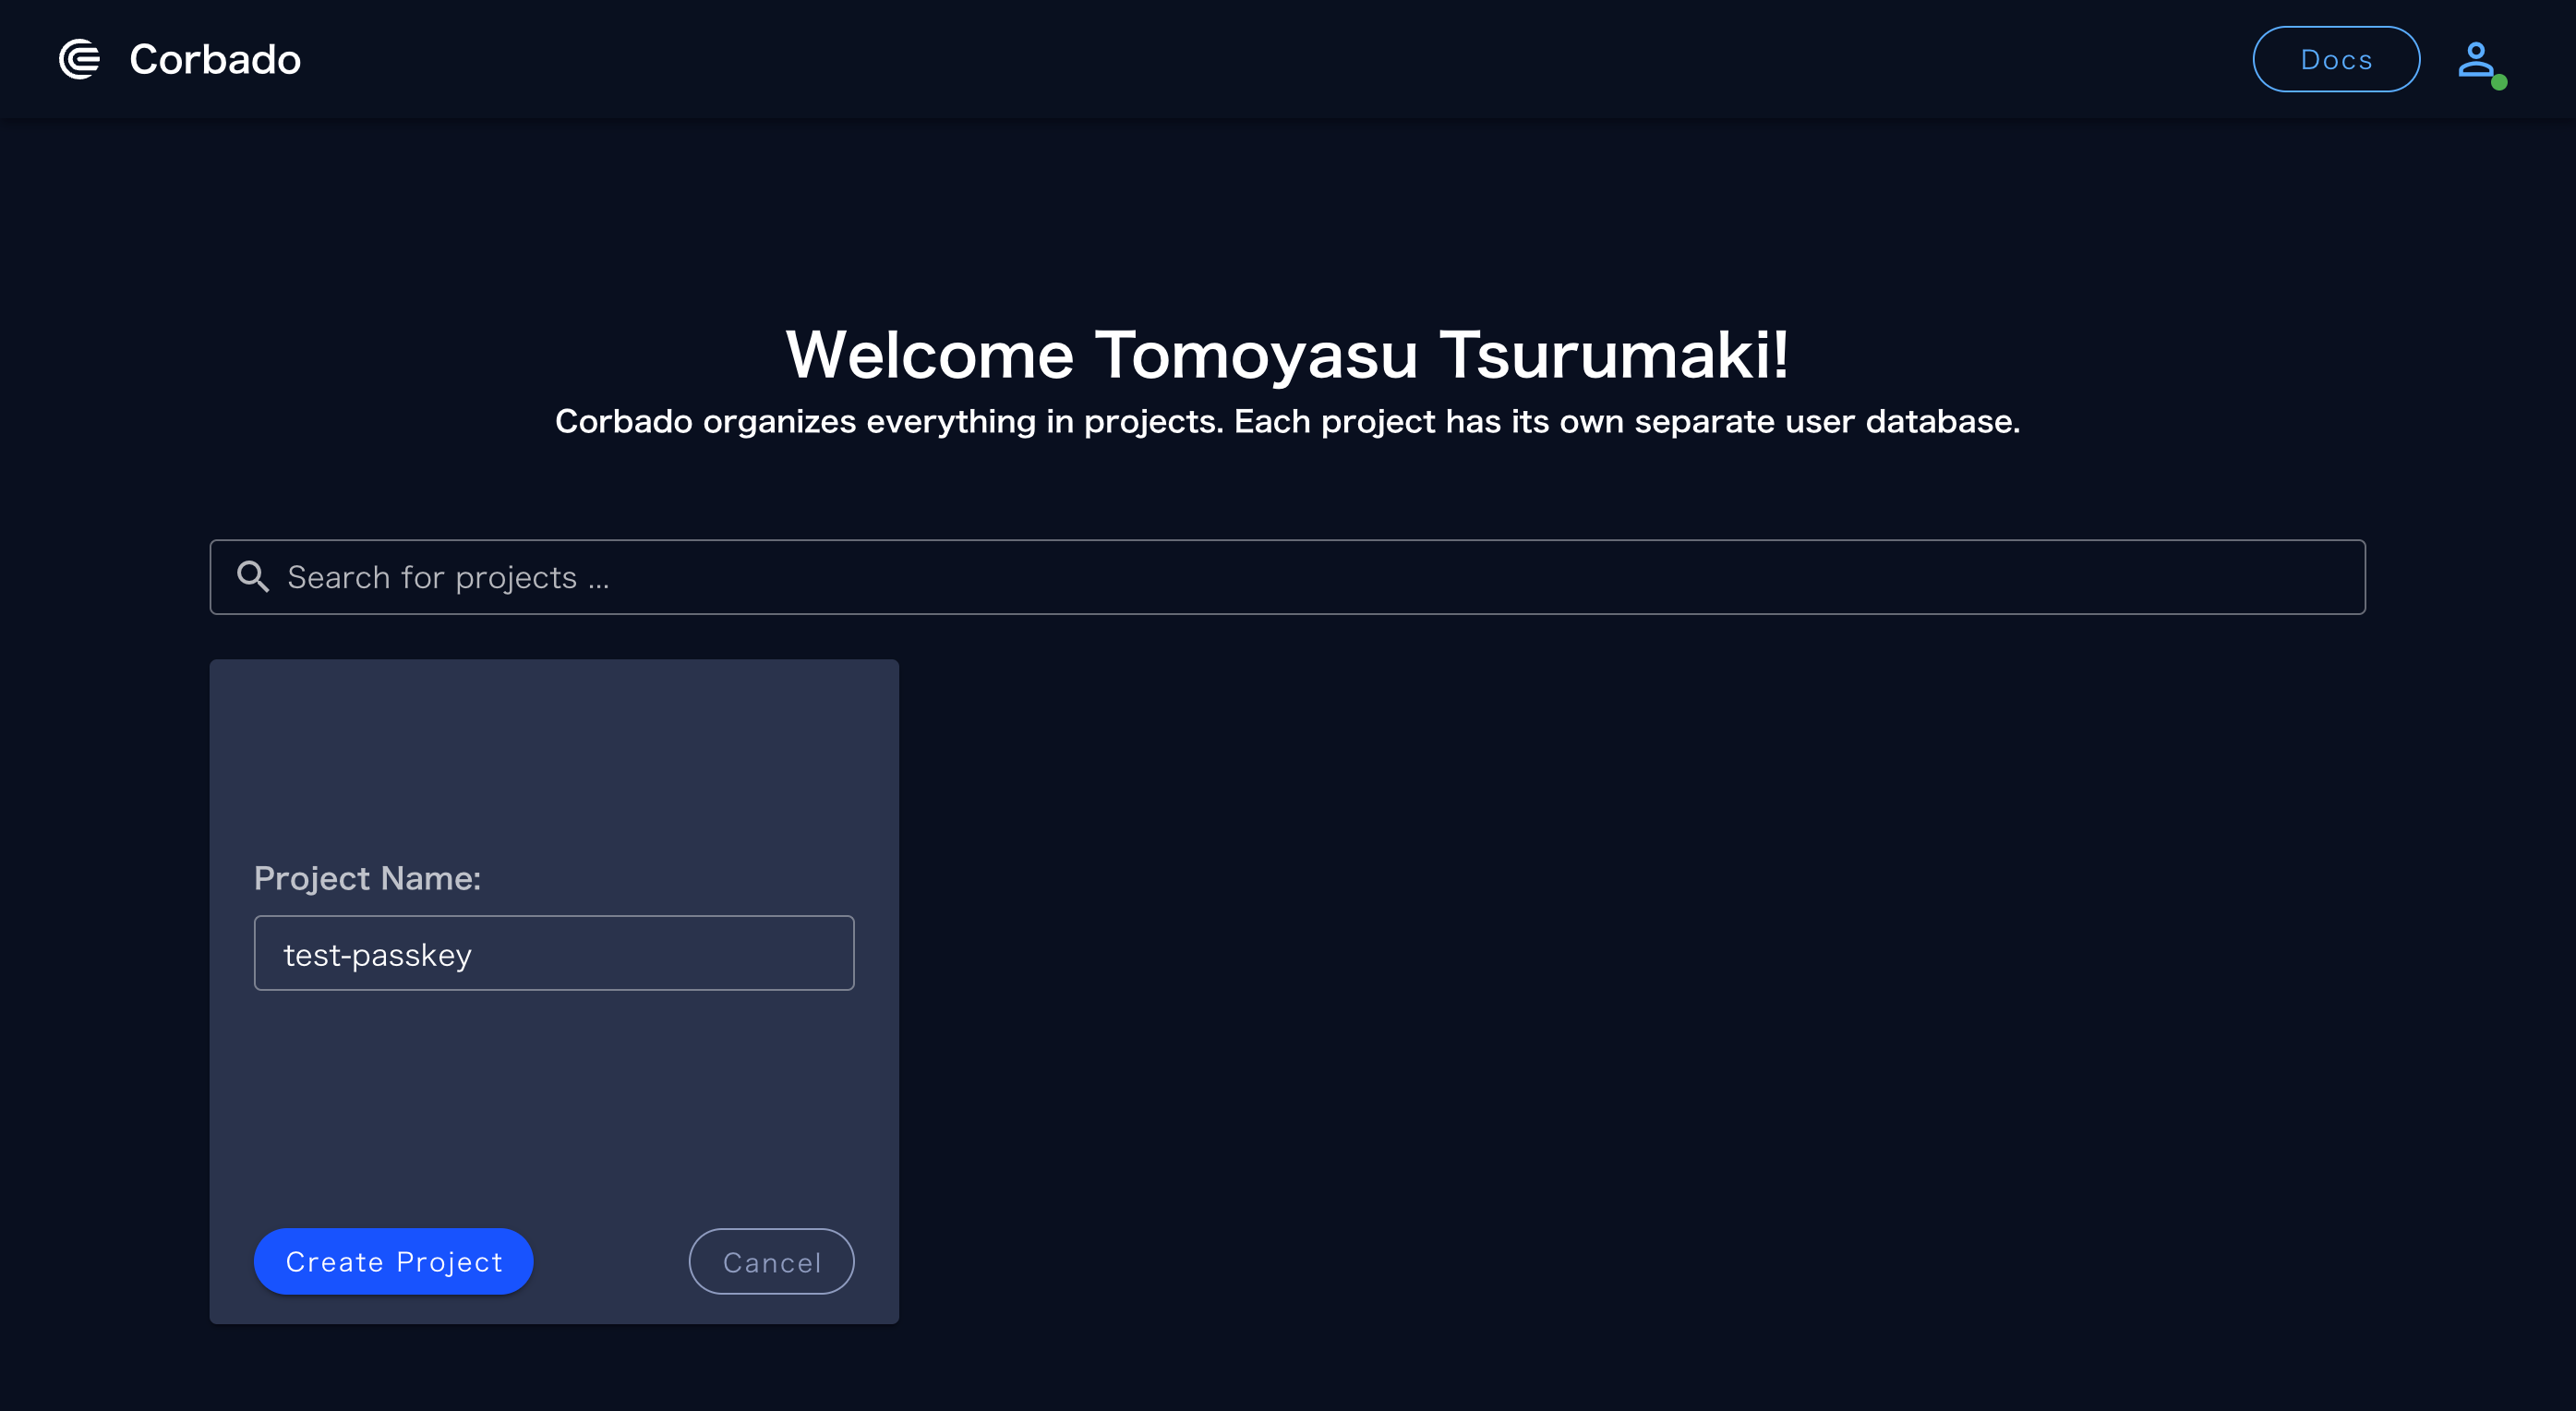
プロジェクトの作成
アクティベートが完了するとプロジェクトを作成できる画面に遷移しますので、「Create new project」をクリック、プロジェクト名を自分自身が分かりやすい名前を入力していってください。入力ができたら「Create Project」をクリック。
その後2回質問されるので答えていきます。
初めにWebアプリかNativeアプリか聞かれるので「Web app」を選択して「Next」をクリック

次に使用しているフロントエンド言語・バックエンド言語・使用目的を聞かれます。今回は下記の回答をしていきます。- フロントエンド言語:Next.js
- バックエンド言語:No backend (SPA)
- 使用目的:Test passkeys
質問に答え終わるとダッシュボードに遷移します。
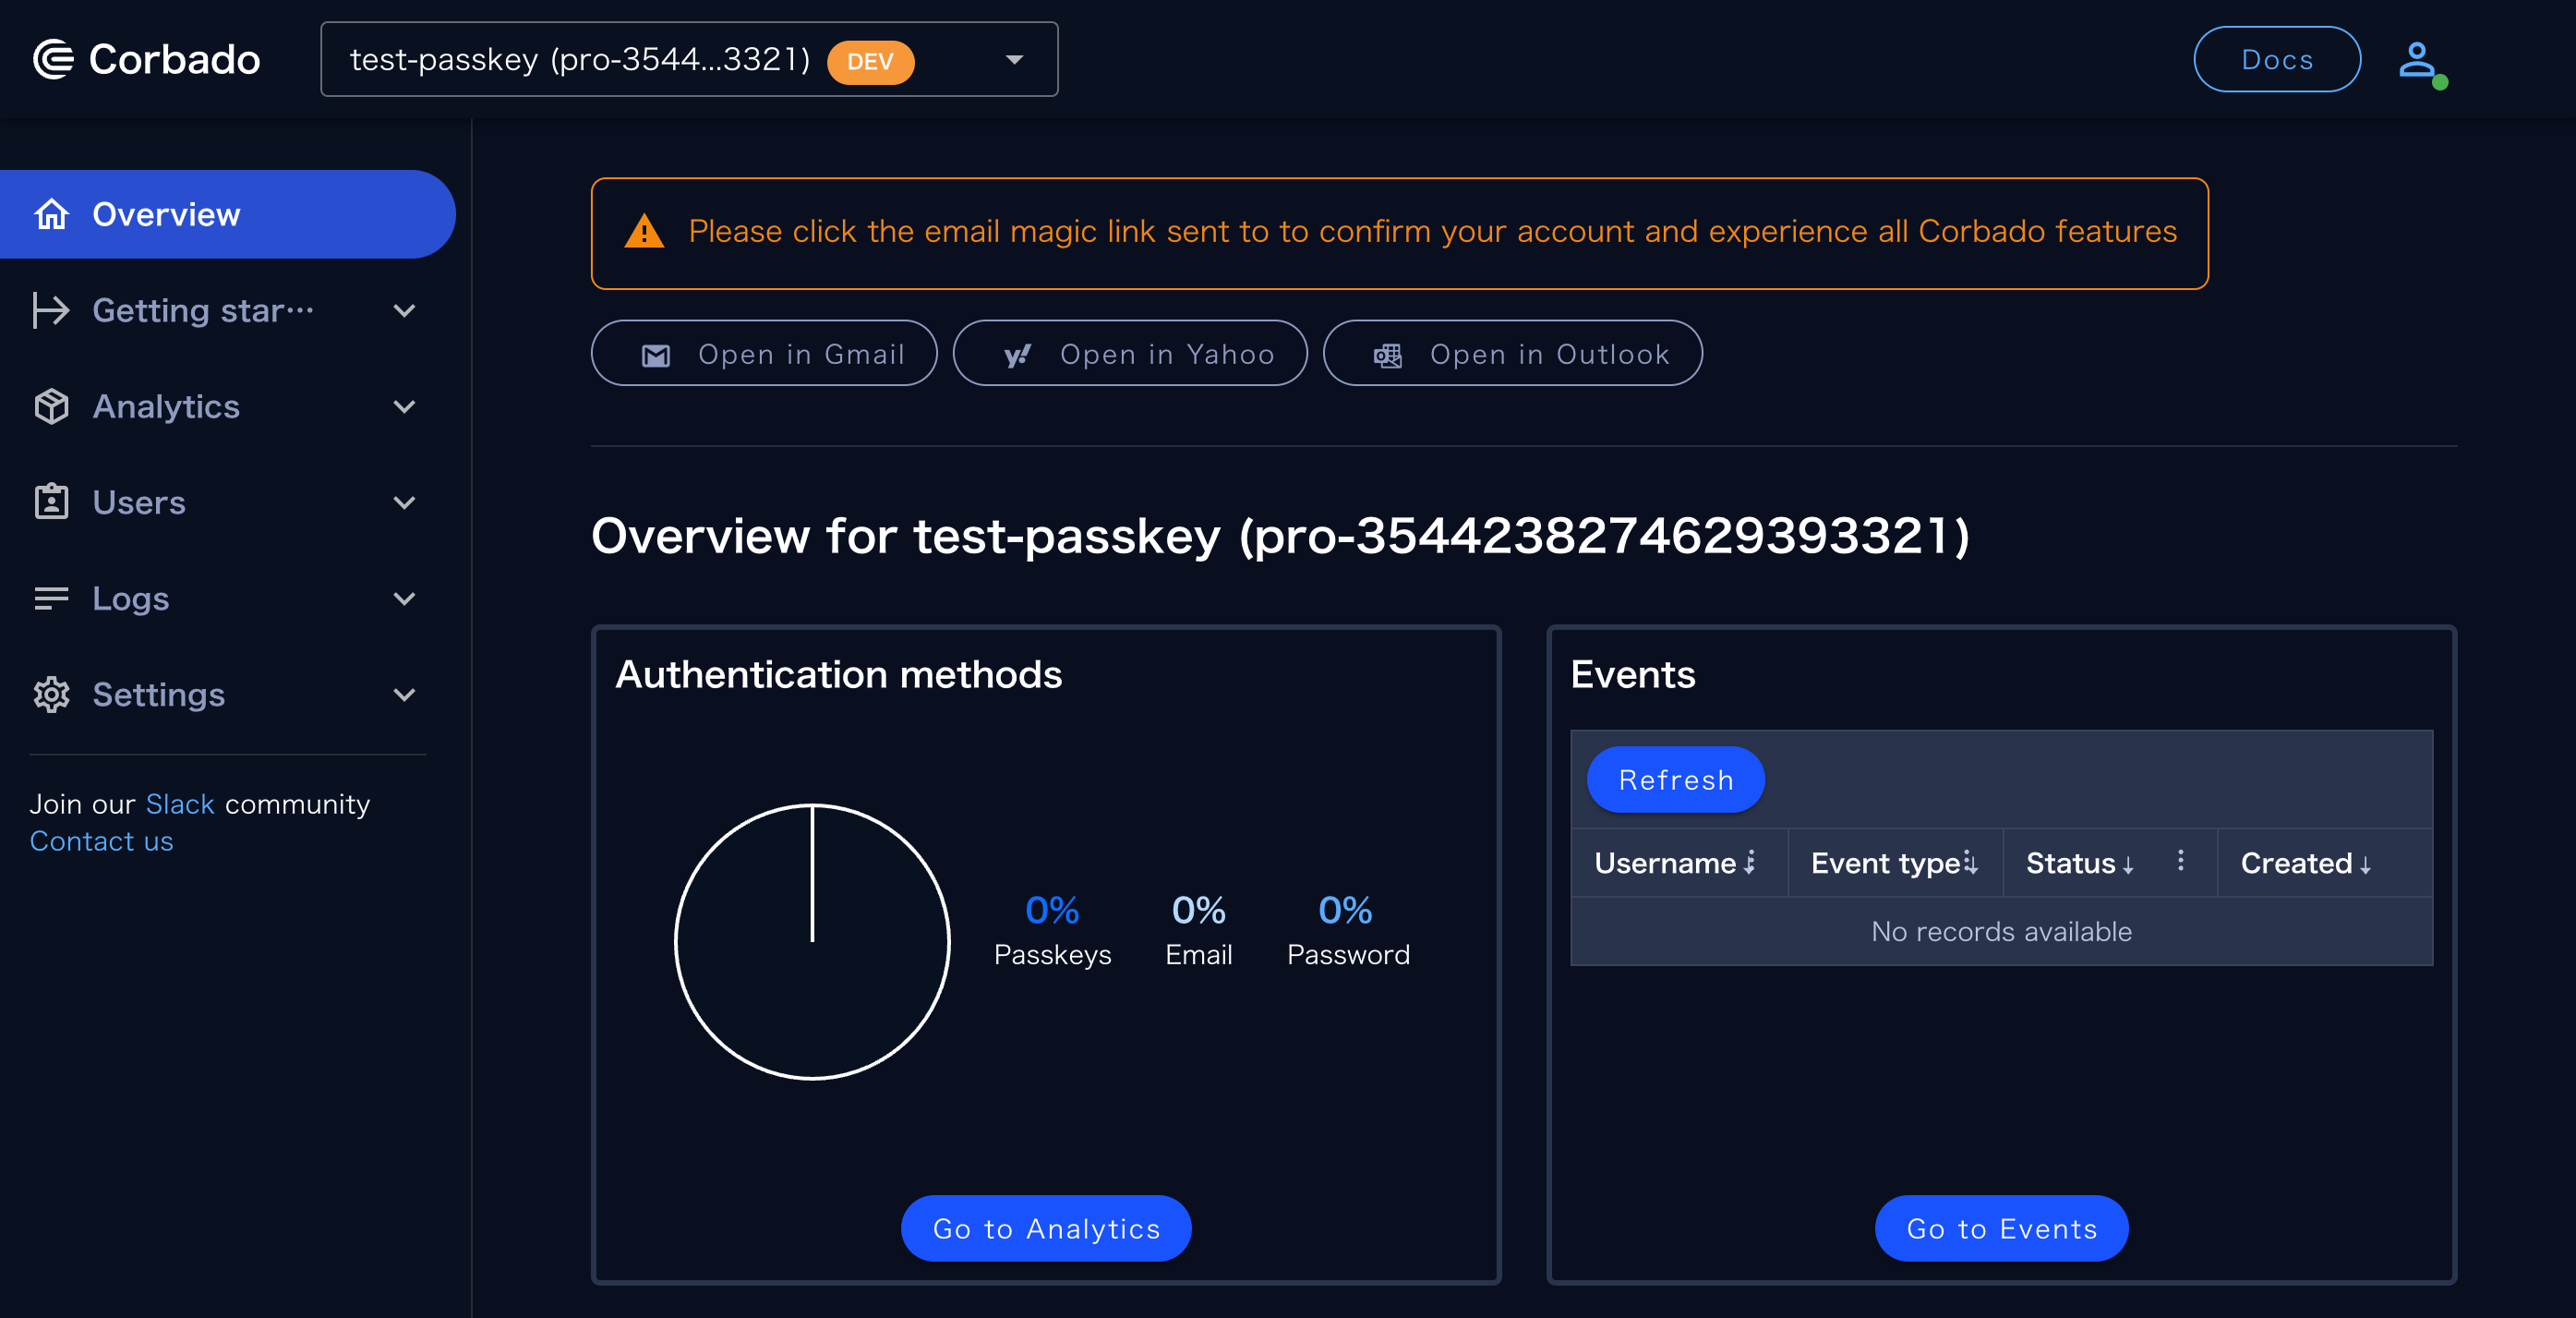
-
「Getting started > Integration guide」に遷移、APIシークレットキーを作成していきます。
今回は「Step 1」と「Step 2」を使用していきます。

始めに「Step 1」内の「Create API secret」クリックしてキーを作成⚠️ シークレットキーなので絶対に外部へ公開しないでください

次にアプリケーションURL・リダイレクトURL・証明書利用者IDの登録
- Application URL:パスキーのシステムを組み込むURLを入力。今回は「http://localhost:3000」
- Redirect URL:認証成功後に遷移・セッションCookieを受け取るURLを指定。今回は「http://localhost:3000/profile」
- Relying Party:passkeyがバインドされるドメイン(プロトコル・ポート・パスなし)。今回は「localhost」

以上でCorbado側での設定は完了になります。
次はNext.js側を修正していきます。
Next.jsにパスキーを実装
-
envファイルを作成
NEXT_PUBLIC_PROJECT_ID=xxxxxxxxxxxxxxx
API_SECRET=xxxxxxxxxxxxxxx
これでNext.jsにて
process.envを使用してenvに指定した値にアクセスできます。
注意としてシークレットキーにはNEXT_PUBLIC_を付けないでください。
NEXT_PUBLIC_はクライアント・サーバー両方でアクセスを可能にするものになります。
そのため機密性を確保するためにはシークレットキーにNEXT_PUBLIC_を付けません。これによりサーバー側でのみアクセスを可能に出来ます。 -
今回使用するパッケージをインストール
npm i @corbado/webcomponent react-loader-spinner上記のコマンドを実行してパッケージをインストールしていきます。
- @corbado/webcomponent:Corbadoのパスキーを使用するためのパッケージ
- react-loader-spinner:ローディング機能を持つパッケージ
-
declarations.d.tsの追加ESlinterを正常に動作させるために
declarations.d.tsをsrcディレクター内に作成・下記コードを追加します。declare namespace JSX { interface IntrinsicElements { 'corbado-auth': any; 'corbado-logout-handler': any, 'corbado-auth-provider': any } } declare module '@corbado/webcomponent'; -
page.tsxを編集デフォルトで入っているコードを削除・下記コードを追加していきます。
"use client"; import "@corbado/webcomponent/pkg/auth_cui.css"; import { useEffect } from "react"; export default function Home() { useEffect(() => { // クライアントのみで実行 import("@corbado/webcomponent") .then((resp) => { console.log(resp); }) .catch((err) => { console.log(err); }); }, []); return ( <div> <corbado-auth project-id={process.env.NEXT_PUBLIC_PROJECT_ID} conditional="yes" > <input name="username" id="corbado-username" data-input="username" required autoComplete="webauthn" /> </corbado-auth> </div> ); } -
profile.tsxを追加新規に
app/profile/page.tsxを追加・下記コードを追加します。"use client"; import { useRouter } from "next/navigation"; import { useEffect, useState } from "react"; import { LineWave } from "react-loader-spinner"; const projectID = process.env.NEXT_PUBLIC_PROJECT_ID; interface User { userID: any; email: any; ID: string; created: string; emails: Email[]; fullName: string; name: string; phoneNumbers: PhoneNumber[]; status: string; updated: string; } interface Email { ID: string; created: string; email: string; status: string; updated: string; } interface PhoneNumber { ID: string; phoneNumber: string; status: string; } export default function Profile() { const [user, setUser] = useState<User | null>(null); const [session, setSession] = useState(null); const [loading, setLoading] = useState(true); const router = useRouter(); // セッション管理 useEffect(() => { setLoading(true); // クライアントのみで実行 import("@corbado/webcomponent") .then((module) => { const Corbado = module.default || module; const sessionInstance = new Corbado.Session(projectID); setSession(sessionInstance); }) .catch((err) => { console.log(err); setLoading(false); }); }, []); useEffect(() => { if (session) { setLoading(true); // @ts-ignore session.refresh((user: any) => { setUser(user); setLoading(false); }); } }, [session]); const handleLogout = async () => { setLoading(true); // @ts-ignore await session.logout(); setUser(null); setLoading(false); router.push("/"); }; return ( <div> {loading && <LineWave />} {!loading && user && ( <div> <h1>プロフィールページ</h1> <div> <p> ユーザーID: {user.userID} <br /> Email: {user.email} </p> </div> <button onClick={handleLogout}>ログアウト</button> </div> )} {!loading && !user && ( <div> <p>ログインされていません</p> <p> Please go back to <a href="/">ログインする</a> </p> </div> )} </div> ); } -
動作チェック
localhost:3000とフォームが表示されます。初めはアカウントがないため、下部にある「Sign up」からアカウントを登録・パスキーを使えるように設定します。
登録後、登録したEmailにアクティベート用のメールが届いているのでアクティベートをしていきます。
その後、ログイン画面に戻り登録したEmailを入力して「Continue」をクリックするとパスキーが起動してくれます。
指紋認証 or 顔認証をするとログインが出来ます。


Github
今回書いたコードは下記リポジトリにて公開しているので是非見ていただけると幸いです。
参考