はじめに
この記事はDENSO Advent Calendar 2024の8日目の記事です。
概要
Piascoreで楽譜をめくるためのフットスイッチをESP32を使って自作しました!
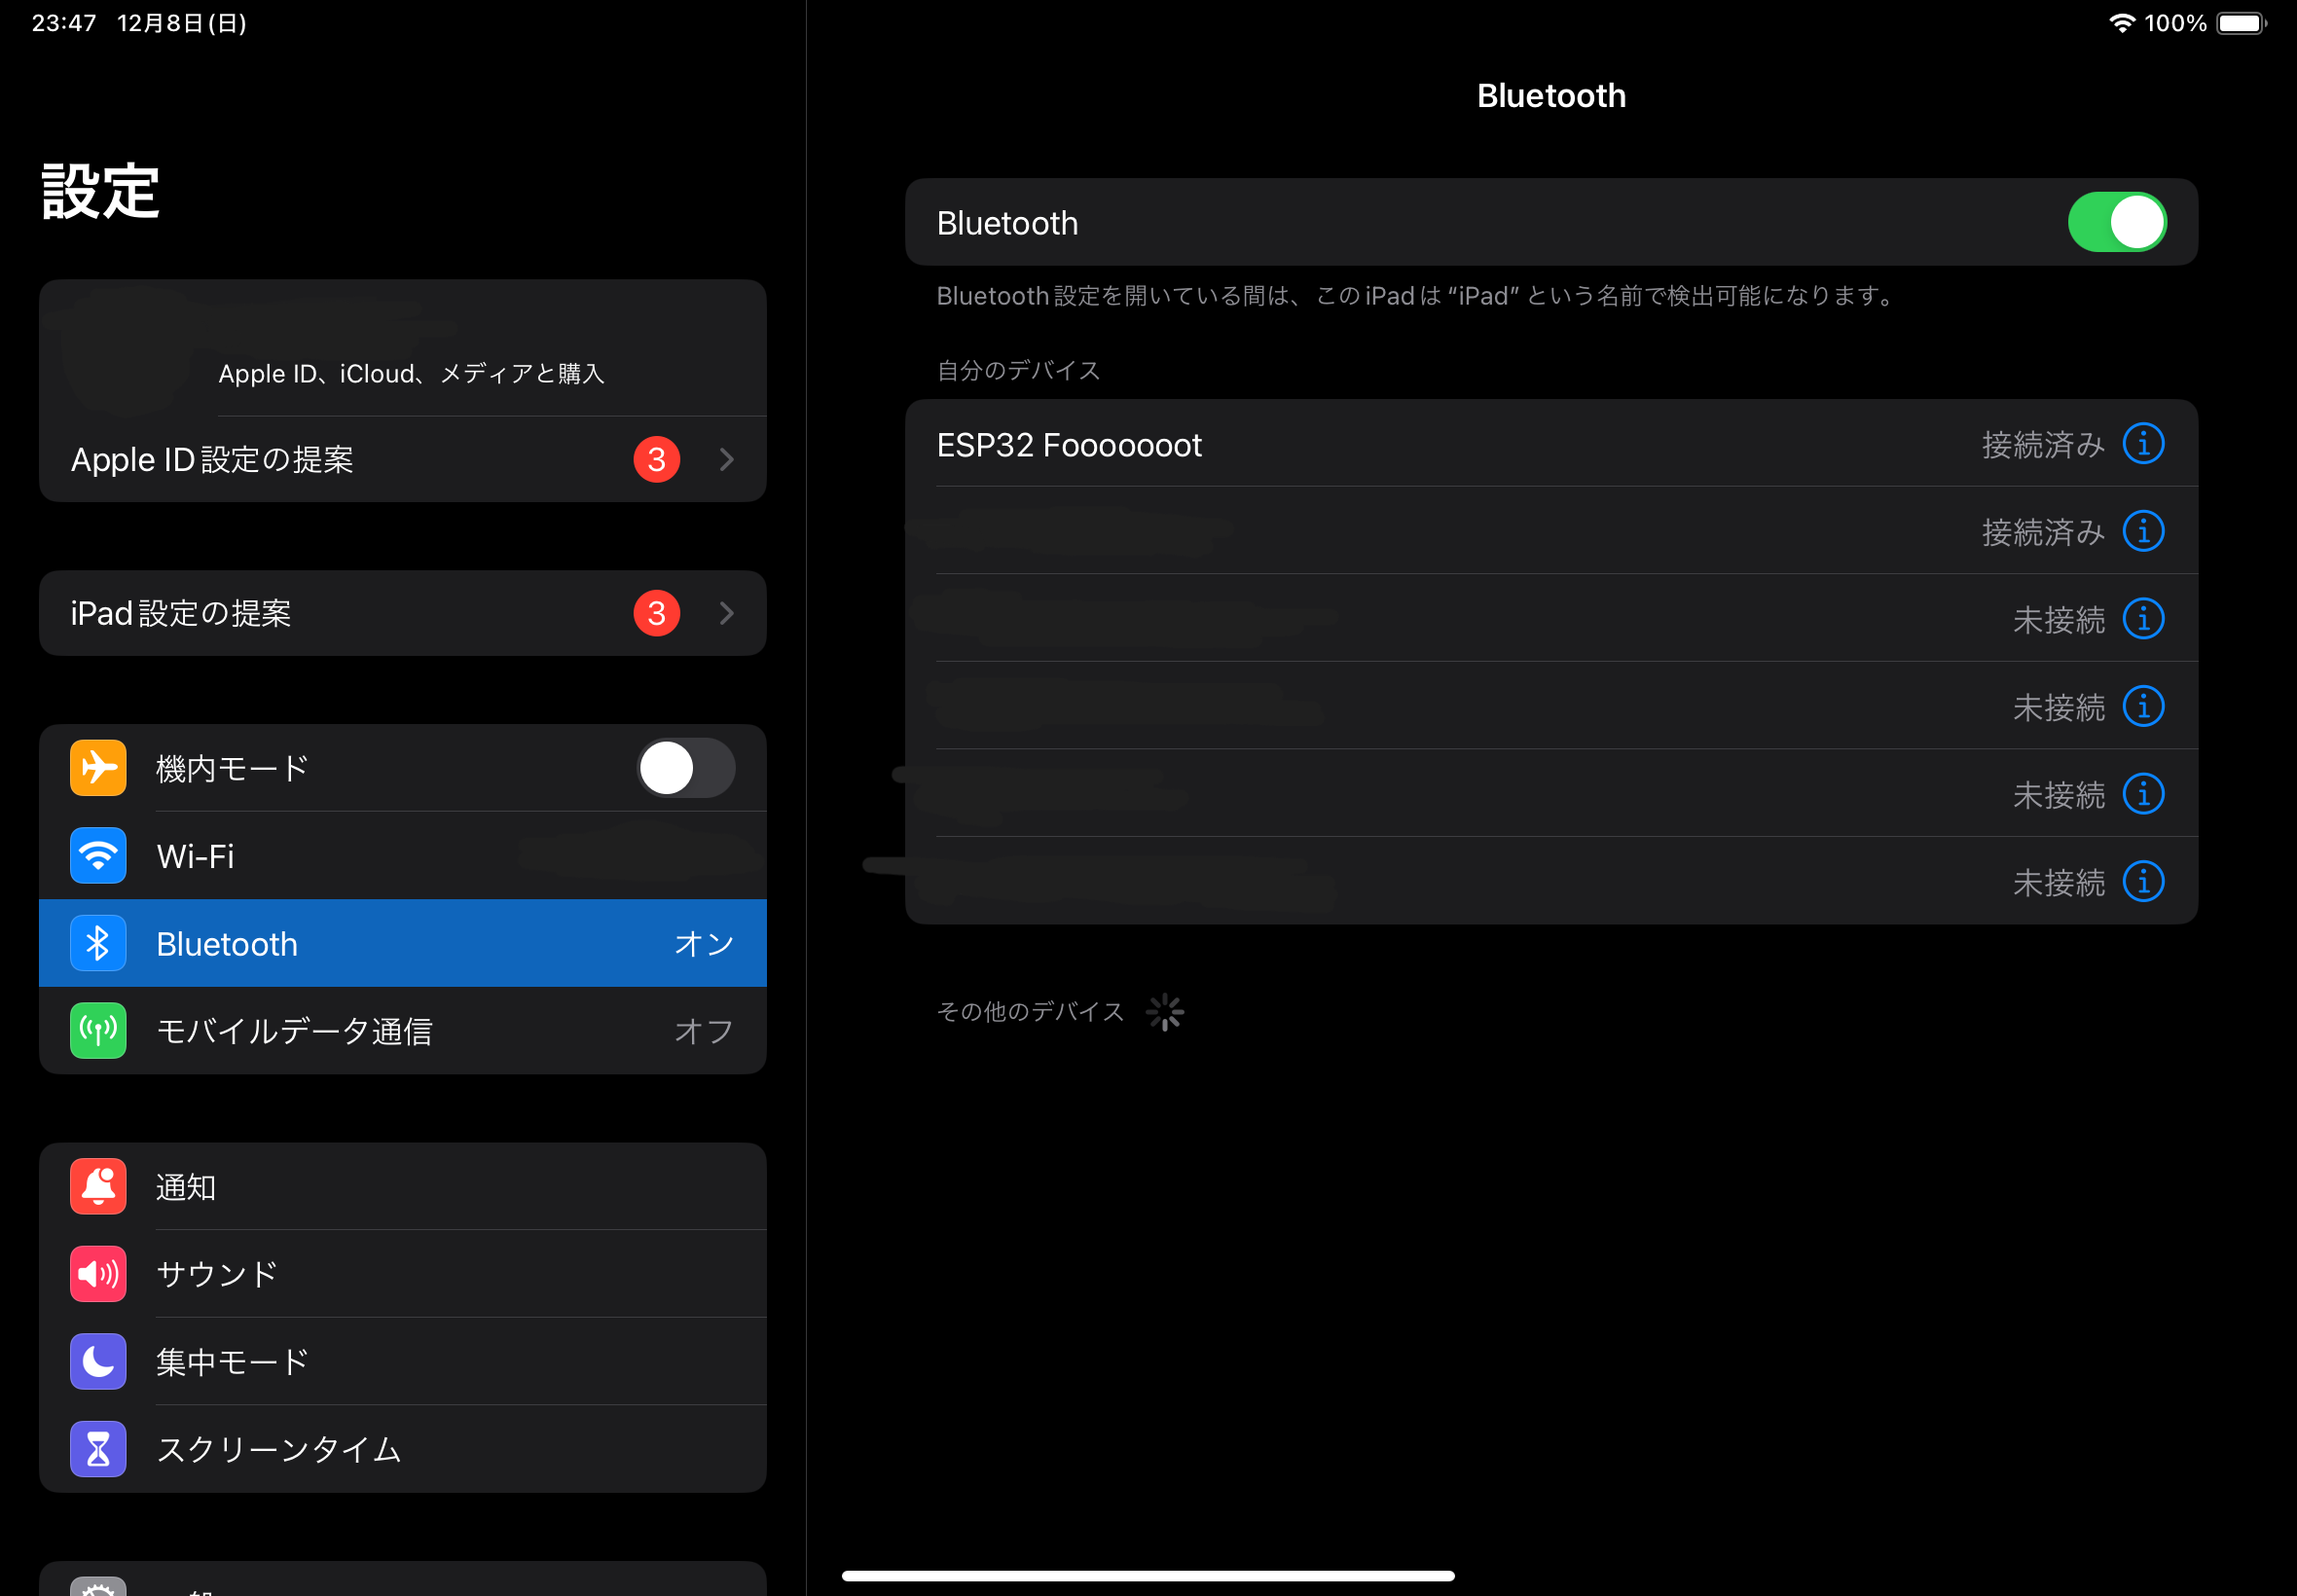
Bluetooth接続でiPadに接続し、スイッチを踏むだけで楽譜をめくることができます。
この記事では、作成の過程を解説します。
動機・背景
- 楽譜をめくるためにフットスイッチが必要になった。
- 市販のフットスイッチは高価(4000~7000円)だった。
- 余っていたESP32を有効活用したかった。
必要な部品とツール
ハードウェア
- ESP32-WROOM-32D
- タクトスイッチ x 2
- ブレッドボード
- ジャンパワイヤ
- ケース(3Dプリンターで作成)
ソフトウェア
- VSCode + PlatformIO
- ESP32-BLE-Keyboardライブラリ
Piascoreのショートカットについて
譜送り
右送り:右 or 下矢印キー
左送り:左 or 上矢印キー
ということで、ESP32でBluetoothキーボードを作成し、左右キーに対応したボタンを配置したらよさそう
ソフトウェア(ESP32)の実装
- 開発環境の準備
i. VSCodeのインストール
ii. PlatformIOの拡張機能をインポート
iii. 必要に応じて、ESP32のドライバーをインストール
参考:https://zenn.dev/kotaproj/articles/esp32_vscode_pio
2. 参考コード
以下のようなコードをESP32に書き込み、4, 5番ピンにスイッチをつなげば完成!
#include <Arduino.h>
#include <BleKeyboard.h>

BleKeyboard bleKeyboard("ESP32 Keyboard", "ESP32", 100);

const int upButtonPin = 4;
const int downButtonPin = 5;
bool upButtonPressed = false;
bool downButtonPressed = false;

void setup() {
    pinMode(upButtonPin, INPUT_PULLUP);
    pinMode(downButtonPin, INPUT_PULLUP);
    bleKeyboard.begin();
}

void loop() {
    if (bleKeyboard.isConnected()) {
        if (digitalRead(upButtonPin) == LOW && !upButtonPressed) {
            bleKeyboard.press(KEY_UP_ARROW);
            delay(100);
            bleKeyboard.release(KEY_UP_ARROW);
            upButtonPressed = true;
        } else if (digitalRead(upButtonPin) == HIGH) {
            upButtonPressed = false;
        }

        if (digitalRead(downButtonPin) == LOW && !downButtonPressed) {
            bleKeyboard.press(KEY_DOWN_ARROW);
            delay(100);
            bleKeyboard.release(KEY_DOWN_ARROW);
            downButtonPressed = true;
        } else if (digitalRead(downButtonPin) == HIGH) {
            downButtonPressed = false;
        }
    }
    delay(10);
}
ケースの作成
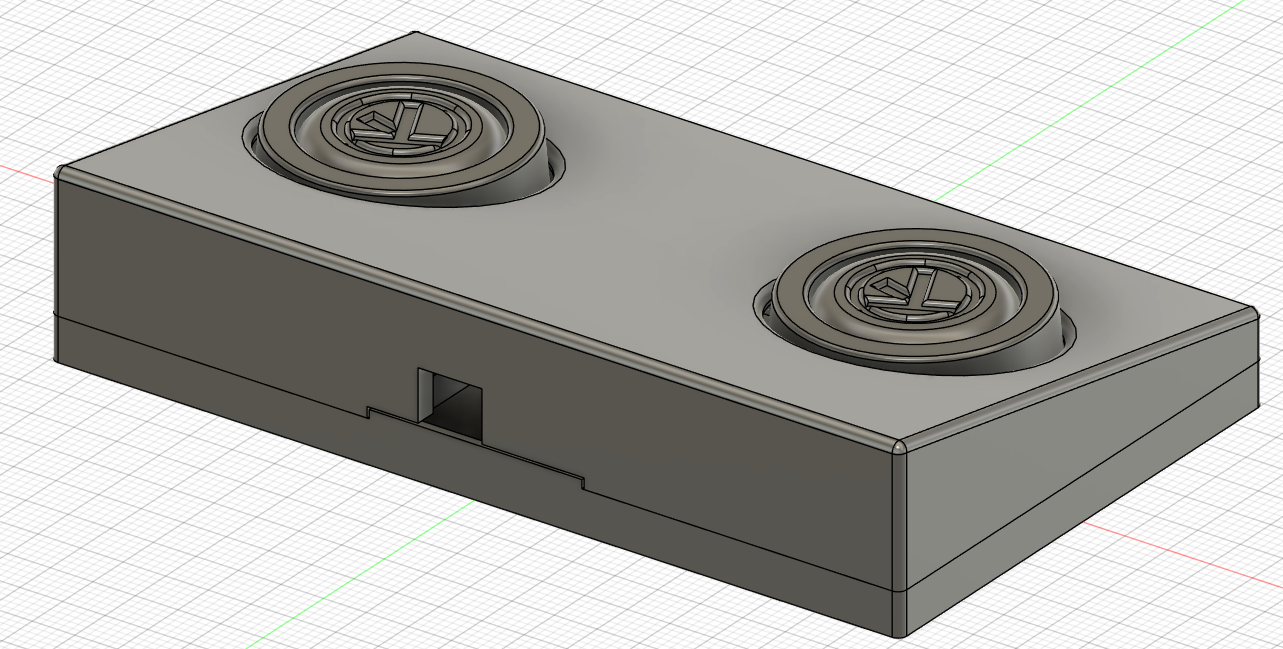
3Dプリンターを使って、フットスイッチを作成することにした!
ペダルの形をしたかっこいいスイッチを作りたかったが、3Dモデルを作ることができず、簡単な形で妥協しました。
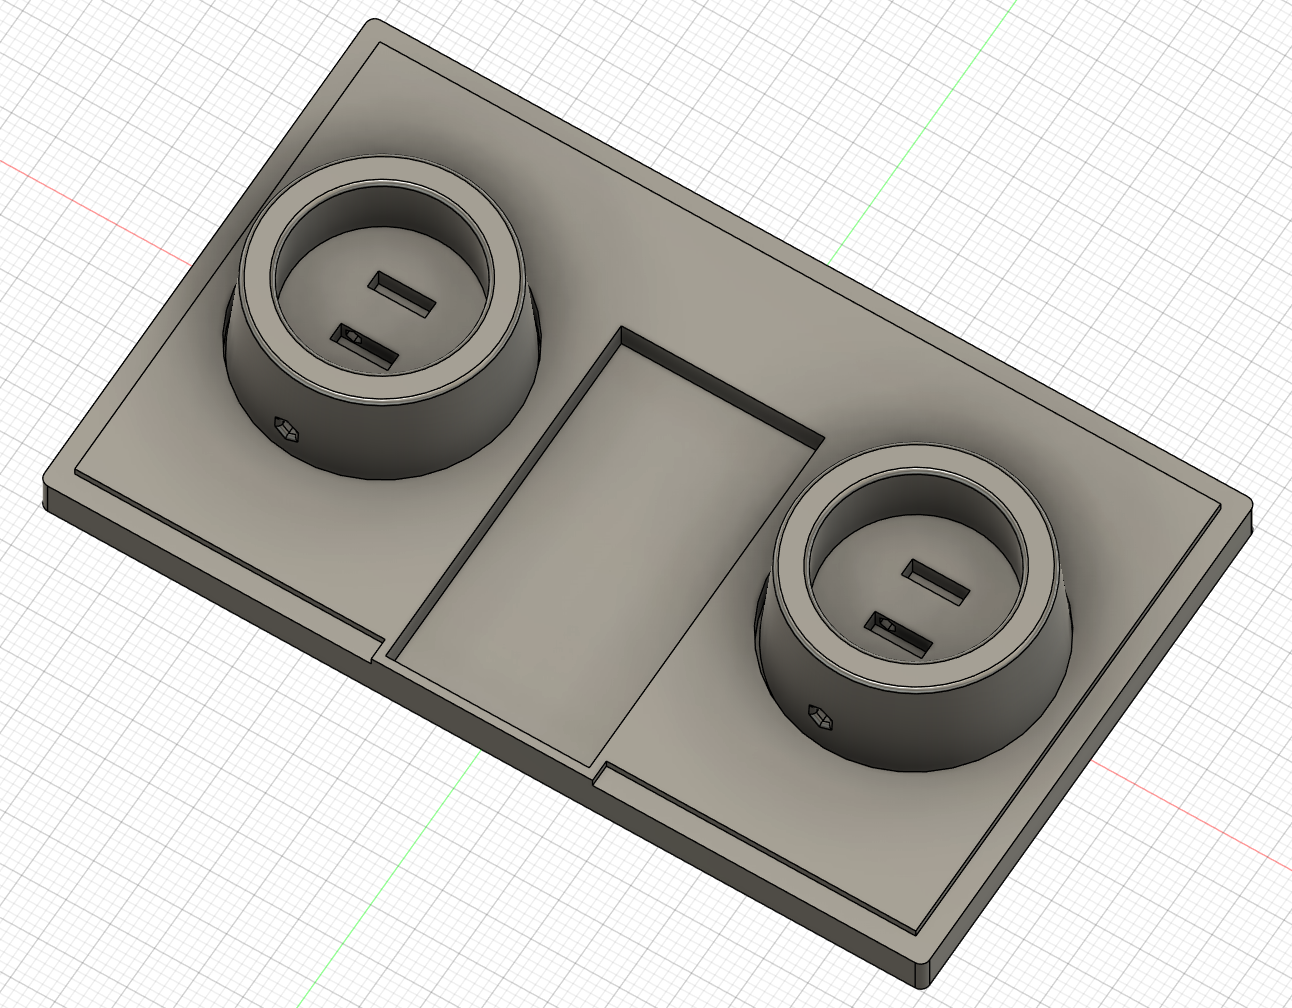
中央のくぼみにブレッドボード+ESP32をはめ込みます。


組み立て
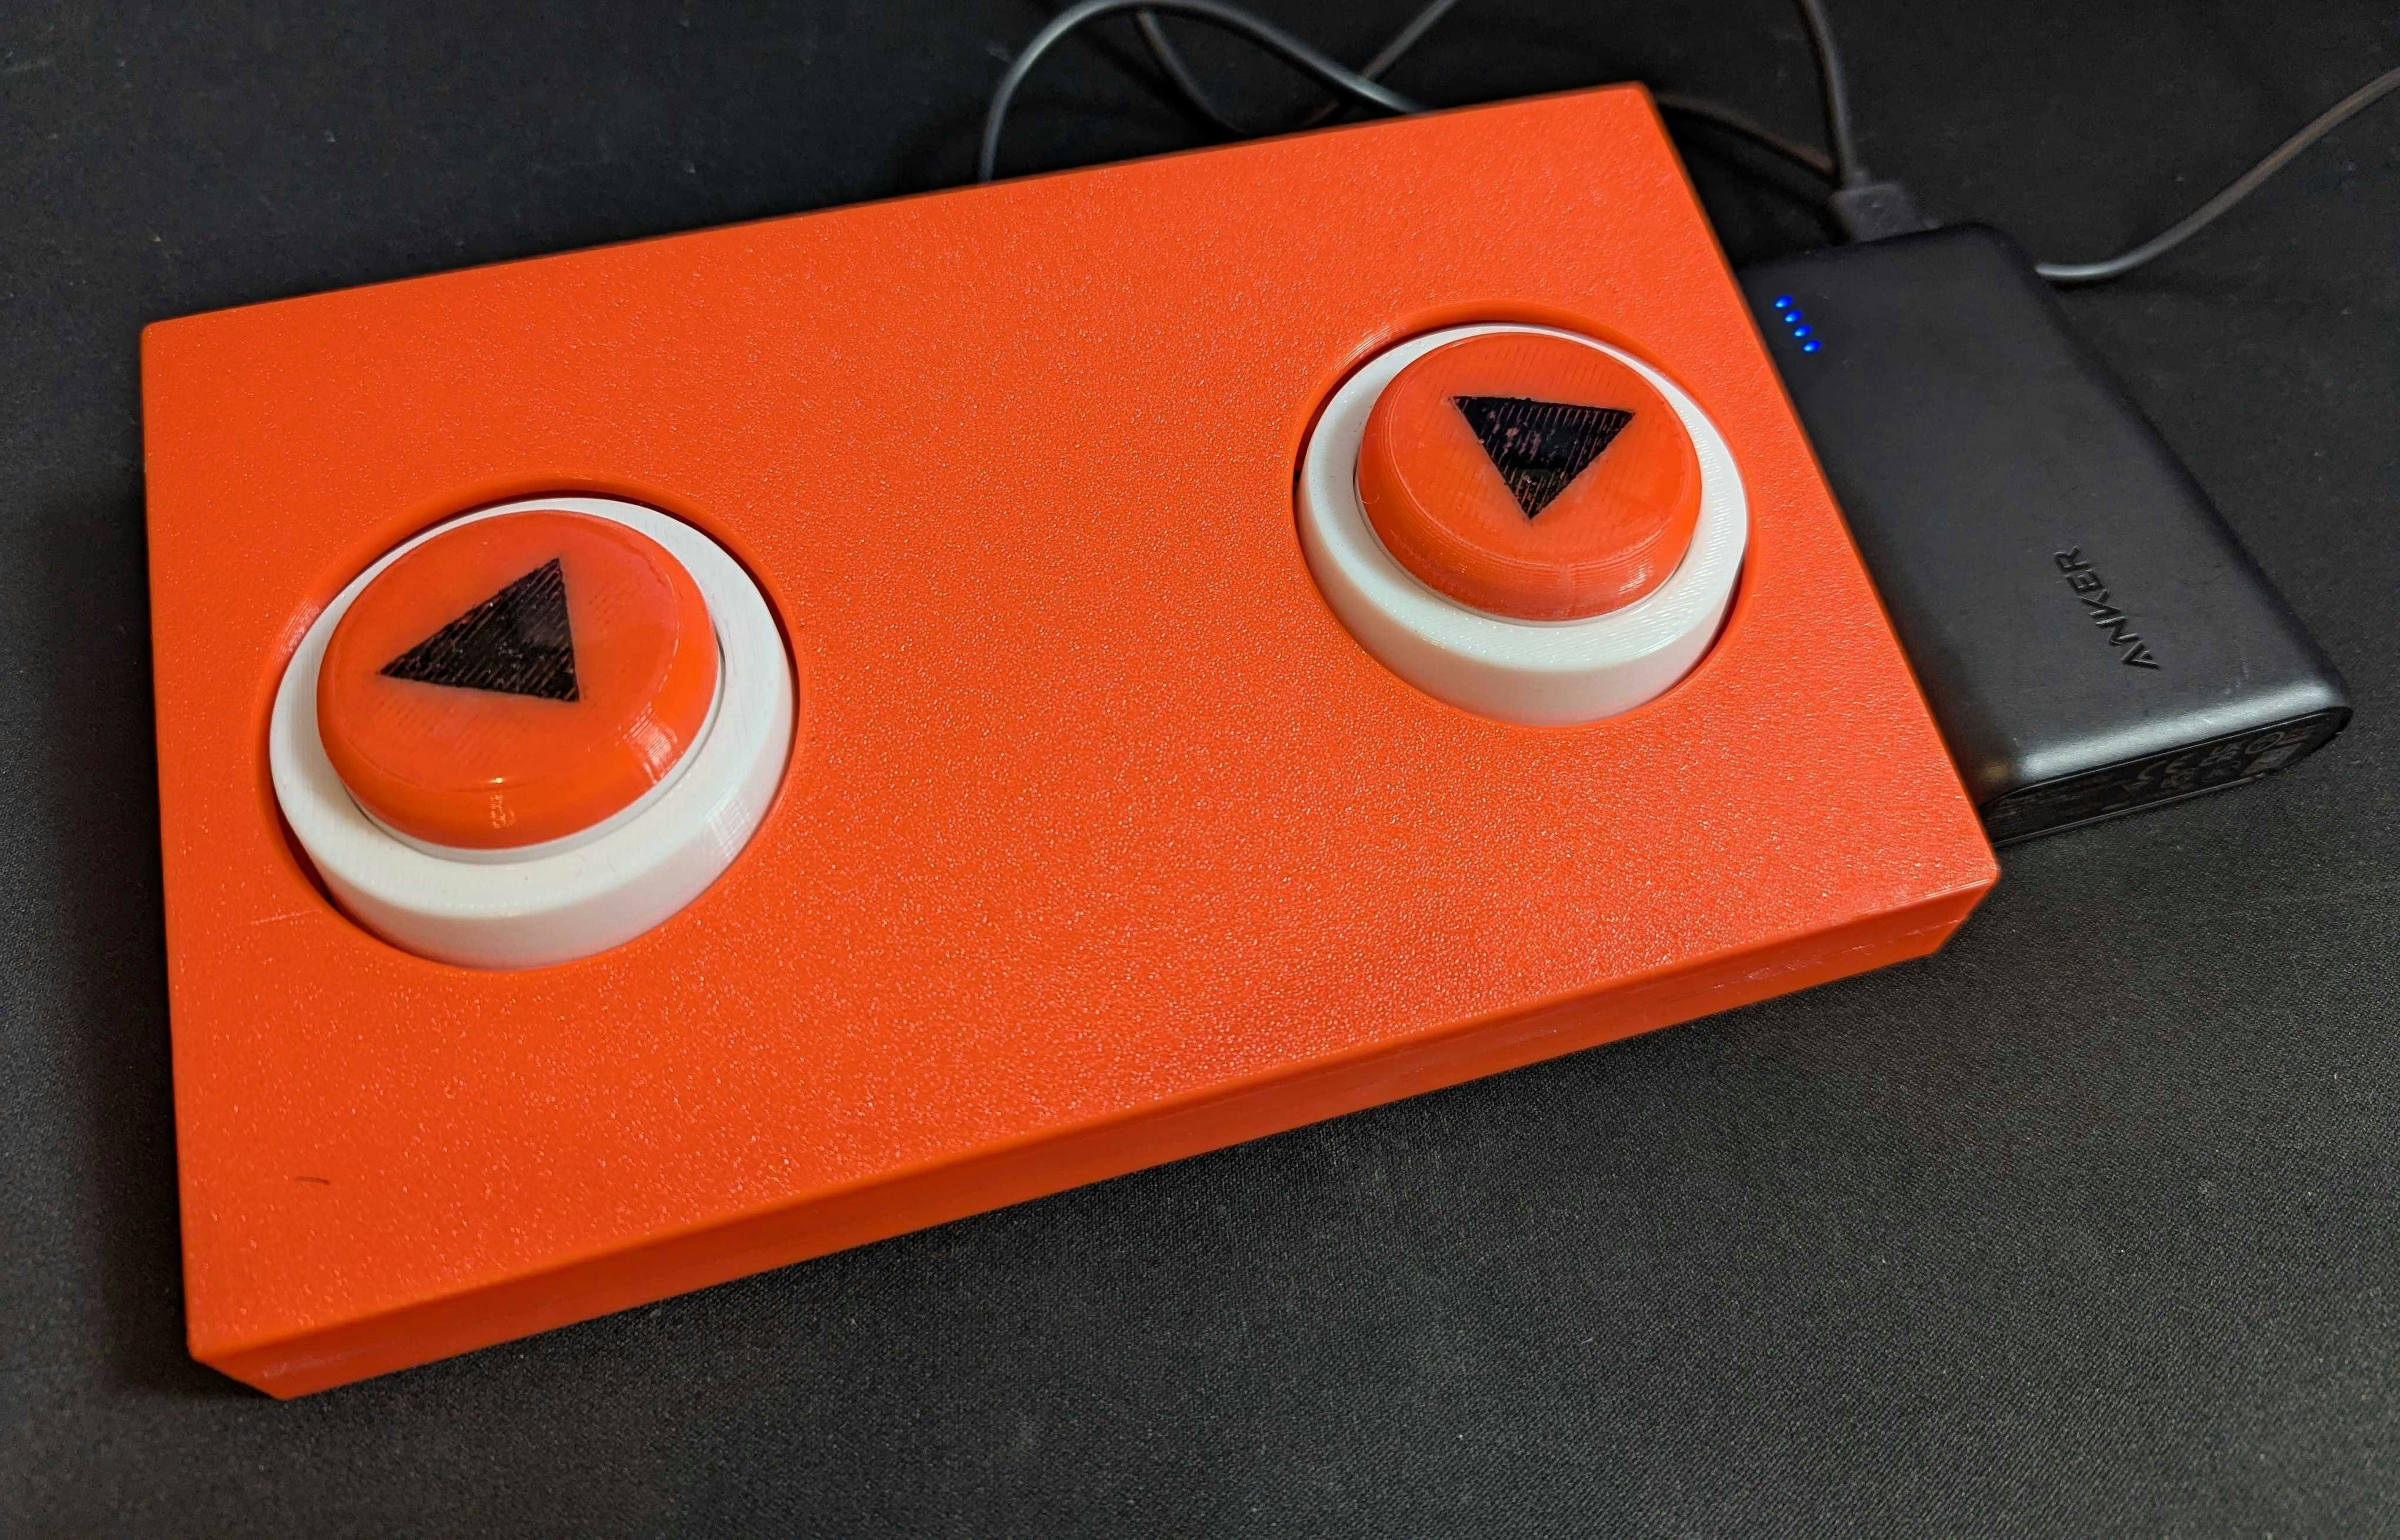
実際に使ってみる
まとめ・感想
- ESP32でBluetooth キーボードを作成し、Piascoreで譜捲りが行えるフットスイッチを作成しました。
- ライブラリが充実しており、思っていたよりも簡単に作成することができました。
- 3Dモデルを作成するスキルが足らず、フットスイッチ感がない見た目になってしまったので、ペダル版をリベンジしたい!
- 機能としては理想通りのものが作れたので満足!
参考にしたもの

