「Movable Type Advent Calendar 2023」の17日目です。
今年は何をテーマに記事を書こうかと悩んでいたのですが、今年毎日のようにニュースなどで見る(ChatGPT/AI)をテーマにしてみようかなとざっくり決めてみました。
そして、AIという大きなテーマに対して、MovableTypeに関連した機能として、一番最初に思いついたのがタイトルや文章を自動作成してくれるというものでした。
ただこれに関してはすでに実装されております。
AIという分野でもう一つ大きく注目されていて、MovableTypeと関連しそうなところとして、画像生成というものが相性良さそうだなと考えました。
ChatGPTで有名なOpenAIでも画像生成のため、DALL·Eというモデルが用意されています。
こちらで試してみてもよかったのですが、せっかくなので他の会社でもAIで画像生成してくれるところはないか調べてみました。
Midjourney、Stable Diffusion、Adobe Fireflyなどが出てきました。
この中で、パッと調べてところAPIが使えてお値段もそこまで大きくかからなそうだったのがStable Diffusionだったので、こちらで試してみることにしました。
APIを使う際にいくつかのサイトがあるのですが、stablediffusionapi.comというサイトが固定である程度の数のAPIを実行できそうだったので、こちらを使うことにしました。
お値段は下記のページにのっています。
APIの使い方ですが、テキストから画像を作成するAPI(text2img)は、思いの外簡単でした。
パラメータについては説明通りで、本当はひとつづつ検証していきたいところですが、時間がかかってしまうので、今回はなにも考えずにpromptに作りたい画像のテキストをセットして実行してあげることにしました。
multi_lingualというオプションを"yes"にすると、プロンプトにセットされた文字列の自動言語検出と翻訳がされ、日本語も対応しているようなのでyesにしてプロンプトも日本語で試していきたいと思います。
サクッと試したかったので、今回はTinyMCEのプラグインとして実装して、MovableTypeに組み込んでいきます。
色々と試していたらあまり時間がなかったので、ソースコードを全部見せられない状態になってしまったため、抜粋して紹介しようと思います。
- TinyMCEプラグイン作成部分
const setup = (editor: Editor) => {
  const dialogOpen = Dialog(editor);
  editor.ui.registry.addButton(config.pluginId, {
    text: config.pluginButtonText,
    onAction: dialogOpen,
  });

  return {
    getMetadata: () => {
      return {
        name: config.pluginName,
        url: config.pluginUrl
      };
    },
  };
};

export default () => {
  tinymce.PluginManager.add(config.pluginId, setup);
};
- TinyMCEダイアログ部分
export const Dialog = (editor: Editor) => (): void => {
    const body = {
        type: 'panel',
        items: [
            {
                type: 'label',
                label: 'Prompt',
                items: [
                    {
                        type: 'textarea',
                        name: 'prompt',
                    },

                ]
            },
            {
                type: 'button',
                name: 'craftImage',
                text: 'Craft Image',
                class: 'center'
            },
            {
                type: 'imagepreview',
                name: 'preview',
                text: 'Preview',
                height: "512px",
            }
        ]
    };
    editor.windowManager.open(
        {
            title: config.dialogTitle,
            size: 'medium',
            body,
            buttons: [
                {
                    type: 'cancel',
                    name: 'close',
                    text: 'Close',
                },
                {
                    type: 'submit',
                    name: 'insert',
                    text: 'Insert',
                    primary: true
                }
            ],
            initialData: {
                preview: {
                    url: ""
                },
                prompt: ""
            },
            onAction: async (api, details) => {
                console.log(details);
                if (details.name === 'craftImage') {
                    console.log(`Crafting image with prompt: ${api.getData().prompt}`)
                    const url = await craftImage(api.getData().prompt);
                    api.setData({
                        preview: {
                            url: url
                        }
                    });
                }
            },
            onSubmit: (api) => {
                const image = document.createElement('img');
                image.src = api.getData().preview.url;
                insertContent(editor, image.outerHTML);
                api.close();
            }
        }
    );
};
- api呼び出し部分
export const Text2Image = async (prompt: string) => {
    if (prompt === "") {
        return;
    }

    const options = {
        method: 'POST',
        headers: {
            'Content-Type': 'application/json'
        },
        body: JSON.stringify({
            "key": "",
            "prompt": prompt,
            "negative_prompt": null,
            "width": "512",
            "height": "512",
            "samples": "1",
            "num_inference_steps": "20",
            "seed": null,
            "guidance_scale": 7.5,
            "safety_checker": "yes",
            "multi_lingual": "yes",
            "panorama": "no",
            "self_attention": "no",
            "upscale": "no",
            "embeddings_model": null,
            "webhook": null,
            "track_id": null
        })
    };


    try {
        const response = await fetch('https://stablediffusionapi.com/api/v3/text2img', options);
        const data = await response.json();
        return data;
    } catch (error) {
        console.error('Error:', error);
    }
}
- tinymceの拡張プラグインとしてプラグインを作成
本当はai_image_craft_api_keyとしてプラグイン設定にAPIキーを保存してと思いましたが、ちょっと時間短縮のために今回はこれは使わずソースに直接埋め込みました。
※良い子の皆様はAPIキーや重要なキーをソース上に埋め込むなんて危険なことはしちゃダメですよ!
id: AIImageCraft
name: AIImageCraft
version: 0.0.1

description: <__trans phrase="AI creates image materials.">

settings:
  ai_image_craft_api_key:
    Default: ""

editors:
  tinymce:
    extension: extension.tmpl
- MTへの読み込み部分
plugin.jsはtinymceのプラグインソースをビルドしたものを読み込みます。
<mt:setvarblock name="js_include" append="1">
<script type="text/javascript" src="<$mt:var name="static_uri"$>plugins/AIImageCraft/plugin.js"></script>
<script type="text/javascript" src="<$mt:var name="static_uri"$>plugins/AIImageCraft/extention.js"></script>
</mt:setvarblock>
- extention.js
AIImageCraftというボタン名で作成しているので、ボタンを追加してあげます。
plugin_mt_wysiwyg_buttons1というのは、wysiwygの1段目のボタンが入っているので、そこにボタンを追加してあげます。
(function ($) {

    var config = MT.Editor.TinyMCE.config;
    var buttons =
        (config.plugin_mt_wysiwyg_buttons1 || '') + ' AIImageCraft';

    $.extend(config, {
        plugins: config.plugins + ',AIImageCraft',
        plugin_mt_wysiwyg_buttons1: buttons
    });
})(jQuery);
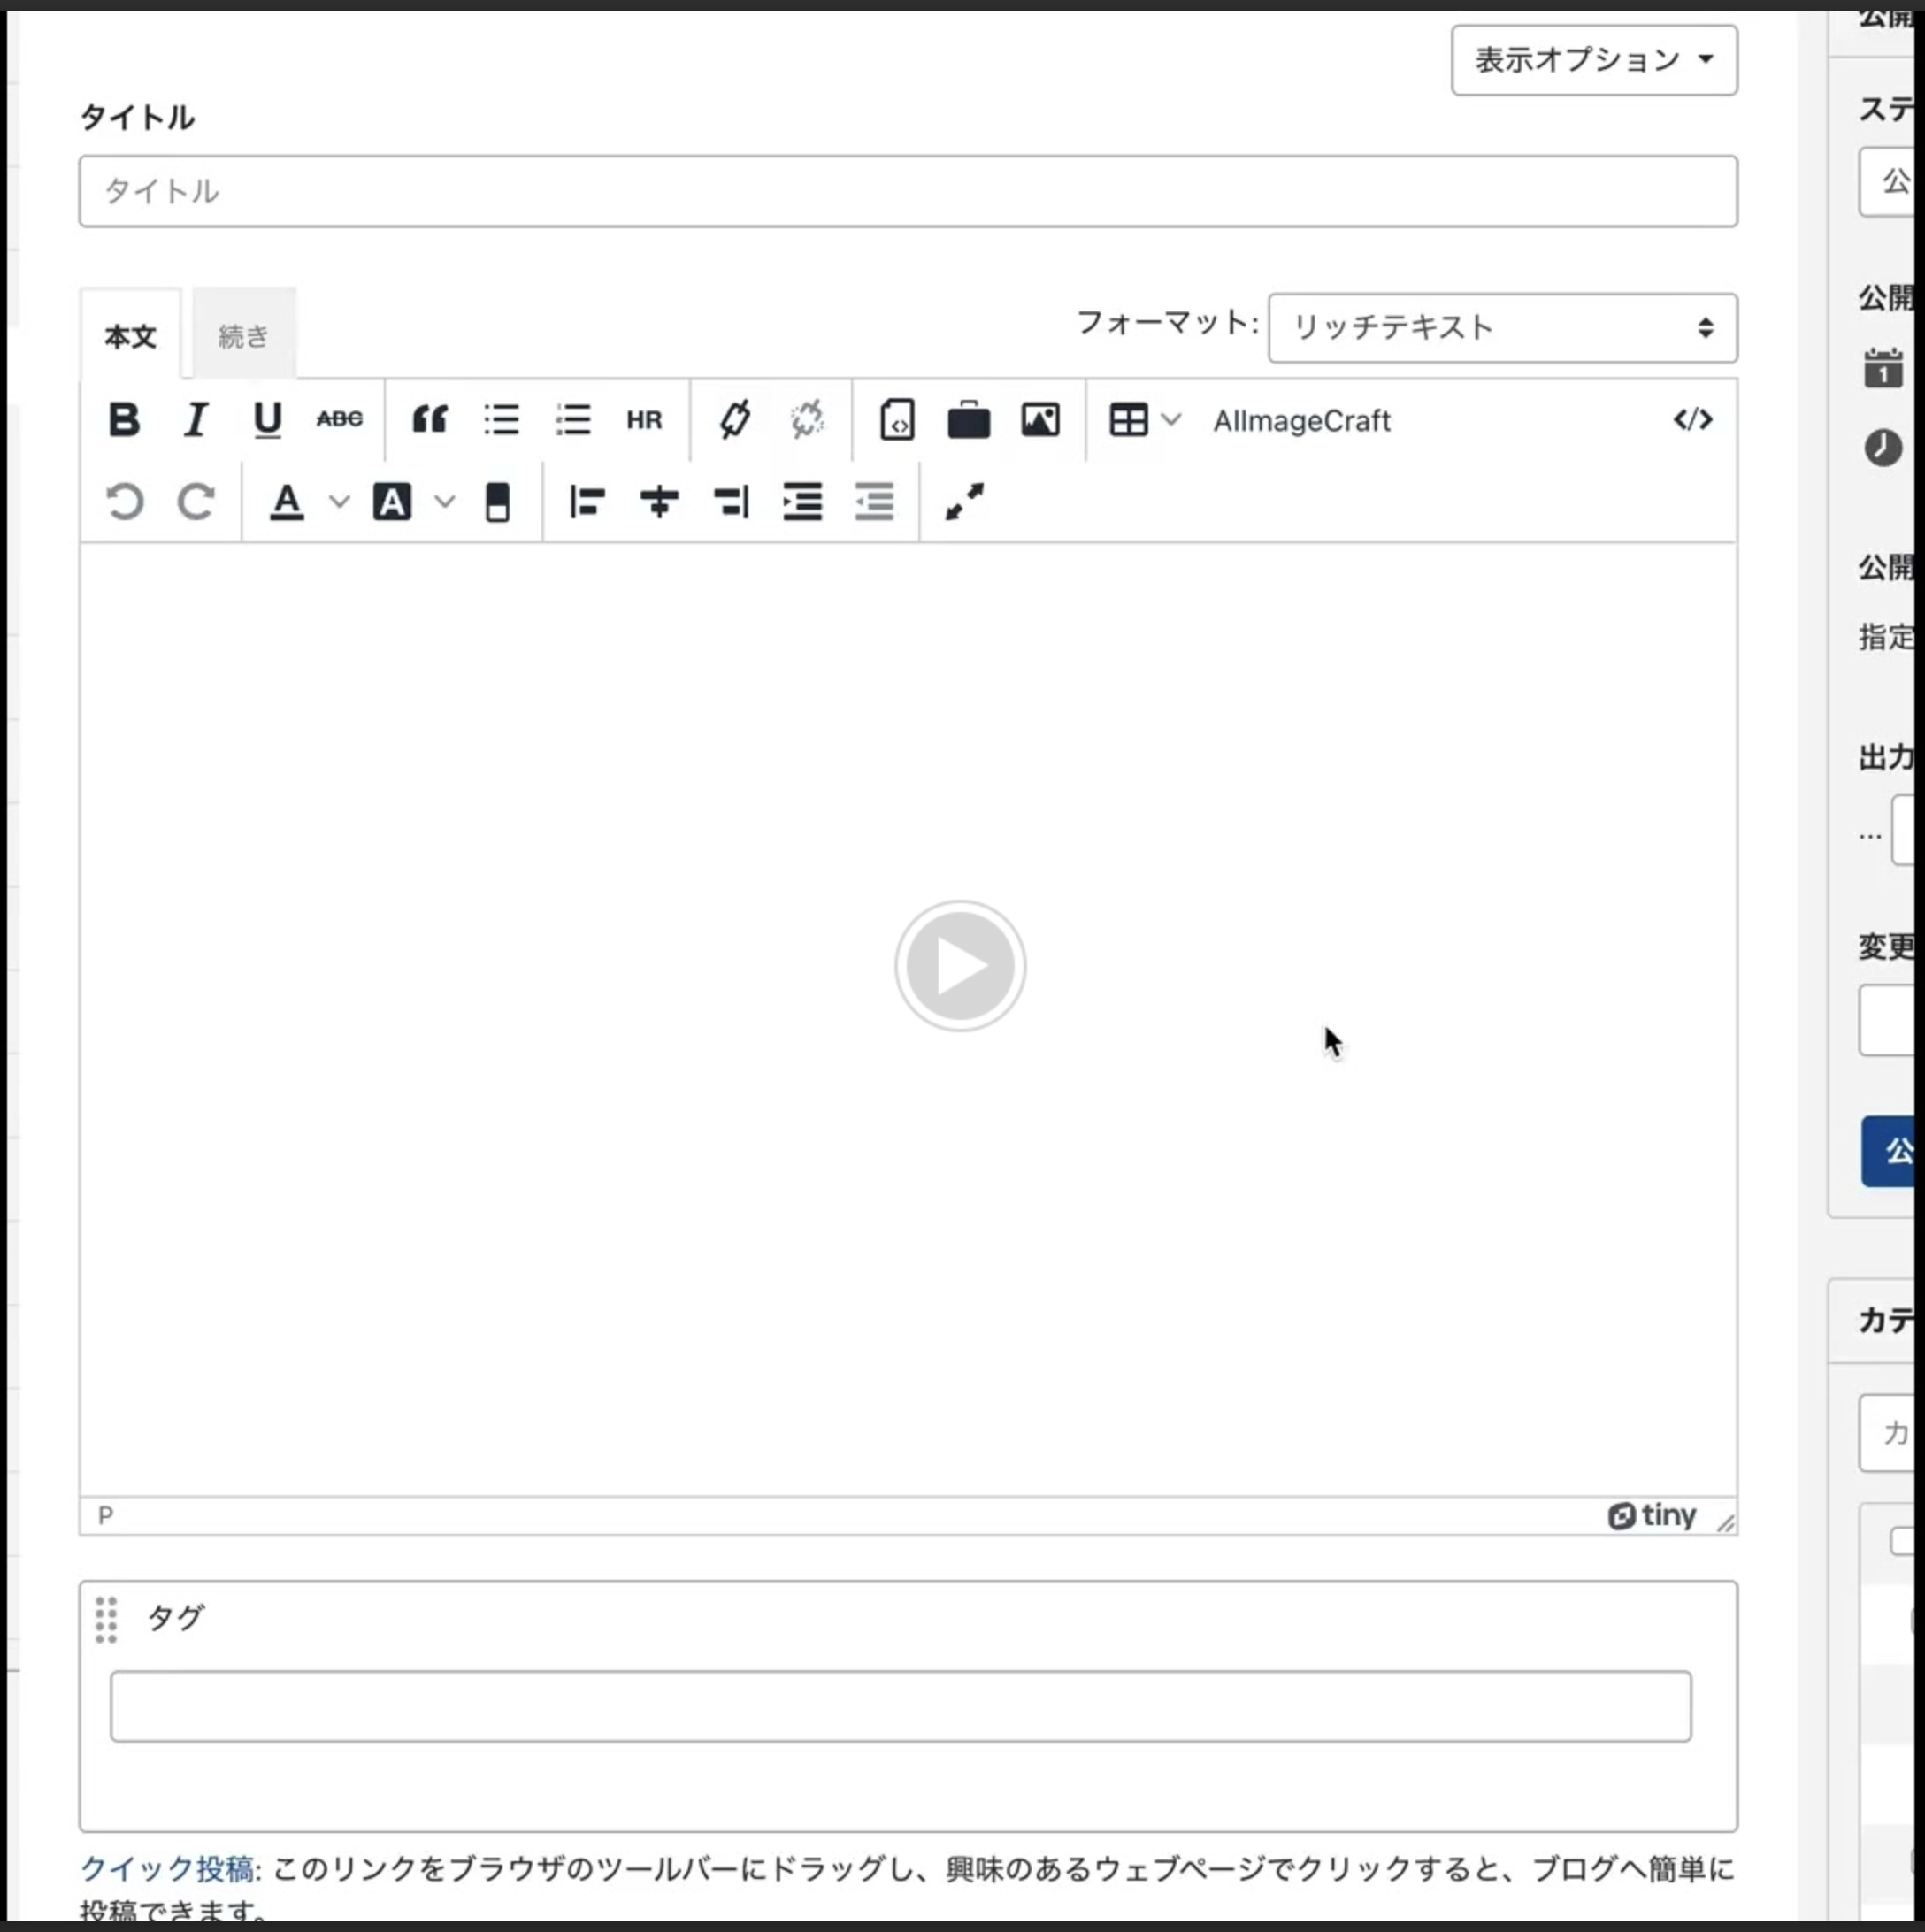
そんなこんなで出来上がったのがこちら
テキストからAIにて画像生成、生成した画像を記事のコンテンツとして挿入するという本当に基本的な部分ではありますが、とりあえずそれっぽいものができました。
画像生成されるまでに数秒かかるので、ローディングアイコンでも出しておけばよかったなと思いつつ、動画とりました。
今はStable Diffusionから戻ってきたURLをそのままimgタグに突っ込むというお手軽仕様になっていたり、サイズが選択できなかったり諸々諸々調整が必要ではありますが。。。
パッと思いつく限りで結構な課題がありそうです。
- APIキーをソース直書きからプラグイン設定のものを使用する
- 上記のためにAPIをperl側から実行するようにする
- 画像生成中にローディングアイコンを表示する
- 画像サイズを指定できるようにする
- その他のパラメータで必要なものについては画面から設定できるようにする
- 画像生成したものをMTの画像として登録して今後も使えるようにする
需要があれば、引き続き作っていこうかと思います。
