概要
Android StudioでJDKの設定を更新する手順メモ。
簡易まとめ
- Oracle からJDKインストール
-
File > Project Structure (Command-;) > SDK Location > JDK locationを更新
前提
OS: OS X El Capitan
Android Studio version: 2.1.3
JDK: 1.7から1.8に
手順
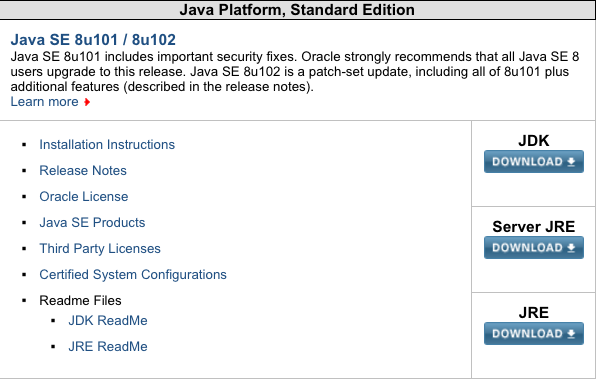
JDKインストール
以下からJDKダウンロードしてインストール
http://www.oracle.com/technetwork/java/javase/downloads/index.html
バージョン確認
$ java -version
java version "1.8.0_101"
Java(TM) SE Runtime Environment (build 1.8.0_101-b13)
Java HotSpot(TM) 64-Bit Server VM (build 25.101-b13, mixed mode)
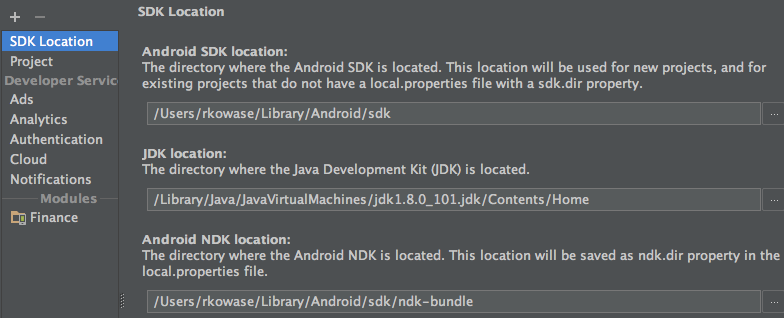
JDKのパス変更
File > Project Structure (Command-;) > SDK Location > JDK location
の項目を
/Library/Java/JavaVirtualMachines/jdk1.8.0_101.jdk/Contents/Home
に変更
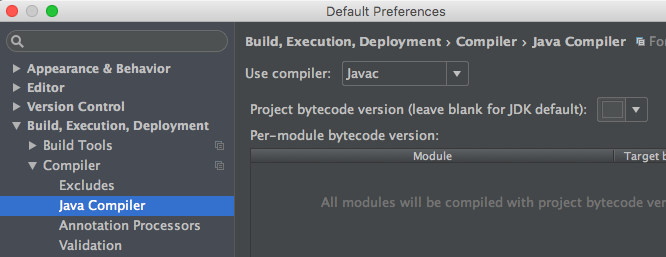
Java Compiler設定確認
File > Other Settings > Default Settings > Build, Execution, Deployment > Compiler > Java Compiler
の
Project bytecode version (leave blank for JDK default)
の項目が空(未選択)もしくは1.8になっていることを確認