はじめに
外部接続不可能なオフライン環境で開発を進めることになるらしく、その環境構築を行うことになりました。調査を踏まえ、必要な点を以下にまとめます。
要点
先に結論は以下です。
- オンライン環境である程度形を整えたプロジェクトフォルダをオフライン環境にもっていく必要がある。
- gradle-○.×-bin.zip ファイルを用意する (○.× 部は使用するバージョン名)。併せて、gradle-wrapper.properties ファイルで zip ファイルの読み込み設定を行う。
- build.gradle ファイルの依存関係に定義するライブラリをダウンロードする。また、ライブラリを使用するためにオフライン用の build.gradle ファイルを用意する。
プロジェクトの準備
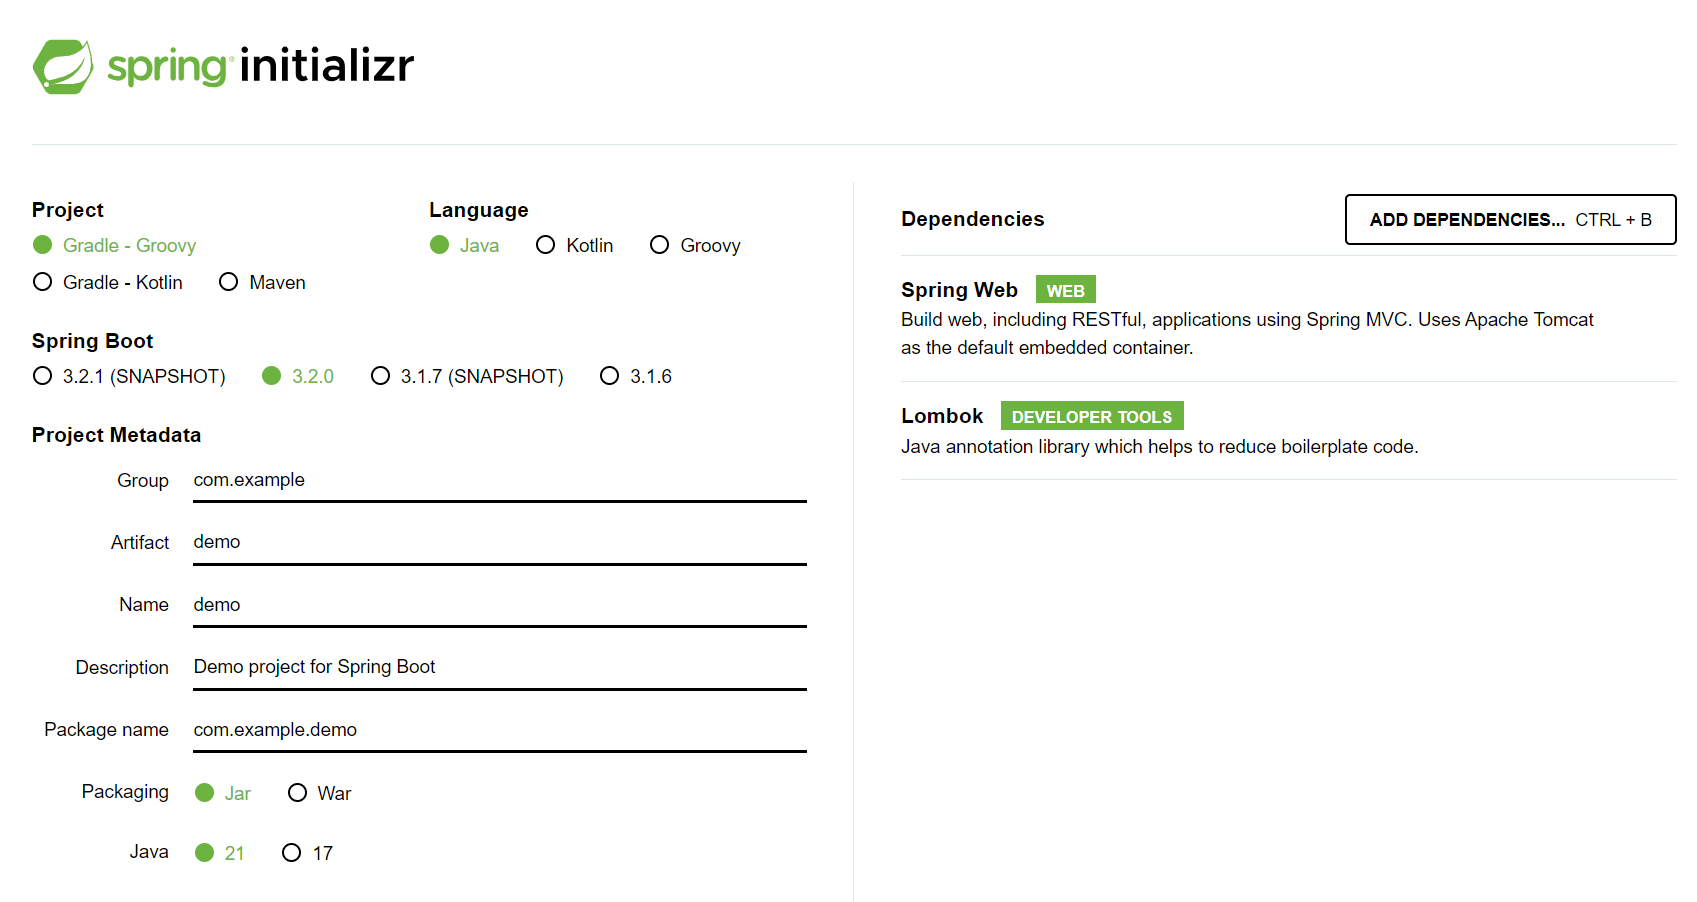
今回は Spring Boot を使用し開発を行います。Spring Initializr にアクセスし、ビルドツールには Gradle を設定、必要なライブラリも含めて Spring Boot プロジェクト生成します。例としてこんな感じです。
作業は InteliJ IDEA Community 版で進めていきます。Ultimate 版は Spring Initializr 組み込まれているとのことで、いいなあと感じますね。
プロジェクトが生成されるとほぼ作業も終わったかなという気持ちになるのですが、オフライン環境は一筋縄ではいかないようです。
zip ファイルを用意する
アプリを動かすべく InteliJ を開き実行すると、こんなエラーが出てきます。
Unknown host 'services.gradle.org'.

Please ensure the host name is correct. If you are behind an HTTP proxy, please configure the proxy settings either in IDE or Gradle.
調べてみると、gradle フォルダ下の gradle-wrapper.properties に記載されているリンクより、該当バージョンの bin.zip ファイルが取得できないとビルド時にでてしまうエラーのようです。オフライン環境なんで当然ですよね~という気持ちと、オンライン環境の開発っていいものだなあとしみじみ感じます。
ファイルを取得しに行かないよう、場所を明示したうえでそこにフォルダを置いてあげれば許されるらしいので、zip ファイルをダウンロードし以下のフォルダに置きます。
gradle
|-- wrapper
    |-- gradle-8.5-bin.zip
gradle-wrapper.propeties ファイルを以下のように書き換えます。
- distributionUrl=https\://services.gradle.org/distributions/gradle-8.5-bin.zip
+ distributionUrl=gradle-8.5-bin.zip
これでビルド時にインターネットにアクセスしに行かなくなりました。
必要なライブラリを用意する
次のエラーはどこにもライブラリが無いというものです。
Build file 'C:\Users\...\demo\build.gradle' line: 3

Plugin [id: 'org.springframework.boot', version: '3.2.0'] was not found in any of the following sources:
オンライン環境で Gradle を使用することで、必要なライブラリの取得や依存関係も解決するとのことなので、それが取得できていないため当然のエラーですね。(オンライン環境で実行した際のキャッシュフォルダがあったりすると別ですが。)
ではインストールするか~という気持ちになります、が、それってどうやるんでしょう。
・参考資料 1
オフラインビルドで検索して、まずこちらを参考にさせていただきました。ライブラリが手元にあって、それを読み込む設定もすればちゃんと動くようで一安心です。先人の知恵って偉大!とウハウハで実践するのですが、オンライン環境でのライブラリフォルダ作成時に Gradle にまた怒られます。
Execution failed for task ':copyLibs'.
> Cannot change the allowed usage of configuration ':implementation', as it was locked upon creation to the role: 'Dependency Scope'.
  This role permits the following usage:
  	Declarable - this configuration can have dependencies added to it
  Ideally, each configuration should be used for a single purpose.
dependencies の implementation で使用する項目について、使用法を変更できないっぽいこと言われます。使用法ってなんのこと?と思い調べつつも…急がば回れでちゃんと理解を深めるべきではなんでしょうが、はい。解決法がよく分かりませんでした!一旦この手法は置いておいて怒涛の勢いでググることにします。ゴメンネ…。
(追記)
と思っていたら、一部分を変えればライブラリファイルは持ってこれそうです。
task copyLibs {
	doLast {
		// dependenciesで利用している設定を定義する
		def targetDependencies = [
				"compileOnly",
				"developmentOnly",
				"implementation",
				"testImplementation",
				"gradlePlugin"
		]
		targetDependencies.each({
			def dir = new File("${projectDir}/lib/" + it)
			if (dir.exists()) {
				dir.delete()
			}
-			def conf = configurations.getByName(it)
+			def conf = configurations.runtimeClasspath
			conf.canBeResolved = true
			copy {
				from conf
				into dir
			}
		})
	}
}
ちゃんと中身のあるフォルダはできていたので、い、いいのかなあ…?
・参考資料 2
開発環境ではこちらの手法で対応しています。参考資料 1 では implementation、compileOnly とフォルダを分けて用意するのですが、こちらではフォルダを分けずライブラリをダウンロードします。
変更と追加する内容は以下。
build.gradle(変更)
configurations {
	compileOnly {
		extendsFrom annotationProcessor
	}
+	gradlePlugin
}

dependencies {
	implementation 'org.springframework.boot:spring-boot-starter-web'
	compileOnly 'org.projectlombok:lombok'
	annotationProcessor 'org.projectlombok:lombok'
	testImplementation 'org.springframework.boot:spring-boot-starter-test'
+	gradlePlugin 'org.springframework.boot:spring-boot-starter-web'
+	gradlePlugin 'org.projectlombok:lombok'
+	gradlePlugin 'org.springframework.boot:spring-boot-starter-test'
+	gradlePlugin 'org.springframework.boot:spring-boot-gradle-plugin:3.2.0'
}
build.gradle(追加)
def libDir = 'lib'
task deleteDeps(type:Delete){
	delete libDir
}

task copyDeps(type: Copy, dependsOn: deleteDeps) {
	from configurations.gradlePlugin
	into libDir
}
必要なライブラリに gradlePlugin で目印をつけ、それをダウンロードする形ですね。また、spring-boot-gradle-plugin は、オフライン実行時に plugin 指定で使用するものを持ってきているようです。
これで copyDeps タスクを実行することで無事 lib ファイルを作成できました。やった~
となりつつも、ライブラリを追加する際はオンライン環境で lib ファイルを都度更新してオフライン環境にもっていく必要があります。開発で都度追加が必要になる場合はちょっと大変ですね…
gradle.build ファイルをオフライン仕様にする
参考資料 1 でやるべきことはほぼ書かれているのでこれを参考に gradle.build をオフライン仕様に書き換えました。各 implementation や compileOnly の設定は元の生成ファイルに乗っ取りつつ、lib フォルダや jar ファイルを指定していきます。
書き換えたものがこちら。
buildscript {
	dependencies {
		classpath fileTree(includes: ['*.jar'],dir: 'lib')
	}
}

plugins {
	id 'java'
}

apply plugin: 'org.springframework.boot'
apply plugin: 'io.spring.dependency-management'

group = 'com.example'
version = '0.0.1-SNAPSHOT'

java {
	sourceCompatibility = '17'
}

configurations {
	compileOnly {
		extendsFrom annotationProcessor
	}
}

repositories {
	mavenCentral()
}

dependencies {
	implementation fileTree(dir:'lib')
	compileOnly fileTree(dir:'lib')
	annotationProcessor files('lib/lombok-1.18.30.jar')
	testImplementation fileTree(dir:'lib')
}

tasks.named('test') {
	useJUnitPlatform()
}
これで大丈夫かな?ということで実行してみると、
'bootRun' を実行中...

> Task :compileJava
> Task :processResources UP-TO-DATE
> Task :classes
> Task :resolveMainClassName

> Task :bootRun

  .   ____          _            __ _ _
 /\\ / ___'_ __ _ _(_)_ __  __ _ \ \ \ \
( ( )\___ | '_ | '_| | '_ \/ _` | \ \ \ \
 \\/  ___)| |_)| | | | | || (_| |  ) ) ) )
  '  |____| .__|_| |_|_| |_\__, | / / / /
 =========|_|==============|___/=/_/_/_/
 :: Spring Boot ::                (v3.2.0)

2023-12-19T08:27:23.556+09:00  INFO 18388 --- [  restartedMain] com.example.demo.DemoApplication         : Starting DemoApplication using Java 17.0.9 with PID 18388 (C:\Users\...\demo)
...
2023-12-19T08:27:24.511+09:00  INFO 18388 --- [  restartedMain] com.example.demo.DemoApplication         : Started DemoApplication in 1.191 seconds (process running for 1.487)
ちゃんとオフライン環境で実行できました。
補足
これで環境構築完了じゃ~!と思ったら…lombok を InteliJ で使う場合 plugin は必要なのですが、オフライン環境の InteliJ には lombok のプラグインは当然入っておらず。
ということでこれについても対応が必要になったりしました。解決してくださったチームの皆様、お手数をお掛けしましたがありがとうございました!
感想
今回の作業でインターネット最高!と強く感じました。
需要は低めの記事にはなったかと思いますが、どなたかの参考になれば幸いです。
お読みいただきありがとうございました!