http://bit.ly/2Gwvmcs
チュートリアル
以下のリンクにアクセス。
https://console.aws.amazon.com/ecs/home?region=us-east-1#/firstRun
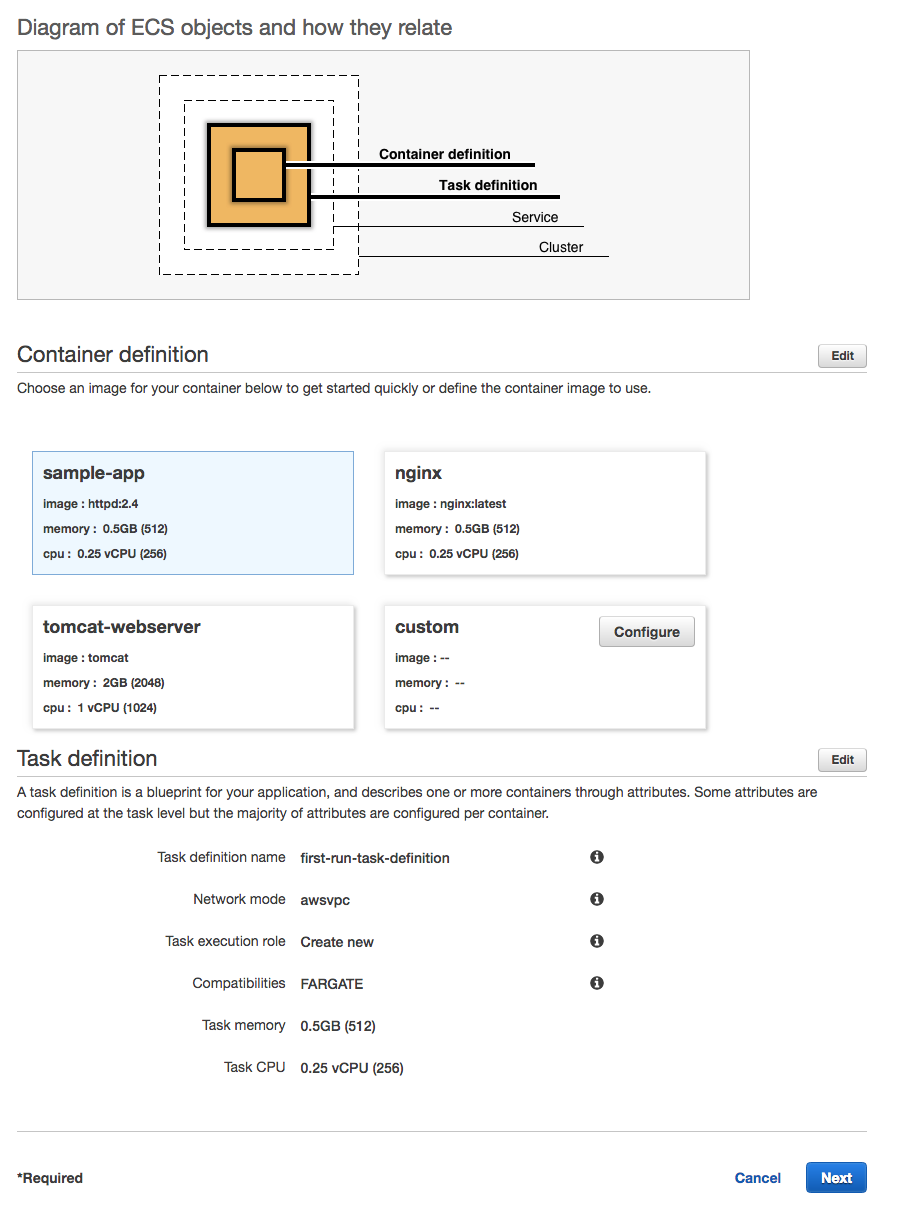
Step 1: Container and Task
何も変更せずに、Nextをクリック
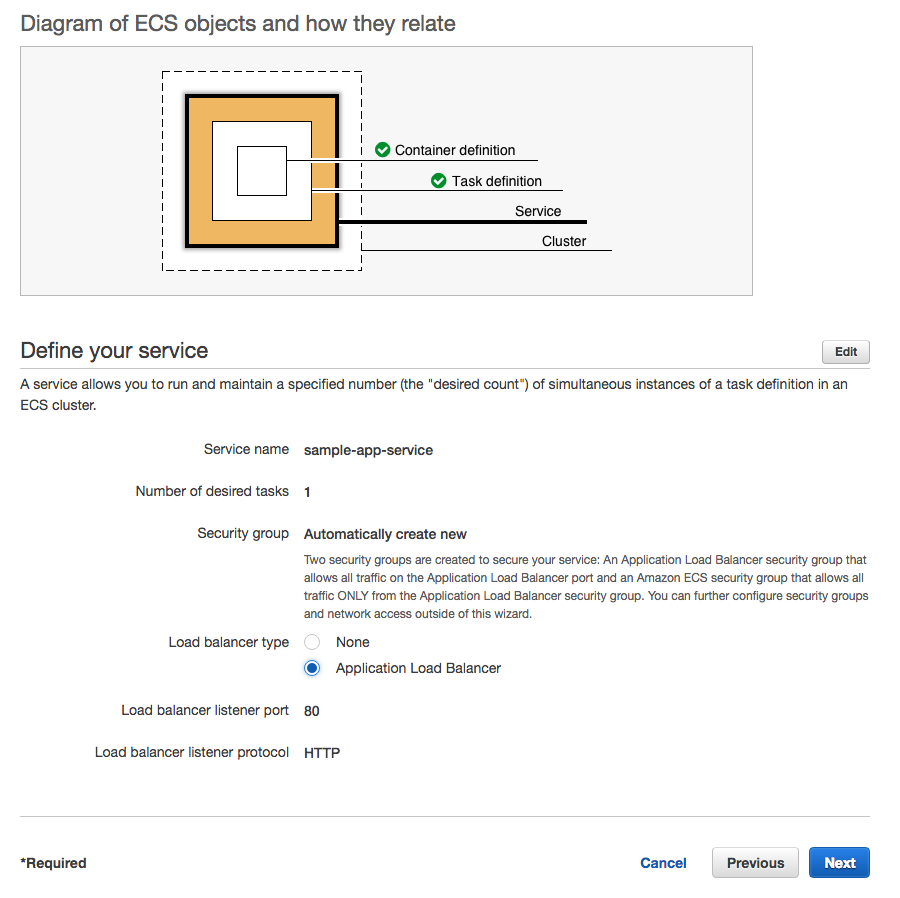
Step 2: Service
ロードバランサを利用したいので、Application Load Balancerを選択してから、Nextをクリック
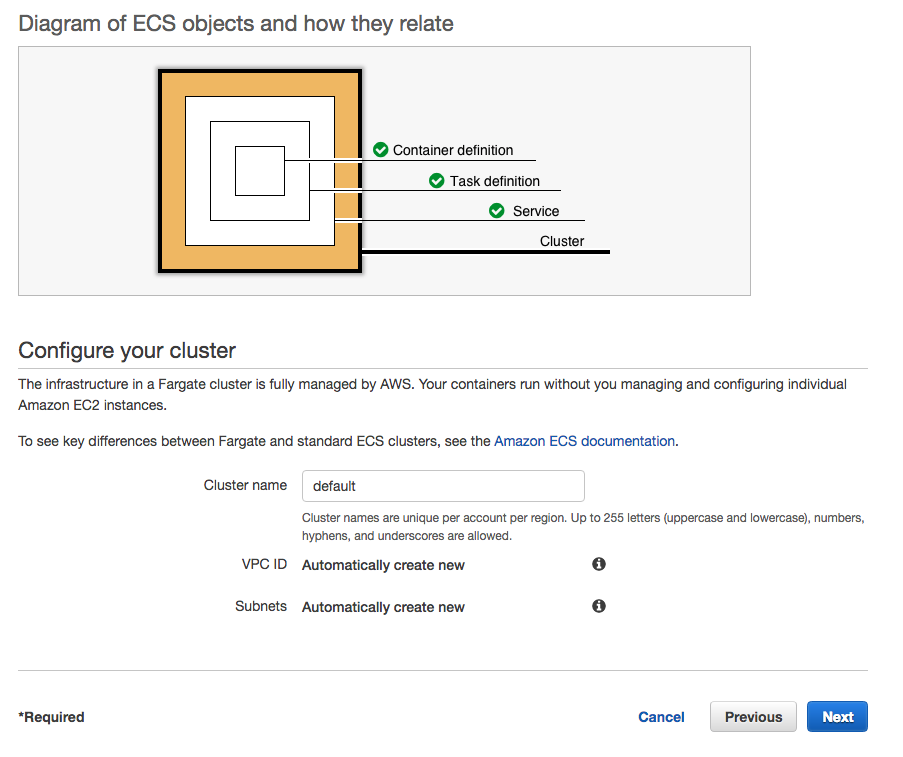
Step 3: Cluster
何も変更せずに、Nextをクリック
(もしCluster nameが既にあると警告されたら適当な名前に変更)
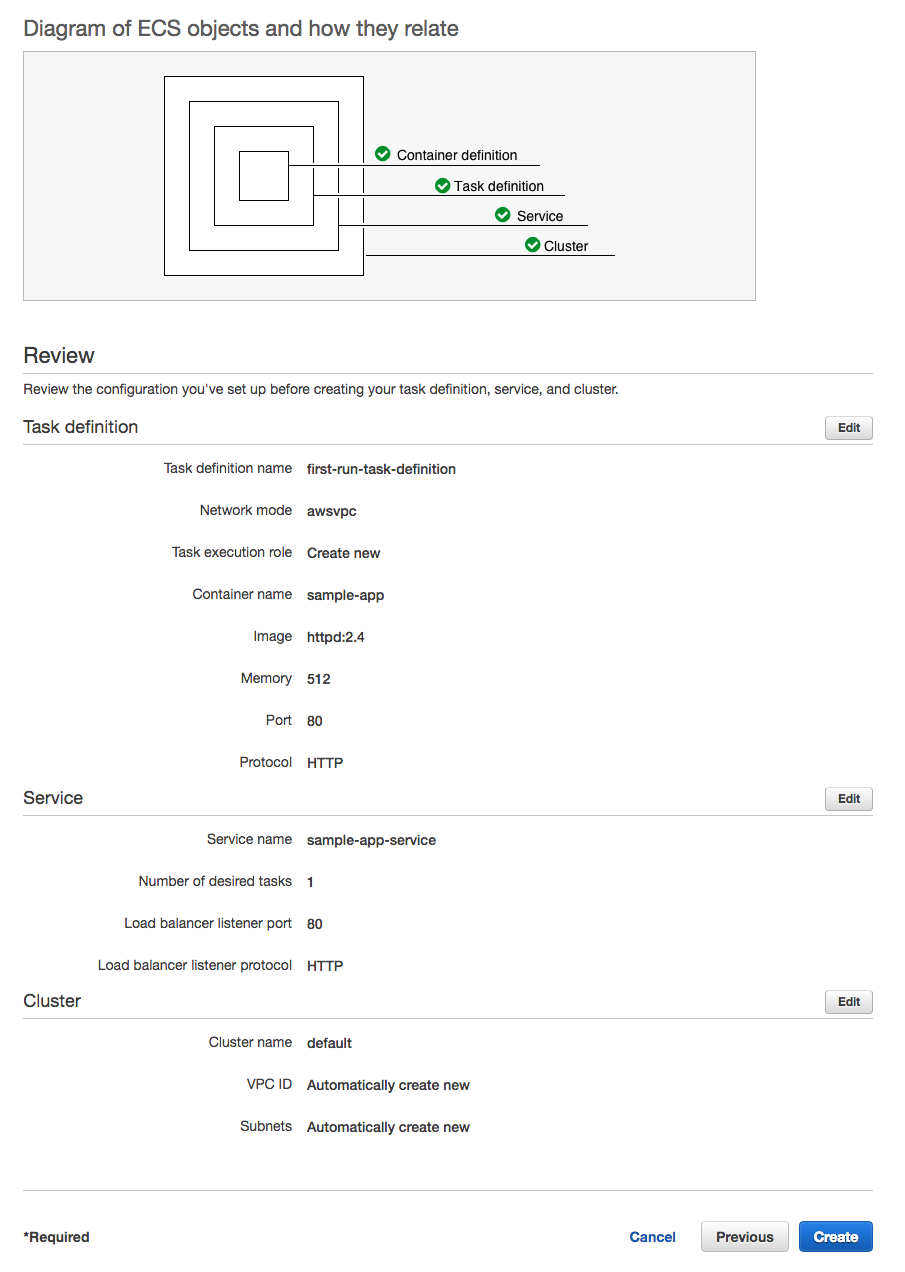
Step 4: Review
Createをクリック
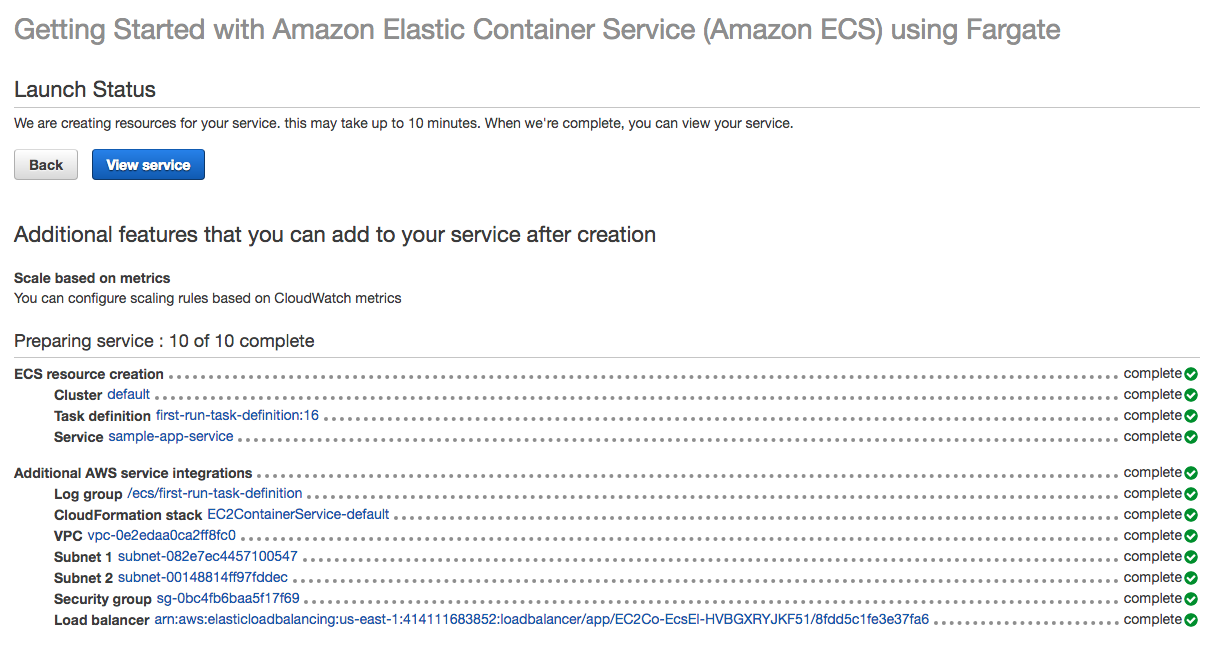
作成完了
5分程度待つと全て作成が完了する
View serviceをクリック
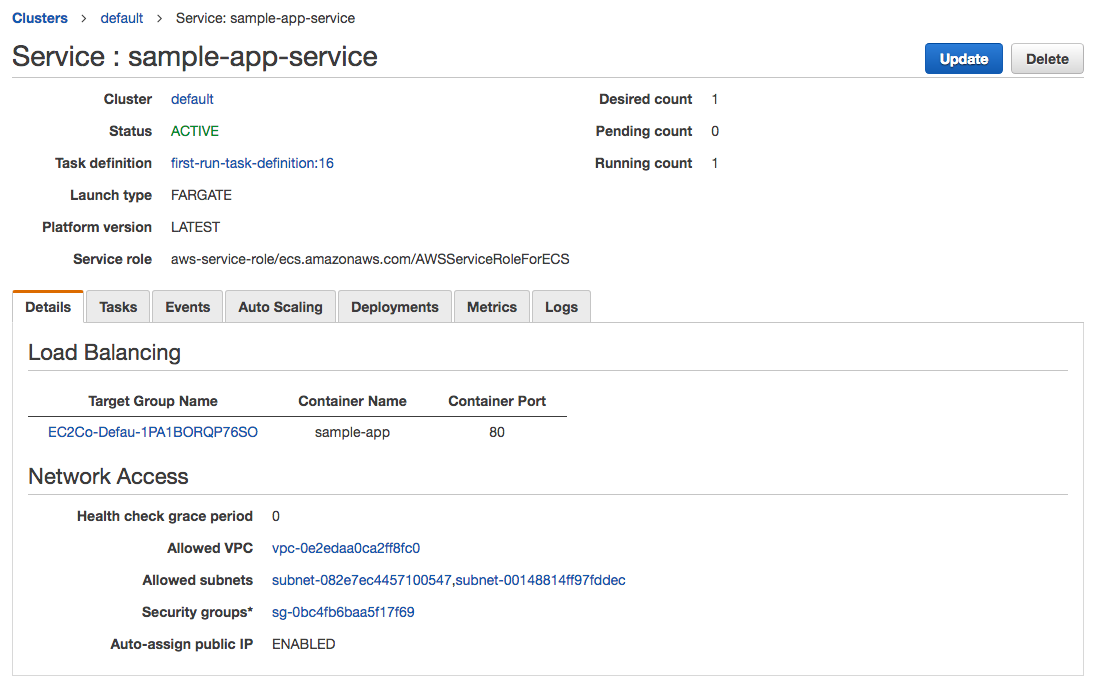
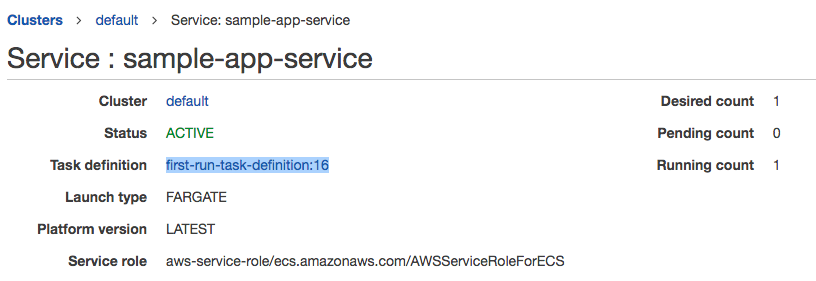
Serviceの情報を確認する
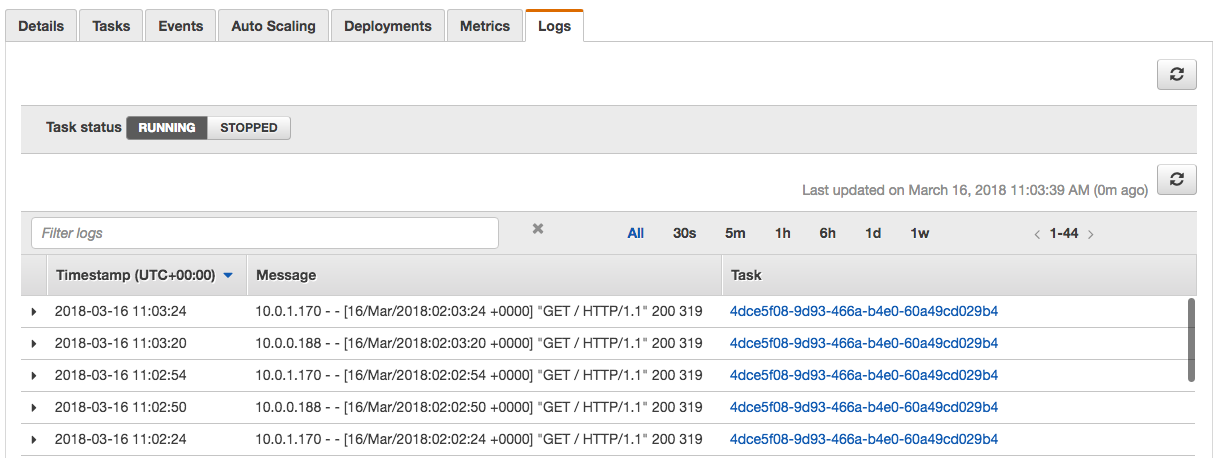
Serviceのログを見てみる
Logsタブをクリックすると、アプリケーションが出力しているアクセスログが確認できる
(ALBからのヘルスチェックのリクエストが既に記録されているはず)
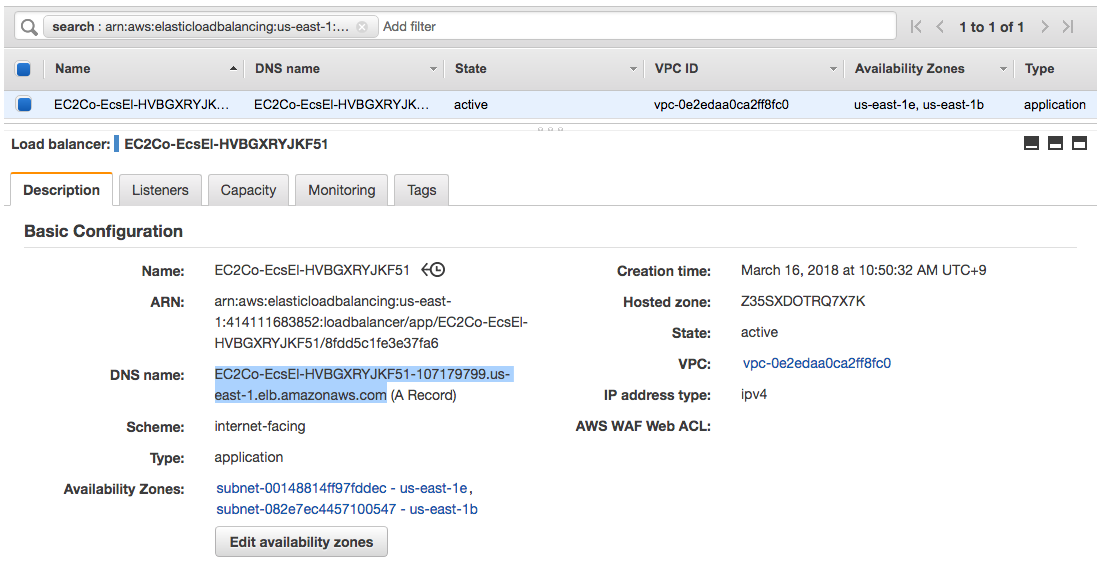
ロードバランサ経由でアクセスしてみる
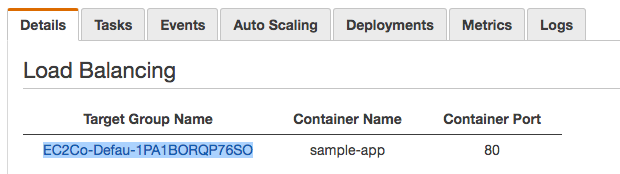
DetailsタブからTarget Group Nameのリンクをクリック
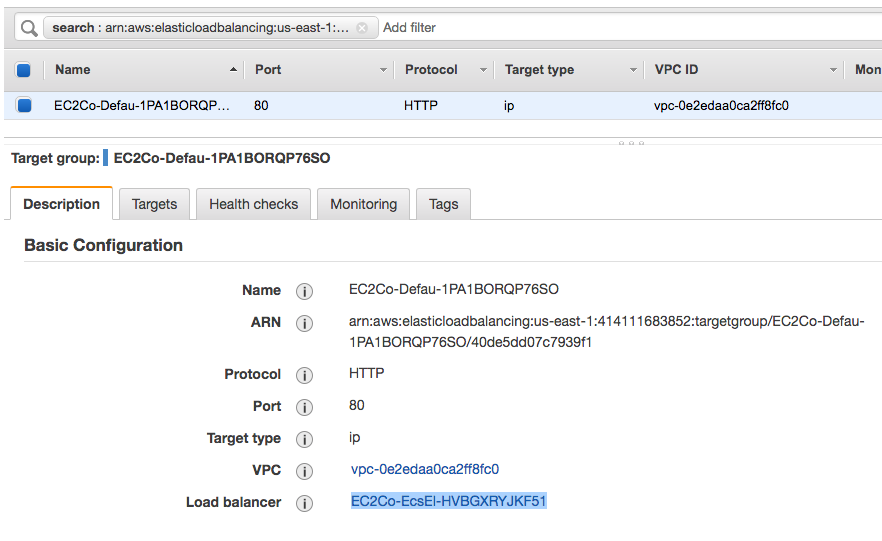
DescriptionタブからLoad balancerのリンクをクリック
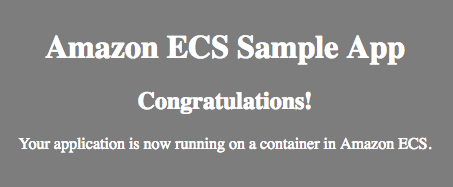
DNS nameにあるドメインにブラウザでアクセスする
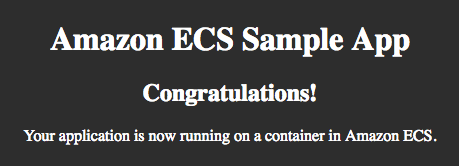
以下の様な画面が表示される
アプリケーションを更新してデプロイしてみる
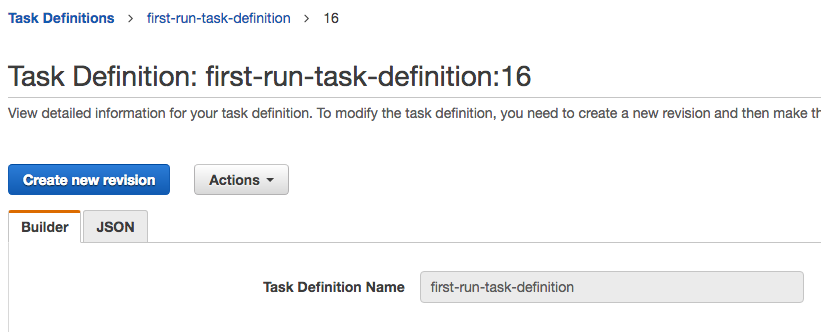
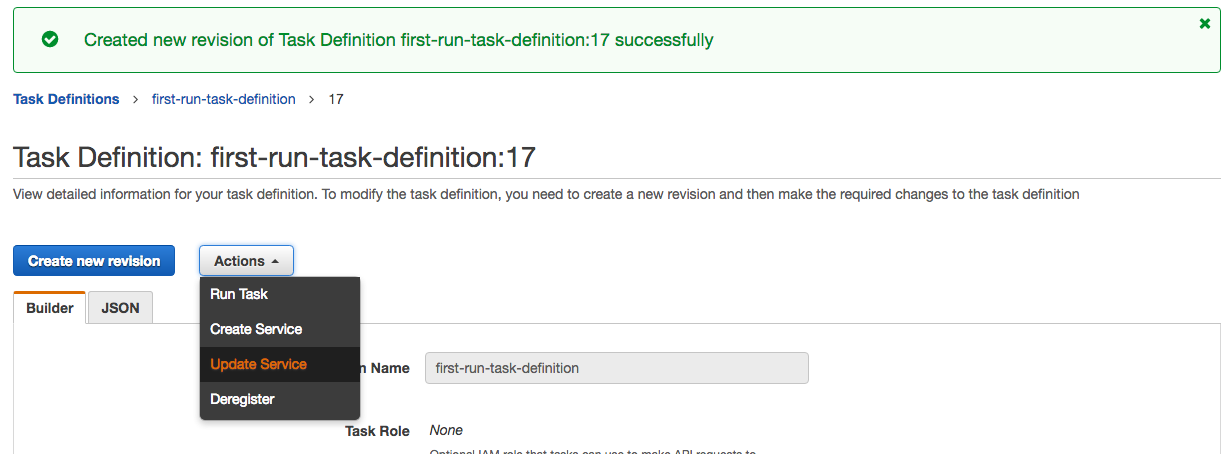
Task Definitionの新しいrevisionを作成する
Serviceに現在紐付いているTask definitionのリンクをクリックする
Create new revisionをクリックする
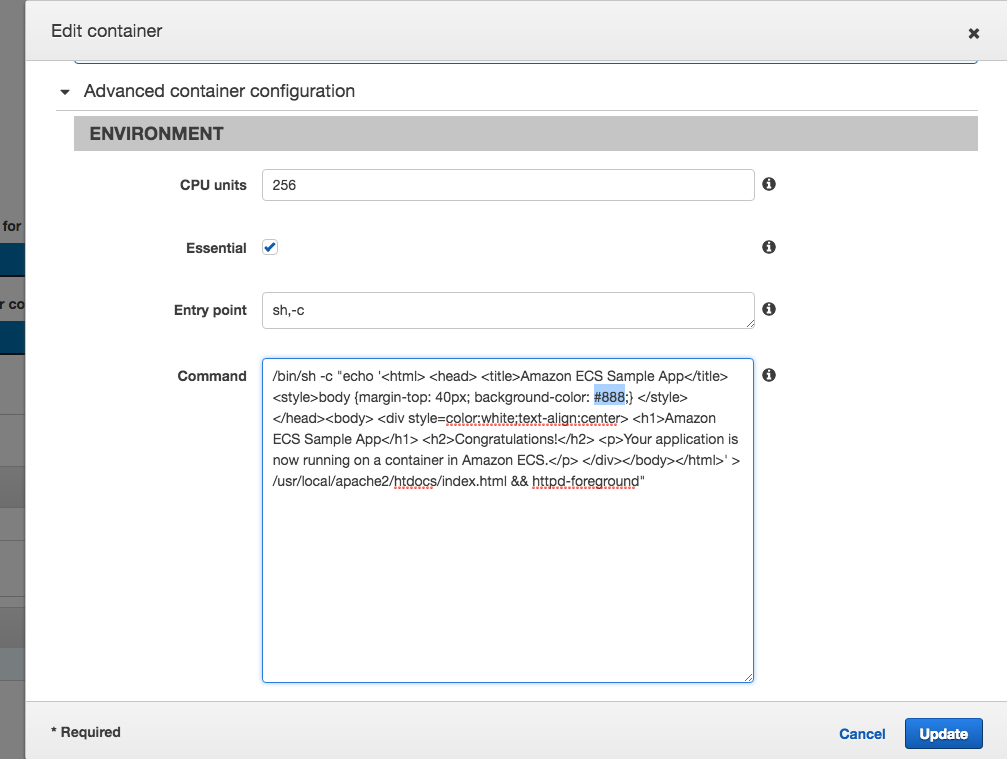
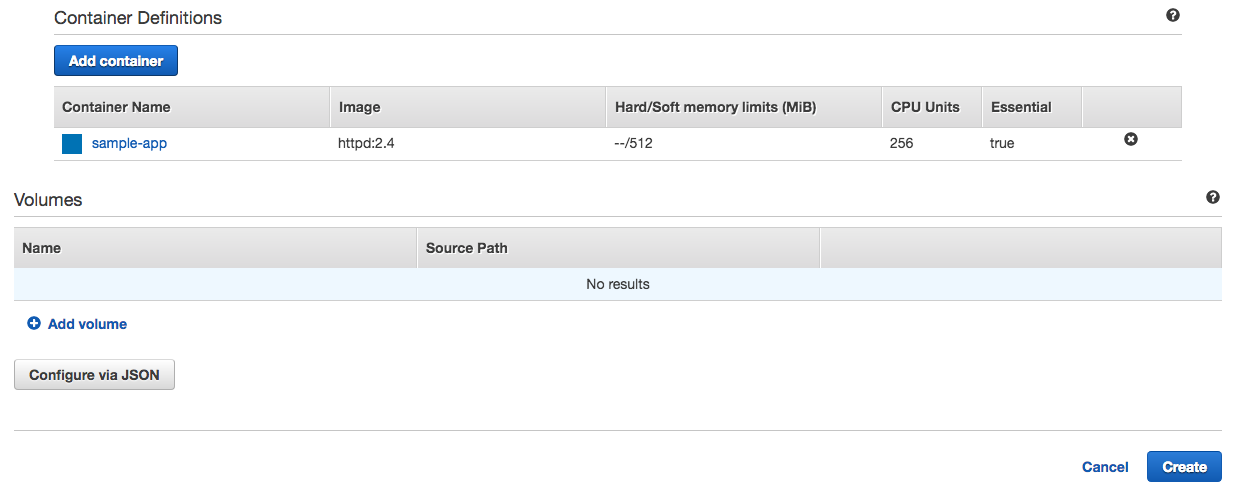
下の方にあるContainer Definitionsの中のsample-appをクリックする

中盤にあるENVIRONMENTの中のCommandで、書き出しているHTMLの定義を適当に変更し、Updateをクリックする
戻ったら、右下のCreateをクリックする
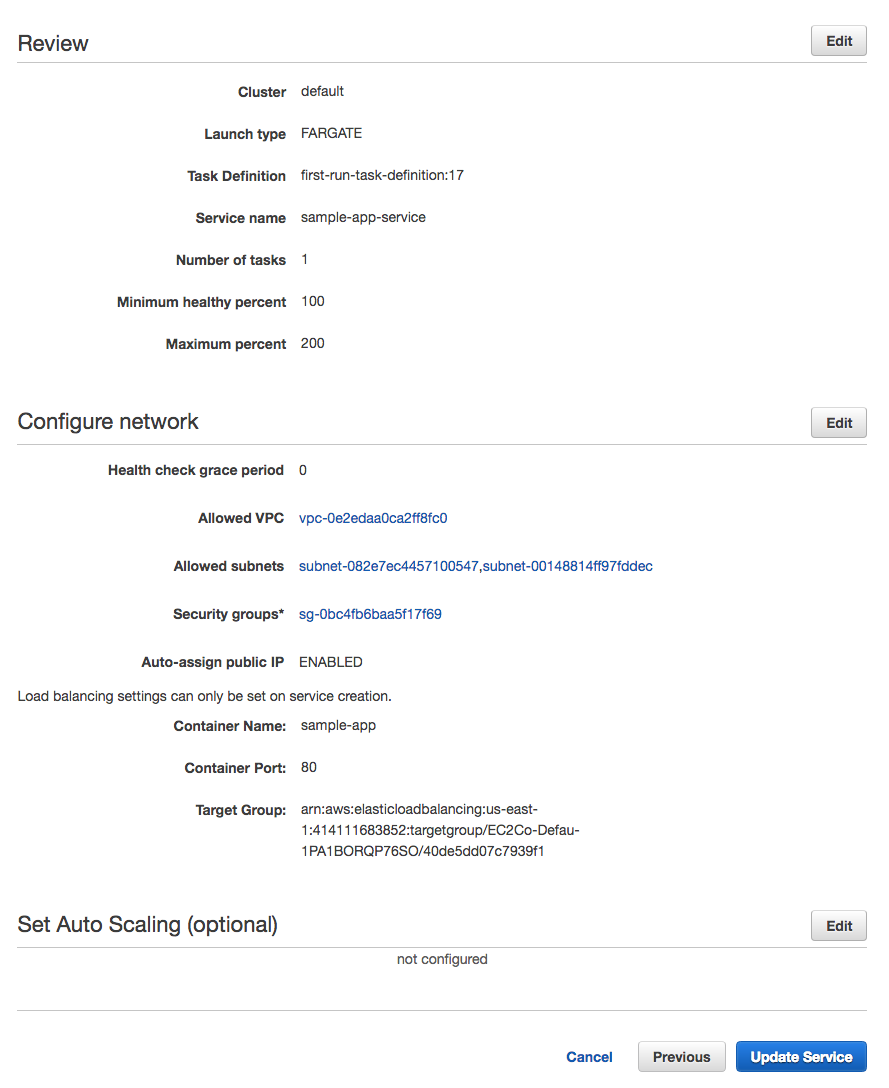
Serviceを今作成したTask Definitionで更新する
新しいrevisionが作成できたら、ActionsのメニューからUpdate Serviceをクリックする
Serviceの更新画面に移るので、チュートリアルで作成したService, Clusterが選択されていることを確認して、Next stepをクリックする
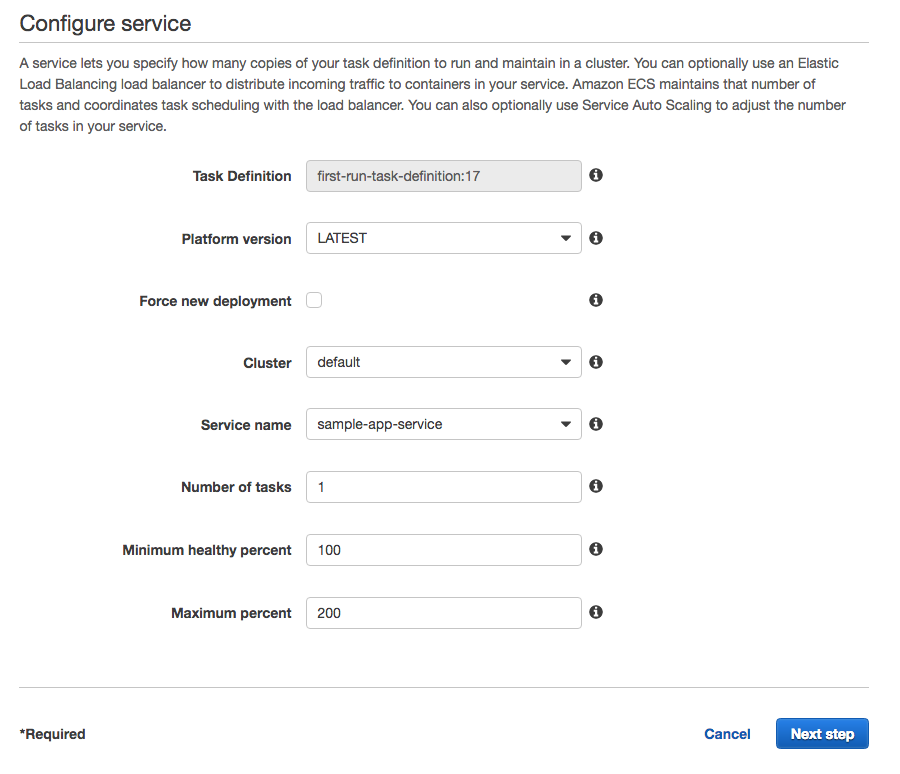
特に変更しないので、Next stepをクリックする
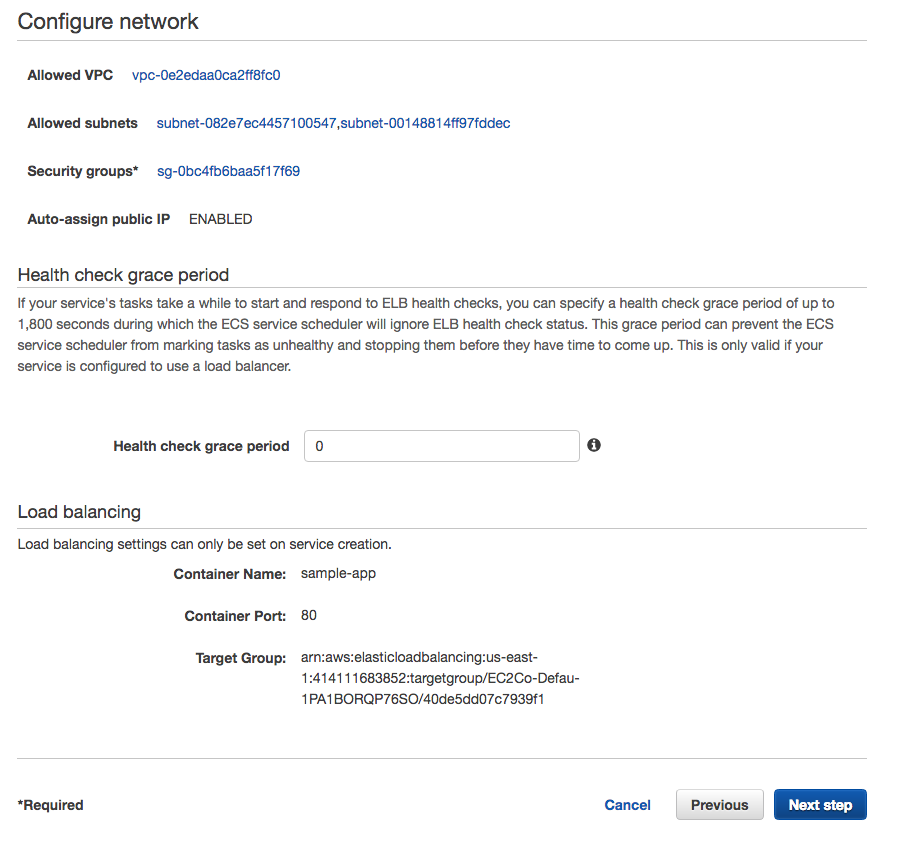
特に変更しないので、Next stepをクリックする
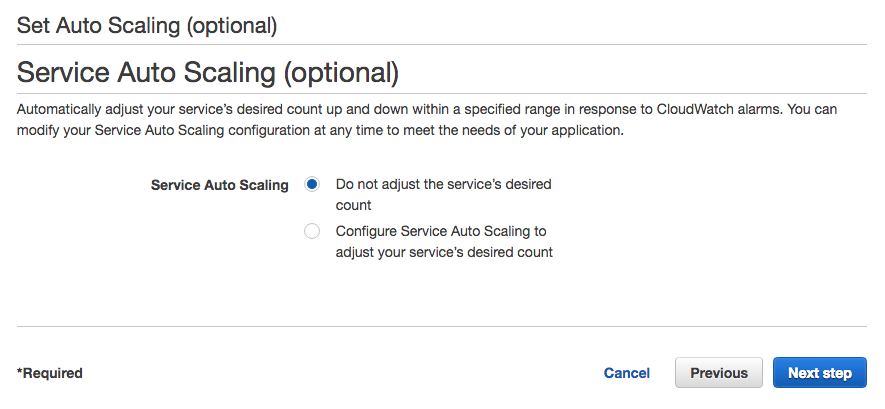
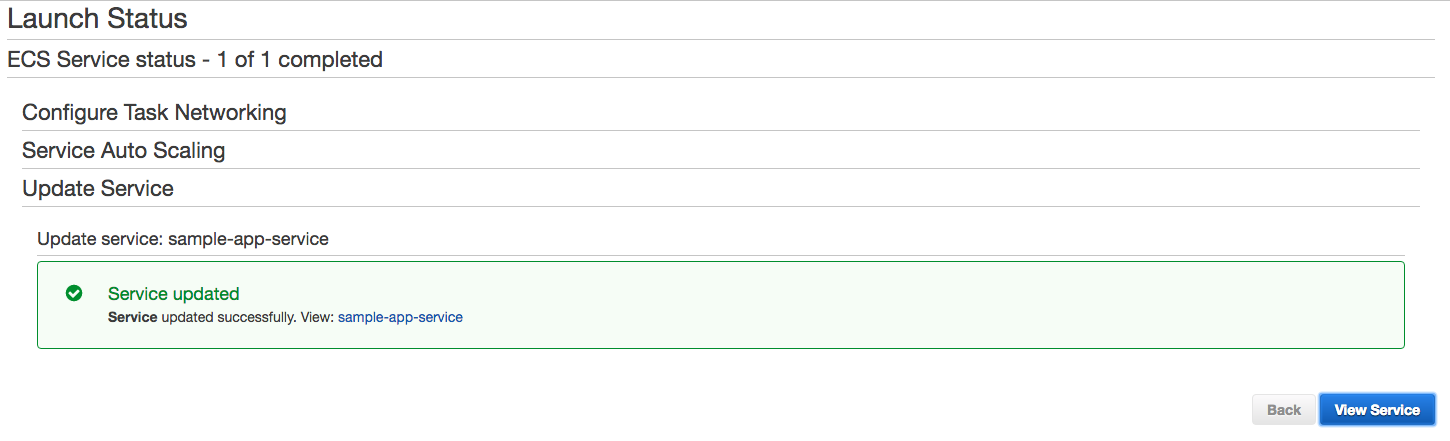
Update Serviceをクリックする
更新が完了したら、View Serviceをクリックする
Deploymentsのタブが開き、新しいTaskのデプロイがスケジュールされていることを確認する
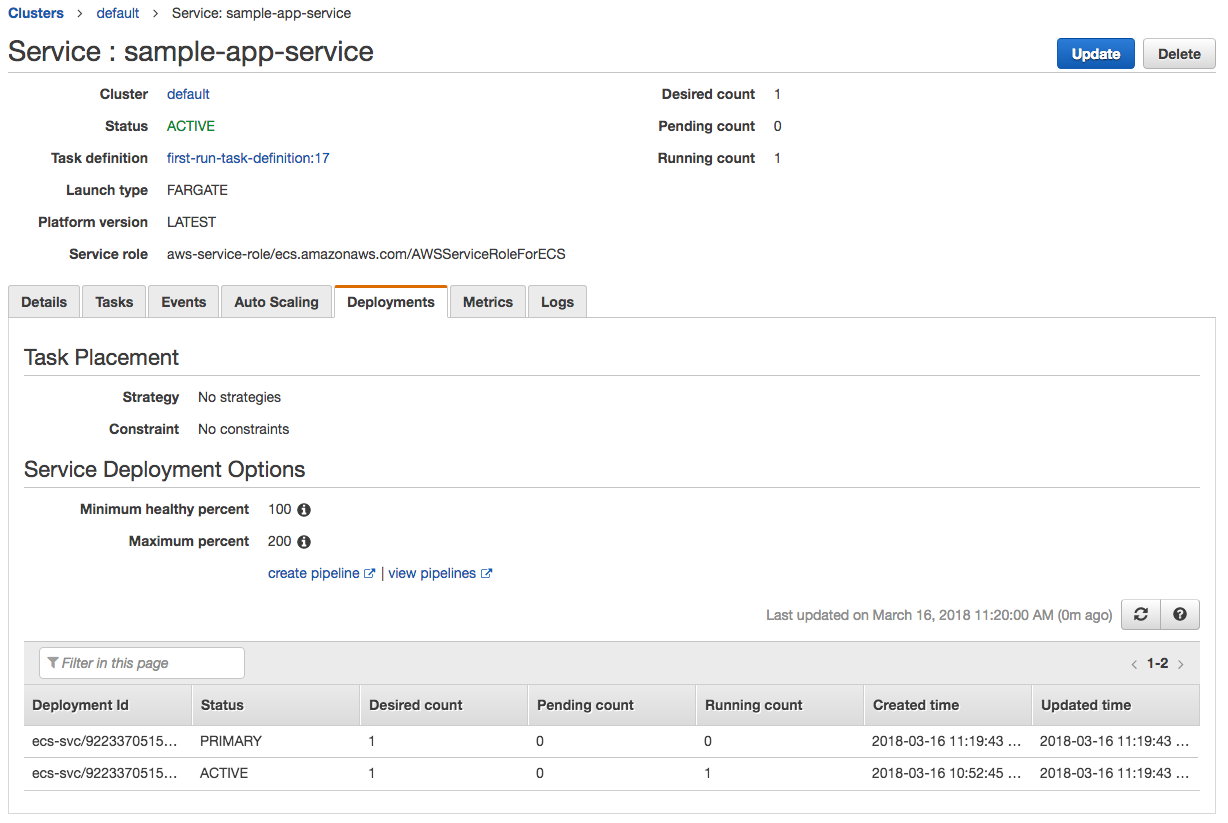
しばらく更新を続けていると、PRIMARY側のRunning countが1になる

改めてLoad balancerにアクセスすると、先程更新したアプリケーションが表示されることを確認
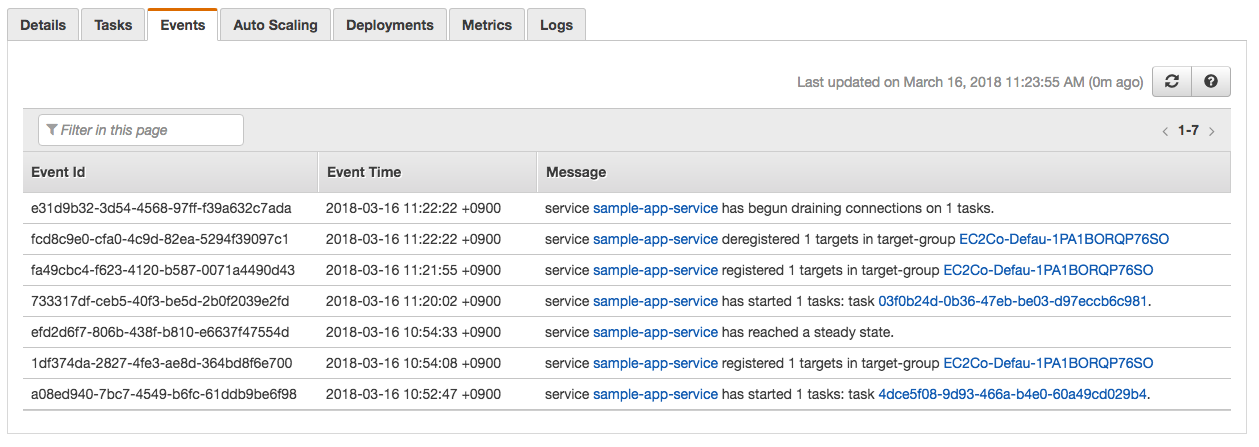
Eventsタブを見ると、古いTaskはまだ稼働中だがLoad balancerからは切り離されconnection drainingをしていることが確認できる
クリーンアップ
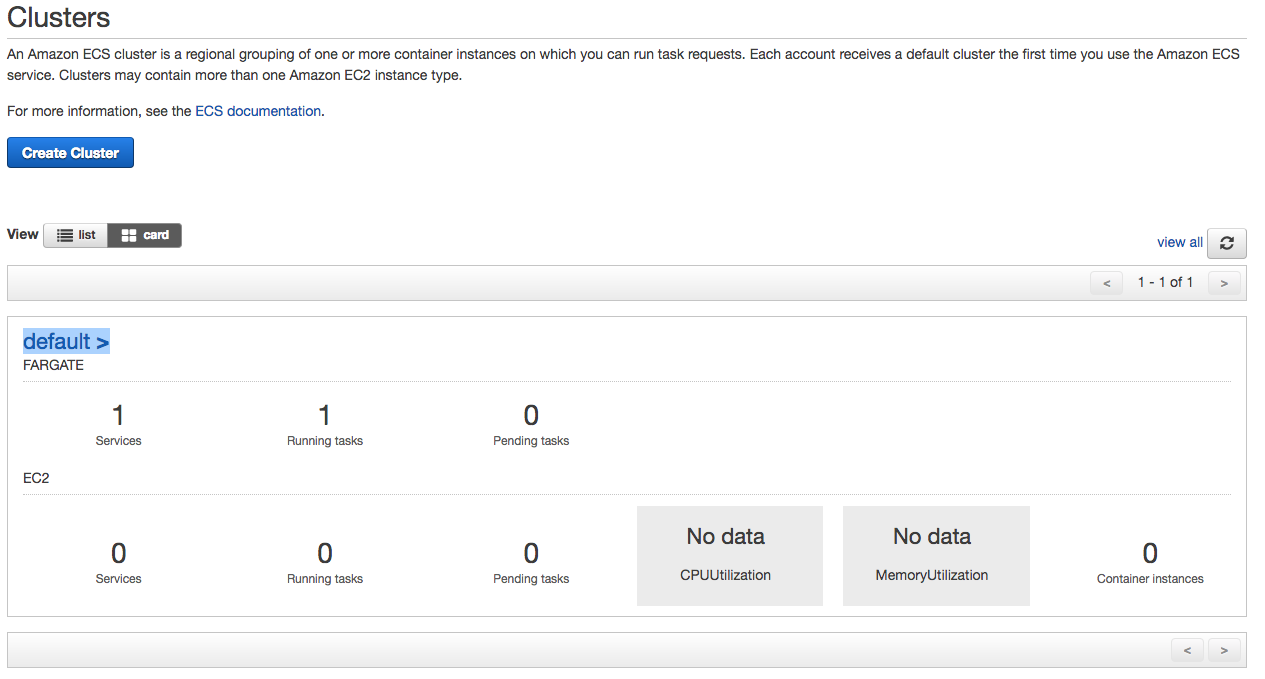
以下にアクセスし、作成したClusterをクリックする
https://console.aws.amazon.com/ecs/home?region=us-east-1#/clusters
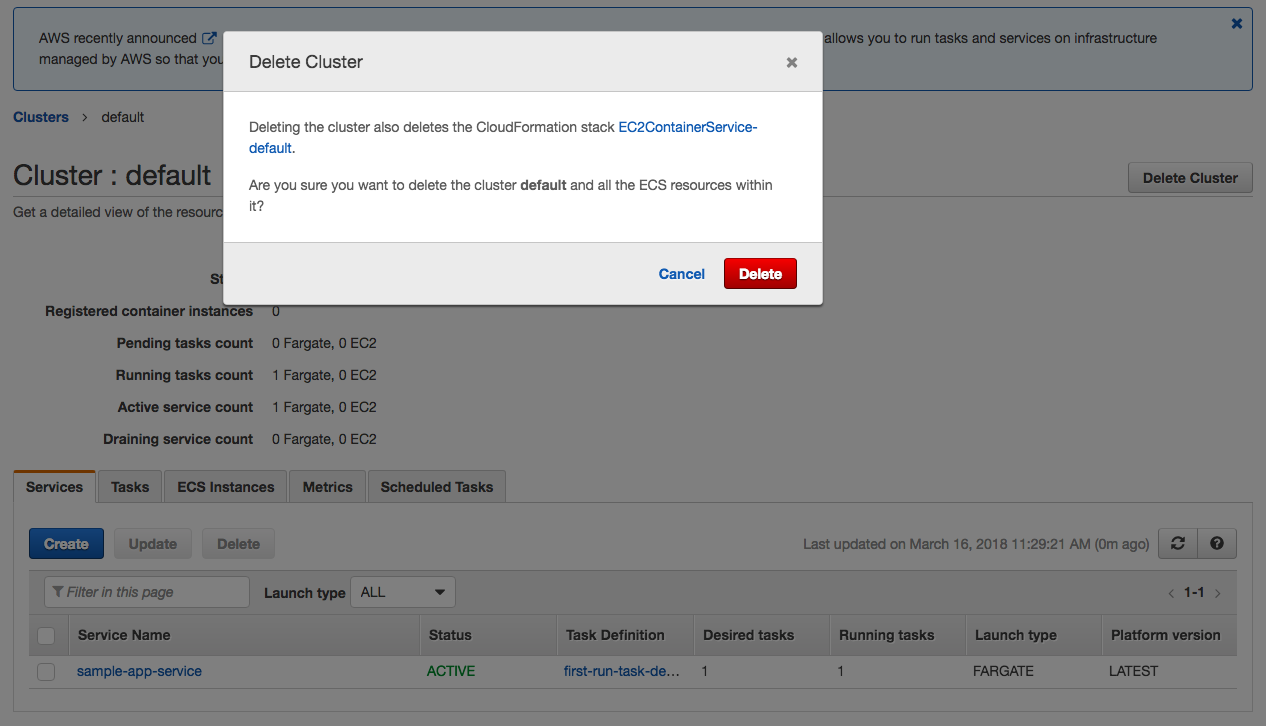
右上のDelete Clusterをクリックし、モーダルの中身を確認しDeleteをクリックする
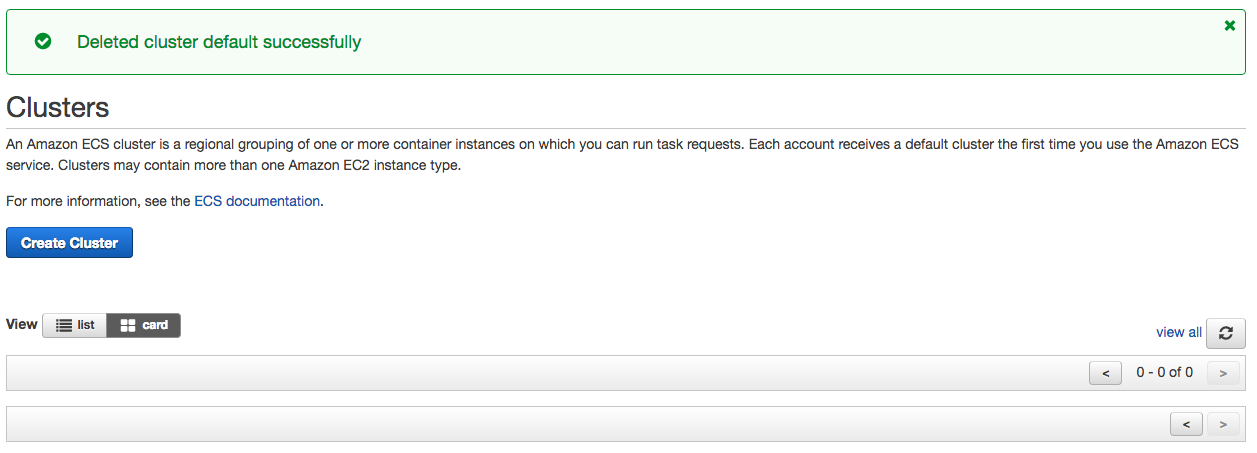
徐々に削除が進んでいくので、そのまま完了を見守る

以下のようになれば完了。
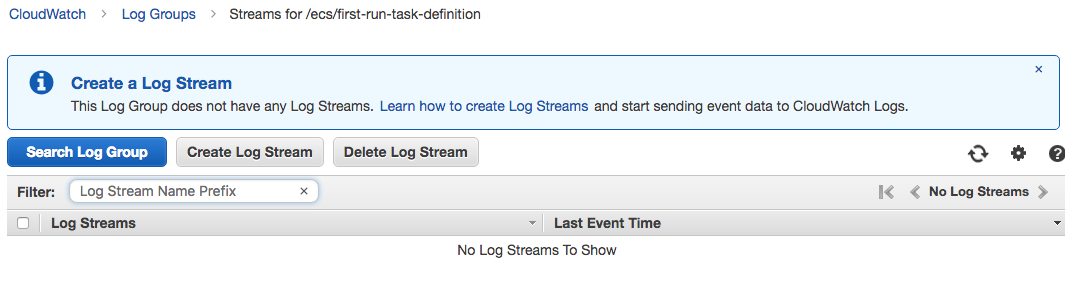
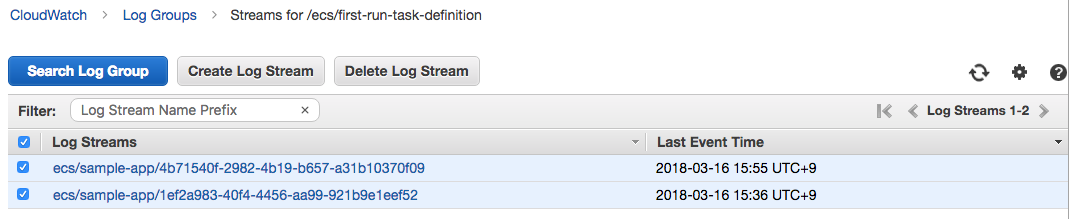
[オプション]CloudWatch LogsのLog Streamを削除
(少量なため毎月の無料枠で十分賄えるが、気になる方は削除するのをお勧め)
https://console.aws.amazon.com/cloudwatch/home?region=us-east-1#logStream:group=/ecs/first-run-task-definition
上のリンクを開いたら、2つのLog Streamsを選択する。
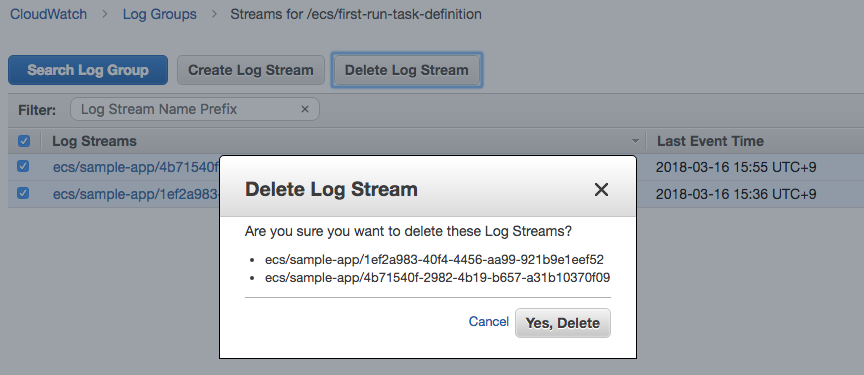
Delete Log Streamをクリックし、Yes, Deleteをクリックして削除する。
以下の様になれば完了。