はじめに
個人用と職場や研究室用でGitHubアカウントを複数持つ場面は往往にしてあると思う.そして,サブアカウントを使っているときにエラーが出ることが多いので,サブアカウントでのinitからPRまでの流れを記事にまとめたいと思う.
gitリポジトリを始める
gitで管理したいディレクトリにて以下のコマンドを入力
$ git init
Initialized empty Git repository in /Users/.../<git_manage_directory>/.git

$ git config --local user.name "Your Name"
$ git config --local user.email you@example.com
Your Nameとyou@example.comはについてはサブアカウントで使ってるものを使用する.
git config --localでディレクトリ単位でユーザーを指定できる.
また,.gitignoreファイルを作成し,gitの管理に反映させたくないファイルを記載する.
.vscode/
.DS_Store
ディレクトリをコミットするまで
$ git add -A
$ git commit -m "first commit(コメントはなんでも良い)"
 [...]
 13 files changed, 200 insertions(+)
 create mode 100644 .gitignore
 [...]
 create mode 100644 requirement.txt
GitHubにコードをプッシュする
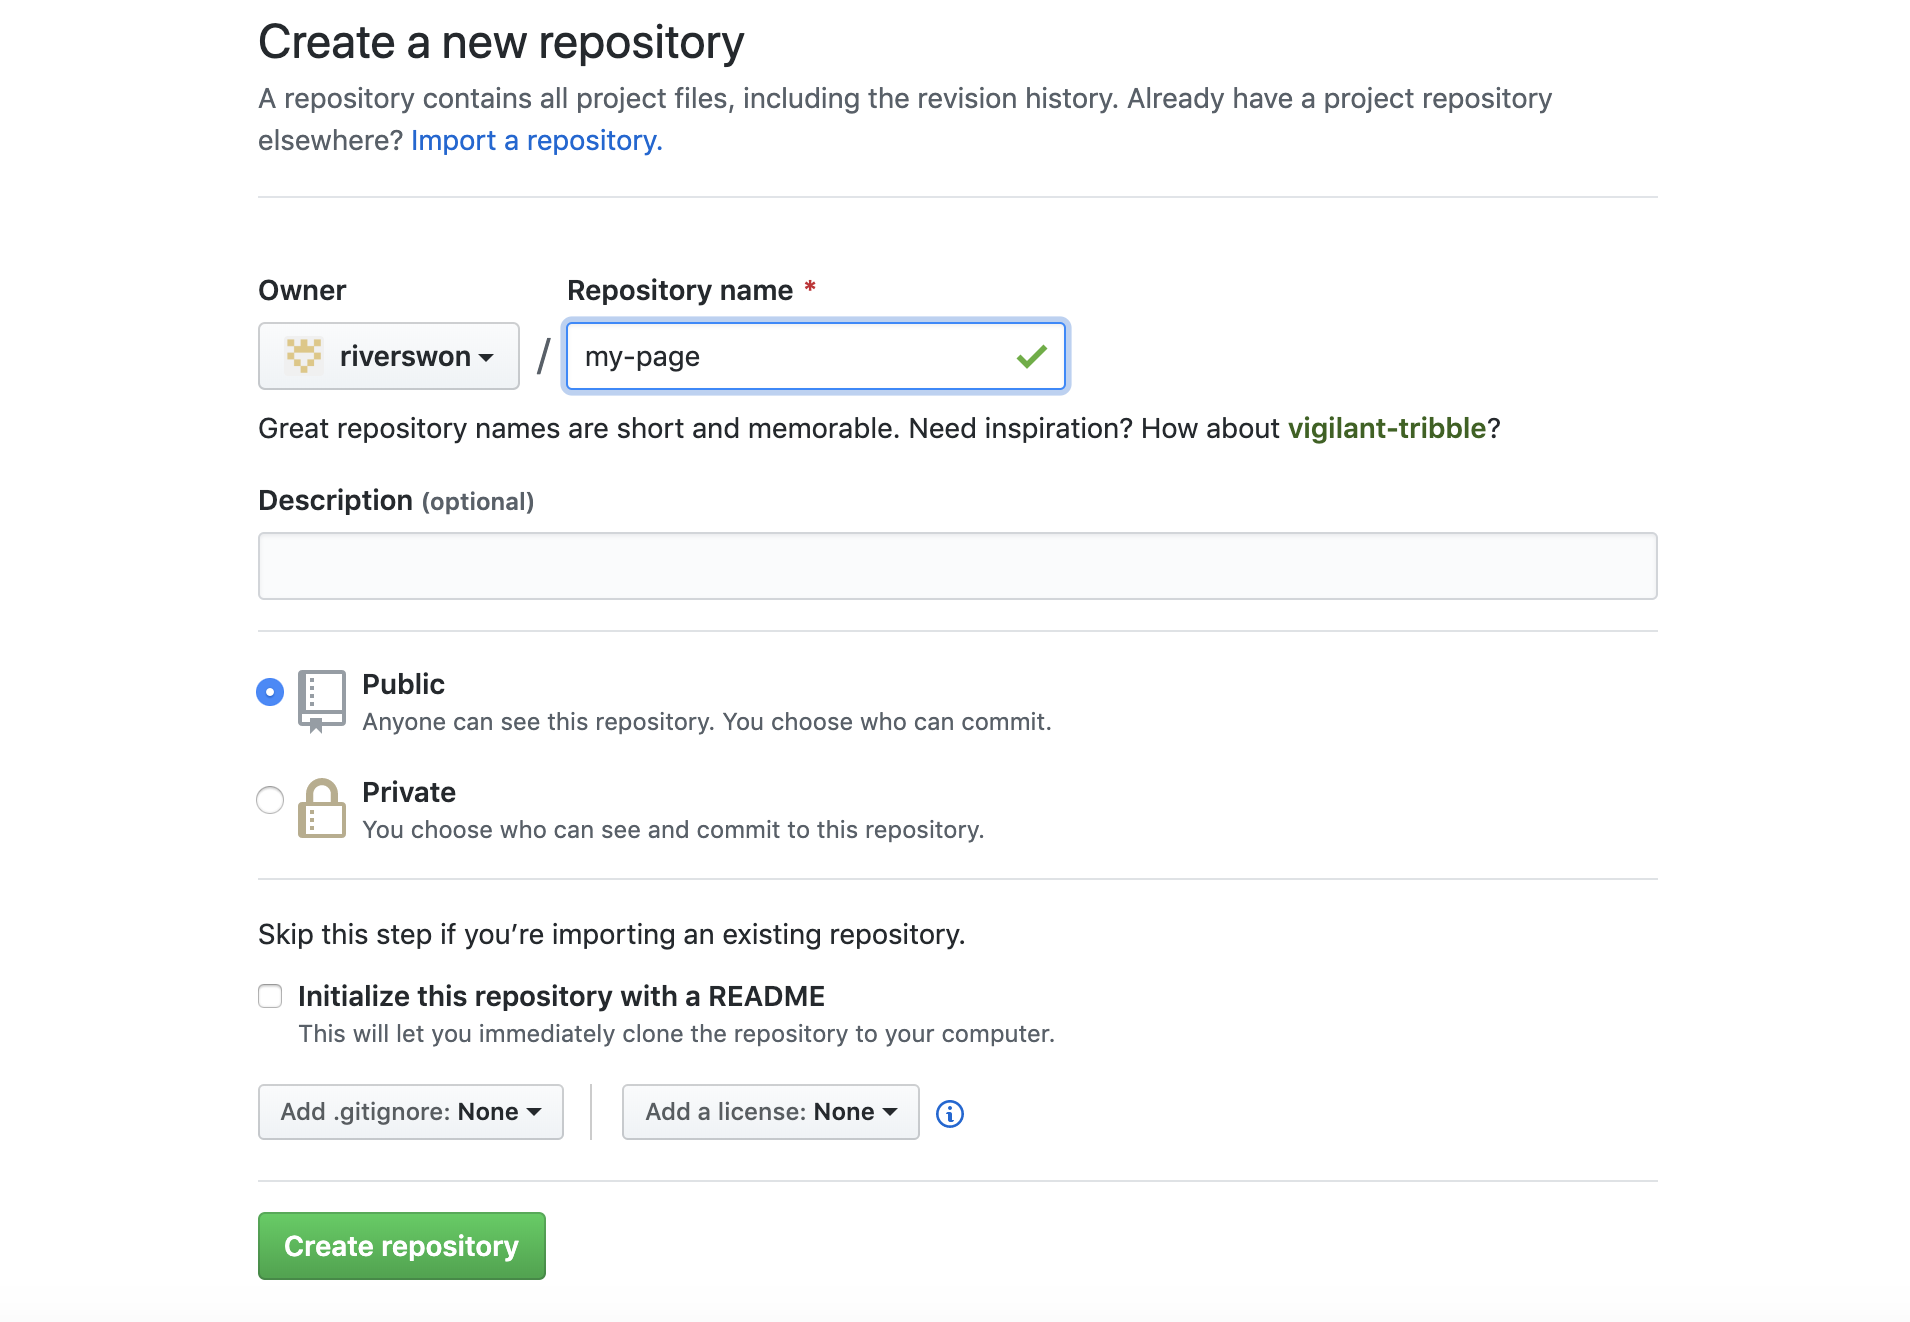
https://github.com/new にてRepository nameを入力し,Create repositoryをクリックする.


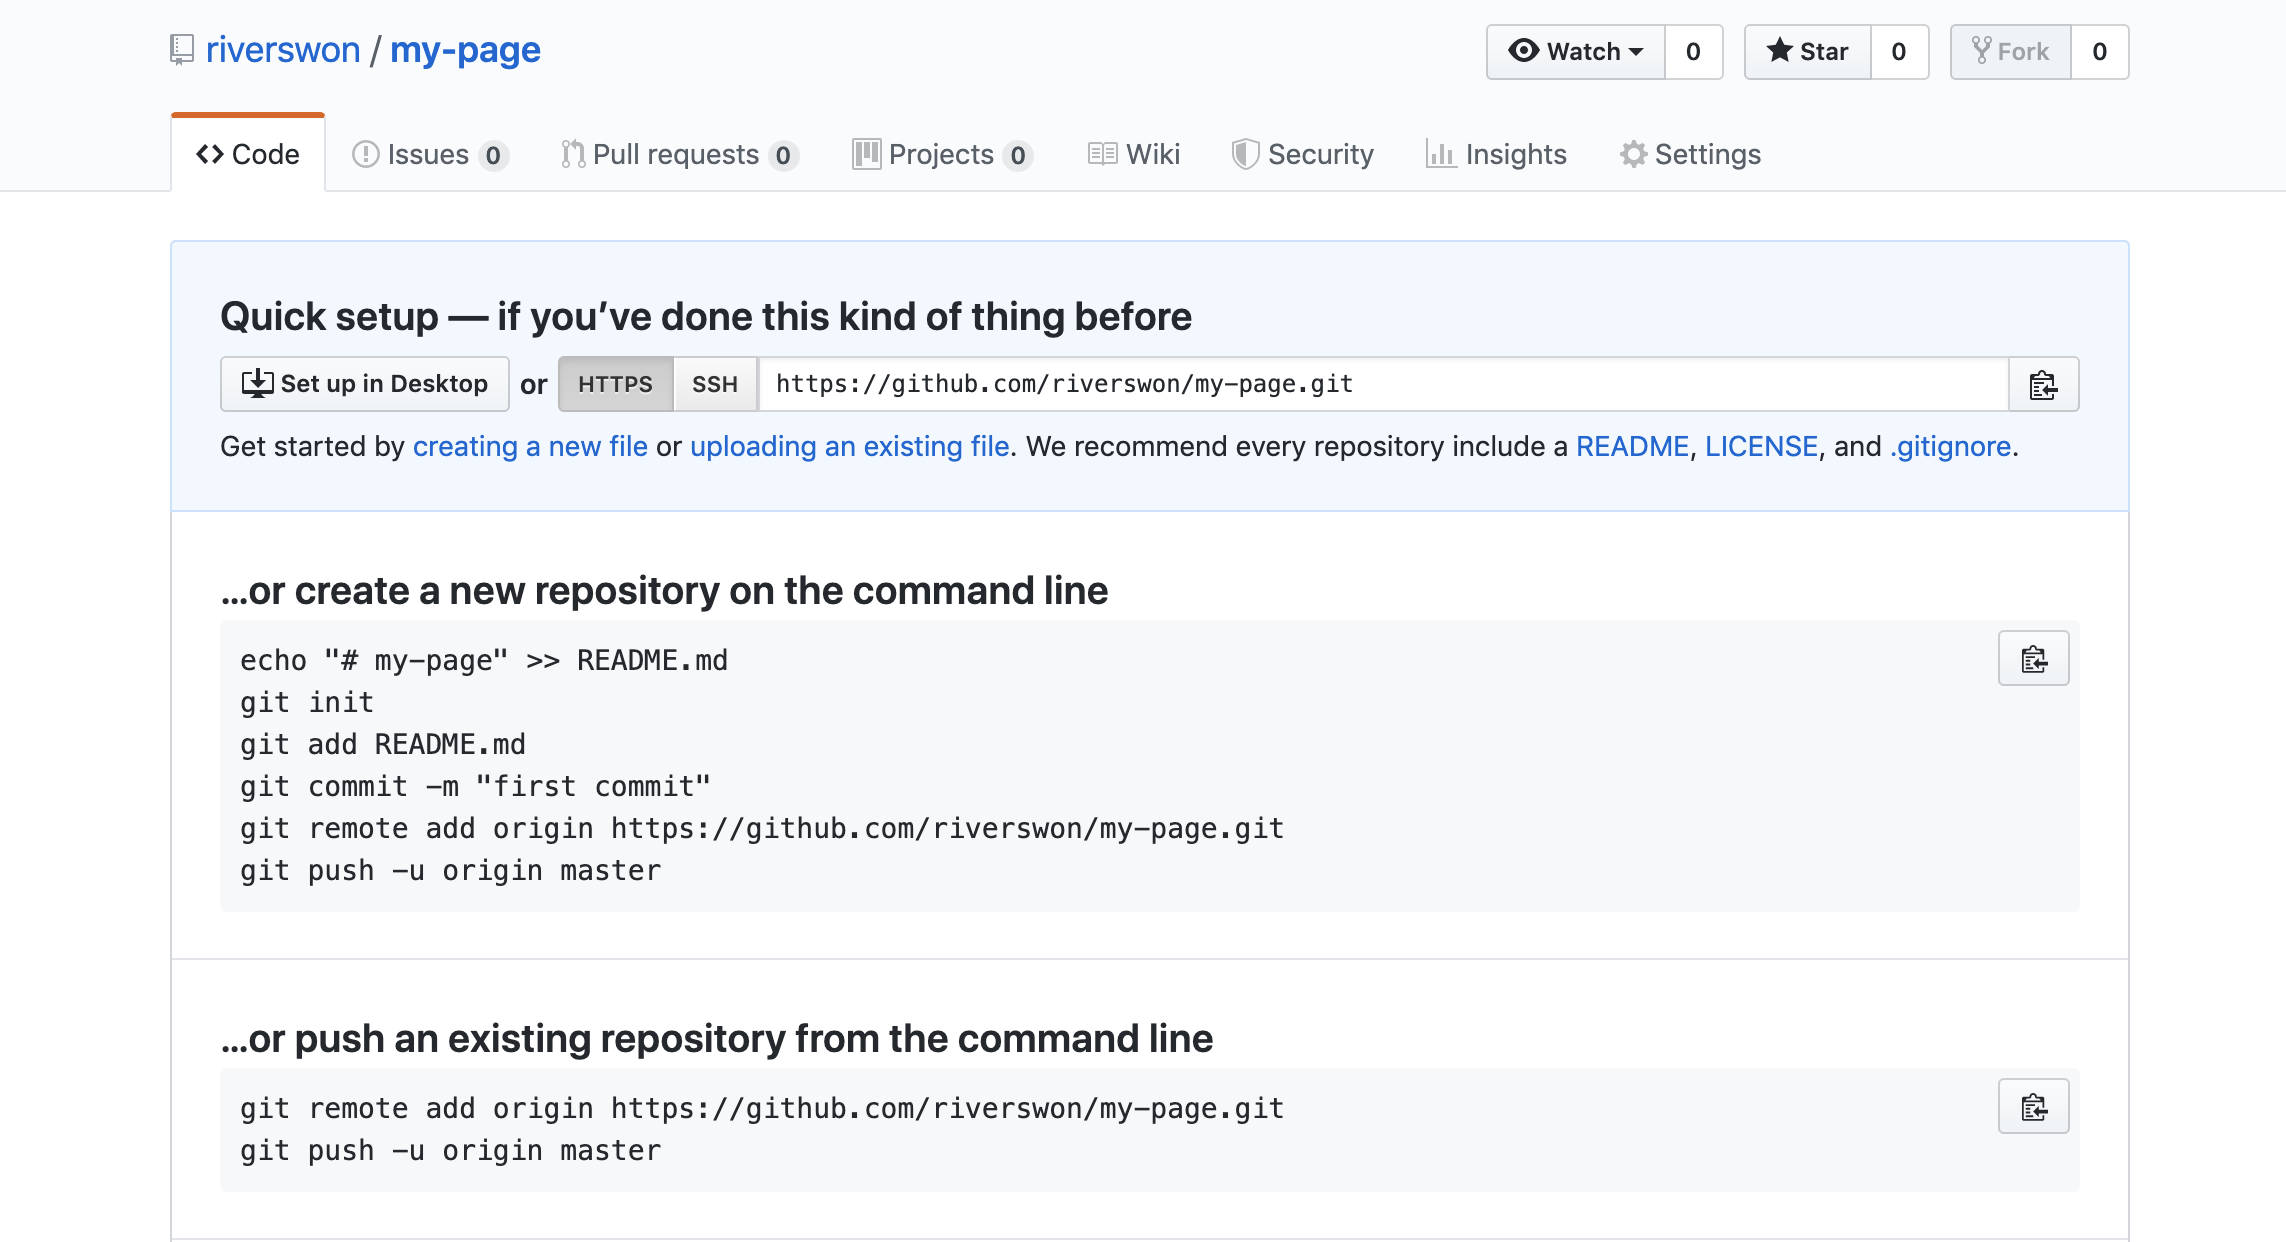
Create repositoryをクリック後出てくるページにしたがって以下のコマンドを入力しても失敗する.
$ git remote add origin https//github.com/<sub_username>/my-page.git
$ git push -u origin master
remote: Permission to <sub_username>/mypage.git denied to <main_username>.
fatal: unable to access 'https://github.com/<sub_username>/my-page.git/': The requested URL returned error: 403
この部分を以下のコマンドにすればエラーなくGitHub上にコードが反映される.
$ git remote add origin https://<sub_username>@github.com/<sub_username>/my-page.git
$ git push -u origin master
[...]
To https://github.com/<sub_username>/my-page.git
 * [new branch]      master -> master
Branch 'master' set up to track remote branch 'master' from 'origin'.
ただし,一度以下のコマンドを入力するとエラーが起きる.
$ git remote add origin https//github.com/<sub_username>/my-page.git
$ git remote add origin https://<sub_username>@github.com/<sub_username>/my-page.git
fatal: remote origin already exists.
これはoriginを一度削除すると解決する.
$ git remote rm origin
$ git remote add origin https://<sub_username>@github.com/<sub_username>/my-page.git
$ git push -u origin master
[...]
To https://github.com/<sub_username>/my-page.git
 * [new branch]      master -> master
Branch 'master' set up to track remote branch 'master' from 'origin'.