ng-japan OnAirを視聴していて RouterTestingHarness というAPIを知りました。
このAPI、今までまったく知りませんでした!
記事執筆時点でRouterTestingHarnessに関するドキュメントやブログは少なく、まだまだ情報が充実していないようです。ふだん使っている Jest と Angular Testing Library と組み合わせて使えるのか?と疑問に思ったので、手元で試したコードをブログにしたためる事にしました。
記事の前提となる環境
-
@angular/cliv16.2 -
@testing-library/angularv14.3 -
jestv29.6 - node v16.20
RouterTestingHarness
ルーティング上のコンポーネントをテストする専用のAPIです。「ハーネス」はテストを良しなにガイドしてくれるモックのような存在として、たまに聞く言葉ですね。公式ドキュメントではAPIが コンポーネントテストシナリオ に登場していました。
テスト用のコンポーネント
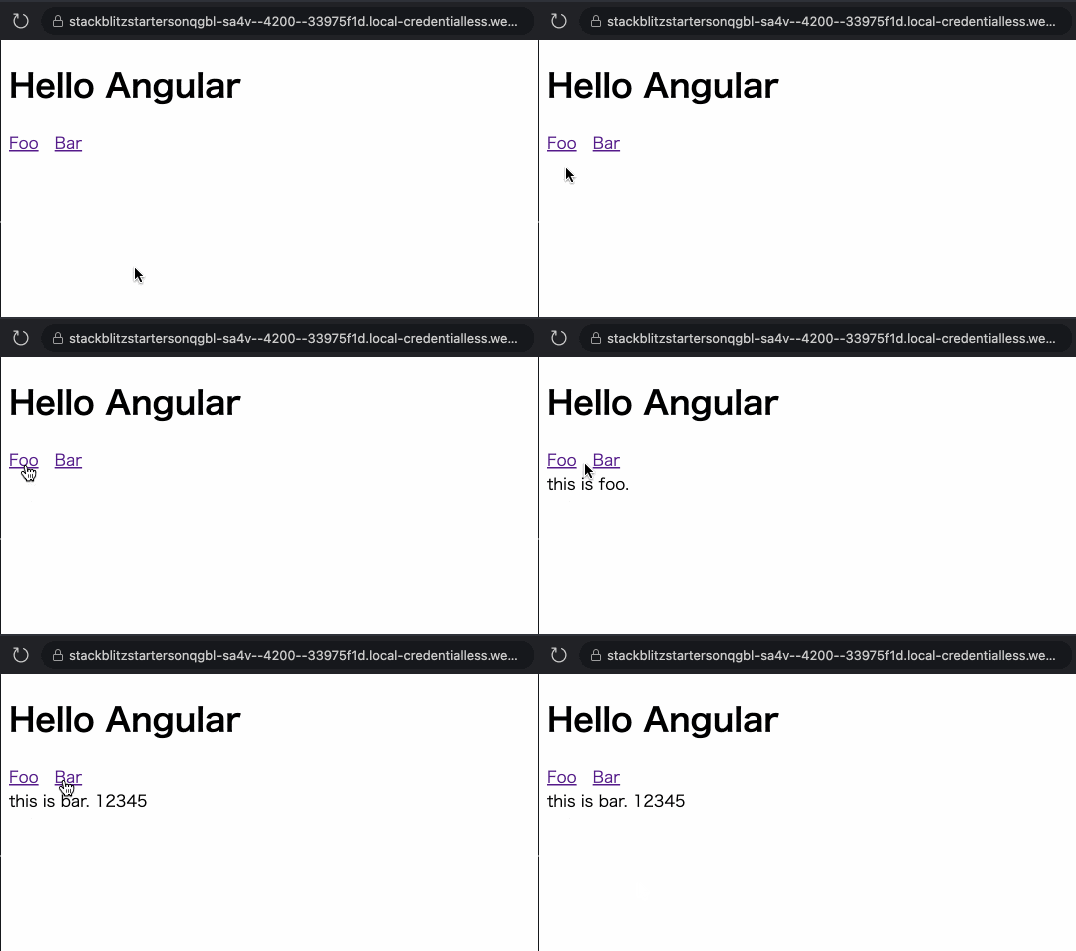
ページのメインコンテンツをリンクで切り替える、よくある感じのコンポーネントです。
@Component({
  standalone: true,
  imports: [RouterModule],
  selector: 'app-root',
  template: `
  <h1>Hello Angular</h1>

  <nav>
    <a [routerLink]="'/foo'">Foo</a>
    <a [routerLink]="'/bar/12345'">Bar</a>
  </nav>

  <router-outlet></router-outlet>`,
})
export class AppComponent {}
export const routes: Routes = [
  {
    path: 'foo',
    loadComponent: () => import('./foo.component').then((m) => m.FooComponent),
  },
  {
    path: 'bar/:id',
    loadComponent: () => import('./bar.component').then((m) => m.BarComponent),
  },
];
テスト
いつも通りTesting Libraryの render 関数が使えますが、テスト環境でもアプリケーションと同じように provideRouter を渡す必要があります。 またテスト環境では bootstrapApplication() を呼び出していないため、ルートとなるコンポーネントに適当なルーティングを与え、アプリケーションを模倣して最初にそのページに遷移する必要がありました。
const testingRoutes: Routes = [
  ...routes,
  {
    component: AppComponent,
    path: 'home',
  },
];

await render(`<app-root></app-root>`, {
  imports: [AppComponent],
  providers: [
    provideRouter(testingRoutes, withComponentInputBinding())
  ],
});

const harness = await RouterTestingHarness.create('home');
expect(screen.getByRole('heading', { name: /Hello Angular/ })).toBeInTheDocument();
※getByプレフィクスのクエリは要素が見つからなければ例外をスローするので、わざわざexpectを使うことに疑問を感じるかもしれません。アサーションがあったほうが検証内容がはっきりするので個人的な好みでexpectを使っています。
Testing Libraryの fireEvent でリンクをクリックした後 RouterTestingHarness.detectChanges() を呼び出します。
同期的に処理できるとコードがすっきりしてタイムアウトの心配もないため、このようなメソッドはとても好きです。
fireEvent.click(screen.getByRole('link', { name: /Foo/ }));
harness.detectChanges();
expect(screen.getByText('this is foo.')).toBeInTheDocument();
ブラウザではメインコンテンツが差し替わるのですが、テスト環境ではページ遷移する挙動となりました。そのため、続けて次のリンクをクリックするには一度ルートコンポーネントのページに戻る必要がありました。
await harness.navigateByUrl('home');
次のコンポーネントではURLのパラメータを @Input() で受け取るようにしています。 ActivatedRoute を経由せずInputバインディングで受け取れるv16〜の新機能です。
こちらも detectChanges() でバインディングからレンダリングまでしっかり動作するようです!
fireEvent.click(screen.getByRole('link', { name: /Bar/ }));
harness.detectChanges();
expect(screen.getByText('this is bar. 12345')).toBeInTheDocument();
まとめ
公式ドキュメントではTestBedやdebugElementを使ったテストのアプローチが紹介されています。
RouterTestingHarnessが登場する部分に限ってTesting Libraryのアプローチが使えないとコードにばらつきが出て嫌だなあと思ったのですが、試した感じでは共存できそうで安心しました。
ルーティングとページ遷移のテストは面倒だしよく分からないから...と「やらない」選択をしてきたのですが、これを機にちょっとテスト書いてみようと思いました。
記事のサンプルコードは以下のURLで全文を見ることができます。良ければ参考にしてください。
- ターミナルでrouter-testing-harness-demoフォルダに移動します。
-
npm ciを実行します。 -
npm startまたはnpm testで挙動が確認できます。
