HaskellのWebフレームワークであるYesodでWebプログラミングをするとき、基本となるTextBox, CheckBox, Radioボタンを利用した入出力をしてみます。
入力用のページ(page1)を用意して、TextBox, CheckBox, Radioボタンを配置します。送信ボタンを押すと情報を加工して出力用ページ(page2)に出力します。
環境
OS:ArchLinux
Stack:Ver 2.7.3
ではやってみます。
まずはデフォルトの画面を作ります。
stack new my-project yesodweb/sqlite
cd my-project
stack install yesod-bin --install-ghc

stack build
実行します。
stack exec -- yesod devel
ブラウザで http://localhost:3000
にアクセスすると下記のような画面が出ます。
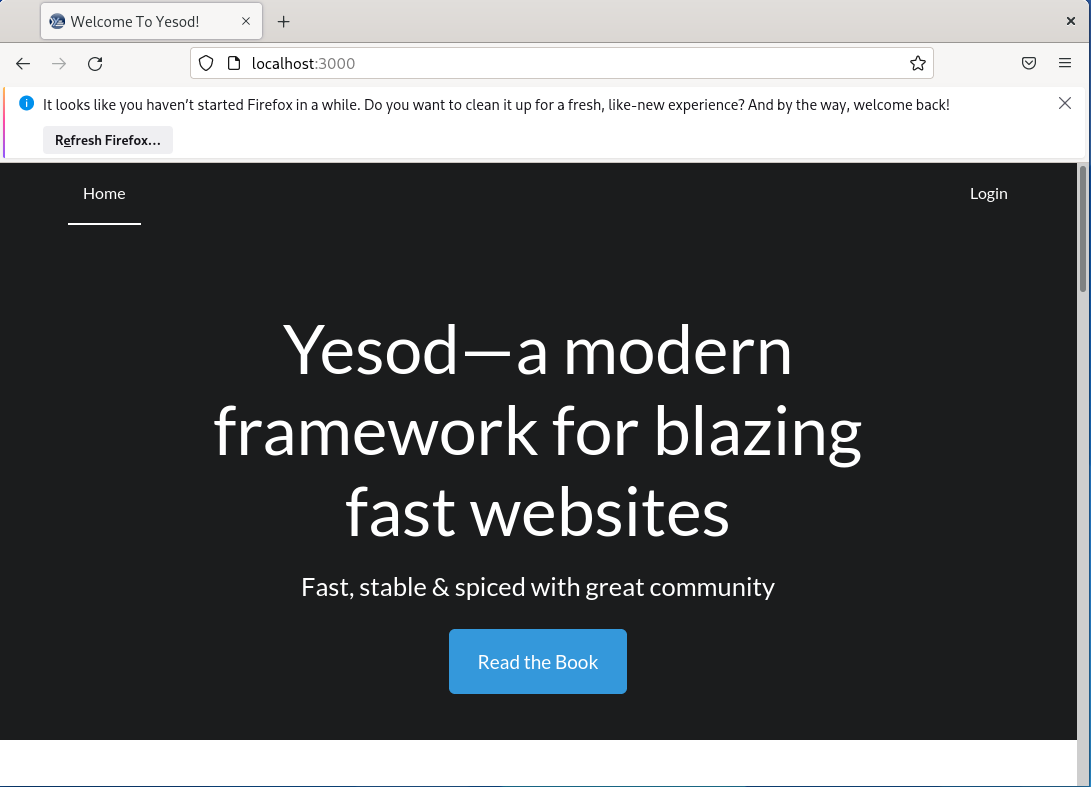
Ctrl+Cで止めます。
入力ページ(page1)と出力ページ(page2)を追加します。
stack exec -- yesod add-handler
Name of route (without trailing R): Page1
Enter route pattern (ex: /entry/#EntryId): /page1
Enter space-separated list of methods (ex: GET POST): GET

stack exec -- yesod add-handler
Name of route (without trailing R): Page2
Enter route pattern (ex: /entry/#EntryId): /page2
Enter space-separated list of methods (ex: GET POST): POST
「my-project/src/Foundation.hs」ファイルで追加したページにアクセス権限を与えます。
174行目にあたりに下記を追加
    isAuthorized Page1R _ = return Authorized
    isAuthorized Page2R _ = return Authorized
入力ページ(page1)の処理を「my-project/src/Handler/Page1.hs」ファイルに書きます。
{-# LANGUAGE NoImplicitPrelude #-}
{-# LANGUAGE OverloadedStrings #-}
{-# LANGUAGE TemplateHaskell #-}
{-# LANGUAGE MultiParamTypeClasses #-}
{-# LANGUAGE TypeFamilies #-}

module Handler.Page1 where

import Import

getPage1R :: Handler Html
-- getPage1R = error "Not yet implemented: getPage1R"
getPage1R = defaultLayout $(widgetFile "page1")
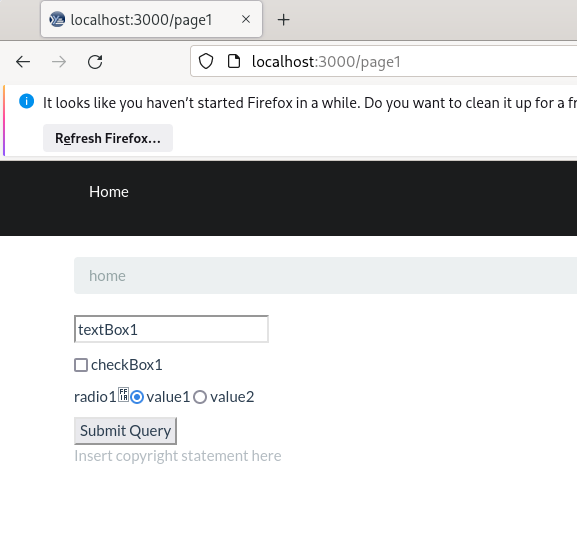
入力ページ(page1)のhtmlファイル(hamletファイル)を下記のように書きます。
my-project/templates/page1.hamlet
※「page1.hamlet」は作成されていないので、新規作成になります。
<form action=@{Page2R} method="post">
  <p>
    <input type="text" name=content1 value="textBox1">

  <p>
    <input type="checkbox" name="checkBox1"> checkBox1

  <p>
    radio1:<input type="radio" name="radio1" value="value1" checked="checked"> value1   <input type="radio" name="radio1" value="value2"> value2

  <p>
  <input type="submit">
出力ページ(page2)の処理を「my-project/src/Handler/Page2.hs」ファイルに書きます。
{-# LANGUAGE NoImplicitPrelude #-}
{-# LANGUAGE OverloadedStrings #-}
{-# LANGUAGE TemplateHaskell #-}
{-# LANGUAGE MultiParamTypeClasses #-}
{-# LANGUAGE TypeFamilies #-}

module Handler.Page2 where

import Import

func1 :: Text -> Text -> Text
func1 x y = x ++ y

func2 :: Bool -> Text
func2 x = case x of
              True -> "Checked"
              False -> "Not checked"

func3 :: Text -> Text
func3 x = case x of
              "value1" -> "You selected value1"
              "value2" -> "You selected value2"
              _ -> "You do not selected"


postPage2R :: Handler Html
-- postPage2R = error "Not yet implemented: postPage2R"
postPage2R = do

    textBox1 <- runInputPost $ ireq textField "content1"

    let textBox1_2 = func1 "Your word is " textBox1


    checkBox1 <- runInputPost $ ireq checkBoxField "checkBox1"

    let checkBox1_2 = func2 checkBox1

    radio1 <- runInputPost $ ireq textField "radio1"

    let radio1_2 = func3 radio1


    defaultLayout $(widgetFile "page2")
入力ページのテキストボックス、チェックボックス、ラジオボタンの値を読み取り、加工しています。
出力ページ(page2)のhtmlファイル(hamletファイル)を下記のように書きます。
my-project/templates/page2.hamlet
※「page2.hamlet」は作成されていないので、新規作成になります。
<p>textBox1: #{textBox1}
<p>textBox1_2: #{textBox1_2}
<br>
<p>checkBox1: #{checkBox1}
<p>checkBox1_2: #{checkBox1_2}
<br>
<p>radio1: #{radio1}
<p>radio1_2: #{radio1_2}
<br>
<p><a href=@{Page1R}>goto 'page1'
テキストボックス、チェックボックス、ラジオボタンの値と、加工した値をそれぞれ表示しています。
デフォルトのページにリンクを付けておきます。
my-project/templates/homepage.hamlet
最下行に下記を追加
<a href=@{Page1R}>goto 'page1'
動かしてみましょう。
stack build
stack exec -- yesod devel
ブラウザからhttp://localhost:3000にアクセスして、
最下に追加したリンクからhttp://localhost:3000/page1にジャンプできます。
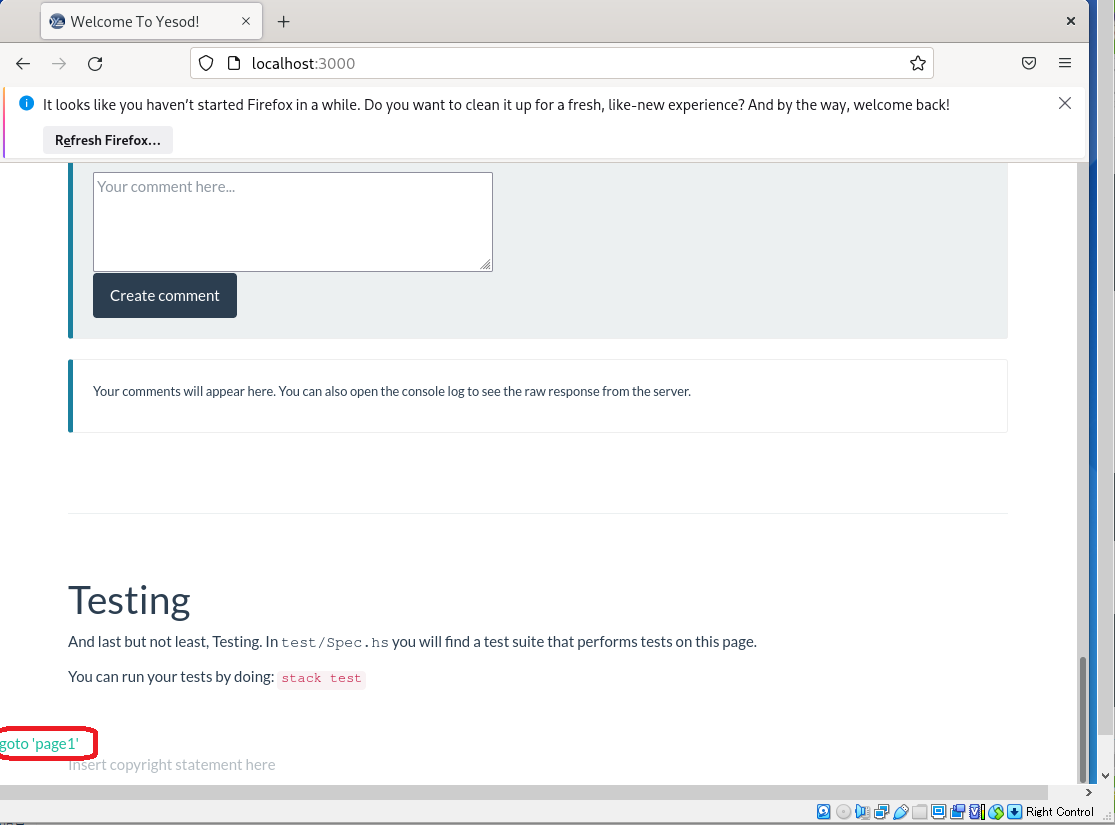
「goto 'page1'」をクリック
入力してみましょう。
ここではテキストボックスを”abc”に書き換えてみました。
またチェックボックスにチェックを入れました。
ラジオボタンは「value2」にチェックを入れました。
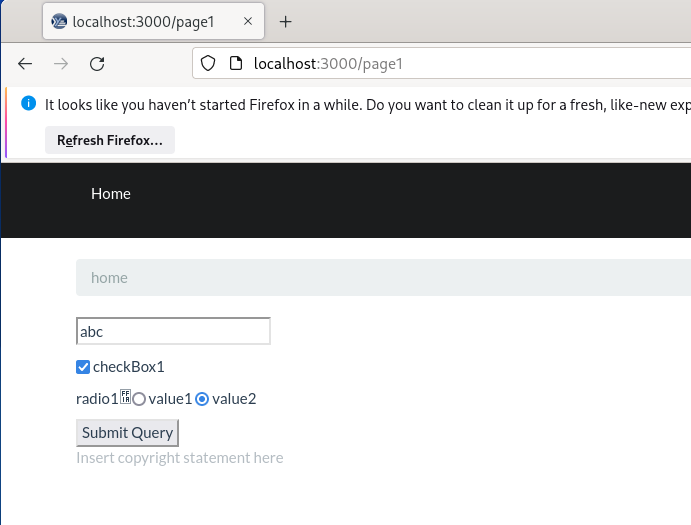
入力したら送信ボタン(Submit Query)を押します。
すると下記のように結果が表示されます。
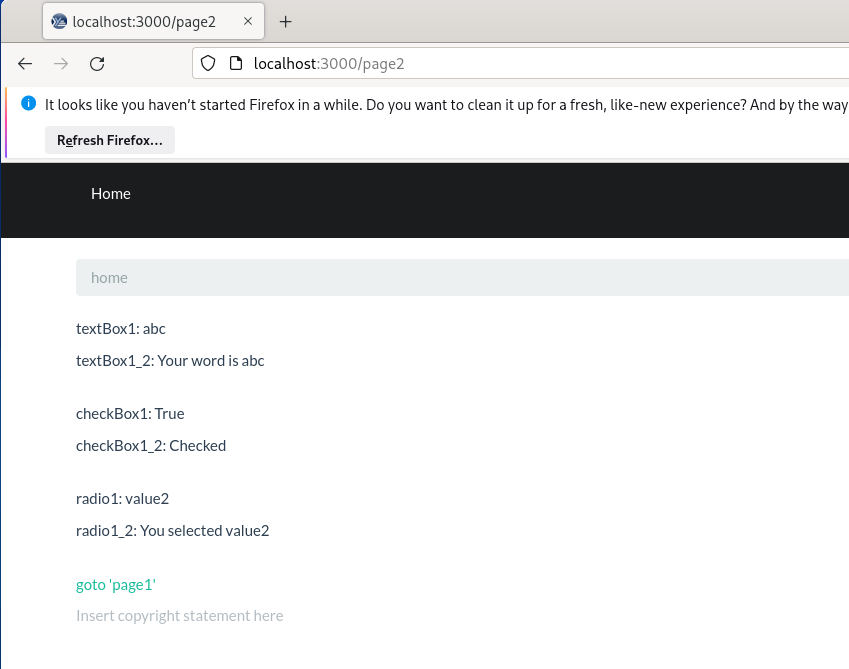
textBox1にはテキストボックスに入力した値が表示されます。
textBox1_2にはテキストボックスに入力した値の前に”Your word is ”が追加されています。
checkBox1にはチェックボックスの値が表示されます。
checkBox1_2にはチェックしていれば"Checked"、そうでなければ"Not checed"が表示されます。
radio1にはラジオボタンの値が表示されます。
radio1_2には、value1にチェックしていれば"You selected value1"、value2にチェックしていれば"You selected value2"と表示します。
以上です。
本プログラムはGithubにアップしています。
https://github.com/ringo-apo/yesod_form