① 最近現場が変わり、JavaEEを利用しているため、とりあえず現場とほぼ似た構成で環境構築
現場の構成
- Java8
- JavaEEコンテナはGlassfish
- 開発環境はEclipse(Eclipse 4.8 Photon https://ftp.jaist.ac.jp/pub/mergedoc/pleiades/4.8/pleiades-4.8.0-java-win-64bit-jre_20180923.zip )
※[Windows 64bit]の[Java]の[Full Edition]を利用 - Maven
- Jenkins
- Git
- SVN
- Bitbucket
- Windows 10
- MySQL
② Eclipse起動
1、ネットからダウンロードした「pleiades-4.8.0-java-win-64bit-jre_20180923.zip」を解凍
2、解凍後、pleiades\eclipse\とディレクトリーを移動し、「eclipse.exe」を開く
3、ワークスペースの選択で「../workspace1」みたいに入力して、「起動」ボタン押下
③ Sapphireをインストール(GlassFishサーバを利用するため)
1、Eclipseの画面で、[ヘルプ] -> [新規ソフトウェアのインストール~]を押下
2、[作業対象]に「http://download.eclipse.org/sapphire/9.1.1/repository/ 」と入力しEnterを押下。
3、フィルター入力に「Sapphire」を入力し、「すべて選択」ボタンを押下。
4、[Sapphire]が追加されるので、チェックボックスにチェックを入れる。
5、[次へ] -> [次へ]の順にクリック→同意の画面が出るので、[使用条件の条項に同意します]にチェックを入れ「完了」ボタン押下、その後、再起動を求められるので、「今すぐ再起動」を押下
④ GlassFish Toolsをインストール
1、③と同様に実施に進める
[作業対象]は、「http://download.eclipse.org/glassfish-tools/1.0.1/repository/ 」と入力しEnterを押下。
フィルター入力は「GlassFish」を入力し、「すべて選択」ボタンを押下。
⑤ Mavenプロジェクトを作成
1、パッケージ・エクスプローラーで右クリック→新規→Maven プロジェクトを押下
2、「次へ」ボタンを押下
3、フィルターで「org.codehaus.mojo.archetypes」し、マウスで選択、「次へ」ボタン押下
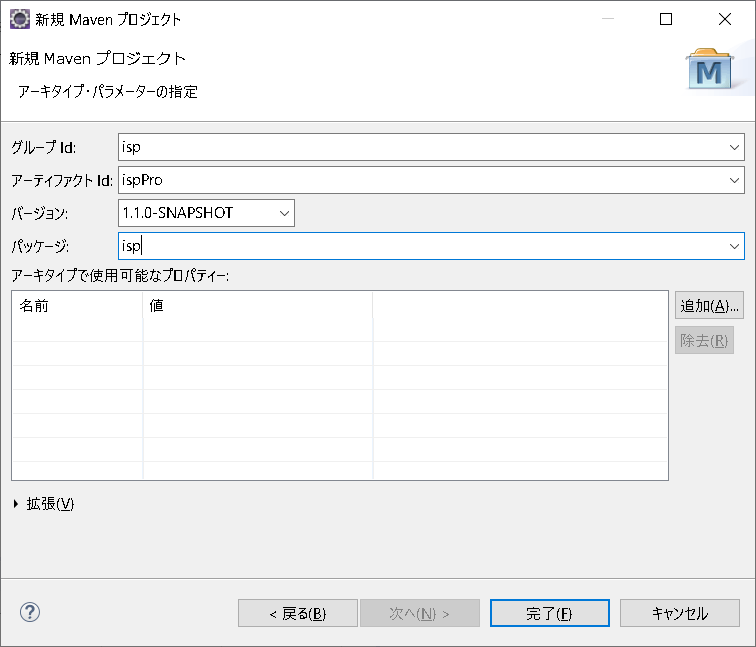
4、以下の様に設定し、「完了」ボタンを押下。バージョンは0.0.1から1.0.0に直接編集
5、Discover m2e Connectorの画面で「完了」ボタンを押下
6、インストール画面で「次へ」→「次へ」ボタンを押下
同意しますにして「完了」ボタンを押下
7、セキュリティー警告の画面が出たら「インストール」ボタンを押下
8、Eclipseの再起動で「再起動」ボタンを押下
⑥ GlassFish サーバーをインストール
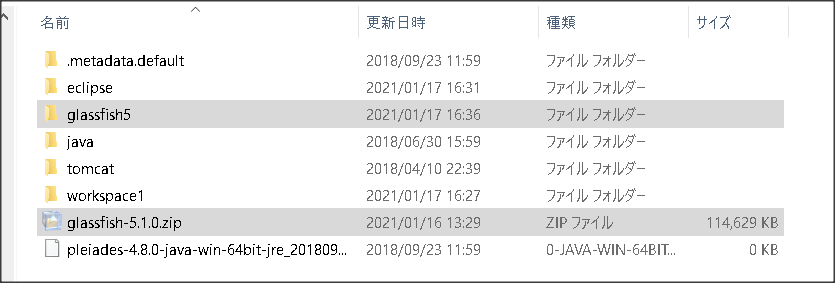
1、https://projects.eclipse.org/projects/ee4j.glassfish/downloads にアクセスし、[Eclipse GlassFish 5.1.0, Full Profile]を選択。
[Download]を選択し、zipファイルを任意の場所に保存。
2、1をダウンロードしたら、②-2で「pleiades」ディレクトリーを移動し、以下の様に1のzipを解凍し、以下の様に設置
⑦ Mavenプロジェクトのpom.xmlを変更、以下の内容に書き換える
<?xml version="1.0" encoding="UTF-8"?>
<project xmlns="http://maven.apache.org/POM/4.0.0" xmlns:xsi="http://www.w3.org/2001/XMLSchema-instance" xsi:schemaLocation="http://maven.apache.org/POM/4.0.0 http://maven.apache.org/xsd/maven-4.0.0.xsd">
    <modelVersion>4.0.0</modelVersion>

    <groupId>isp</groupId>
    <artifactId>ispPro</artifactId>
    <version>1.1.0-SNAPSHOT</version>
    <packaging>war</packaging>

    <name>ispPro</name>

    <properties>
        <endorsed.dir>${project.build.directory}/endorsed</endorsed.dir>
        <project.build.sourceEncoding>UTF-8</project.build.sourceEncoding>
    </properties>

    <dependencies>
        <dependency>
            <groupId>javax</groupId>
            <artifactId>javaee-web-api</artifactId>
            <version>7.0</version>
            <scope>provided</scope>
        </dependency>
        <dependency>
        <groupId>org.glassfish</groupId>
        <artifactId>javax.faces</artifactId>
        <version>2.2.0</version>
    </dependency>
    </dependencies>

    <build>
        <plugins>
            <plugin>
                <groupId>org.apache.maven.plugins</groupId>
                <artifactId>maven-compiler-plugin</artifactId>
                <version>3.1</version>
                <configuration>
                    <source>1.8</source>
                    <target>1.8</target>
                </configuration>
            </plugin>
            <plugin>
                <groupId>org.apache.maven.plugins</groupId>
                <artifactId>maven-war-plugin</artifactId>
                <version>2.3</version>
                <configuration>
                    <failOnMissingWebXml>false</failOnMissingWebXml>
                </configuration>
            </plugin>
            <plugin>
                <groupId>org.apache.maven.plugins</groupId>
                <artifactId>maven-dependency-plugin</artifactId>
                <version>2.6</version>
           </plugin>
        </plugins>
    </build>

</project>
⑧ MavenプロジェクトにGlassFishサーバーを追加
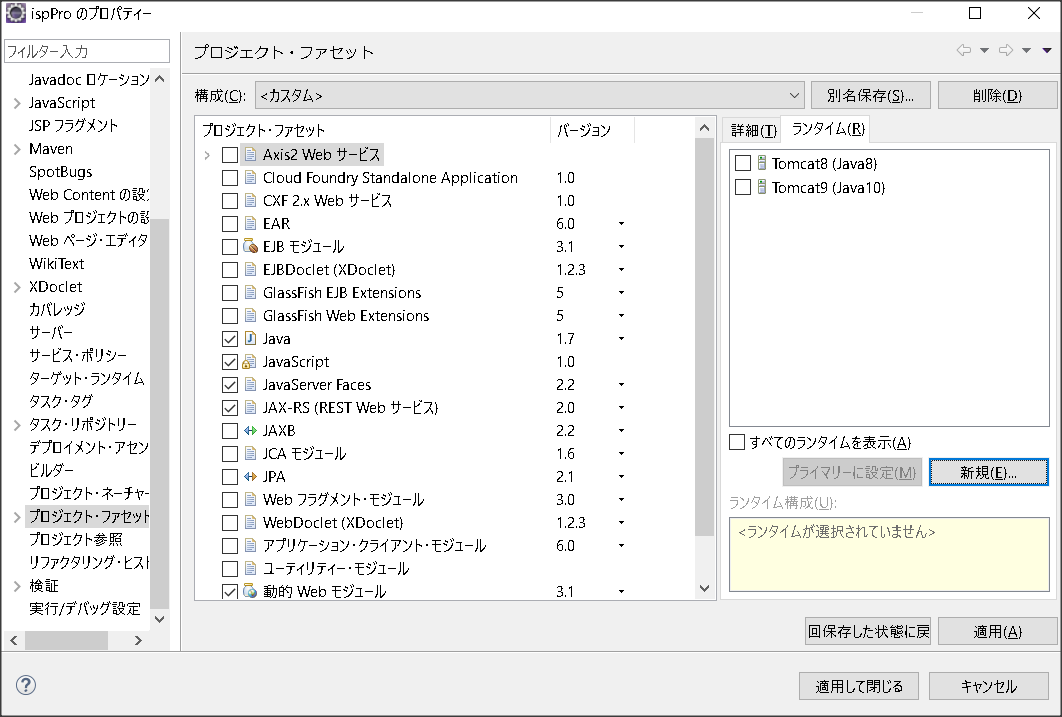
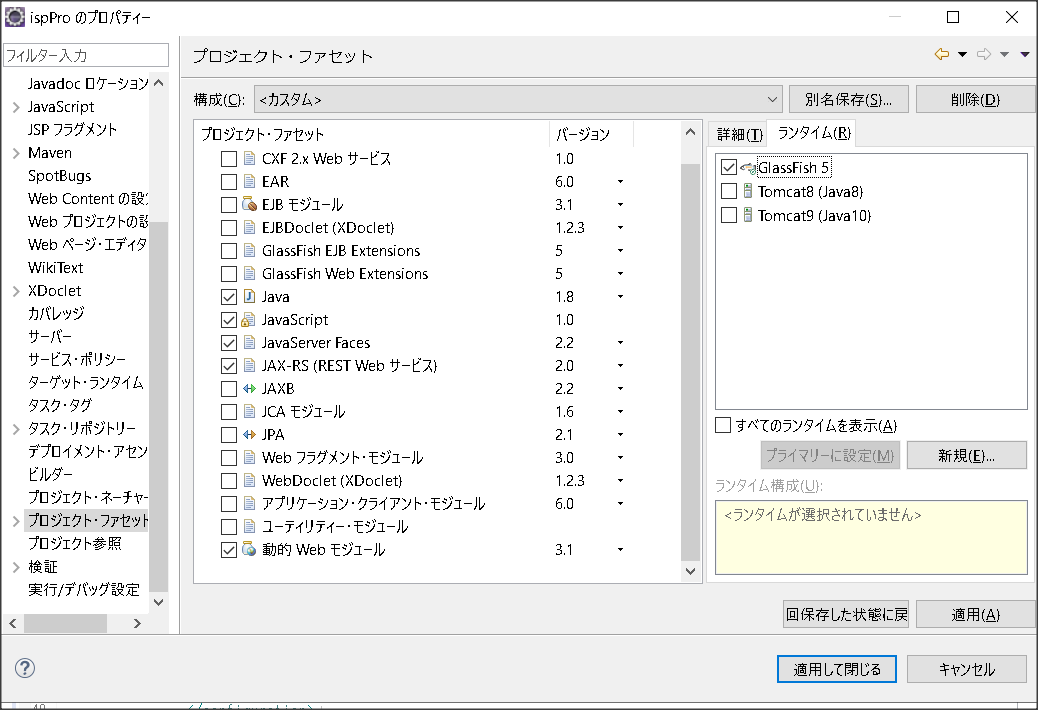
1、パッケージ・エクスプローラーで⑤で作成したプロジェクト(ispPro)を右クリックし、「プロパティ」を選択
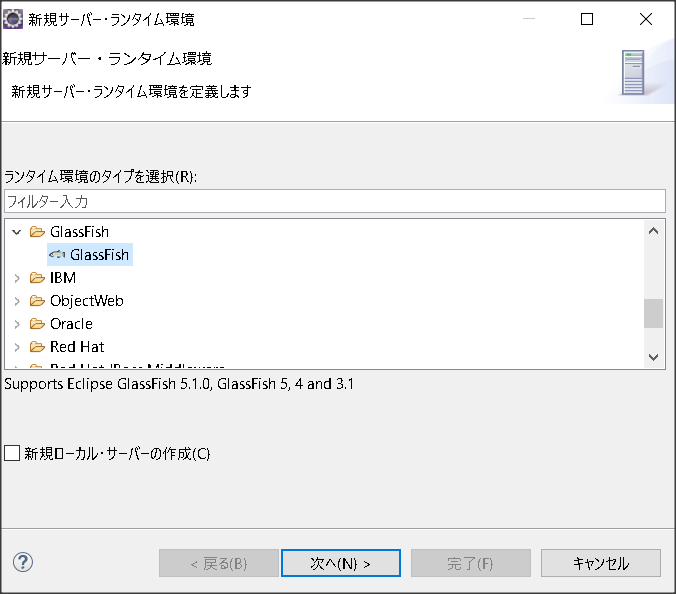
2、「プロジェクト・ファセット」を選択し、「ランタイム」を選択し、「新規」ボタンを押下
3、GlassFishを選択
4、以下のようにロケーションを設定し、「完了」ボタンを押下
※ロケーションのパスは自分の環境に合わせて設定する
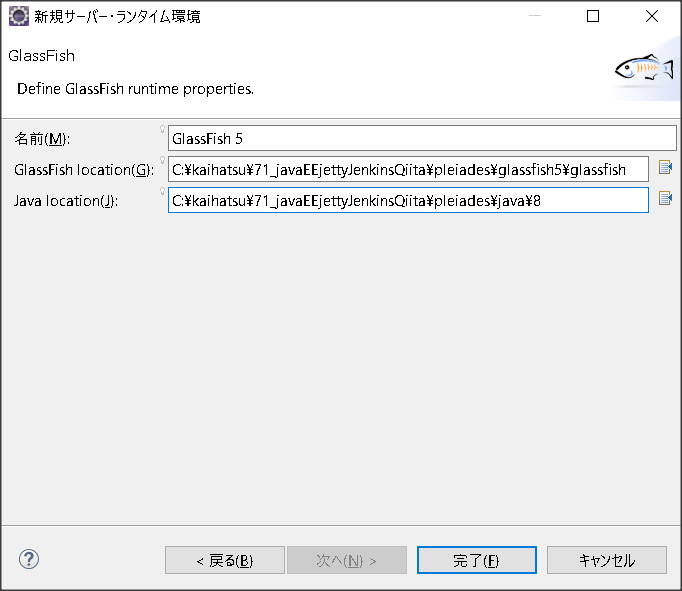
| 項目 | 値 | 説明 |
|---|---|---|
| 名前 | GlassFish 5 | サーバの名前(任意) |
| GlassFish ロケーション | pleiades\glassfish\glassfish5 |
GlassFishサーバのbinフォルダを含んでいるフォルダ |
| Java ロケーション | pleiades\java\8 |
java バージョン8のbinフォルダを含んでいるフォルダ |
5、Glassfishにチェックし、「適用」ボタンを押下する
⑨ Mavenプロジェクトにソースを配置
1、Javaのソースを配置(/ispPro/src/main/java/beans/MeiboBean.java)
package beans;

import javax.enterprise.context.RequestScoped;
import javax.inject.Named;

@Named
@RequestScoped
public class MeiboBean {

    private Integer number;
    private String name;

    public String next() {
        System.out.println("★number=" + this.number + "/ name=" + this.name);
        return "output.xhtml"; // 次に表示するウェブページ
    }

    public String getName() {
        return name;
    }

    public void setName(String name) {
        this.name = name;
    }

    public Integer getNumber() {
        return number;
    }

    public void setNumber(Integer number) {
        this.number = number;
    }
}
1、xhtmlのソースを配置(/ispPro/src/main/webapp/index.xhtmlと/ispPro/src/main/webapp/おoutput.xhtml)
<?xml version='1.0' encoding='UTF-8' ?>
<!DOCTYPE html PUBLIC "-//W3C//DTD XHTML 1.0 Transitional//EN" "http://www.w3.org/TR/xhtml1/DTD/xhtml1-transitional.dtd">
<html xmlns="http://www.w3.org/1999/xhtml"
      xmlns:h="http://xmlns.jcp.org/jsf/html">
    <h:head>
        <title>Sample02</title>
    </h:head>
    <h:body>
        <h2>名簿データの作成</h2>
        <h:form>
            番号:<h:inputText value="#{meiboBean.number}" /><br/>
            氏名:<h:inputText value="#{meiboBean.name}" /><br/>
            <h:commandButton value="送信"  action="#{meiboBean.next()}"/>
        </h:form>
    </h:body>
</html>
<?xml version='1.0' encoding='UTF-8' ?>
<!DOCTYPE html PUBLIC "-//W3C//DTD XHTML 1.0 Transitional//EN" "http://www.w3.org/TR/xhtml1/DTD/xhtml1-transitional.dtd">
<html xmlns="http://www.w3.org/1999/xhtml"
xmlns:h="http://xmlns.jcp.org/jsf/html">
<h:head>
<title>Sample02</title>
</h:head>
<h:body>
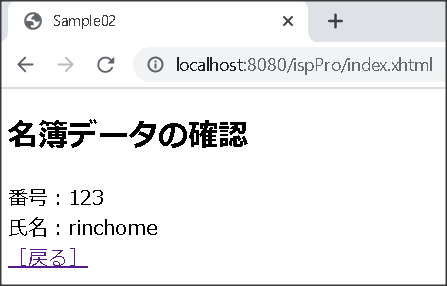
<h2>名簿データの確認</h2>
<h:form>
番号:<h:outputText value="#{meiboBean.number}"/><br/>
氏名:<h:outputText value="#{meiboBean.name}"/><br/>
<h:link outcome="index">[戻る]</h:link>
</h:form>
</h:body>
</html>
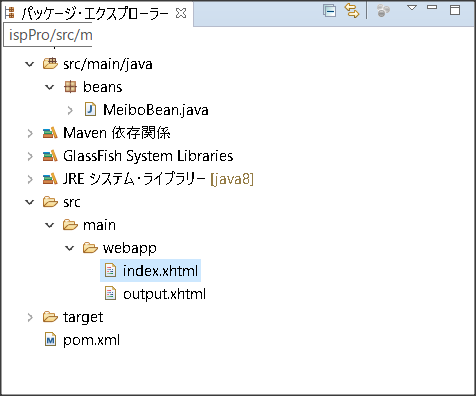
パッケージエクスプローラーで見るとこんな感じ
⑩ Mavenプロジェクトを実行
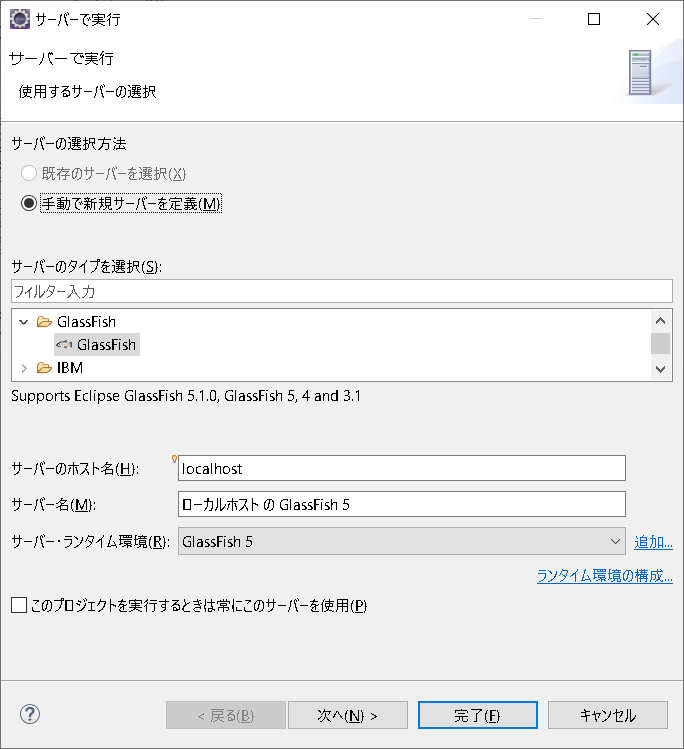
1、パッケージ・エクスプローラーで⑤で作成したプロジェクト(ispPro)を右クリックし、「実行」→「サーバーで実行」を押下
2、以下の様にGlassfishサーバーを選択し、「次へ」ボタン押下
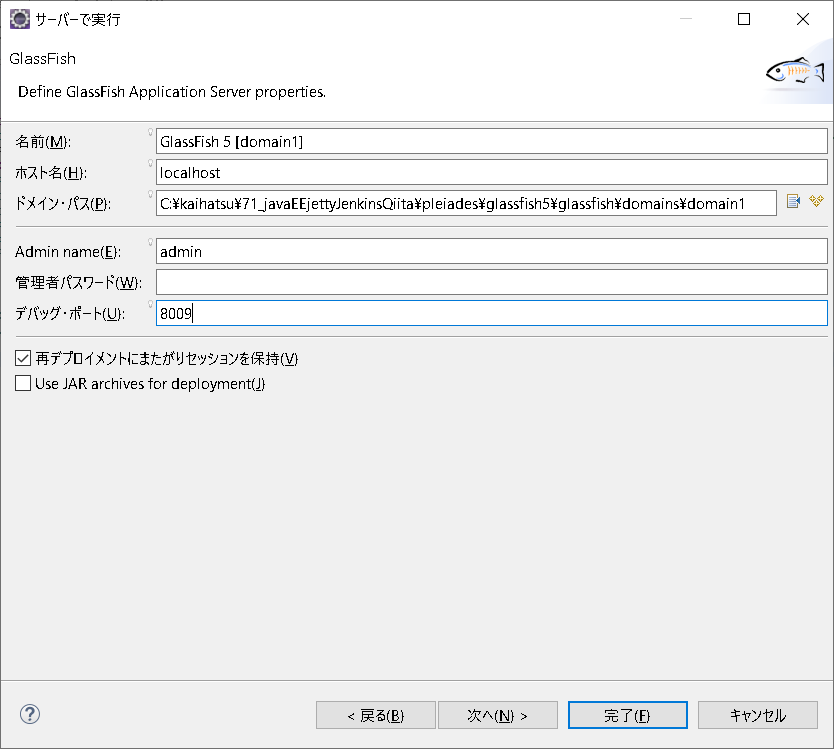
3、以下のようにドメインを追加し、「次へ」ボタン押下
※ドメイン・パスは自分の環境に合わせて設定する
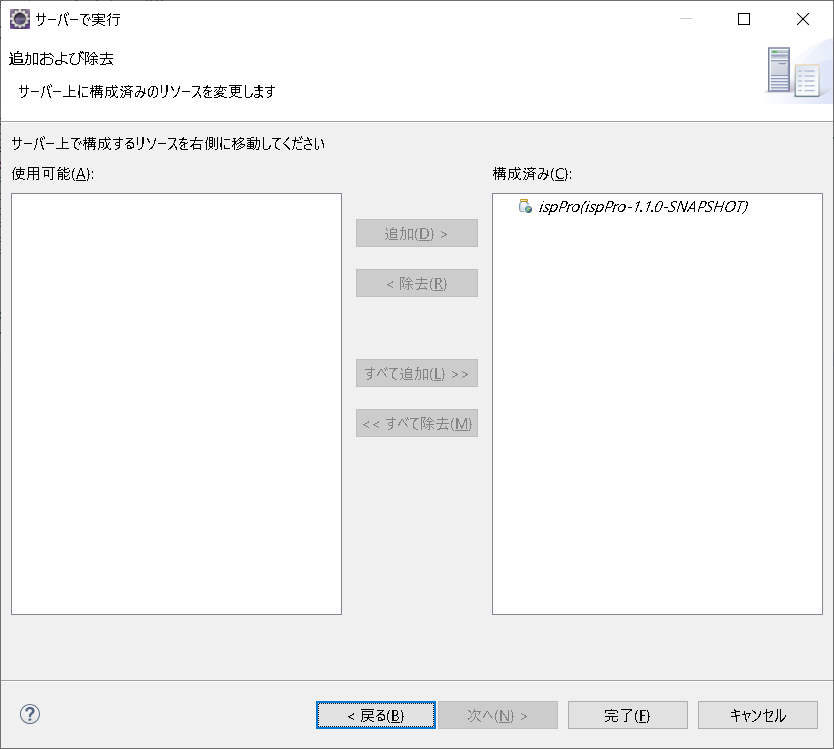
4、構成済みに設定されていることを確認し、「完了」ボタンを押下
5、デプロイが完了したら、以下にアクセス
http://localhost:8080/ispPro/index.xhtml
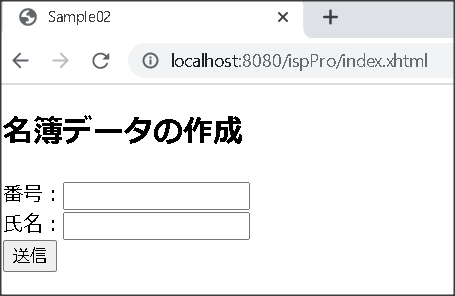
6.5でアクセスできたら、適当に番号と氏名を入力し、「送信」ボタンを押下
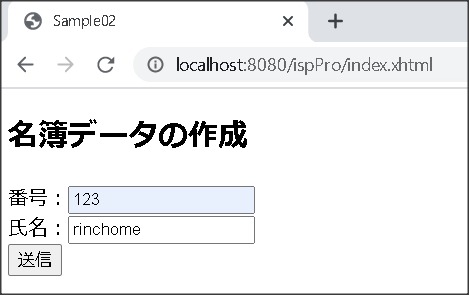
7.以下みたいな画面が表示され、戻るのリンクで戻れる
⑪ 取り急ぎ終了
まだ全部の環境構築はできていないので、引き続き実施