こんにちは。今回はReactとFullCalendarでカレンダーアプリを作っていく際のカスタマイズ方法を紹介していきます。
前回もFullCalendarに関する記事を書いているので併せて読んでいただけるととてもうれしいです。
環境
fullCalendar v5.8.0
React v17.0.1
今回紹介するプロパティ
titleFormat
titleFormatは左上に表示されている日付の表記の設定をすることができます。
locateに日本語を設定している場合デフォルトではこのような状態です。
titleFortamtにはこのような設定が当たっています。
titleFormat={{year: 'numeric', month: 'short', day: 'numeric'}}

早速変更してみたいと思いますが、year、mounth、dayにはあらかじめ設定できる表記が決まっています。
yearとdayはnumericか2-digitのみ設定することが可能です。
2-digitとは2桁という意味です。
<FullCalendar
  plugins={[timeGridPlugin]}
  locale="ja" // 日本語
  titleFormat={{year: '2-digit', month: 'short', day: '2-digit'}}
/>
上記のように記述すると以下のようになります。
年が2桁表記になり、日付が1桁の場合も0埋めされて2桁表記となりました。

続いてmonthです。monthには以下の設定をすることが可能です。
- short
- 2-digit
- long
- numeric
- narrow
デフォルトはshortです。また、2-digitは先ほどの日付と同じく0埋めされて表示されます。
longは以下のようになります。
英語表記だと省略されずにJuneと表記されます。shortだと3文字表記のJunになります。

numericは以下のようになります。六月が英語ではなく数字の「6」で表示されました。

narrowだと以下のようになります。1文字表記になります。

headerToolbar
headerToolbarはカレンダーの上部にあるボタンとタイトルを定義することができます。
デフォルトでは以下のようになっていると思います。

コード上は以下の設定が反映されており、画面上左からstart,center,endに設定した内容が表示されていきます。
なので年月日を真ん中に表示したい場合はcenterにtitleを設定すれば真ん中に表示されます。
また、ここはleft,center,rightと書くこともできます。
そして、スペースで区切ると間が空き、カンマで区切るとボタンが接続して表示されます。
todayボタンと「<>」ボタンの関係性が参考になると思います。
<FullCalendar
  plugins={[timeGridPlugin]}
  locale="ja" // 日本語
  titleFormat={{year: 'numeric', month: 'short', day: 'numeric'}}
  // 以下headerToolbarの設定
  headerToolbar={{
      start: 'title', // leftと書いてもよい
      center: '',
      end: 'today prev,next'
  }}
/>
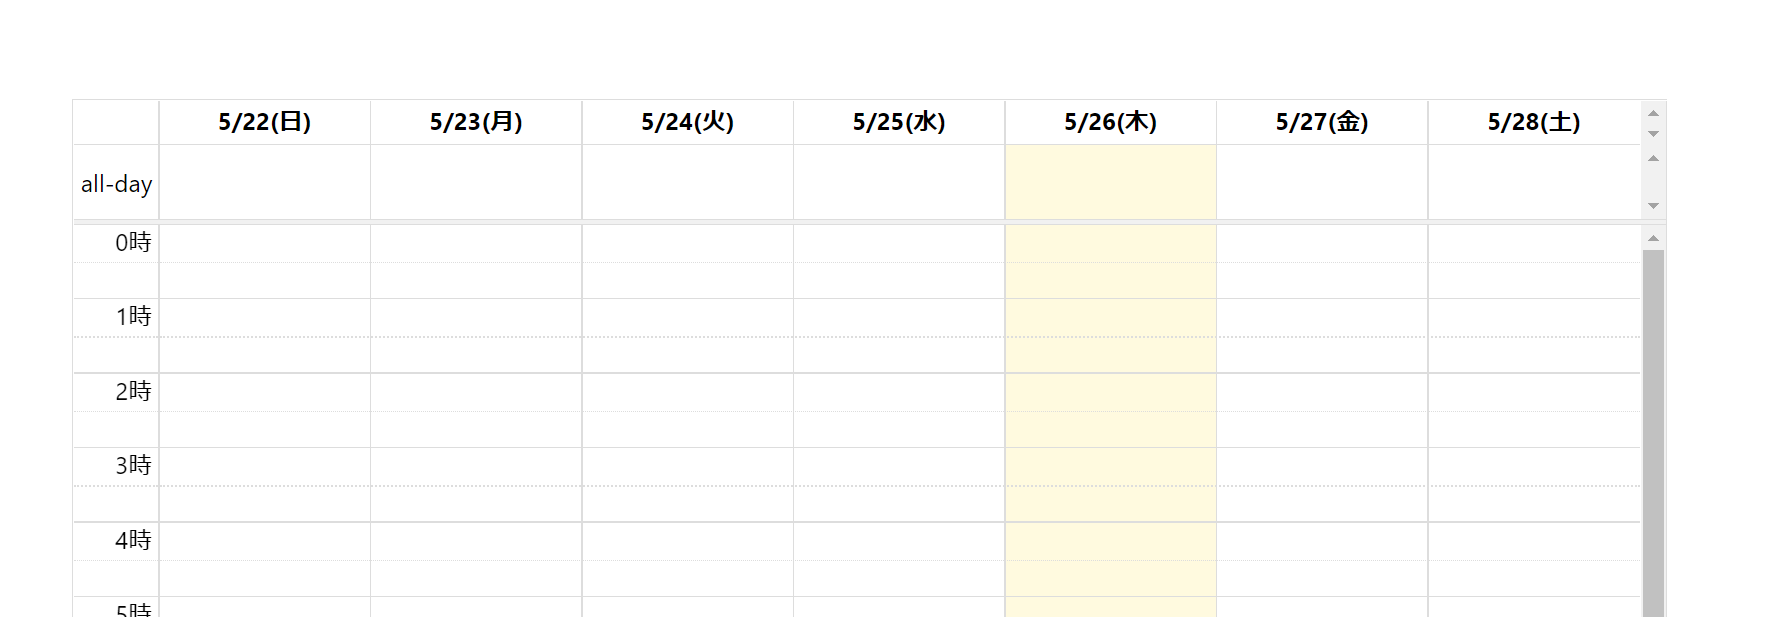
headerToolbarの表示をしたくない場合はfalseを設定するとheaderToolbar自体が表示されなくなります。
<FullCalendar
  plugins={[timeGridPlugin]}
  locale="ja" // 日本語
  titleFormat={{year: '2-digit', month: 'short', day: '2-digit'}}
  // 以下headerToolbarの設定
  headerToolbar={false}
/>
buttonText
buttonTextはheaderToolbarのボタンに表示されるテキストを設定することができます。今回は紹介していませんがfooterToolbarのボタンに表示されるテキストにも反映されます。
デフォルトでは以下のようになっていますので、例えばtoday:'today'となっているのをtoday:'今日'とするとボタンのテキストが今日と表示されます。
<FullCalendar
  plugins={[timeGridPlugin]}
  locale="ja" // 日本語
  titleFormat={{year: '2-digit', month: 'short', day: '2-digit'}}
  // 以下headerToolbarの設定
  headerToolbar={false}
  // 以下buttonTextの設定
  buttonText={{
      today:'today',
      month:'month',
      week:'week',
      day:'day',
  }}
/>
<FullCalendar
  plugins={[timeGridPlugin]}
  locale="ja" // 日本語
  titleFormat={{year: '2-digit', month: 'short', day: '2-digit'}}
  // 以下headerToolbarの設定
  headerToolbar={false}
  // 以下buttonTextの設定
  buttonText={{
      today:'今日', // 「今日」に変更
      month:'month',
      week:'week',
      day:'day',
  }}
/>
上記のように記載するとこのようにボタンのテキストを変更することができます。

customButtons
customButtonsはheaderToolbar/footerToolbarで使用できるオリジナルのボタンを定義することができます。
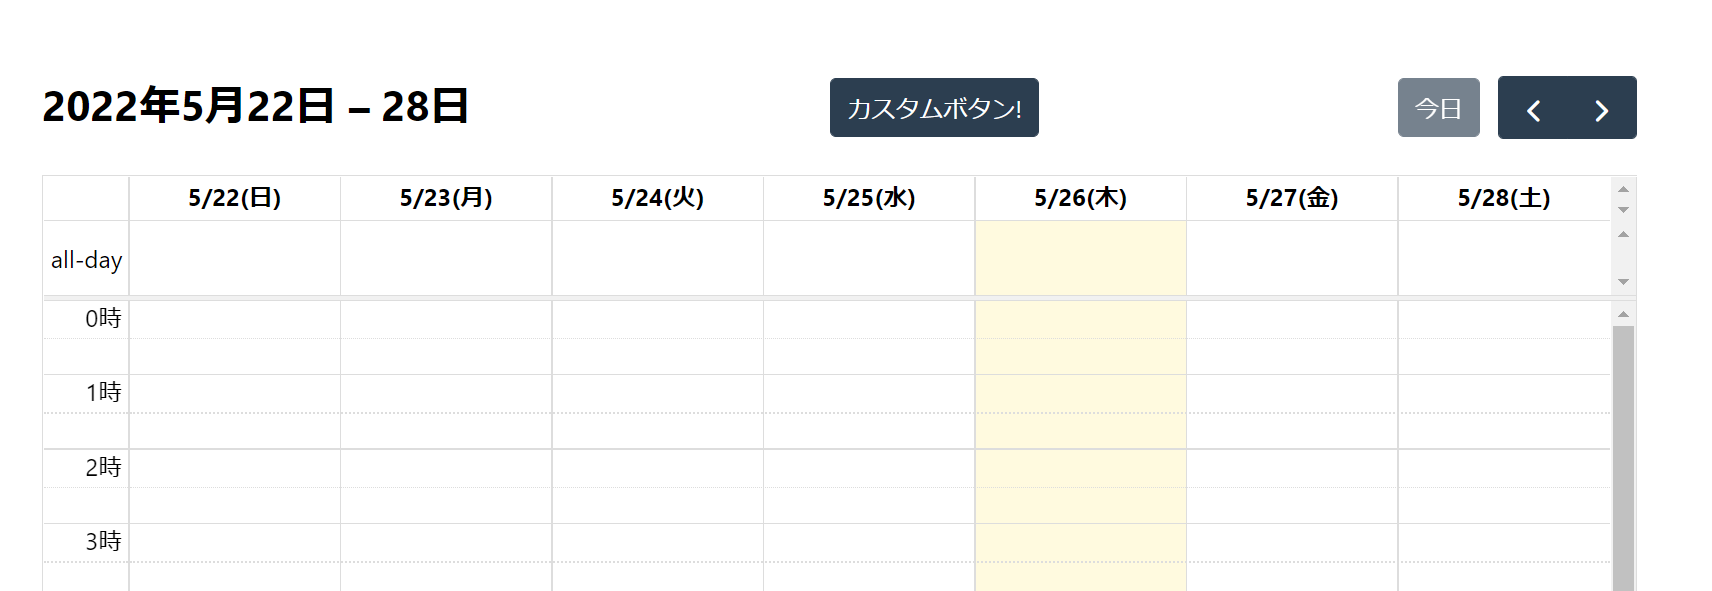
customButtonsを設定するには以下のように書きます。textに画面に表示するテキストを設定し、clickにonclickのイベントを設定することができます。
そして設定したカスタムボタンをheaderToolbarに設定し画面に表示させます。
<FullCalendar
  plugins={[timeGridPlugin]}
  locale="ja" // 日本語
  titleFormat={{year: '2-digit', month: 'short', day: '2-digit'}}
  // 以下headerToolbarの設定
  headerToolbar={{
      start: 'title', // leftと書いてもよい
      center: 'myCustomButton', // 下で定義したカスタムボタンを設定する
      end: 'today prev,next'
  }}
  // 以下buttonTextの設定
  buttonText={{
      today:'今日', // 「今日」に変更
      month:'month',
      week:'week',
      day:'day',
  }}
  // 以下customButtonsの設定
  customButtons={{
      myCustomButton: { // カスタムボタンの名前
          text: 'カスタムボタン!', // 画面に表示されるテキスト
          click: function() { // クリックイベントを設定できる
              alert('clicked the custom button!');
          }
      }
  }}
/>
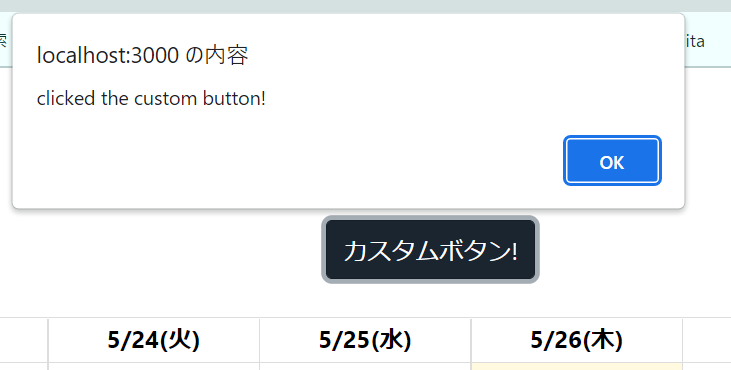
カスタムボタン!を押下すると、設定したイベントが実行されます。

stickyHeaderDates
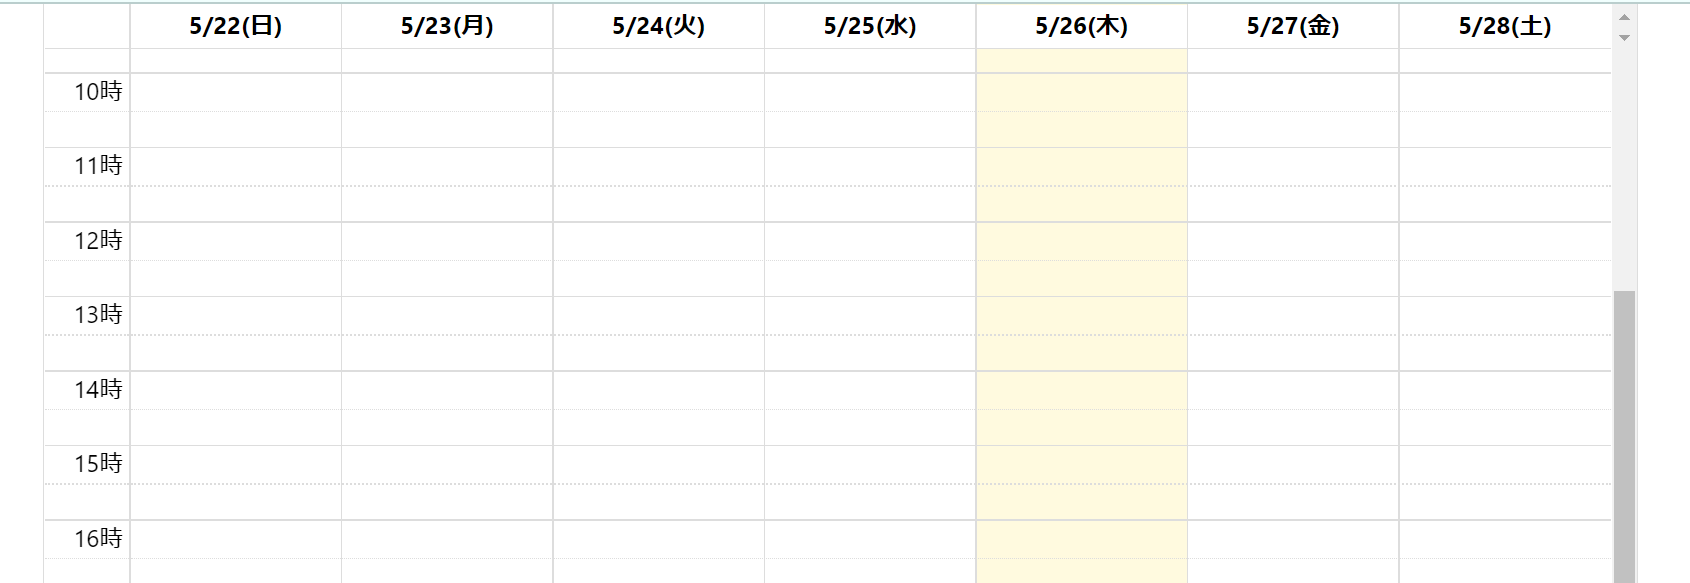
最後にstickyHeaderDatesです。これはスクロール中にカレンダーの上部にある日付ヘッダーを固定するかどうかの設定をすることができます。
以下のように設定します。
<FullCalendar
  plugins={[timeGridPlugin]}
  locale="ja" // 日本語
  stickyHeaderDates={true} // stickyHeaderDatesにtrueを設定する
/>


