概要
- (僕)最近svelteが巷で有名らしい
- (僕)けど、普段アプリケーションはSpringBootで動かしてるからnpm使えないなー
- (後輩くん)templateとかstaticファイル作るところまでnpmでやればいけますよー
- (僕)!!!
環境&バージョン
- Mac (OSに依存するところはあまりなさそう)
- SpringBoot (2.4.0)
- svelte (3.0.0)
手順
SpringBootのプロジェクトを作成
SpringBootで簡単なControllerを作っておく
(ここはさらっと)
<project root>
├── build.gradle
└── src
    ├── main
    │   ├── java
    │   │   └── rhirabay
    │   │       └── Application.java
    │   └── resources
    │       ├── application.yml
    │       ├── static
    │       └── templates
    │           └── index.html
    └── test
        └── java
            └── rhirabay
                └── ApplicationTest.java
build.gradle
...

dependencies {
    implementation 'org.springframework.boot:spring-boot-starter-web'
    implementation 'org.springframework.boot:spring-boot-starter-thymeleaf'
}
Application.java
@Controller
@SpringBootApplication
public class Application {
    public static void main(String[] args) {
        SpringApplication.run(Application.class);
    }

    @RequestMapping("/")
    public String index() {
        return "index";
    }
}
index.html
<!DOCTYPE html>
<html lang="en">
<head>
    <meta charset="UTF-8">
    <title>Svelte sample</title>
</head>
<body>
    <h1>Hello svelte !</h1>
</body>
</html>
http://localhost:8080
にアクセス

Svelteを導入
svelteのプロジェクトをsrc/配下に作成する
(どこでも良いのだけれども一応ソースコードが含まれるのでsrc/配下かなと)
cd src/
npx degit sveltejs/template svelte
cd svelte
npm install
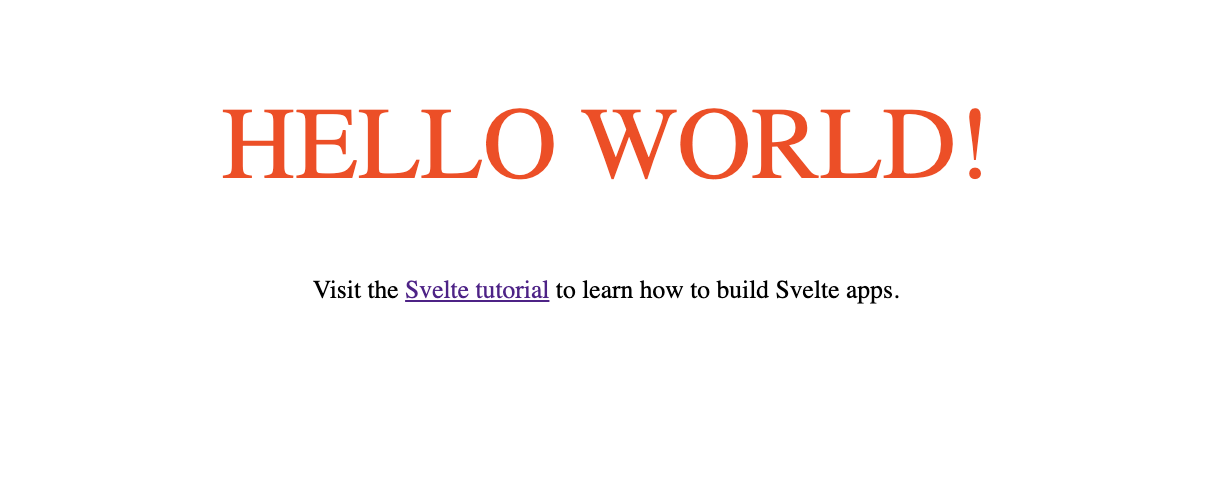
これでtemplateが配置されます。
「rollup.config.js」だけ手を加えます。
fileの部分だけ、src/main/resources/staticに向ける。
...
export default {
    input: 'src/main.js',
    output: {
        sourcemap: true,
        format: 'iife',
        name: 'app',
    file: '../main/resources/static/bundle.js'
    },
    ...
}
何をしたのかと言うと、
デフォルトでrollupというツールを使ってモジュールを1つのjs/cssに出力してくれるのだが、
その出力先をSpringBootアプリケーションから読み込めるように「resources/static」配下に設定しました。
では実際にrollupを動かしてみます!
npm run build
これで「resources/static」配下にbundle.jsとbundle.cssが生成されたはずです!
ちなみにbuildを実行した時の動作は「src/svelte/src/package.json」に記述されています
(このあたりの仕組みは何もわかっていないので今度勉強してみよう😇)
templates/index.htmlからbundle.jsとbundle.cssを読み込むように修正して
<!DOCTYPE html>
<html lang="en" xmlns:th="http://www.w3.org/1999/xhtml">
<head>
    <meta charset="UTF-8">
    <title>Svelte sample</title>

    <link rel='stylesheet' href='/bundle.css' th:href="@{/bundle.css}">
</head>
<body>
    <script defer src='/bundle.js' th:src="@{/bundle.js}"></script>
</body>
</html>
bootRun!
🙌 🙌 🙌
ToDoリストを作ってみる
せっかくなのでToDoリストを作って使い心地を試してみた。
こんな構成
svelte/src/
├── App.svelte
├── Form.svelte
├── ToDoList.svelte
├── main.js
└── store.js
store.js
import { writable } from 'svelte/store';

// TODOリストの初期リスト(空のリスト)
const initial = []

// storeをカスタマイズする
function createTodos() {
    const { subscribe, set, update } = writable(initial);

    return {
        subscribe,
        add: (todo) => update(todos => todos.concat(todo)),
        reset: set(initial)
    };
}
export const todos = createTodos();
Form.svelte
<script>
    import { todos } from './store.js';
    // letで宣言するだけで埋め込みに使用できる
    let todo = ''

    function addTodo() {
        todos.add(todo)
        todo = '';
    }
</script>
<!-- 変数は{}で埋め込める -->
<!-- bind:valueで入力値と変数を連動させられる -->
<input type="text" bind:value={todo} />
<!-- 関数も{}で埋め込める -->
<button on:click={addTodo}>Add</button>
ToDoList.svelte
<script>
    import { todos } from './store.js';

    let todoList = []
    // storeの値を読み込む場合はsubscribeで実装
    todos.subscribe(value => {
        todoList = value;
    })
</script>

<ul>
<!-- ループの記述の順番に注意!  #each <配列> as <要素>, <番号>  -->
    {#each todoList as item, index}
        <li>{item}</li>
    {/each}
</ul>
App.svelte
<script>
    import Form from './Form.svelte';
    import ToDoList from "./ToDoList.svelte";
</script>

<h1>Hello svelte !</h1>

<!-- componentは読み込んだらそのままタグとして使える! -->
<Form />
<ToDoList />
main.js
import App from './App.svelte';

const app = new App({
    // ここでbodyを指定しているから特にdivとかを書かなくて良い
    target: document.body,
});

export default app;
もう一度npm run build!
のあとにbootRun!
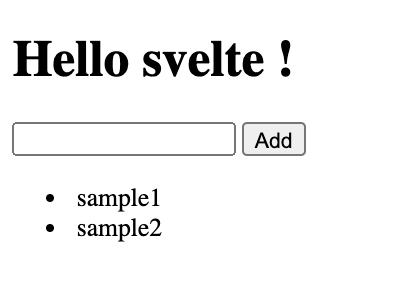
タスクを追加するだけの簡単なものだけど、結構簡単に作れました!!!!
おまけ
svelteのbuildをgradle taskで
ローカルでのアプリケーション起動と、build時に自動でnpm run buildしてほしくなったので実装してみました
build.gradle
task buildSvelte (type: Exec) {
    workingDir('src/svelte')
    commandLine 'npm', 'run', 'build'
}

bootRun.dependsOn buildSvelte
build.dependsOn buildSvelte