なぜそんなことをしたのか
その昔、業務委託でジョインした副業先の既存プロダクトにメッセージ機能の新規機能追加の担当して
当時本業でvueをよく触っていたため
技術選定で結構迷った
当時、本業の方は完全なSPAだったのでrailsから分離させてvuecliで開発していたが
副業先はMPAだったため
WebpackでやるかWebpackerでやるか
答え: Webpacker
理由: 既存のslimのテンプレートエンジンのlayoutを流用するため あと、なんだかんだWebpackerにしてよかった気がする
やっていく
※mysqlなど入れず最小構成でやります
※dockerの設定やrails、vueの文法や扱いなどはある程度わかっている前提として、細かい解説は省略します
1. vue入りのrailsプロジェクトを作る
適当なディレクトリを作りDockerで準備していく
FROM ruby:2.6.1

ENV LANG C.UTF-8
ENV TZ=Asia/Tokyo

WORKDIR /usr/src/app

SHELL ["/bin/bash", "-o", "pipefail", "-c"]

RUN curl -sL https://deb.nodesource.com/setup_10.x | bash - &&\
    curl -sL https://dl.yarnpkg.com/debian/pubkey.gpg | apt-key add - &&\
    echo "deb https://dl.yarnpkg.com/debian/ stable main" | tee /etc/apt/sources.list.d/yarn.list &&\
    apt-get update -qq &&\
    apt-get install -y --no-install-recommends nodejs yarn
version: '3'
volumes:
  bundle:
services:
  app:
    build: .
    ports:
      - 3000:3000
    volumes:
      - bundle:/usr/local/bundle:cached
      - .:/usr/src/app:delegated
      - /usr/src/app/node_modules
    stdin_open: true
    tty: true
    command: /bin/bash
$ docker-compose build
$ docker-compose up -d
$ docker-compose exec app bash
# gem install rails
# rails new . --webpack=vue
で、まずはrails newが終わる
2. 以降開発をスムーズに進めるためにDockerfileたちをちょっと手直し
FROM ruby:2.6.1

ENV LANG C.UTF-8
ENV TZ=Asia/Tokyo

WORKDIR /usr/src/app

SHELL ["/bin/bash", "-o", "pipefail", "-c"]

RUN curl -sL https://deb.nodesource.com/setup_10.x | bash - &&\
    curl -sL https://dl.yarnpkg.com/debian/pubkey.gpg | apt-key add - &&\
    echo "deb https://dl.yarnpkg.com/debian/ stable main" | tee /etc/apt/sources.list.d/yarn.list &&\
    apt-get update -qq &&\
    apt-get install -y --no-install-recommends nodejs yarn

# ここから下を追記した
COPY Gemfile .
COPY Gemfile.lock .
RUN bundle install

COPY package.json .
COPY yarn.lock .
RUN yarn install
# !/bin/bash

yarn check;
if [ ! $? = 0 ] ; then
  yarn install;
fi

bundle install;
rm -f /usr/src/app/tmp/pids/server.pid;
bin/webpack-dev-server &
rails s -b 0.0.0.0 -p 3000
docker-compose起動時にscripts/dev_init.shを実行するように変更
version: '3'
volumes:
  bundle:
services:
  app:
    build: .
    ports:
      - 3000:3000
      - 3035:3035
    volumes:
      - bundle:/usr/local/bundle:cached
      - .:/usr/src/app:delegated
      - /usr/src/app/node_modules
    stdin_open: true
    tty: true
    command: /bin/bash scripts/dev_init.sh
3035ポートはwebpack-dev-serverのホットリロードのために
# Note: You must restart bin/webpack-dev-server for changes to take effect

default: &default
  source_path: app/javascript
  source_entry_path: packs
  public_root_path: public
  public_output_path: packs
  cache_path: tmp/cache/webpacker
  check_yarn_integrity: false
  webpack_compile_output: true

  # Additional paths webpack should lookup modules
  # ['app/assets', 'engine/foo/app/assets']
  resolved_paths: []

  # Reload manifest.json on all requests so we reload latest compiled packs
  cache_manifest: false

  # Extract and emit a css file
  extract_css: false

  static_assets_extensions:
    - .jpg
    - .jpeg
    - .png
    - .gif
    - .tiff
    - .ico
    - .svg
    - .eot
    - .otf
    - .ttf
    - .woff
    - .woff2

  extensions:
    - .vue
    - .mjs
    - .js
    - .sass
    - .scss
    - .css
    - .module.sass
    - .module.scss
    - .module.css
    - .png
    - .svg
    - .gif
    - .jpeg
    - .jpg

development:
  <<: *default
  compile: true

  # Verifies that correct packages and versions are installed by inspecting package.json, yarn.lock, and node_modules
  check_yarn_integrity: true

  # Reference: https://webpack.js.org/configuration/dev-server/
  dev_server:
    https: false
    # ここをlocalhostから0.0.0.0に変更した
    host: 0.0.0.0
    port: 3035
    # ここをlocalhostから0.0.0.0に変更した
    public: 0.0.0.0:3035
    hmr: false
    # Inline should be set to true if using HMR
    inline: true
    overlay: true
    compress: true
    disable_host_check: true
    use_local_ip: false
    quiet: false
    pretty: false
    headers:
      'Access-Control-Allow-Origin': '*'
    watch_options:
      ignored: '**/node_modules/**'


test:
  <<: *default
  compile: true

  # Compile test packs to a separate directory
  public_output_path: packs-test

production:
  <<: *default

  # Production depends on precompilation of packs prior to booting for performance.
  compile: false

  # Extract and emit a css file
  extract_css: true

  # Cache manifest.json for performance
  cache_manifest: true
そしてdocker再起動
$ docker-compose down
$ docker-compose up
そして
http://localhost:3000/ をひらけば見慣れたあの画面が出る

3. 適当なトップページを作る
Rails.application.routes.draw do
  root 'home#index'
end
class HomeController < ApplicationController
  def index
  end
end
<h1>home</h1>
共通のレイアウトが使われていることがわかりやすいように application.html.erb を少しいじる
<!DOCTYPE html>
<html>
  <head>
    <title>App</title>
    <%= csrf_meta_tags %>
    <%= csp_meta_tag %>

    <%= stylesheet_link_tag 'application', media: 'all', 'data-turbolinks-track': 'reload' %>
    <%= javascript_pack_tag 'application', 'data-turbolinks-track': 'reload' %>
  </head>

  <body>
    <!-- ここに追記した -->
    <h1>layout</h1>
    <%= yield %>
  </body>
</html>
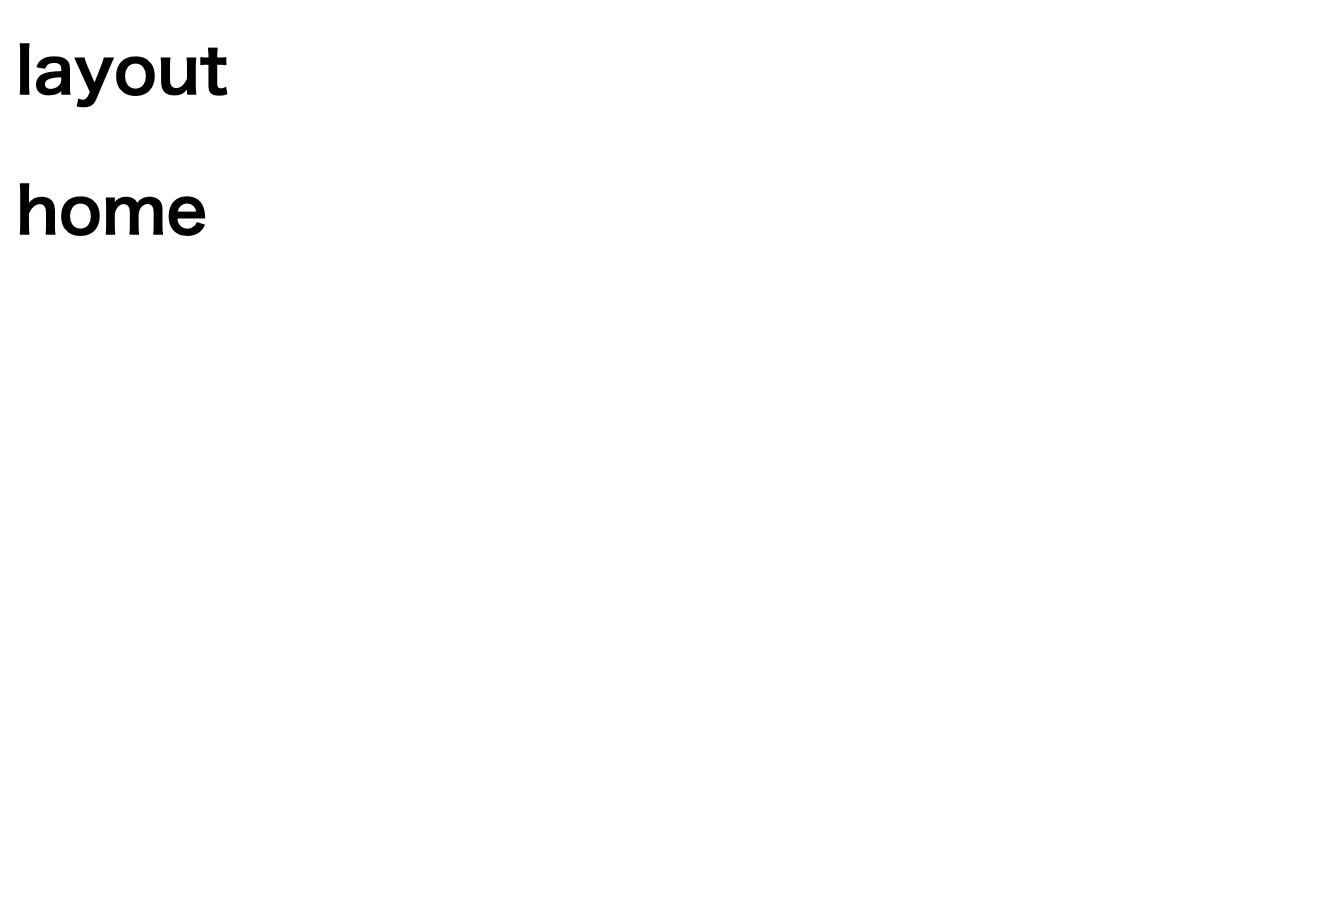
すると http://localhost:3000/ はこんな感じになってるはず

4. Vue.jsのSPA用のためのルーティングを作る
Rails.application.routes.draw do
  root 'home#index'
  resources :spa, only: [:index]
end
class SpaController < ApplicationController
  def index
  end
end
<h1>spa</h1>
http://localhost:3000/spa
にアクセスするとこんな感じになってるはず

5. まずはVueを画面に出していく
app/javascript/packs/hello_vue.jsにサンプルが用意されているので
そのコメントにしたがってさっき作ったerbに埋め込んでみる
<h1>spa</h1>

<%= javascript_pack_tag 'hello_vue' %>
<%= stylesheet_pack_tag 'hello_vue' %>
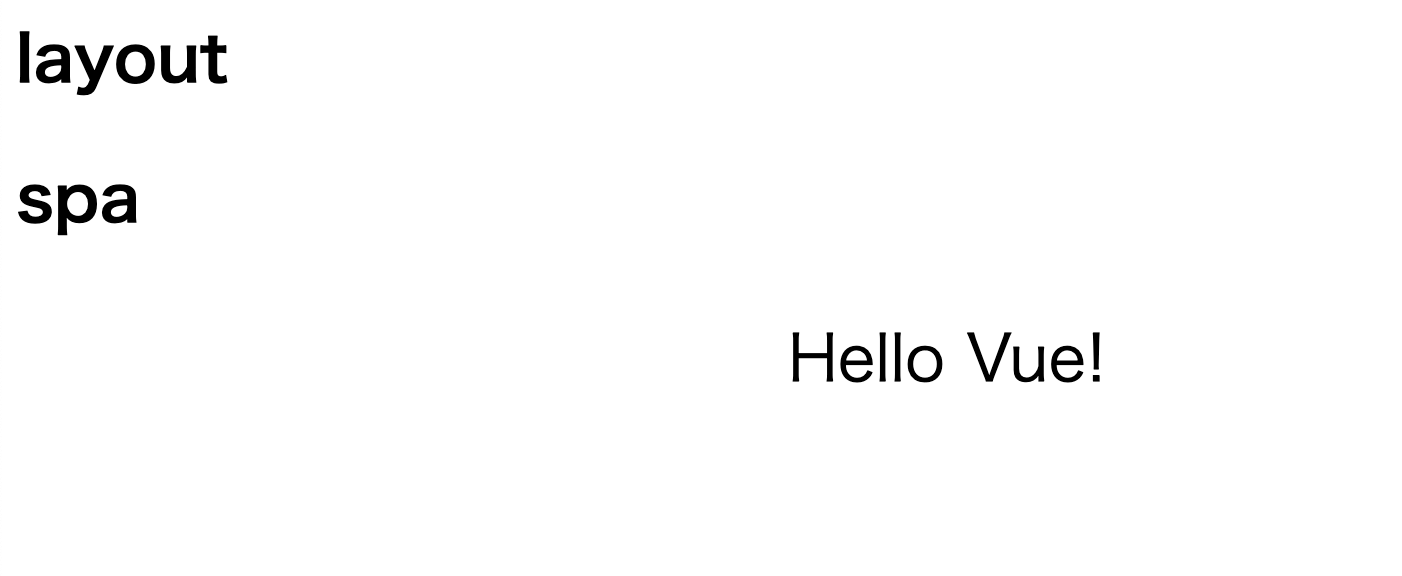
すると http://localhost:3000/spa は

となる
6. SPAを構築していく
vue routerを入れる
$ docker-compose exec app yarn add vue-router
まだページ作ってないけど先にvue routerでのルーティングを作っちゃう
import Vue from 'vue';
import Router from 'vue-router';

import TheIndex from '../components/Spa/TheIndex.vue';
import TheDetail from '../components/Spa/TheDetail.vue';

Vue.use(Router);

export default new Router({
  base: '/spa/',
  routes: [
    {
      path: '/',
      name: 'Index',
      component: TheIndex,
    },
    {
      path: '/detail/:id',
      name: 'Detail',
      component: TheDetail,
    },
  ],
});
コンポーネントを作る
<template>
  <div>
    <div v-for="(item, index) in itemList" :key="index" >
      <router-link :to="{ name: 'Detail', params: { id: item.id } }" >
        <div> {{ item.title }} </div>
      </router-link>
    </div>
  </div>
</template>
<script>

export default {
  name: 'TheIndex',
  data() {
    return {
      itemList: [
        { id: 1, title: 'aaaaaaa' },
        { id: 2, title: 'bbbbbbb' },
        { id: 3, title: 'ccccccc' },
      ]
    };
  },
};
</script>
<template>
  <div>
    <div>
      <router-link :to="{ name: 'Index' }"> 戻る </router-link>
    </div>

    <div>
      id: {{ $route.params.id }}
    </div>
  </div>
</template>

<script>
export default {
  name: 'TheDetail',
  data() {
    return {};
  },
};
</script>
ルーティングにしたがって表示がされるようにする
/* eslint no-console: 0 */
// Run this example by adding <%= javascript_pack_tag 'hello_vue' %> (and
// <%= stylesheet_pack_tag 'hello_vue' %> if you have styles in your component)
// to the head of your layout file,
// like app/views/layouts/application.html.erb.
// All it does is render <div>Hello Vue</div> at the bottom of the page.

import Vue from 'vue'
import App from '../app.vue'
import router from './router/index';

document.addEventListener('DOMContentLoaded', () => {
  const app = new Vue({
    router: router,
    render: h => h(App)
  }).$mount()
  document.body.appendChild(app.$el)

  console.log(app)
})


// The above code uses Vue without the compiler, which means you cannot
// use Vue to target elements in your existing html templates. You would
// need to always use single file components.
// To be able to target elements in your existing html/erb templates,
// comment out the above code and uncomment the below
// Add <%= javascript_pack_tag 'hello_vue' %> to your layout
// Then add this markup to your html template:
//
// <div id='hello'>
//   {{message}}
//   <app></app>
// </div>


// import Vue from 'vue/dist/vue.esm'
// import App from '../app.vue'
//
// document.addEventListener('DOMContentLoaded', () => {
//   const app = new Vue({
//     el: '#hello',
//     data: {
//       message: "Can you say hello?"
//     },
//     components: { App }
//   })
// })
//
//
//
// If the project is using turbolinks, install 'vue-turbolinks':
//
// yarn add vue-turbolinks
//
// Then uncomment the code block below:
//
// import TurbolinksAdapter from 'vue-turbolinks'
// import Vue from 'vue/dist/vue.esm'
// import App from '../app.vue'
//
// Vue.use(TurbolinksAdapter)
//
// document.addEventListener('turbolinks:load', () => {
//   const app = new Vue({
//     el: '#hello',
//     data: () => {
//       return {
//         message: "Can you say hello?"
//       }
//     },
//     components: { App }
//   })
// })
<template>
  <div id="app">
    <router-view />
  </div>
</template>
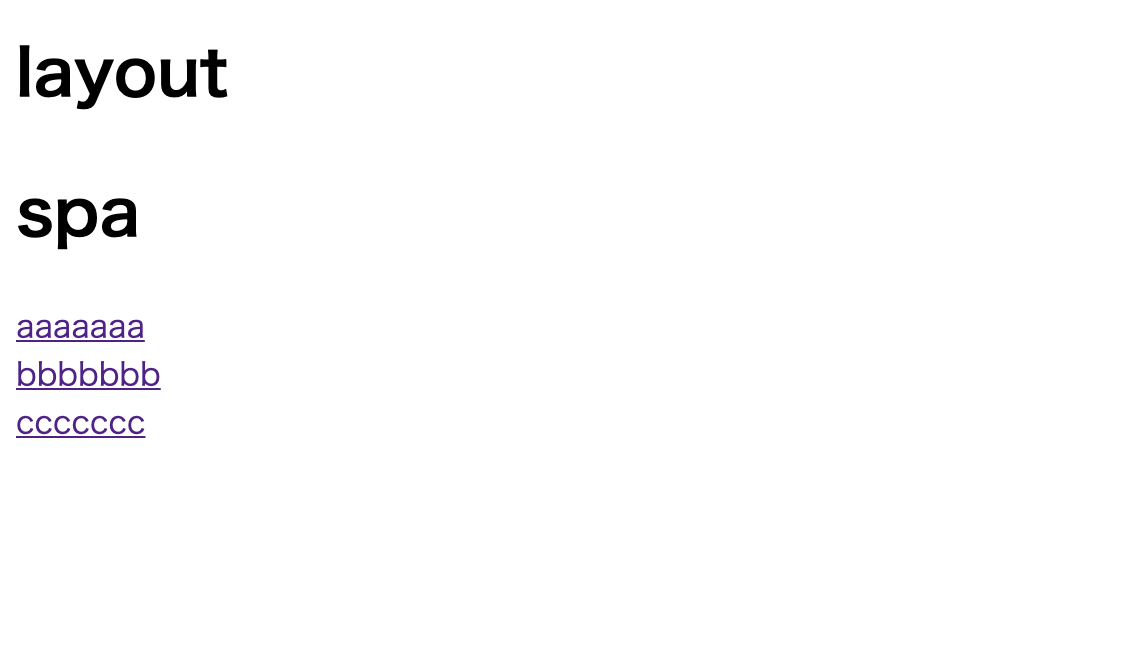
するとこんな感じでSPAができあがり
一覧ページ(TheIndex.vue)
詳細ページ(TheDetail.vue)
http://localhost:3000/spa/#/detail/1

あとはよしなにaxiosでAPIを叩いたりしていくだけ
7. turbolinksは切っておく
切らないとブラウザバックとかした時にvueの部分だけ表示されなかったりするので
// This file is automatically compiled by Webpack, along with any other files
// present in this directory. You're encouraged to place your actual application logic in
// a relevant structure within app/javascript and only use these pack files to reference
// that code so it'll be compiled.

require("@rails/ujs").start()
// require("turbolinks").start()
require("@rails/activestorage").start()
require("channels")


// Uncomment to copy all static images under ../images to the output folder and reference
// them with the image_pack_tag helper in views (e.g <%= image_pack_tag 'rails.png' %>)
// or the `imagePath` JavaScript helper below.
//
// const images = require.context('../images', true)
// const imagePath = (name) => images(name, true)
みたいな感じでコメントアウトしとく
8. デプロイについては
従来通り
$ bundle exec rails assets:precompile
で一緒にビルドされるのでとっても簡単
ローカルで試してみるには
docker-compose.ymlのcommandを/bin/bashに戻してdocker再起動
その後アセットプリコンパイルを実行してproductionでpumaを起動する
$ docker-compose exec -e RAILS_ENV=production app rails assets:precompile
$ docker-compose exec -e RAILS_SERVE_STATIC_FILES=true app rails s -b 0.0.0.0 -p 3000 -e production
ただし、このままだとエラーが表示される
なぜなら今回のサンプルコードだとcss使ってないのにapp/views/spa/index.html.erbに<%= stylesheet_pack_tag 'hello_vue' %>を書いてるため(たぶん)
なのでどうするかっていうと
-
<%= stylesheet_pack_tag 'hello_vue' %>を消す -
config/webpacker.ymlのproductionのextract_cssをfalseにする - vueコンポーネントで適当にcssを使う
のいずれかを対応する
そして再度puma起動すればちゃんと画面表示されるはず
まぁ現実的に開発していく上でcss使わないなんてありえないはずなので1と2は応急対応ですね
以上!!!
ちなみに今回の作業分はこちらに
https://github.com/rh-taro/spa_in_mpa_rails
おまけ編
デフォルトの設定が若干気持ち悪いので扱いやすいようにリファクタリングする
今のままだとなぜ良くないのか
<h1>spa</h1>
上
<%= javascript_pack_tag 'hello_vue' %>
<%= stylesheet_pack_tag 'hello_vue' %>
下
みたいにvueを間に挟もうとしても以下のようになってしまう

なぜかと言うと app/javascript/packs/hello_vue.js で
document.body.appendChild(app.$el) ってしていてbody要素に子要素を追加する形でDOM追加しているため
どう直すか
import Vue from 'vue'
import App from '../app.vue'
import router from './router/index';

document.addEventListener('DOMContentLoaded', () => {
  new Vue({
    el: '#app',
    router: router,
    render: h => h(App)
  })
})
<template>
  <router-view />
</template>
<h1>spa</h1>
上
<div id="app"></div>
下

<%= javascript_pack_tag 'hello_vue' %>
<%= stylesheet_pack_tag 'hello_vue' %>
ってすると以下のようになり
erb側でvueのSPAを差し込む場所をコントロールしやすくなりました

.$mount()よりnewの引数でel指定の方が見慣れているっていうのと document.body.appendChild(app.$el) っていう相対的なDOM追加に違和感を感じた次第でした
