概要
" VSCode React TypeScript"で、ググると結構、出てくるのですが、なぜか、僕の環境だと上手くいきませんでした。
なので、僕なりの上手くいった方法を残しておきます。
※Chrome、VSCode、Node.jsはインストール済を前提にしています。
内容
VSCode上に、React+TypeScriptの開発環境を構築し、
デバッグするまでを目指します。
前提
・プロジェクトは、D:\Develop\react001 に作成します。
手順
1. Reactプロジェクトのテンプレート作成
以下を、コマンドプロンプトで実行。
mkdir D:\Develop\react001
cd D:\Develop\react001
d:
npx create-react-app ./ --template typescript
以下の様に、Happy hacking!が表示されれば正常に作成できてます。

2.eslintを設定
Eslintは、静的解析ツールです。
上記のプロジェクト生成が成功した時点でeslintのインストールは完了しているので、
eslintを初期化します。
npx eslint --init
√ How would you like to use ESLint?
 → problemsを選択
√ What type of modules does your project use?
 → esmを選択
√ Which framework does your project use?
 → reactを選択
√ Does your project use TypeScript?
 → Yesを選択
√ Where does your code run?
 → browserを選択
√ What format do you want your config file to be in?
 → JavaScriptを選択
√ Would you like to install them now with npm?
 → Yesを選択
3.Prettierをローカルインストール
prettierは、ソースコードを整形してくれるツールですね。
便利なので入れておきます。
npm install --save-dev --save-exact prettier
4.eslint-config-prettier をインストール
PrettierとEslintは喧嘩するので、それを解決するツールを入れます。
npm install --save-dev eslint-config-prettier
5.eslint-config-prettier の設定ファイルを修正。
    "extends": [
        "eslint:recommended",
        "plugin:react/recommended",
        "plugin:@typescript-eslint/recommended",
+       "prettier"
    ],
6.prettierの設定ファイル".prettierrc"を手で作成
D:\Develop\react002 配下に作成する。
# 中身を下記にする。
+{
+  semi : true,
+}
7.VSCodeのデバッグ設定
VSCodeでデバッグを行うために、構成ファイルを作成します。
構成ファイルの新規作成
1.で作成したフォルダをVSCodeで開く → 実行メニュー → 構成の追加

launch.jsonを修正
launch.jsonが開くので、上記の様に修正。
{
    "version": "0.2.0",
    "configurations": [
        {
            "type": "pwa-chrome",
            "request": "launch",
            "name": "Launch Chrome against localhost",
-           "url": "http://localhost:8080",
+           "url": "http://localhost:3000",
-           "webRoot": "${workspaceFolder}"
+           "webRoot": "${workspaceFolder}",
+           "sourceMaps": true,
+           "sourceMapPathOverrides": {
+               "webpack:///./*": "${webRoot}/src/*"
+           },
        }
    ]
}
8.prop-typesをインストール
TypeScriptでコーディングすると、かなり早い段階で、パラメータチェックエラーに悩むと思います。
その時にインストールが必要になるので、この段階で入れておきます。
npm install --save-dev prop-types
9.デバッグ実行
デバッグ前の準備1
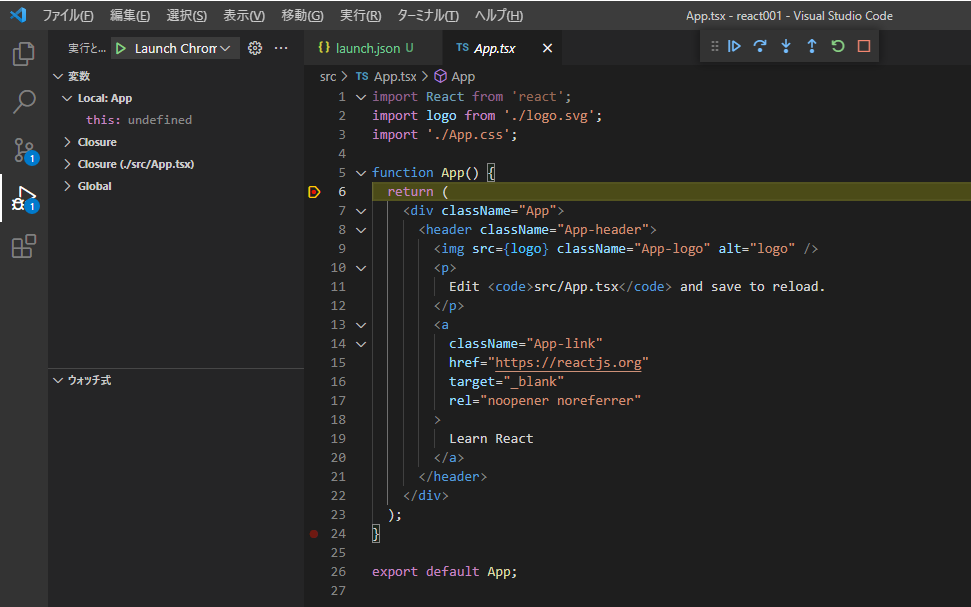
デバッグの前に、作成したプロジェクトを開いて、ブレークポイントを張っておく。
左ドックのエクスプローラボタン → App.tsx → 6行目にブレークポイント

デバッグ前の準備2
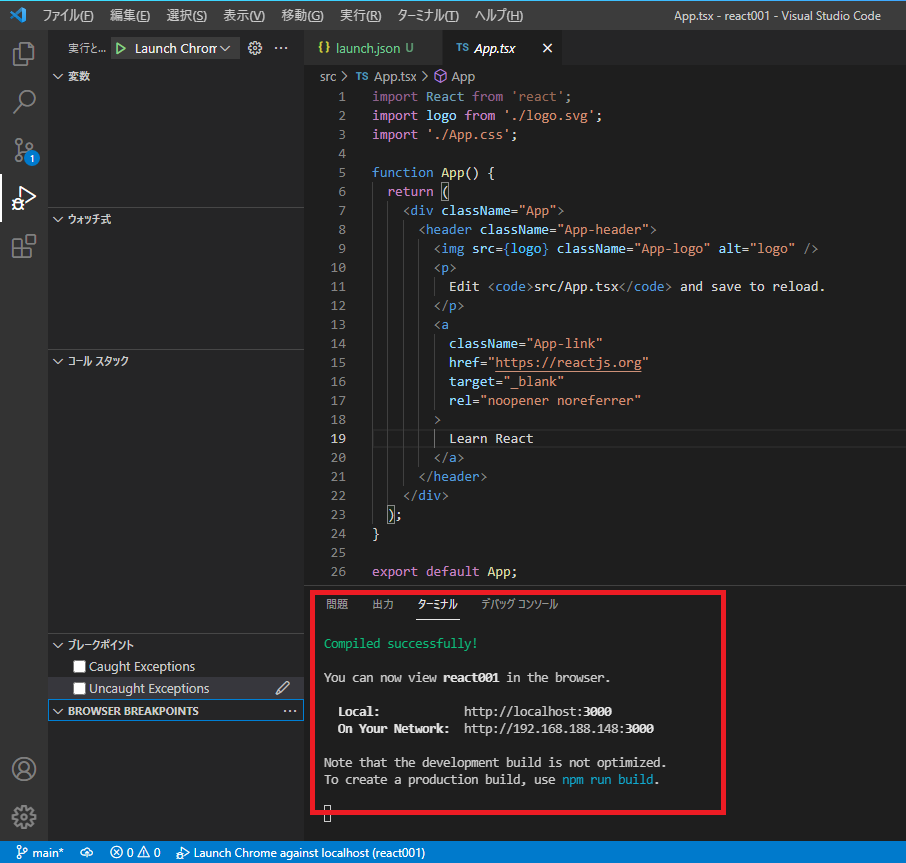
デバッグ前に、コマンドプロンプトから、"npm start"を実行。

Compiled successfully!がでたら、デバッグ開始できるようになる。
先にChromeが立ち上がる時があるので、その時はそのChromeは、いったん閉じる。

これで、ブレークポイントに止まるはず。
10.デバッグ終了
終了するときは、Ctrl+Cで終了して、表示し続けているChromeを閉じればいい。

Ctrl+Cを押下。→ Yでエンター で終了。
Chromeは開いたままなので、自分でCloseする。
以上、分かれば簡単でした。
❈
vscodeに下記拡張機能も、いれとくと便利かも。
・ES7 React/Redux/GraphQL/React-Native snippets
・Bracket Pair Colorizer 2


