はじめに
前回記事↓の続きです。
HTML13行あればWebVRアプリが作れる! A-Frame連載(1)
A-Frameを使い3D空間にオブジェクトを配置できたので、マウスやコントローラーで選択できるようにしてみましょう。
完成図
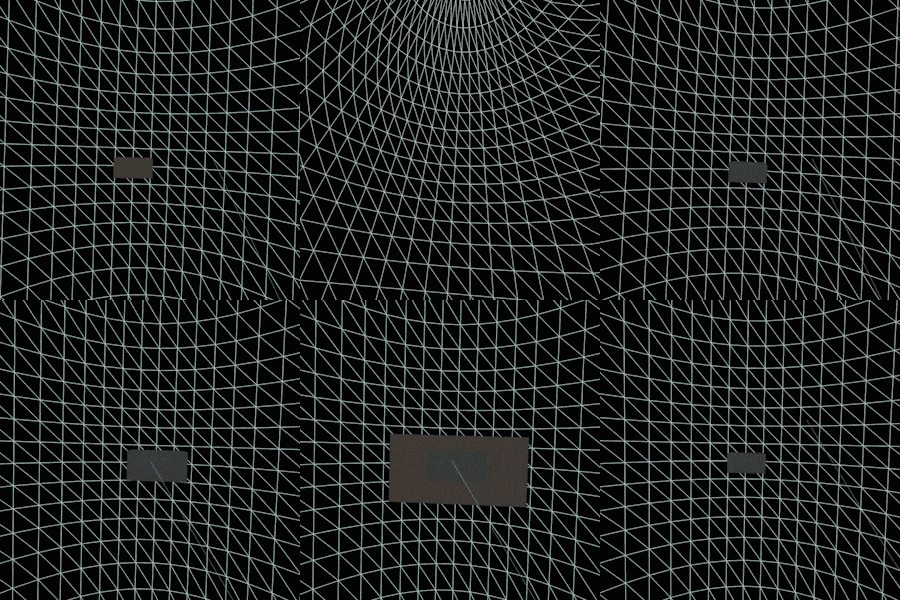
Oculus Questで実行した結果は以下の通り。
ソースコード全文
<html>
  <head>
    <meta name="viewport" content="width=device-width,initial-scale=1">
    <title>Web VR Test</title>
    <script src="https://aframe.io/releases/0.9.2/aframe.min.js"></script>
    <script>
      AFRAME.registerComponent('collide', {
        init: function() {
          this.interactiveAnimations();
        },
        interactiveAnimations: function() {
          this.el.setAttribute('animation__mouseenter', 'property: scale; to: 1.5 1.5 1.5; startEvents: mouseenter; dur: 200');
          this.el.setAttribute('animation__mouseleave', 'property: scale; to: 1 1 1; startEvents: mouseleave; dur: 200');
          this.el.setAttribute('animation__click', 'property: scale; to: 3 3 3; startEvents: click; dur: 200');
        }
      });
    </script>
  </head>
  <body>
    <a-scene>
      <a-sky color="#a0d8ef" wireframe="true"></a-sky>
      <a-entity cursor="rayOrigin: mouse"></a-entity>
      <a-entity laser-controls="hand: right" raycaster="far: 50;"></a-entity>

      <a-box position="0 0 -10" width="2" height="1" depth="1.5" color="#333" collide></a-box>
    </a-scene>
  </body>
</html>
ソースコード解説
...
    <script>
      AFRAME.registerComponent('collide', {
...
      <a-box position="0 0 -10" width="2" height="1" depth="1.5" color="#333" collide></a-box>
...
collideというコンポーネントを作っています。そして選択できるオブジェクトにcollideを指定しているので、選択オブジェクトとなります。
つまり選択可能なオブジェクト全てにcollideという属性を付与し、選択不可オブジェクトは付与しなければOKです。
          this.el.setAttribute('animation__mouseenter', 'property: scale; to: 1.5 1.5 1.5; startEvents: mouseenter; dur: 200');
          this.el.setAttribute('animation__mouseleave', 'property: scale; to: 1 1 1; startEvents: mouseleave; dur: 200');
          this.el.setAttribute('animation__click', 'property: scale; to: 3 3 3; startEvents: click; dur: 200');
collideオブジェクトに対し、3つの属性を付けています。
1つ目はstartEvents: mouseenterなので、オブジェクトにマウス(もしくはVRコントローラーのフォーカス)が乗った際に起きるイベント。scaleの1.5 1.5 1.5なので、マウスで選んだオブジェクトがx,y,zそれぞれ1.5倍の拡大がされます。
2つ目はstartEvents: mouseleaveなのでその逆で、フォーカスが外れた際にscaleをx,y,z軸で1倍にします。つまりマウスが乗る前のサイズに戻しているわけです。
3つ目はstartEvents: clickなので、マウス(もしくはVRコントローラー)でクリックした際に、scaleを3倍にしています。
      <a-entity cursor="rayOrigin: mouse"></a-entity>
      <a-entity laser-controls="hand: right" raycaster="far: 50;"></a-entity>
マルチデバイス対応です。
前者はPC等のVR機器でないもので、マウスで選んだ際に当たり判定が出るように設定しています。
後者はVR機器でコントローラーが接続されている場合、右手のコントローラーに当たり判定を付けています。
最後に
次回は選択時、もう少し分かりやすいようにパーティクルを生成しエフェクトが出るような仕組みを解説します。
