はじめに
-
Seleniumとは
- Webブラウザの操作を自動化するためのフレームワーク
0. 前提
- Pythonをインストールしていること
1. ファイルを準備
- Selenium用のディレクトリ及びファイルを作成(なんでも良いです)
- VSCodeなどのエディタで開いておく
例
(base) sample@SampleMBP ~ % cd Desktop
(base) sample@SampleMBP Desktop % mkdir Selenium
(base) sample@SampleMBP Desktop % cd Selenium
(base) sample@SampleMBP Selenium % touch sample.py
(base) sample@SampleMBP Selenium % pwd
/Users/username/Desktop/Selenium
(base) sample@SampleMBP Selenium % ls -l
total 0
-rw-r--r--  1 username  staff  0 10  2 20:58 sample.py
(base) sample@SampleMBP Selenium % code .
2. Pip3のパッケージversionを確認
$ pip3 -V
実行結果例
pip 22.2.2 from /Users/username/.pyenv/versions/3.10.6/lib/python3.10/site-packages/pip (python 3.10)
3. Python3のversionを確認
$ python3 -V
実行結果例
Python 3.10.6
4. ChromeDriverのインストール
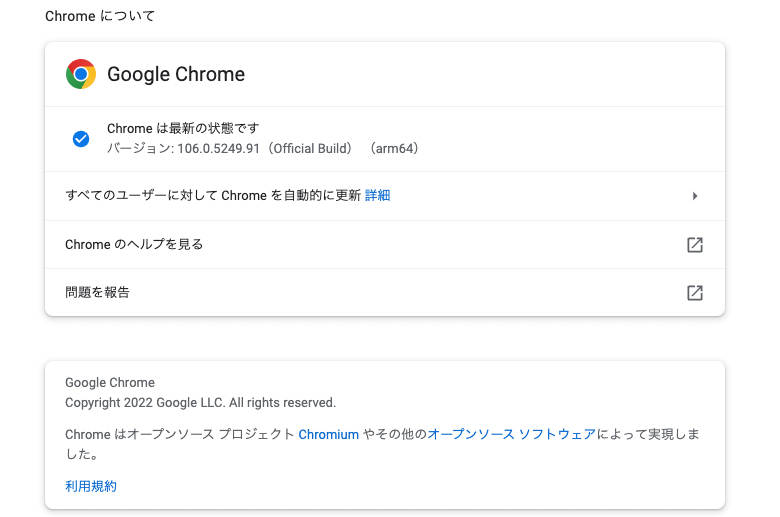
①ブラウザ上でChromeのバージョンを確認
ツールバーから「GoogleChromeについて」をクリック
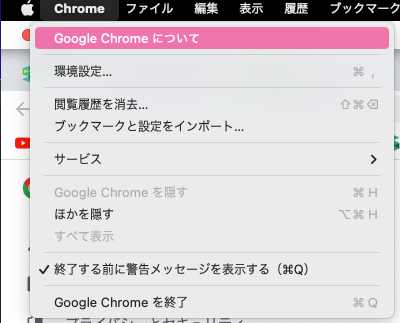
このバージョンを基に以降の作業を行う
②chromedriver-binaryをダウンロード
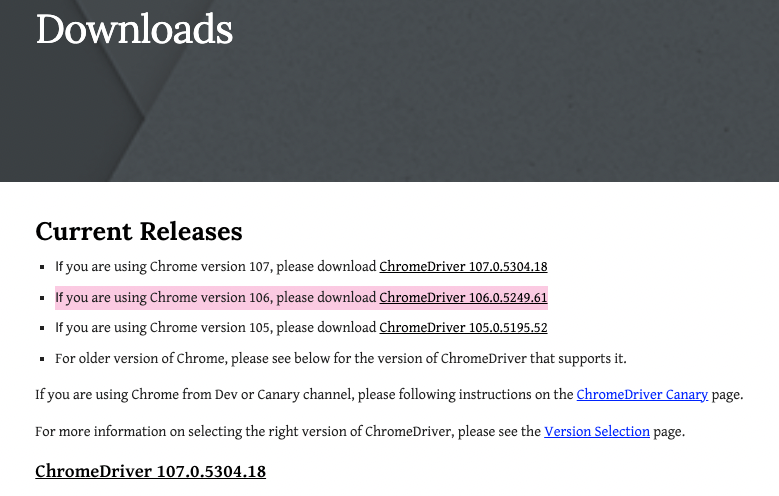
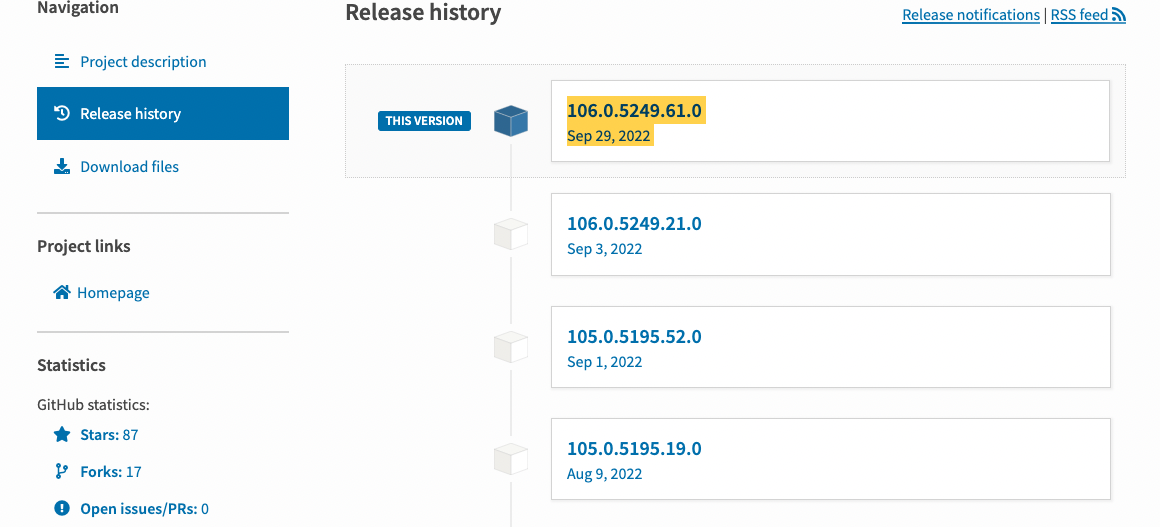
ブラウザで確認したバージョンに一番近いバージョンを選択する。
今回の場合だとChromeDriver 106.0.5249.61となる。
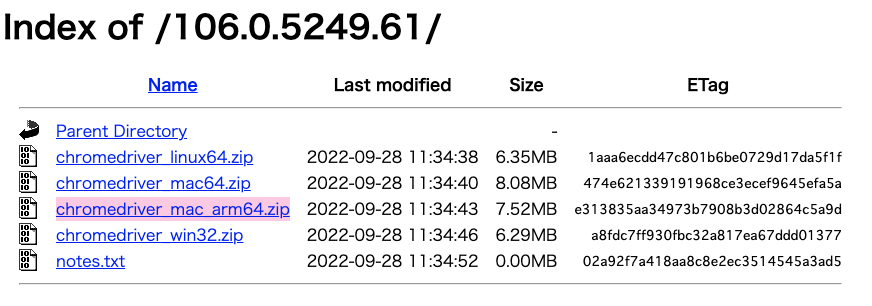
- 下記画面に遷移するので、自身のPCに合わせてダウンロードするchromedriverのzipファイルを選択。
- 私の場合はM1Macなので
chromedriver_mac_arm64.zipを選択。
- 私の場合はM1Macなので
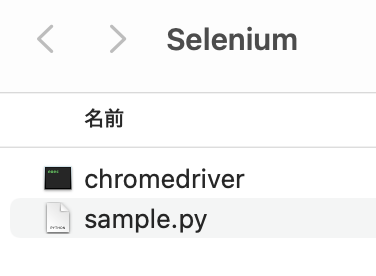
- zipファイルを解凍したら、実行したいファイルが格納されているディレクトリ直下に移動させる
③chromedriver-binaryをインストール
-
こちらから、ダウンロードしたchromedriver-binaryと同じバージョンを選択
- 今回は106.0.5249.61.0
- 選択先の画面でコマンドをコピーし実行
$ pip install chromedriver-binary==106.0.5249.61.0
例
(base) sample@SampleMBP Selenium % pip install chromedriver-binary==106.0.5249.61.0
Collecting chromedriver-binary==106.0.5249.61.0
  Using cached chromedriver-binary-106.0.5249.61.0.tar.gz (5.0 kB)
  Preparing metadata (setup.py) ... done
Using legacy 'setup.py install' for chromedriver-binary, since package 'wheel' is not installed.
Installing collected packages: chromedriver-binary
  Running setup.py install for chromedriver-binary ... done
インストール成功
"chromedriver"は、開発元を検証できないため開けません。と出てくる場合はこちら
5. Seleniumのインストール
$ pip3 install selenium --user
この時、アップグレード出来るよー。要検討してねー。と警告が出るようならアップグレードする
$ pip install --upgrade pip
6. 実行用ファイルを記述
Selenium/sample.py
import chromedriver_binary
from selenium import webdriver
from selenium.webdriver.common.by import By

# 1. Qiitaの @rexid のプロフィールページにアクセス
driver = webdriver.Chrome()
driver.get('https://qiita.com/rexid')
print(driver.current_url)
# > https://qiita.com/rexid

# 2. 一番最初に表示されている記事のタイトルのURLを取得
article_links = driver.find_elements(By.XPATH, '//div[@class="css-1ebnygn"]/article/a')
print(article_links[0].get_attribute('href'))
# > https://qiita.com/rexid/items/一番最初に表示されている記事のURL

# 3. ブラウザを終了する
driver.quit()
デベロッパーツールを用いて書いていく
7. 実行
$ python3 ファイル名
例
(base) sample@SampleMBP Selenium % python3 sample.py
https://qiita.com/rexid
https://qiita.com/rexid/items/0c19ef88faeccc1c53ff
(base) sample@SampleMBP Selenium %
完了
