どうも, 僕は友だちが少ない. みゆきです.
今回は誰からも連絡が来ず一人寂しく眠れない夜を過ごさないで済むように,友だちを自作することにしました.
2023/02/26 GPT-3の組み込みに対応
Index
- LINE Messaging API による簡易的な返信
- Web hook で少し複雑なメッセージの返信
- OpenAI API 連携により、ファインチューニングしたモデルとの対話
要件
- 相手から返事が送られる
- メッセージの内容が変化する
- インターフェースは LINE
開発
1. LINE Messaging API による簡易的な返信
手始めに LINE Messaging API で,メッセージを送信すると友だちから返信がくるようにします.
LINE Messaging API の設定はこちらをご確認ください.
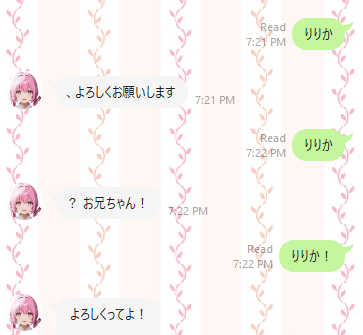
上記を設定して簡単に自動返信機能をつけるだけで,友だちから返信がくるようになります.普段は友だちがいないので,●ロネコヤマトと日●郵便からしか連絡がこないのですが, LINE って意外と便利なんですね
これで晴れて夜空と友だちになることができました!
やったね!!
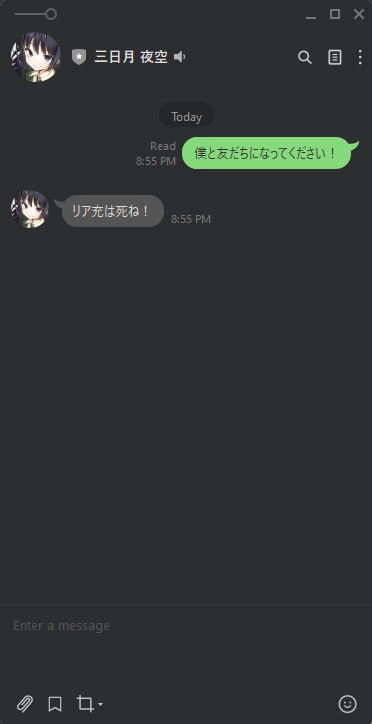
ただ,備え付けの自動返信機能だけでは,部分一致条件も使えず,夜空から先に連絡がくることはないので,これではまだ友だちとは言えそうにもありません.
2. Web hook で少し複雑なメッセージの返信
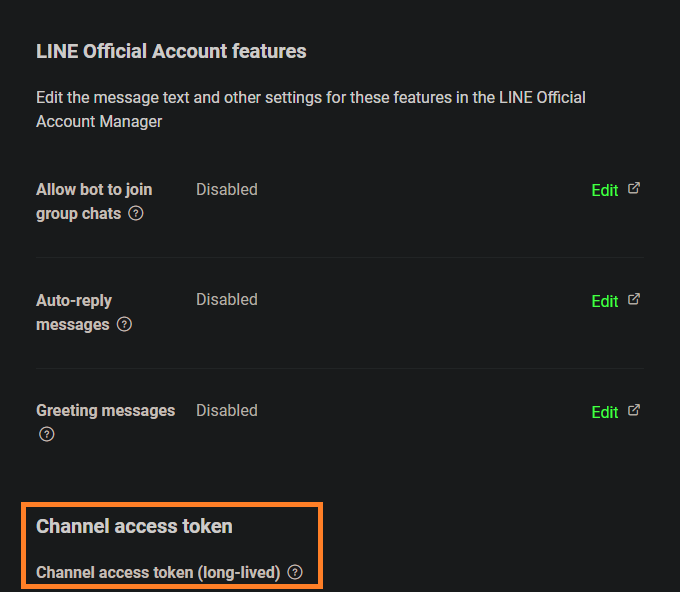
まず,LINE Developers Consoleの Messaging API タブの最下部でチャネルアクセストークンを発行しておきます
環境
- Node v16.17.0
- yarn v1.22.19
- TypeScript v4.8.2
ディレクトリを作成します
$ mkdir air-friends
$ cd air-friends/
必要なパッケージをインストールします
# setting yarn
$ yarn init
$ yarn add @line/bot-sdk express
$ yarn add -D typescript @types/express dotenv

# setting typescript
$ tsc --init
package.json に以下を加えます
"scripts": {
    "build": "yarn install && tsc",
    "start": "node ./index.js"
  }
それでは index.ts にサーバの設定を記述します.
ここでは入力した文字列に対して「${入力した文字列}って言った?」とオウム返しするメッセージを返すことにします.
DB は未設定にします.
// Import all dependencies, mostly using destructuring for better view.
import { ClientConfig, Client, middleware, MiddlewareConfig, WebhookEvent, TextMessage, MessageAPIResponseBase } from '@line/bot-sdk';
import { Application, Request, Response } from 'express';
import 'dotenv/config';
const express = require('express');

// Setup all LINE client and Express configurations.
const clientConfig: ClientConfig = {
  channelAccessToken: process.env.CHANNEL_ACCESS_TOKEN || '',
  channelSecret: process.env.CHANNEL_SECRET,
};

const middlewareConfig: MiddlewareConfig = {
  channelAccessToken: process.env.CHANNEL_ACCESS_TOKEN,
  channelSecret: process.env.CHANNEL_SECRET || '',
};

const PORT: number | string = process.env.PORT || 3000;

// Create a new LINE SDK client.
const client = new Client(clientConfig);

// Create a new Express application.
const app: Application = express();

// Function handler to receive the text.
const textEventHandler = async (event: WebhookEvent): Promise<MessageAPIResponseBase | undefined> => {
  // Process all variables here.
  if (event.type !== 'message' || event.message.type !== 'text') {
    return;
  }

  // Process all message related variables here.
  const { replyToken } = event;
  const { text } = event.message;

  // Create a new message.
  const response: TextMessage = {
    type: 'text',
    text: `${text}って言った?`,
  };

  // Reply to the user.
  await client.replyMessage(replyToken, response);
};

// Register the LINE middleware.
// As an alternative, you could also pass the middleware in the route handler, which is what is used here.
// app.use(middleware(middlewareConfig));

// Route handler to receive webhook events.
// This route is used to receive connection tests.
app.get(
  '/',
  async (_: Request, res: Response): Promise<Response> => {
    console.log('Connected successfully!')
    return res.status(200).json({
      status: 'success',
      message: 'Connected successfully!',
    });
  }
);

// This route is used for the Webhook.
app.post(
  '/webhook',
  middleware(middlewareConfig),
  async (req: Request, res: Response): Promise<Response> => {
    const events: WebhookEvent[] = req.body.events;

    // Process all of the received events asynchronously.
    const results = await Promise.all(
      events.map(async (event: WebhookEvent) => {
        try {
          await textEventHandler(event);
        } catch (err: unknown) {
          if (err instanceof Error) {
            console.error(err);
          }

          // Return an error message.
          return res.status(500).json({
            status: 'error',
          });
        }
      })
    );

    // Return a successfull message.
    console.log('success');
    return res.status(200).json({
      status: 'success',
      results,
    });
  }
);

// Create a server and listen to it.
app.listen(PORT, () => {
  console.log(`Application is live and listening on port ${PORT}`);
});
できたアプリを Alt Heroku であるところの render にデプロイします.
Github のリポジトリを連携して,New ボタンから Web Service を作成します.
Build Command は yarn build, Start Command は yarn startとします.
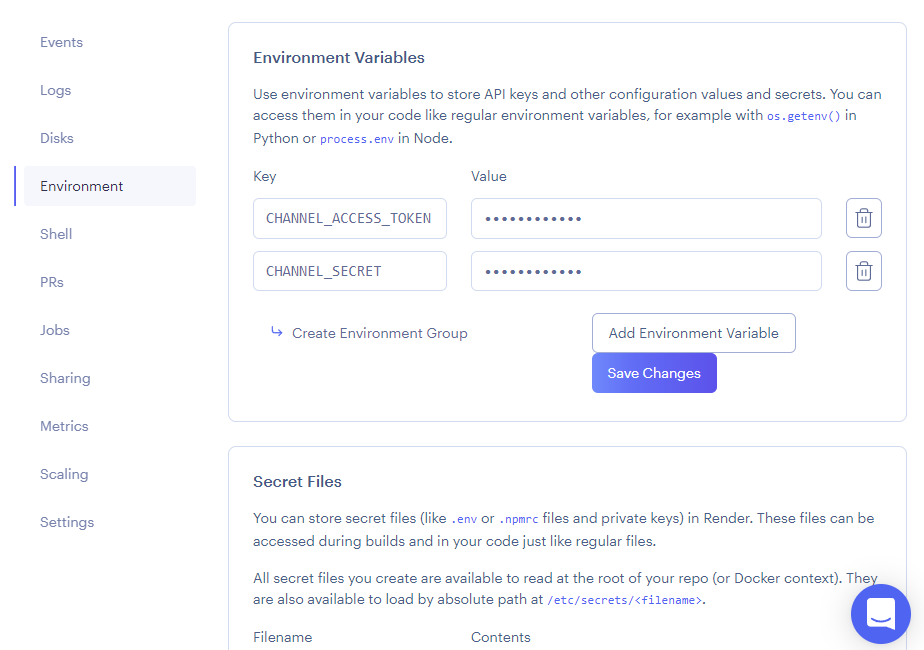
デプロイの設定後に,忘れないように render プロジェクト内に環境変数を設定しましょう.
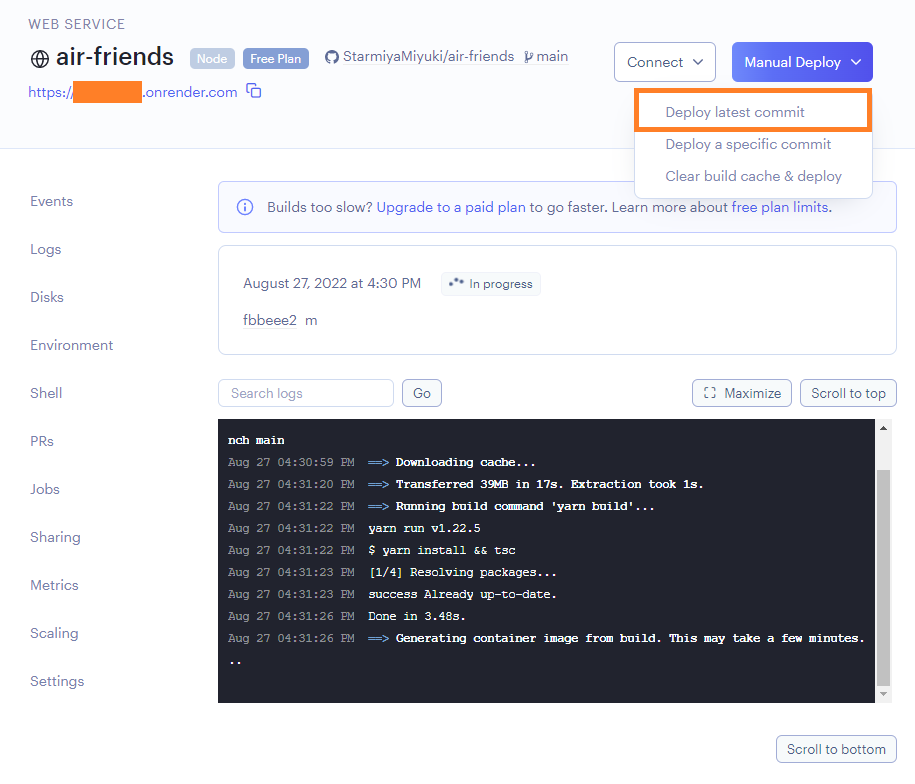
それでは,サーバをデプロイしましょう.
ブラウザや curl でデプロイした URL を叩いて以下が返ってくればサーバが無事にデプロイできています.
{"status":"success","message":"Connected successfully!"}
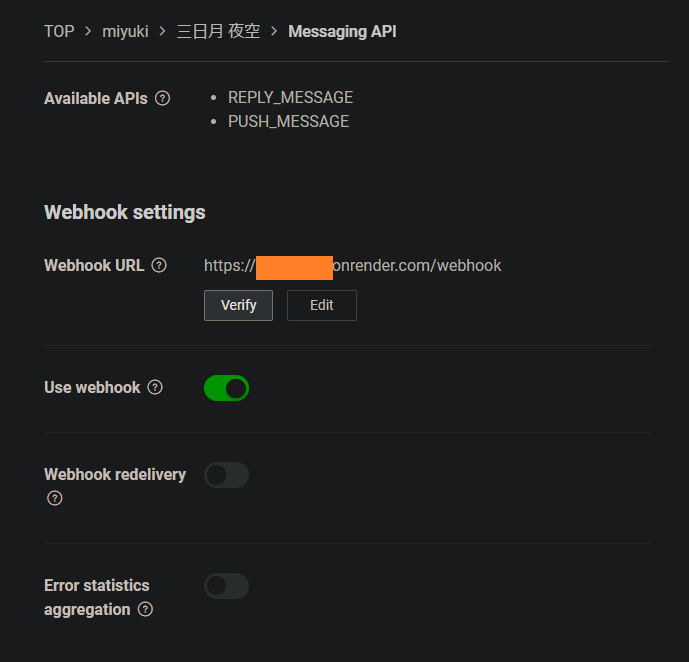
最後に LINE Messaging API 側の Webhook の設定に URL を追記すれば完了です.
POST メソッドエンドポイントは /webhook にしてるのでパスまで書くのを忘れずに.
すべてが無事に完了していれば,晴れて友だちにメッセージを返してもらうことが可能となります!

あと,render は15分間リクエストがないと自動でダウンし,フリープランでは月間750時間しか使えないので注意してください
render | Free Plans
3. OpenAI API 連携により、ファインチューニングしたモデルとの対話
OpenAIのファインチューニングしたモデルを友だちに組み込んでいきます。
ファインチューニングのやり方はこちらをご確認ください。
と言っても、そこまで複雑なことをする必要はなく、上記のコードに少し追記するだけです。
// 外部ライブラリを読み込む場所に追加
const { Configuration, OpenAIApi } = require('openai')

// OpenAIの処理を追記
const textEventHandler = async (event: WebhookEvent): Promise<MessageAPIResponseBase | undefined> => {
  // Process all variables here.
  if (event.type !== 'message' || event.message.type !== 'text') {
    return
  }

  // Process all message related variables here.
  const { replyToken } = event
  const prompt = event.message.text + '->'
  const model = 'davinci:ft-personal-2023-02-26-05-07-41'

  // generate response created by OpenAI's model
  const AIResponse = await openai.createCompletion({
    model: model,
    prompt: prompt,
    max_tokens: 100,
    stop: '\n',
  })
  const text: string = AIResponse.data.choices[0].text

  // Create a new message.
  const response: TextMessage = {
    type: 'text',
    text: text,
  }

  // Reply to the user.
  await client.replyMessage(replyToken, response)
}
コードはこちらに公開しています
renderにデプロイしなおすと、ファインチューニングされた友だちと会話することができます!