CIツールを入れて生産性バク上げしたい。今回はよく聞くCIツール、CircleCIを使ってみた。
この記事のゴール
RSpecで書いたRuby on RailsのアプリをCircleCI上でテストする
動作環境
ruby 2.5.1
rails 5.2.2
CircleCI 2
アプリケーションのセットアップ
まず、Railsアプリのセットアップ。無心でセットアップしていく。
$ rails new circle-ci-test -d mysql
$ cd circle-ci-test
$ rails db:create
$ rails g rspec:install
$ rails g scaffold product title:string content:text
$ rails db:migrate
$ rails s
以上でproductリソースをCRUD処理する機能が出来上がった。下記みたいなカンジ。

テストをCIで試してみたいので、RSpecを書いていく。
specを書く
コントローラのspecが自動で生成されているが、モデルのほうがテストを書くのが簡単で簡単のため、コントローラのspecは削除。productモデルにバリデーションを実装して、そのテストを書いていく。
product.rb
class Product < ApplicationRecord
  validates :title, :content, presence: true
  validates :title, length: { in: 5..20 }
end
product_spec.rb
require 'rails_helper'

RSpec.describe Product, type: :model do
  it 'title, contentが存在するので、バリデーションが通る' do
    product = Product.new(title: 'こんにちは!', content: '元気ですか!')
    expect(product).to be_valid
  end
  it 'titleが存在しないので、バリデーションが弾かれる' do
    product = Product.new(content: '元気ですか!')
    expect(product).not_to be_valid
  end
  it 'contentが存在しないので、バリデーションが弾かれる' do
    product = Product.new(title: 'こんにちは!')
    expect(product).not_to be_valid
  end
  it 'titleが5文字未満なので、バリデーションが弾かれる' do
    product = Product.new(title: 'パクチー')
    expect(product).not_to be_valid
  end
end
テストを実行
$ bundle exec rspec
...

Finished in 0.01224 seconds (files took 0.81481 seconds to load)
4 examples, 0 failures
OK、テストアプリはできた。以上をコミットしてGithubリポジトリを作ってpushする。
CircleCIのセットアップ
CircleCIにサインアップして、GirHub連携をするとダッシュボードが表示されて、以下のカードが表示される。
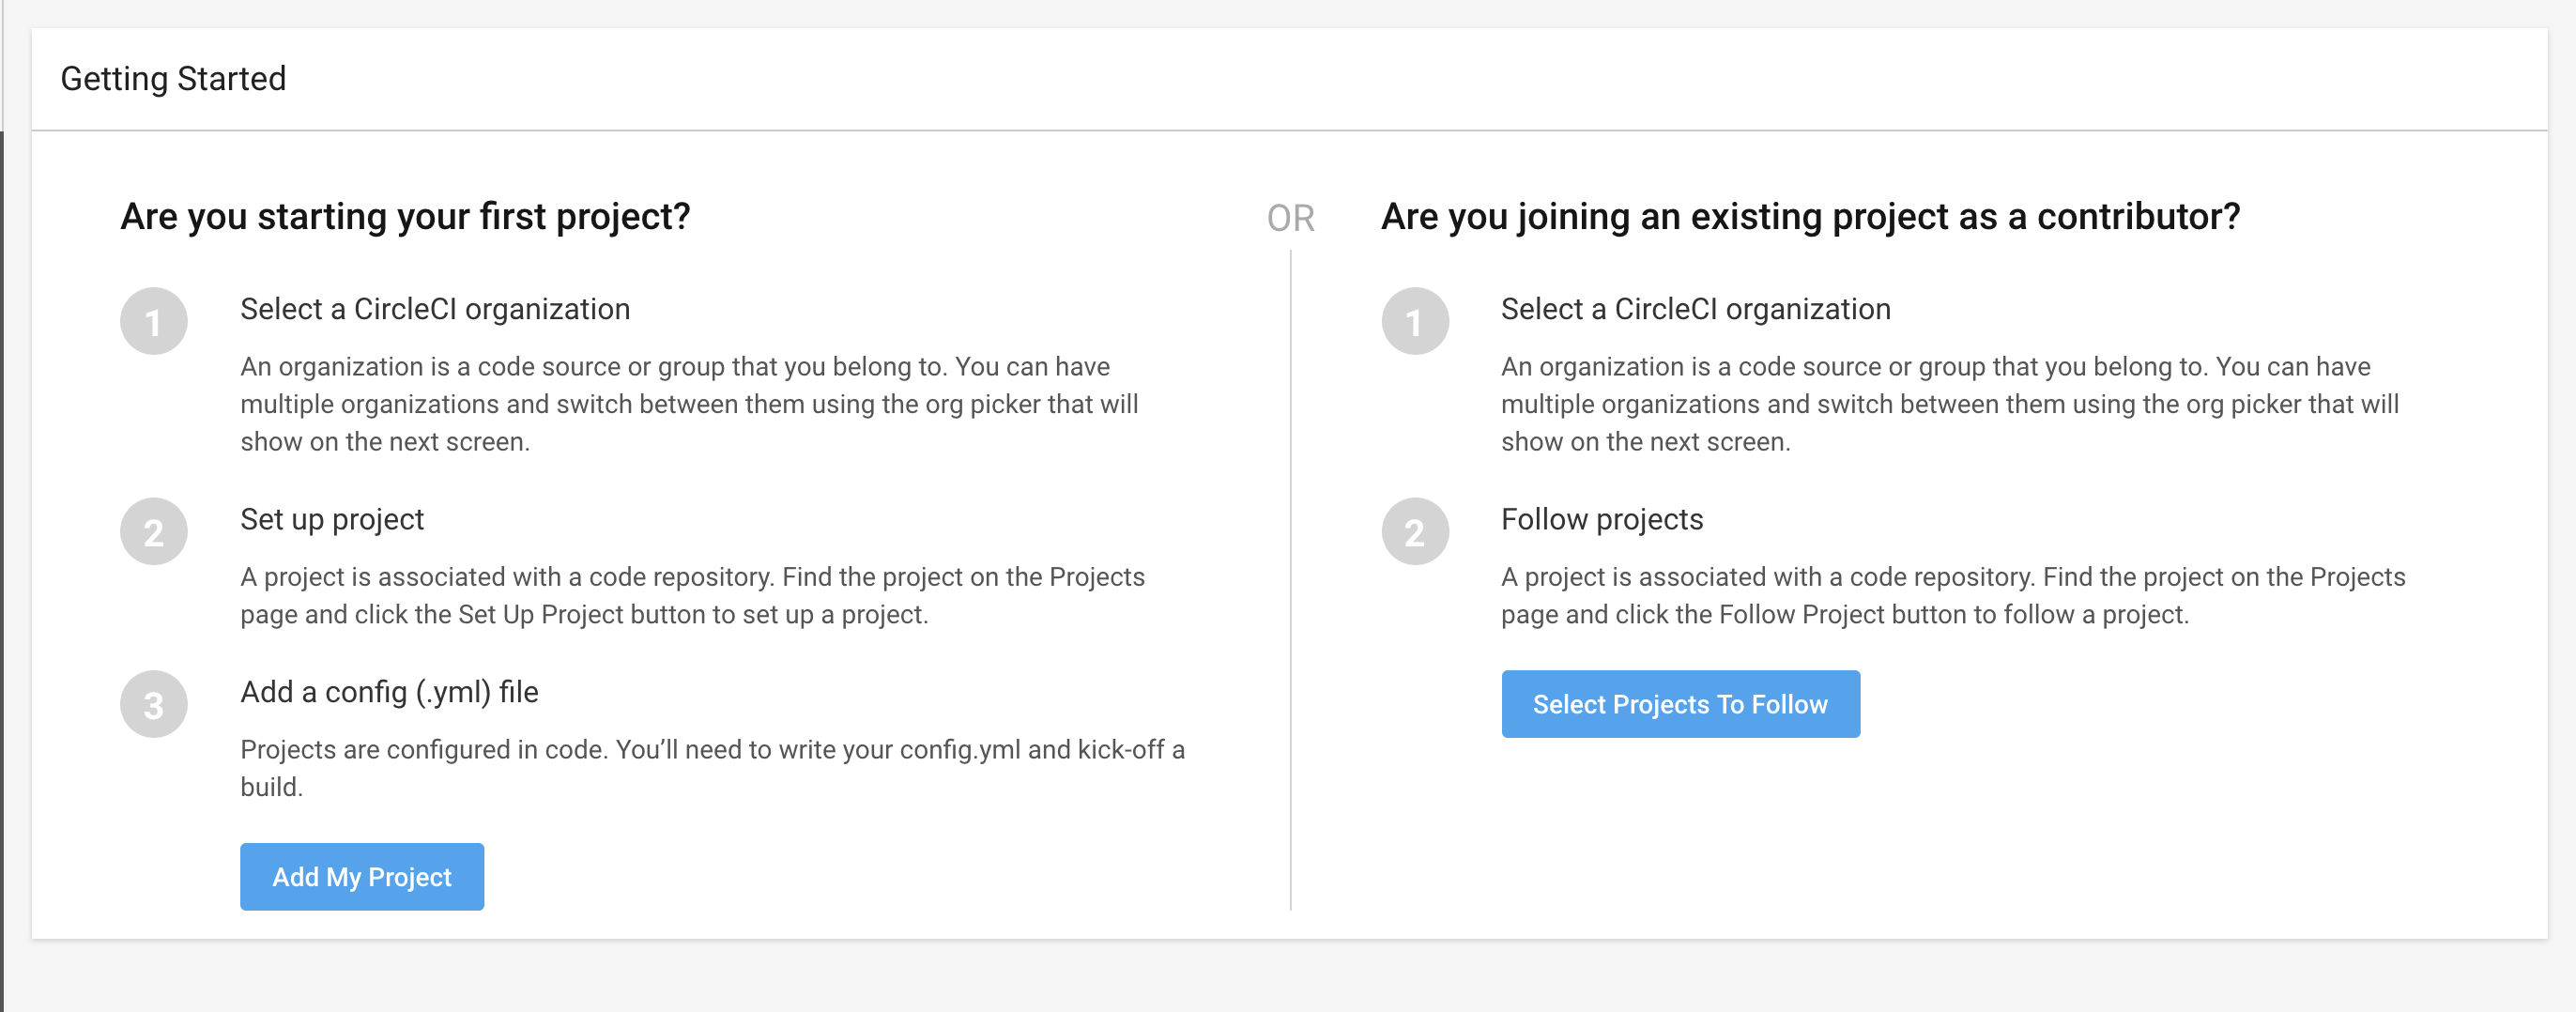
この画像通りに設定をしてみる。
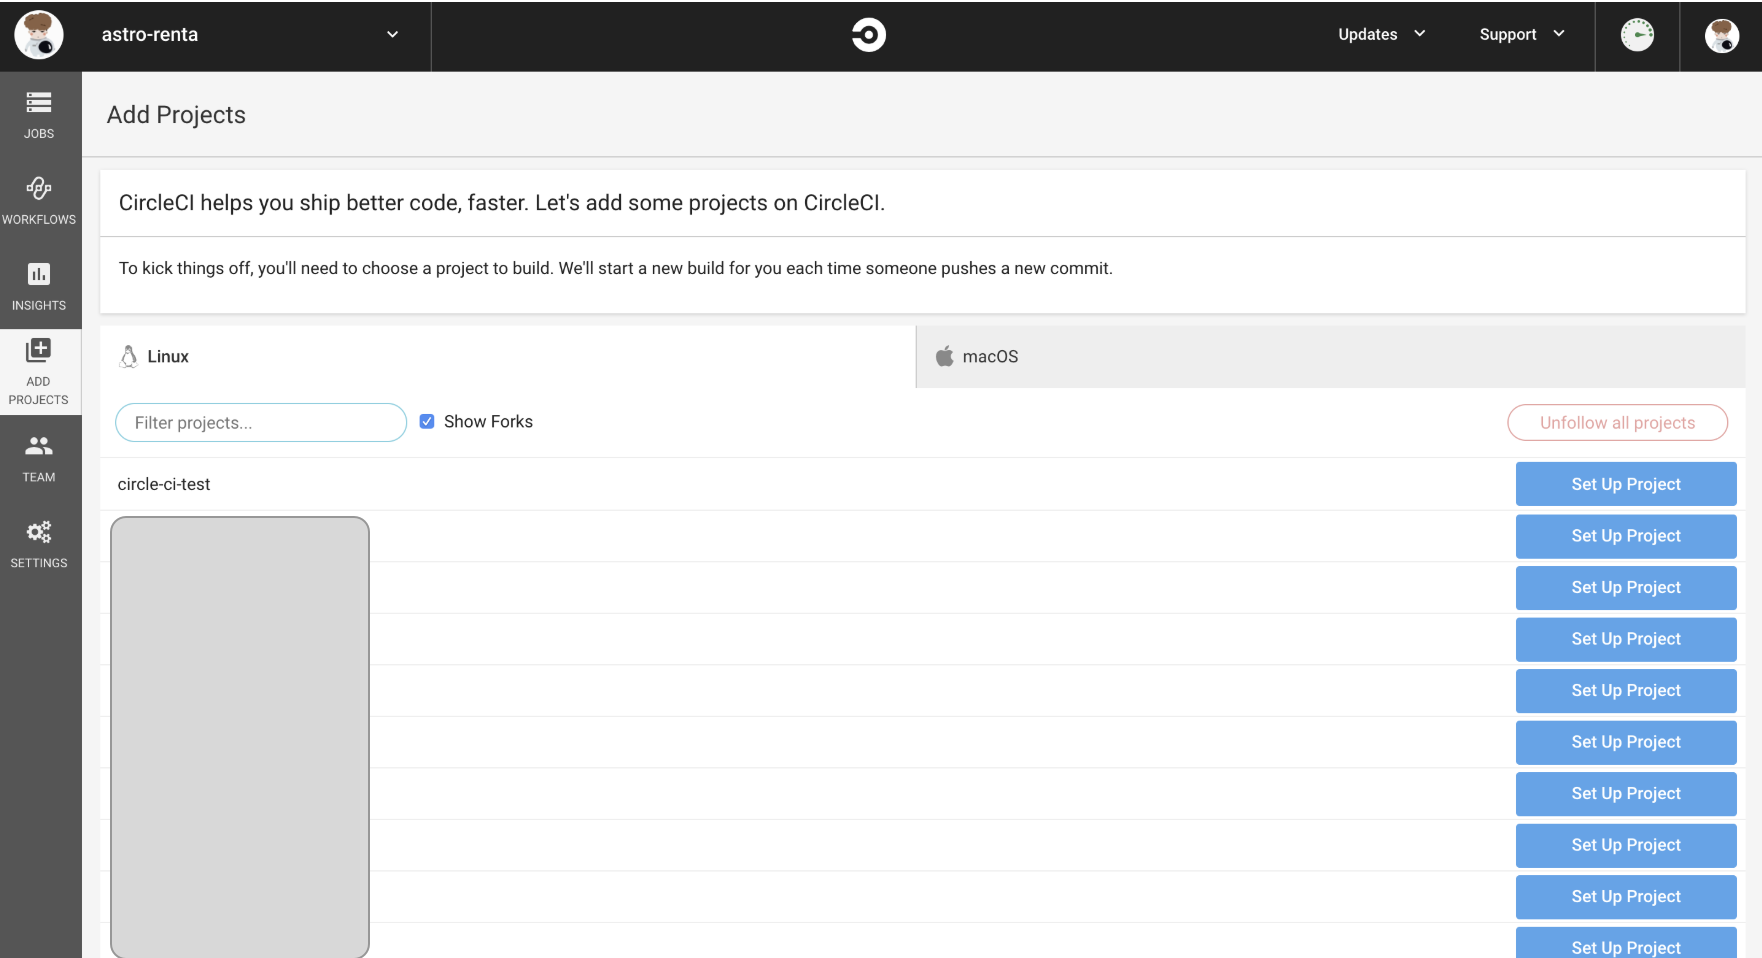
circle-ci-testレポジトリ発見。Set Up Projectボタンを押す。
ボタンを押すとこんな画面に。
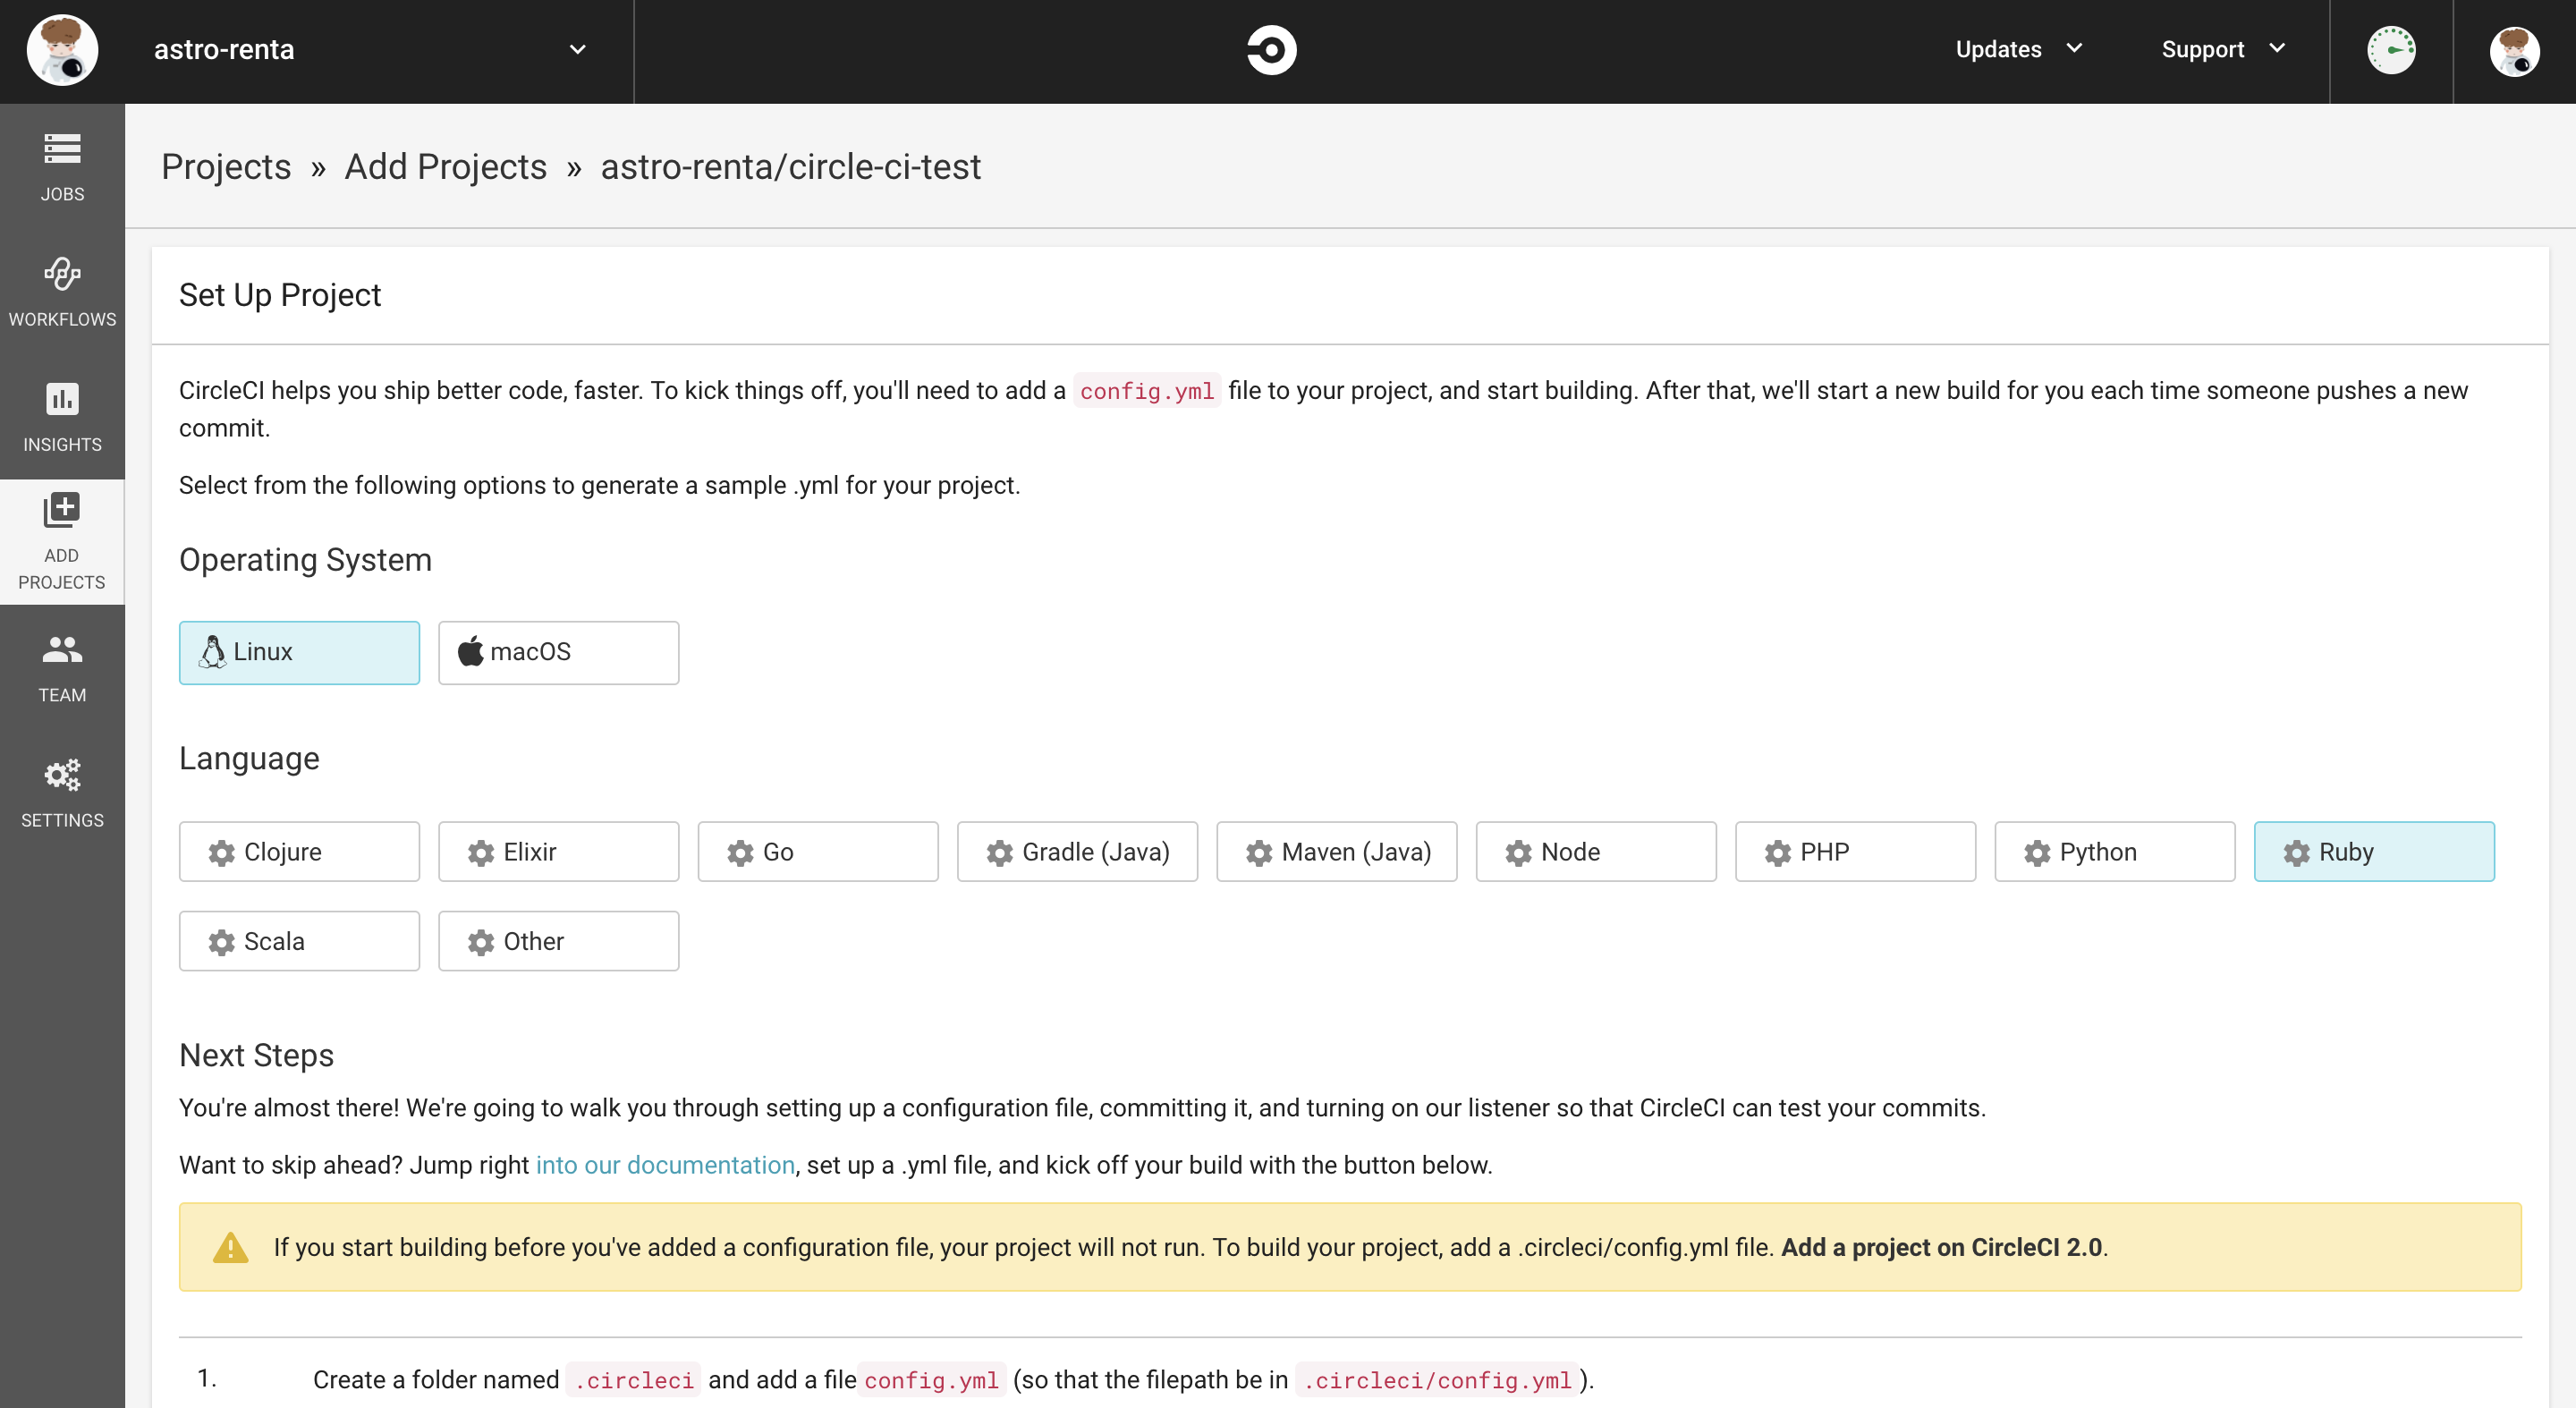
下の方に優しく設定方法が書いてある。これに従えば基本的なセットアップができる親切設計。最高

この順に設定していく。
$ mkdir .circleci && cd .circleci && touch config.yml && cd ..
config.ymlを以下の設定にする。
ちょっと試行錯誤した。
# Ruby CircleCI 2.0 configuration file
#
# Check https://circleci.com/docs/2.0/language-ruby/ for more details
#
version: 2
jobs:
  build:
    docker:
      # specify the version you desire here
      - image: circleci/ruby:2.5.1-node-browsers
        environment:
          RAILS_ENV: test
          MYSQL_HOST: 127.0.0.1
          MYSQL_USERNAME: 'root'
          MYSQL_PASSWORD: ''
          MYSQL_PORT: 3306
      - image: circleci/mysql:5.7.18
        environment:
          MYSQL_ALLOW_EMPTY_PASSWORD: true
          MYSQL_ROOT_PASSWORD: ''
          MYSQL_DATABASE: circle_ci_test-test

      # Specify service dependencies here if necessary
      # CircleCI maintains a library of pre-built images
      # documented at https://circleci.com/docs/2.0/circleci-images/
      # - image: circleci/postgres:9.4

    working_directory: ~/circle-ci-test

    steps:
      - checkout

      # Download and cache dependencies
      - restore_cache:
          keys:
            - v1-dependencies-{{ checksum "Gemfile.lock" }}
            # fallback to using the latest cache if no exact match is found
            - v1-dependencies-

      - run:
          name: install dependencies
          command: |
            bundle install --jobs=4 --retry=3 --path vendor/bundle

      - save_cache:
          paths:
            - ./vendor/bundle
          key: v1-dependencies-{{ checksum "Gemfile.lock" }}

      # Database setup
      - run:
          name: waiting for stating database
          command: dockerize -wait tcp://127.0.0.1:3306 -timeout 1m
      - run: bundle exec rake db:create
      - run: bundle exec rake db:schema:load

      # run tests!
      - run:
          name: Run rspec in parallel
          command: |
            bundle exec rspec --profile 10 \
                              --format RspecJunitFormatter \
                              --out test_results/rspec.xml \
                              --format progress \
                              $(circleci tests glob "spec/**/*_spec.rb" | circleci tests split --split-by=timings)

      # collect reports
      - store_test_results:
          path: /tmp/test-results
      - store_artifacts:
          path: /tmp/test-results
          destination: test-results
また、Gemfileに以下を追加する
gem 'rspec_junit_formatter'
bundle installしてpushすると、自動でGithubでビルド&テスト実行される!
雑感
めっちゃ簡単!チーム開発する場合はどんどん入れていきたいところ!
また、上のプロジェクトをGithubのパブリックなリポジトリに登録していたらCircleCIからフィードバックアンケートのお願いのメールが来た。ユーザーと共に良いプロダクトを作っていて最高でございます。