環境
- Windows 11
- eclipse 2022-06 ※こちらから日本語版がDownloadできます。
- Java, Tomcatは任意のバージョンでどうぞ。
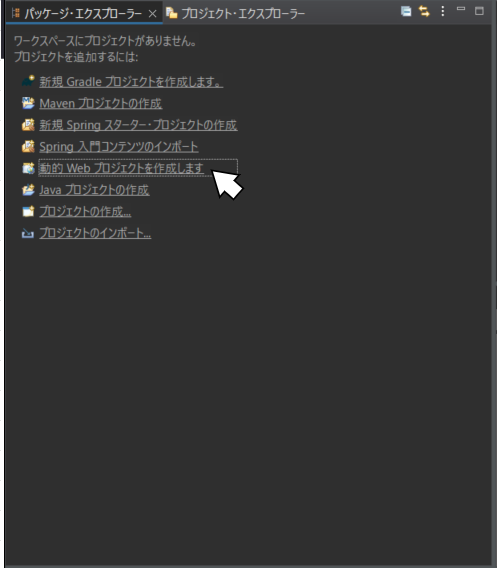
1. プロジェクトの作成
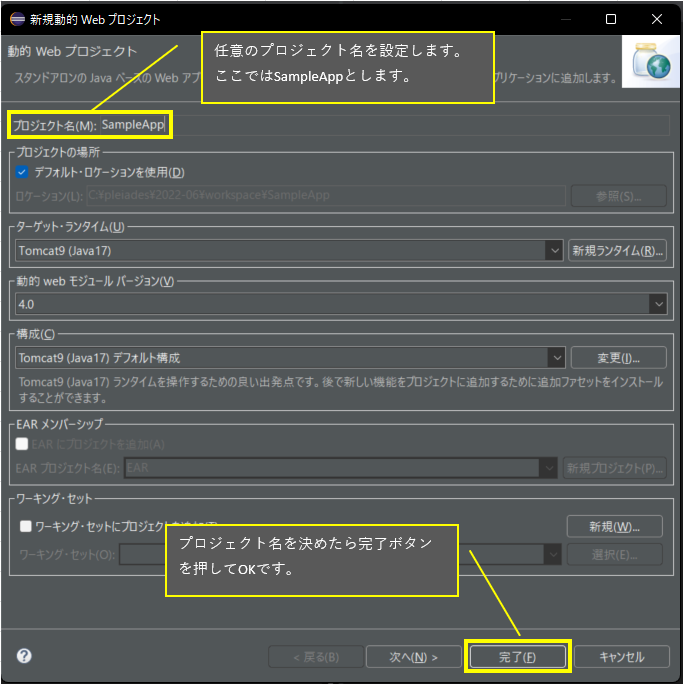
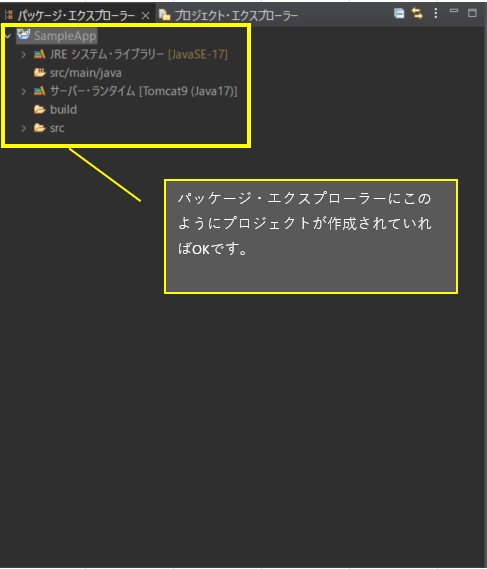
- eclipseの「パッケージ・エクスプローラー」で「動的Webプロジェクトを作成します」を選択し、プロジェクトを作成します。
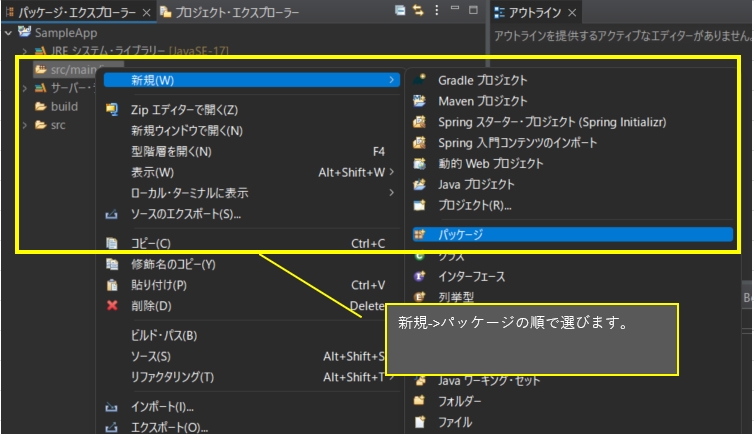
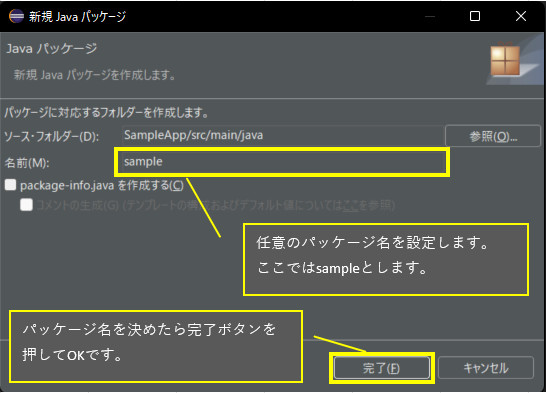
2. パッケージの作成
- 「パッケージ・エクスプローラー」で「src/main/java」を右クリックし、サーブレットクラスを作成する為の新規パッケージを作成します。
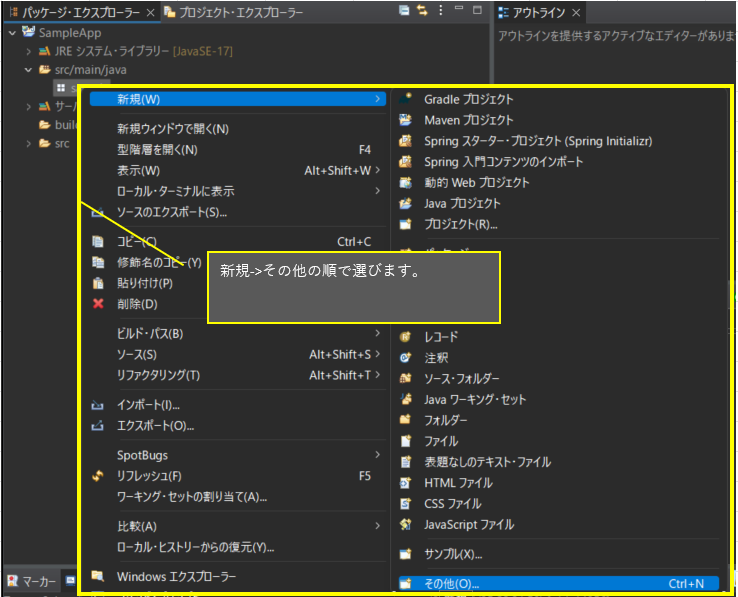
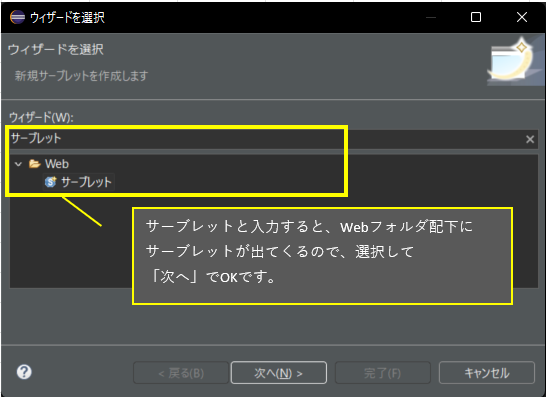
3. サーブレットの作成
- 先ほど作成した「sample」パッケージを右クリックし、サーブレットクラスを作成します。

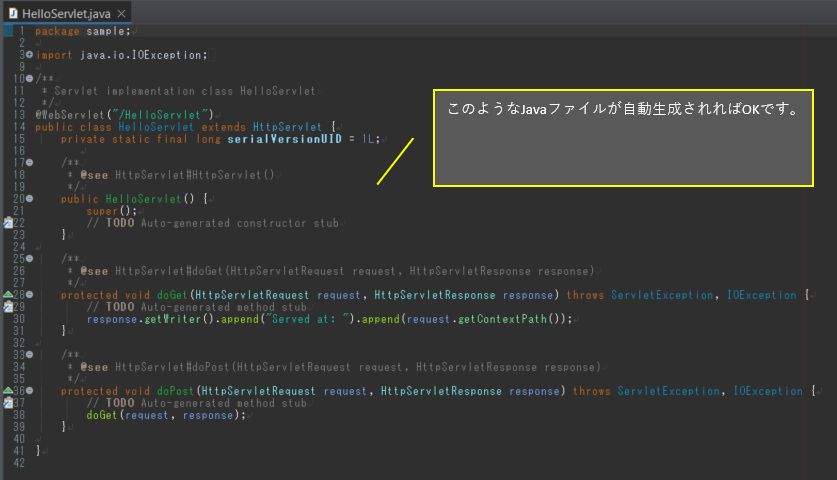
4. Hello Worldを出力するコードを追加
- 28行目からのdoGetメソッドを以下のように書き換えます。
HelloServlet.java
28	protected void doGet(HttpServletRequest request, HttpServletResponse response) throws ServletException, IOException {
29		response.getWriter().append("Hello World!");
30	}
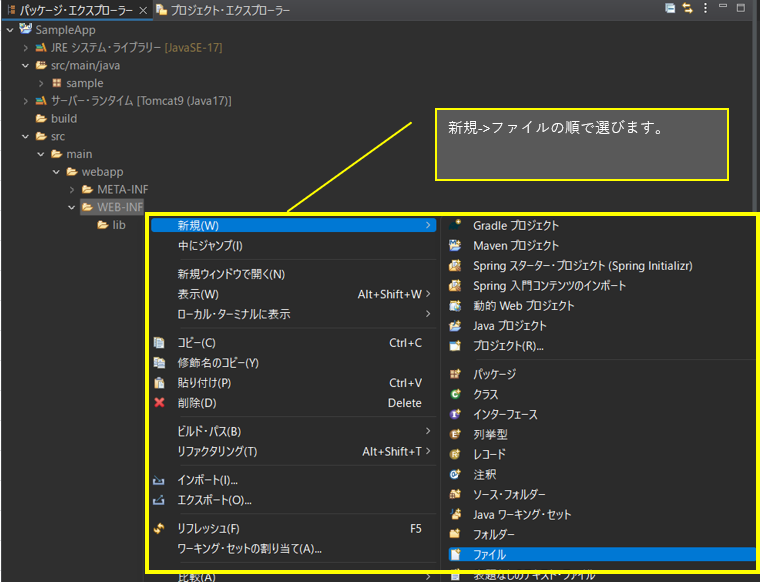
5.web.xmlの追加
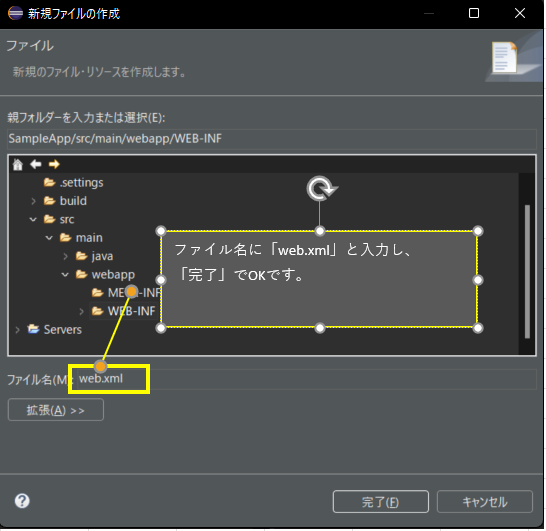
- 「パッケージ・エクスプローラー」で「WEB-INF」を右クリックし、web.xmlを作成します。
- 以下の通りweb.xmlを記述します。
web.xml
<web-app xmlns:xsi="http://www.w3.org/2001/XMLSchema-instance" xmlns:web="http://xmlns.jcp.org/xml/ns/javaee" xsi:schemaLocation="http://xmlns.jcp.org/xml/ns/javaee http://java.sun.com/xml/ns/javaee/web-app_2_5.xsd">
    <servlet>
        <servlet-name>HelloServlet</servlet-name>
        <servlet-class>sample.HelloServlet</servlet-class>
    </servlet>
    <servlet-mapping>
        <servlet-name>HelloServlet</servlet-name>
        <url-pattern>/hello</url-pattern>
    </servlet-mapping>
</web-app>
6.実行
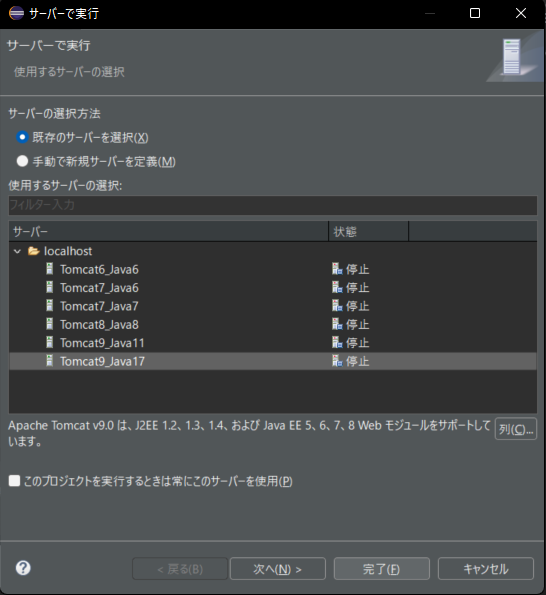
- 「パッケージ・エクスプローラー」でプロジェクトを右クリックし、サーバーで実行します。
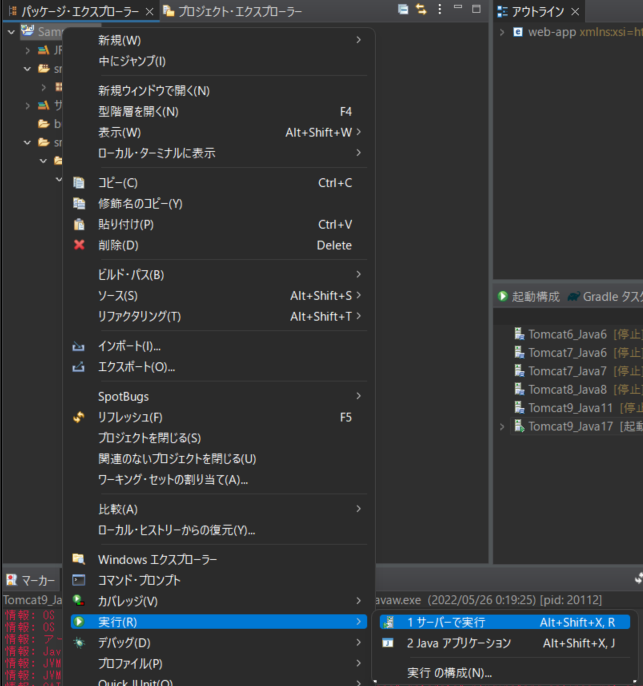
- 以下の通り選択し、完了でOKです。
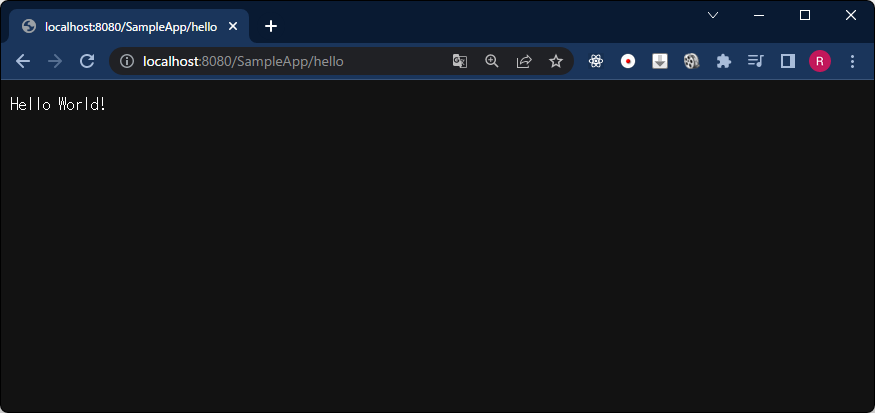
- 以下のURLに接続し、「Hello World!」と表示されれば成功です。
http://localhost:8080/SampleApp/hello