インストール
pip install winocr
Usage
winocrをインポート
import winocr
Pillow使い
langパラメータ(第2引数)で認識対象の言語を指定可能です。
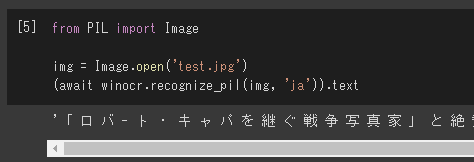
from PIL import Image

img = Image.open('test.jpg')
(await winocr.recognize_pil(img, 'ja')).text
OpenCV使い
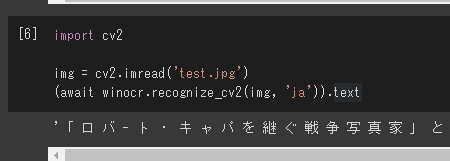
import cv2

img = cv2.imread('test.jpg')
(await winocr.recognize_cv2(img, 'ja')).text
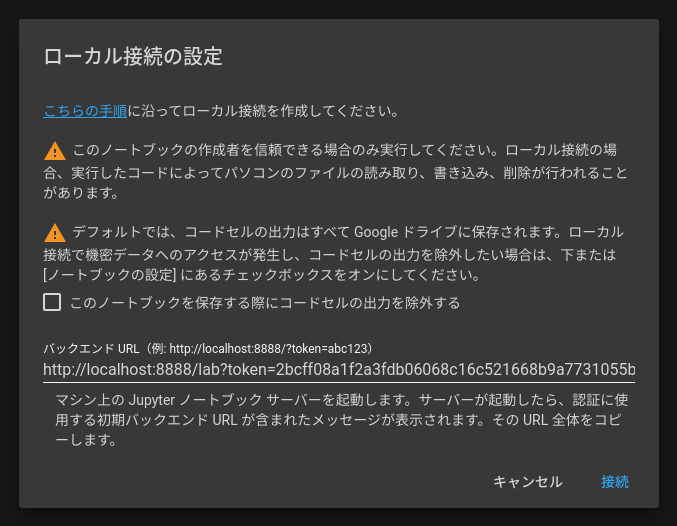
Colaboratoryへのローカルランタイムへの接続
Jupyter起動
pip install jupyterlab jupyter_http_over_ws
jupyter serverextension enable --py jupyter_http_over_ws
jupyter notebook --NotebookApp.allow_origin='https://colab.research.google.com' --ip=0.0.0.0 --port=8888 --NotebookApp.port_retries=0
UbuntuやMacから使用する場合は、VMSなどからWindowsをVirtualBoxなどにインストールし、ポートフォワーディングなどを行う。

Jupyter/JupyterLabは、何も設定せずに使えます!
API経由で使う人
予めOCR Serverを起動させること!
pip install winocr[api]
winocr_serve
Python
import requests

f = open('test.jpg', 'rb')
requests.post('http://localhost:8000/?lang=ja', f.read()).json()['text']

./ngrok http 8000 でColaboratoryのランタイムでOCRを実行できます。
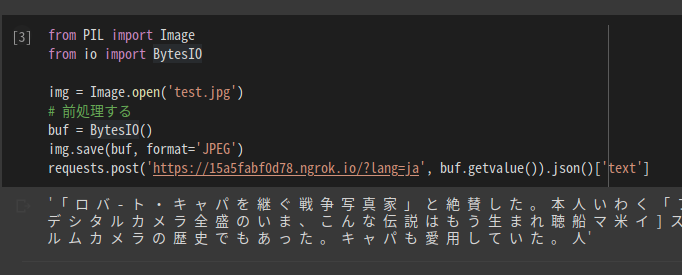
from PIL import Image
from io import BytesIO

img = Image.open('test.jpg')
# 前処理する
buf = BytesIO()
img.save(buf, format='JPEG')
requests.post('https://15a5fabf0d78.ngrok.io/?lang=ja', buf.getvalue()).json()['text']
import cv2
import requests

img = cv2.imread('test.jpg')
# 前処理する
requests.post('https://15a5fabf0d78.ngrok.io/?lang=ja', cv2.imencode('.jpg', img)[1].tobytes()).json()['text']
Windows ServerでOCR Serverを動かすことも可能です。
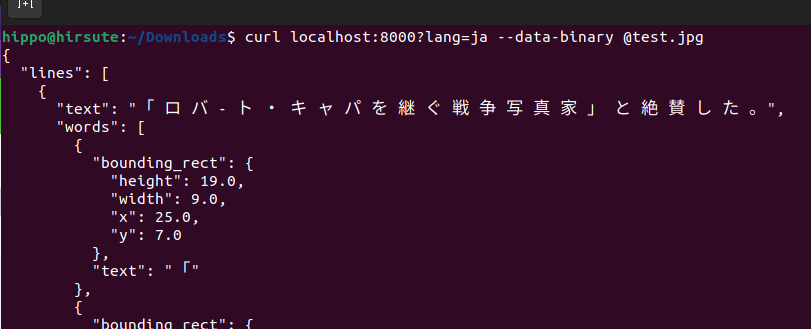
Curl
curl localhost:8000?lang=ja --data-binary @test.jpg
JavaScript
Chromeかつ英語だけの認識だけでよければ、Text Detection APIも検討できます。
// input要素の画像から認識
const file = document.querySelector('[type=file]').files[0]
await fetch('http://localhost:8000/', {method: 'POST', body: file}).then(r => r.json())

// 画像をダウンロードして認識
const blob = await fetch('https://image.itmedia.co.jp/ait/articles/1706/15/news015_16.jpg').then(r=>r.blob())
await fetch('http://localhost:8000/?lang=ja', {method: 'POST', body: blob}).then(r => r.json())
取得可能な情報
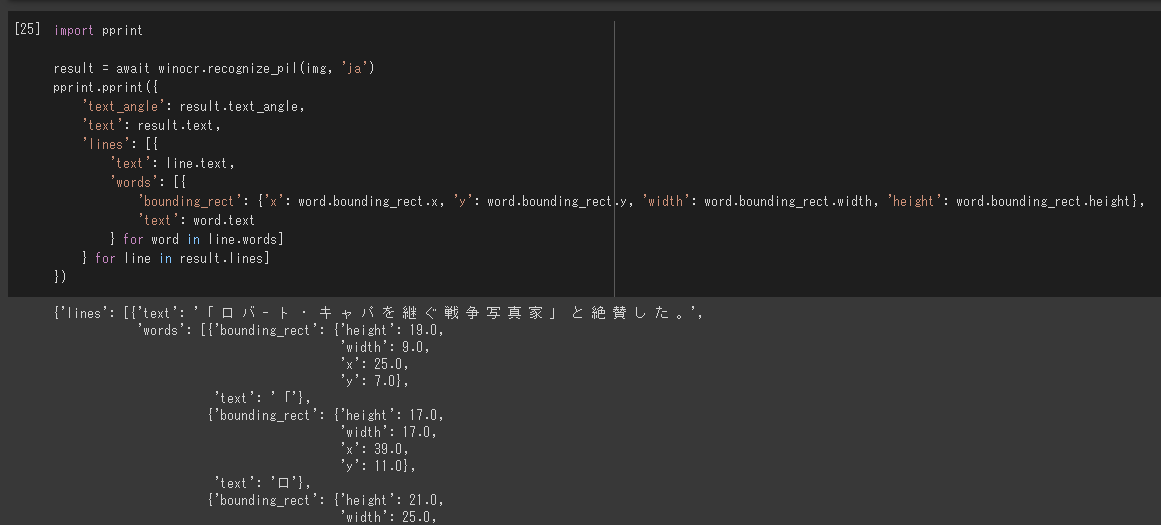
angle, text, line, word, BoundingBoxが取得できます。
import pprint

result = await winocr.recognize_pil(img, 'ja')
pprint.pprint({
    'text_angle': result.text_angle,
    'text': result.text,
    'lines': [{
        'text': line.text,
        'words': [{
            'bounding_rect': {'x': word.bounding_rect.x, 'y': word.bounding_rect.y, 'width': word.bounding_rect.width, 'height': word.bounding_rect.height},
            'text': word.text
        } for word in line.words]
    } for line in result.lines]
})
言語のインストール
# 管理者のPowerShellでインストールできます
Add-WindowsCapability -Online -Name "Language.OCR~~~en-US~0.0.1.0"
Add-WindowsCapability -Online -Name "Language.OCR~~~ja-JP~0.0.1.0"

# インストールした言語の検索
Get-WindowsCapability -Online -Name "Language.OCR*"
# State: NotPresentの言語はインストール出来ていないので必要に応じてインストールしてください
Name         : Language.OCR~~~hu-HU~0.0.1.0
State        : NotPresent
DisplayName  : ハンガリー語の光学式文字認識
Description  : ハンガリー語の光学式文字認識
DownloadSize : 194407
InstallSize  : 535714

Name         : Language.OCR~~~it-IT~0.0.1.0
State        : NotPresent
DisplayName  : イタリア語の光学式文字認識
Description  : イタリア語の光学式文字認識
DownloadSize : 159875
InstallSize  : 485922

Name         : Language.OCR~~~ja-JP~0.0.1.0
State        : Installed
DisplayName  : 日本語の光学式文字認識
Description  : 日本語の光学式文字認識
DownloadSize : 1524589
InstallSize  : 3398536

Name         : Language.OCR~~~ko-KR~0.0.1.0
State        : NotPresent
DisplayName  : 韓国語の光学式文字認識
Description  : 韓国語の光学式文字認識
DownloadSize : 3405683
InstallSize  : 7890408
宗教上の理由でPythonが使えない、PowerShellだけで認識したい場合は、 こちら
高速化
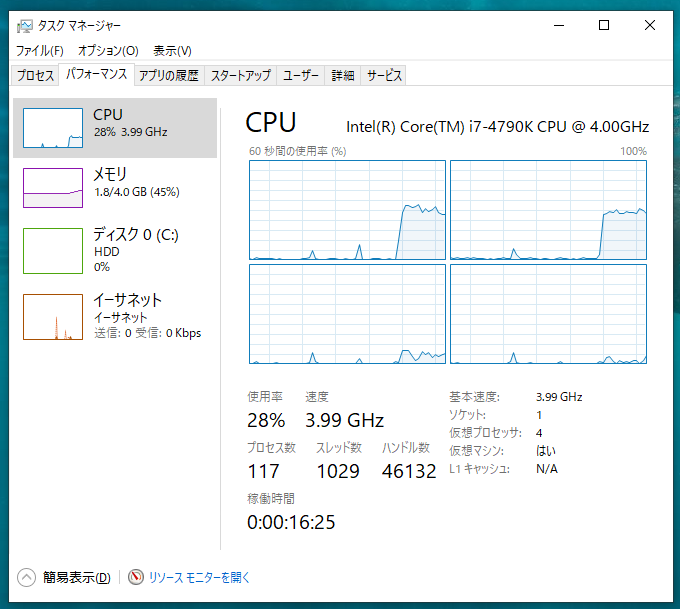
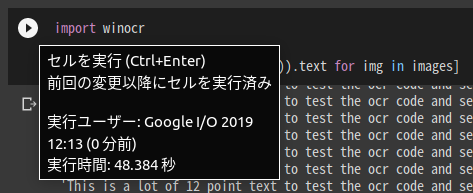
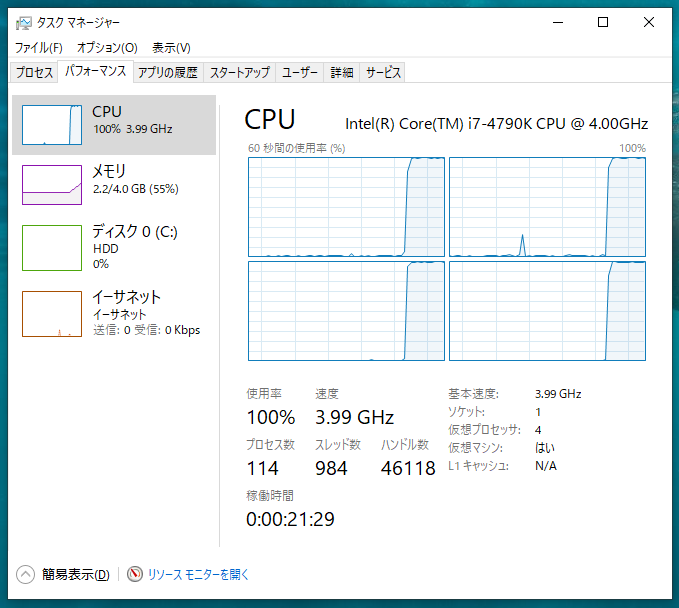
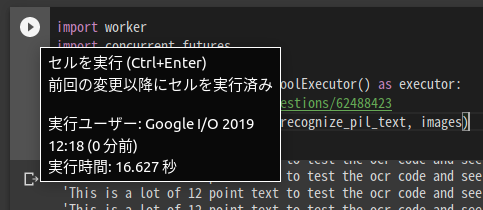
並列処理することで3倍高速になりました。コア数を増やせばさらに高速化できます!
from PIL import Image

images = [Image.open('testocr.png') for i in range(1000)]
1コア 48秒
import winocr

[(await winocr.recognize_pil(img)).text for img in images]
ちなみに、Tesseractで同じ画像を同じ枚数認識すると、223秒かかります

4コア 16秒
workerモジュールを作成
%%writefile worker.py
import winocr
import asyncio

async def ensure_coroutine(awaitable):
    return await awaitable

def recognize_pil_text(img):
    return asyncio.run(ensure_coroutine(winocr.recognize_pil(img))).text
import worker
import concurrent.futures

with concurrent.futures.ProcessPoolExecutor() as executor:
  # https://stackoverflow.com/questions/62488423
  results = executor.map(worker.recognize_pil_text, images)
list(results)
