ユーザの作成
Userモデルにパッと必要そうなカラムを
まず入れてみる。
rails g model User name:string email:string
一旦migrationする。
rails db:migrate
ログイン機能とかがないのであれば、
もしかしたら、これでも足りる(?)のかもしれないが、
ログインするためには、
passwordが必要であろう。
セキュリテイーとかをガン無視するのであれば、
単にpasswordカラムをUserモデルに追加して、
そのまま平文で保存すればいいと思うが、
流石にそれはまずいということで、
has_secure_passwordを使うことにする。
そのためには、password_digestカラムが必要になるので、
password_digestをUserモデルに追加する。
rails generate migration add_password_digest_to_users password_digest:string
rails db:migrate
これでusersテーブルは、
次のようになるだろう。
  create_table "users", force: :cascade do |t|
    t.string "name"
    t.string "email"
    t.datetime "created_at", null: false
    t.datetime "updated_at", null: false
    t.string "password_digest"
  end
bcryptも必要なので、
追加する。
gem 'bcrypt'
bundle
これでhas_secure_methodが使えるようになるので、
追記する。
class User < ApplicationRecord
  has_secure_password
end
ログイン機能の簡単なテスト
まずは、簡単なテストから作成してみる。
require 'rails_helper'

RSpec.describe 'Sessions', type: :request do
  let!(:user) { create(:user) }

  describe 'GET /login' do
    context 'ログイン画面' do
      it 'success' do
        get login_path
        expect(response).to have_http_status(:success)
      end
    end
  end

  describe 'POST /login' do
    context 'ログイン' do
      it 'sessionにuser_idが格納される' do
        post login_path, params: { session: { email: 'test@example.com', password: 'foobar' } }
        expect(!!session[:user_id]).to eq true
      end
    end
  end
end
このテストが通るように、
まずはルーティングの設定をする。
  get 'login', to: 'sessions#new'
  post 'login', to: 'sessions#create'
これでlogin_pathが有効になる。
routes.rbでsessionsコントローラーの
newとcreateアクションに割り当てたから、
そちらも作成する。
class SessionsController < ApplicationController
  def new
  end

  def create
  end
end
newの方はログインフォームを使用するので、
viewも作成する。
<% provide(:title, "ログイン画面") %>
<h2>ログイン</h2>
<div class="col-md-6">
  <%= form_with(url: login_path, scope: :session, local: true) do |f| %>

  <div class="form-group mb-3">
    <%= f.label :email %>
    <%= f.email_field :email, class: 'form-control' %>
  </div>

  <div class="form-group mb-3">
    <%= f.label :password %>
    <%= f.password_field :password, class: 'form-control' %>
  </div>

    <%= f.submit "ログイン", class: "btn btn-primary" %>
  <% end %>
</div>
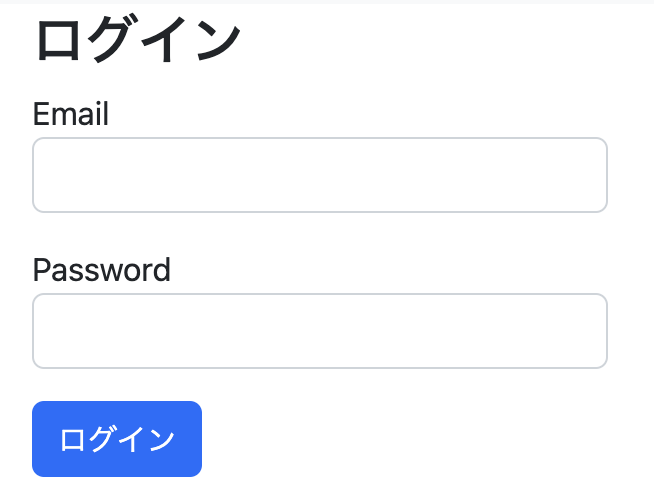
この図のとおり、
emailとpasswordがparamsとして送られてくる。
ログインのプロセスとしては、
emailからUserモデルを検索し、
そのユーザのpasswordが入力されたものと一致するかを
判断すればいい。
その際、authenticateメソッドを使用する。
class SessionsController < ApplicationController
  skip_before_action :check_logged_in, only: [:new, :create]

  def new
  end

  def create
    user = User.find_by(email: params[:session][:email])
    if user && user.authenticate(params[:session][:password])
      log_in user
      redirect_to root_path
    else
      flash.now[:danger] = 'メールアドレスかパスワードが違います'
      render 'new'
    end
  end

  def destroy
    log_out
    redirect_to root_path
  end
end
authenticateできたら、
log_inするので、そのメソッドを実装する。
  module SessionsHelper
    def current_user
      return unless (user_id = session[:user_id])
      @current_user ||= User.find_by(id: user_id)
    end

    def log_in(user)
      session[:user_id] = user.id
    end

    def log_out
      session.delete(:user_id)
      @current_user = nil
    end
  end
sessions_helperに定義したので、
application_controller.rbで読み込む
class ApplicationController < ActionController::Base
  include SessionsHelper
  before_action :check_logged_in

  def check_logged_in
    return if current_user

    redirect_to root_path
  end
end
ログインは、結局の所、
session[:user_id] = user.id
に尽きる。
あとは、current_userとかを定義して、
ifとかで条件分岐して、
ログインした画面を作り上げている。
バリデーションなどは実装していないので、
不十分だが、ログイン機能実装の流れは
このような感じだと思う。