概要
Contentfulとは
Contentfulは見た目がついてないCMSで、ブログやニュースなどの記事のモデルを定義すると、定義したモデルに対しAPI経由で実際の記事(データ)を登録したり参照したりできるものです。
乱暴にいうとWordpressの見た目がついてない記事管理機能って感じです。
やりたいこと
Contentfulで定義したブログ記事を、Reactで表示させようと思います。
事前準備
Contentfulに登録しておきます
https://app.contentful.com/
1.ブログの記事を作る
Contentfulの管理画面でブログの記事を作っていきます。
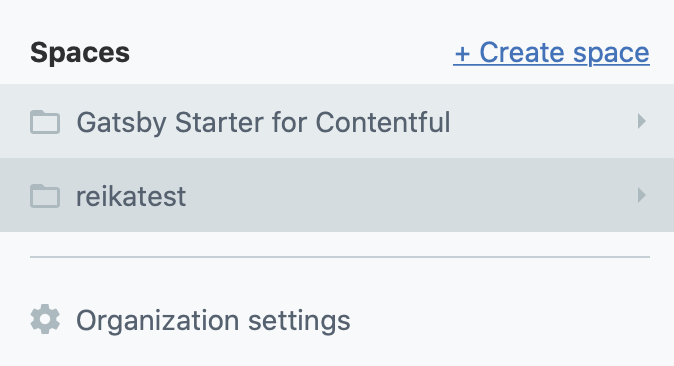
spaceを作る
Contentfulに登録してログインしたら、ヘッダメニューのトグルを開き**+Create space**をクリックして適当なスペースをひとつ作ります。
Content Modelを作る
記事の原型となるモデルを定義します。
Content modelを開き、Add content type のボタンをクリックします。
ダイアログで Nameに Post など適当な名前をつけて Createします。
これはPostというテーブルを作った形となります。
あとはフィールドとしてtitle、bodyを追加していきます。(右のサイドメニューから追加できます)
こんな形になればOKです。右上にある Saveで保存します。

記事を追加する
Contentを開くと、定義したモデルに記事が追加できるようになっています。
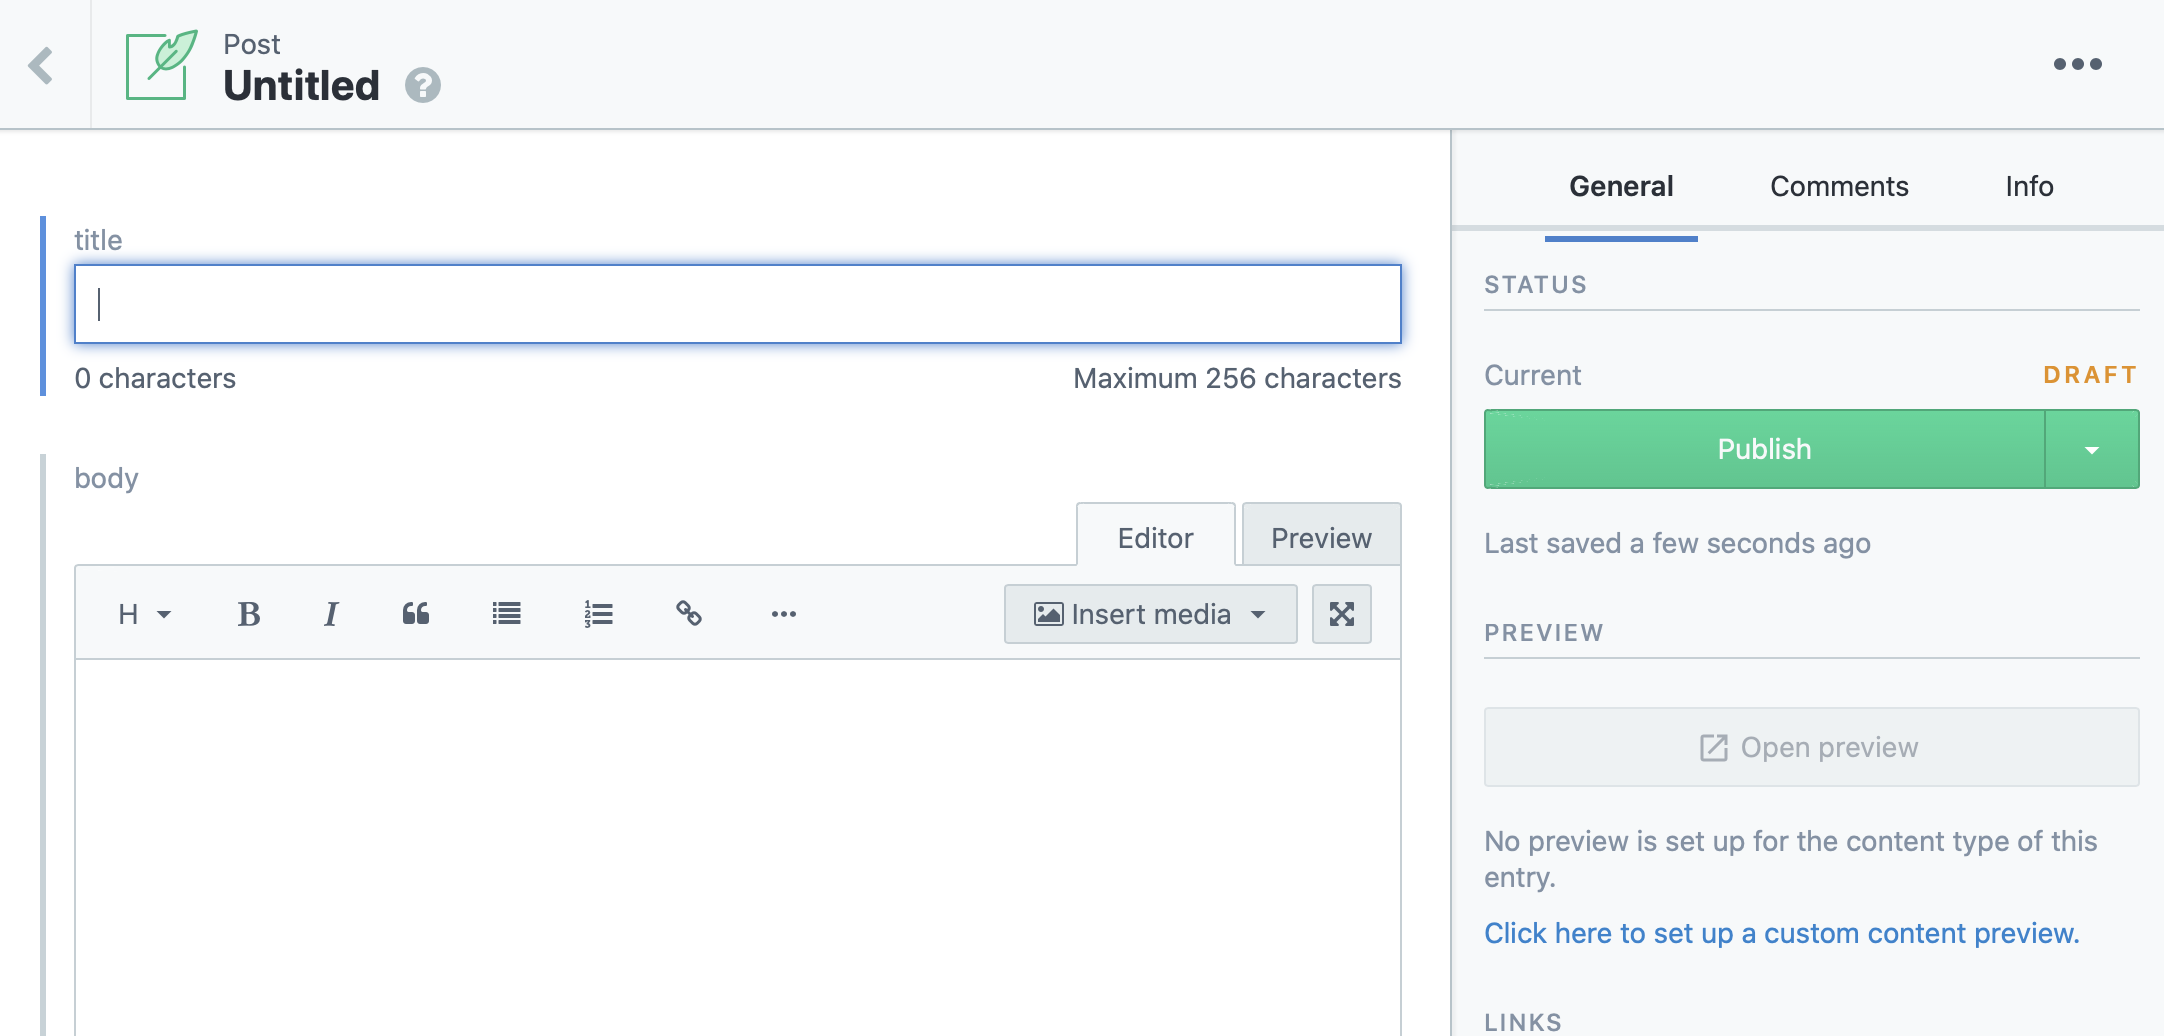
適当に記事を2つくらい追加したら終わりにします。

2. APIキーを設定する
次に、これらをAPIから呼び出すときに必要なトークンを追加します。
Settings から API Keysを開きます。
Add API Key をクリックしてキーを追加します。追加できるとトークンなどを確認できます。
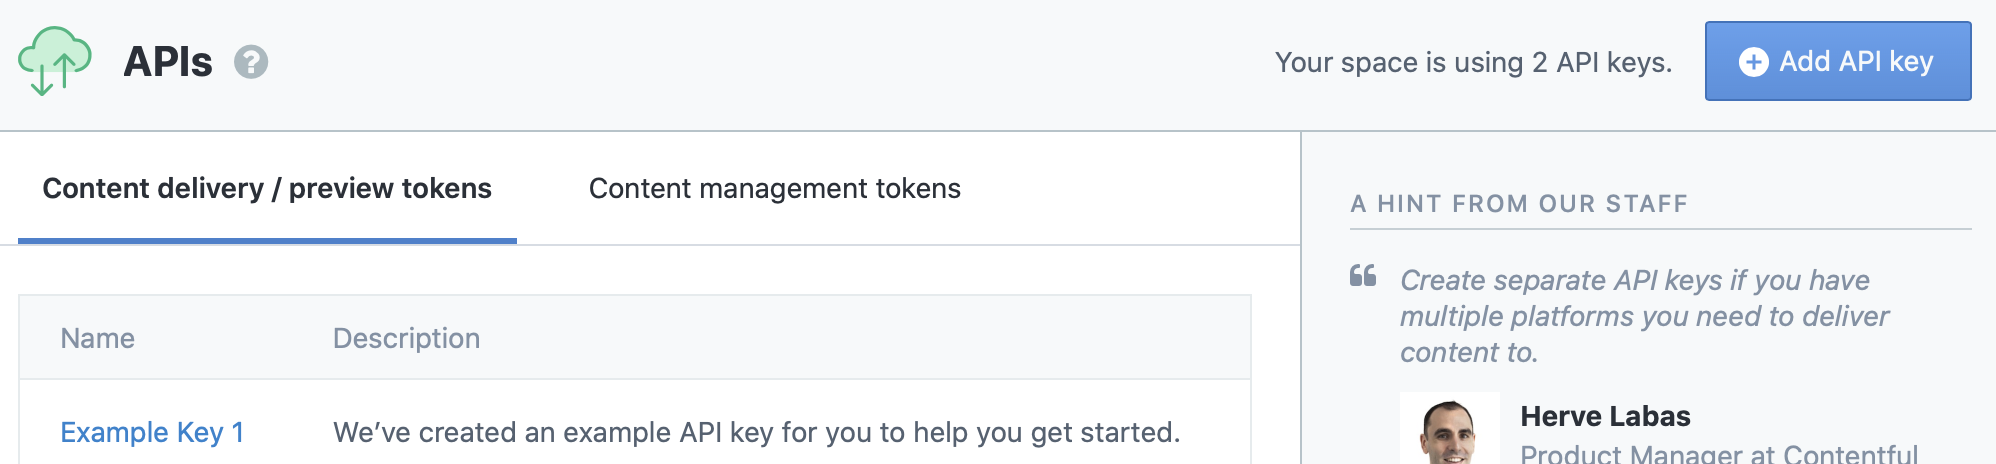
作成したキーの Space IDと Content DeliveryAPI -access token は後で利用します。
3.Reactから記事を呼び出す
次にReactで記事を表示してみます。
reactの雛形を作成
# create-react-app contentfultest
# cd contentfultest
次に、contentfulのAPIを使えるようにします。
# npm install --save contentful
あとはApp.jsを次のように変更します。
<SpaceID> と <Content Delivery API -access token> は先ほど作成したAPIキーの各値を貼り付けます。
import React from 'react';
import './App.css';
import * as contentful from 'contentful';

class App extends React.Component{

  client = contentful.createClient({
    space: "<Space ID>",
    accessToken: "<Content Delivery API - access token>"
  });

  state = {
    items: []
  }

  componentDidMount = () => {
    this.client.getEntries()
    .then((response) => {
      this.setState({
        items: response.items
      });
    });
  }

  render(){
    return (
      <div>
        {
          this.state.items.map((item) => (
            <li>{item.fields.title}</li>
           ))
        }
      </div>
    );
  }
}


export default App;
これで npm start すると次のように記事一覧が取得できます。

簡単なコードなので解説するまでもないですが、
- APIトークンを設定したclinetをcreateClient()で作成
- clientでgetEntriesを呼び出し、全記事を取得
- stateのitemsにentriesのitemを入れる
- 画面上に各itemのtitleを表示
という感じです。
モデルで設定した各フィールドは fields.xxxx で取得できます。
なので、記事本体を表示したい場合は上のコードの流れで言えば item.fields.body とすると本文を表示できます。
APIリファレンス
Contentful のAPIリファレンスはこちら