はじめに
MacがIntel CPUからArm CPUに移行して久しいが、Intel CPU(x86_64/amd64)の動作環境がないと話が進められないものも多い。そこで、M1 Macでx86_64バイナリを動作可能なLinux環境を用意したい場合がたまによくある。
今回はArm CPUを採用したMac(M1 Mac)上でx86_64バイナリの実行環境を構築する。
所見
Arm環境でx86_64バイナリをサクッと動作確認したい場合には今回の方法が有効だが、x86_64の開発環境を用意したい場合はColimaなどを用いてx86_64版Linuxコンテナを動作させるほうが良いだろう。
Arm版Linux環境の用意
Arm CPUを採用したMac(M1 Mac)上でx86_64の開発環境を構築する方法は大きくわけて2つ存在する。
- x86_64版Linuxを動作させる
- Arm版Linux上でx86_64バイナリの実行をサポートする
今回はmultipassを使ってArm版Linux上でx86_64バイナリの実行をサポートする。
Multipassとは
MultipassはUbuntuを開発しているCanonical Ltd.によって開発された軽量な仮想マシン管理ツールだ。主にLinux、macOS、Windows上でUbuntu仮想マシンを簡単に立ち上げ、管理するために使用される。Multipassは開発者がローカル環境でUbuntuのインスタンスを迅速に作成し、テストや実験を行うことを容易にすることを実現する。
M1 MacのMultipassはarm版のUbuntuの実行をサポートする。x86_64版のUbuntuを動作させることはできない。
Multipassのインストール
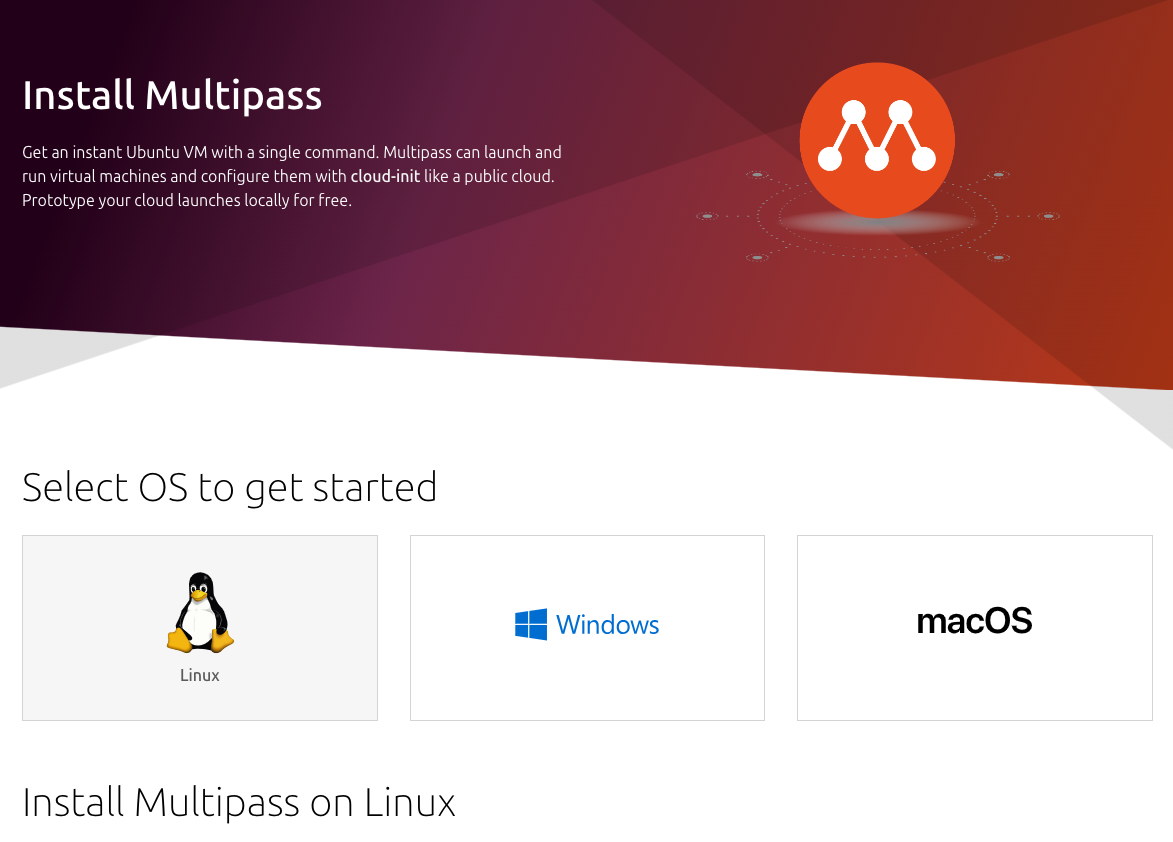
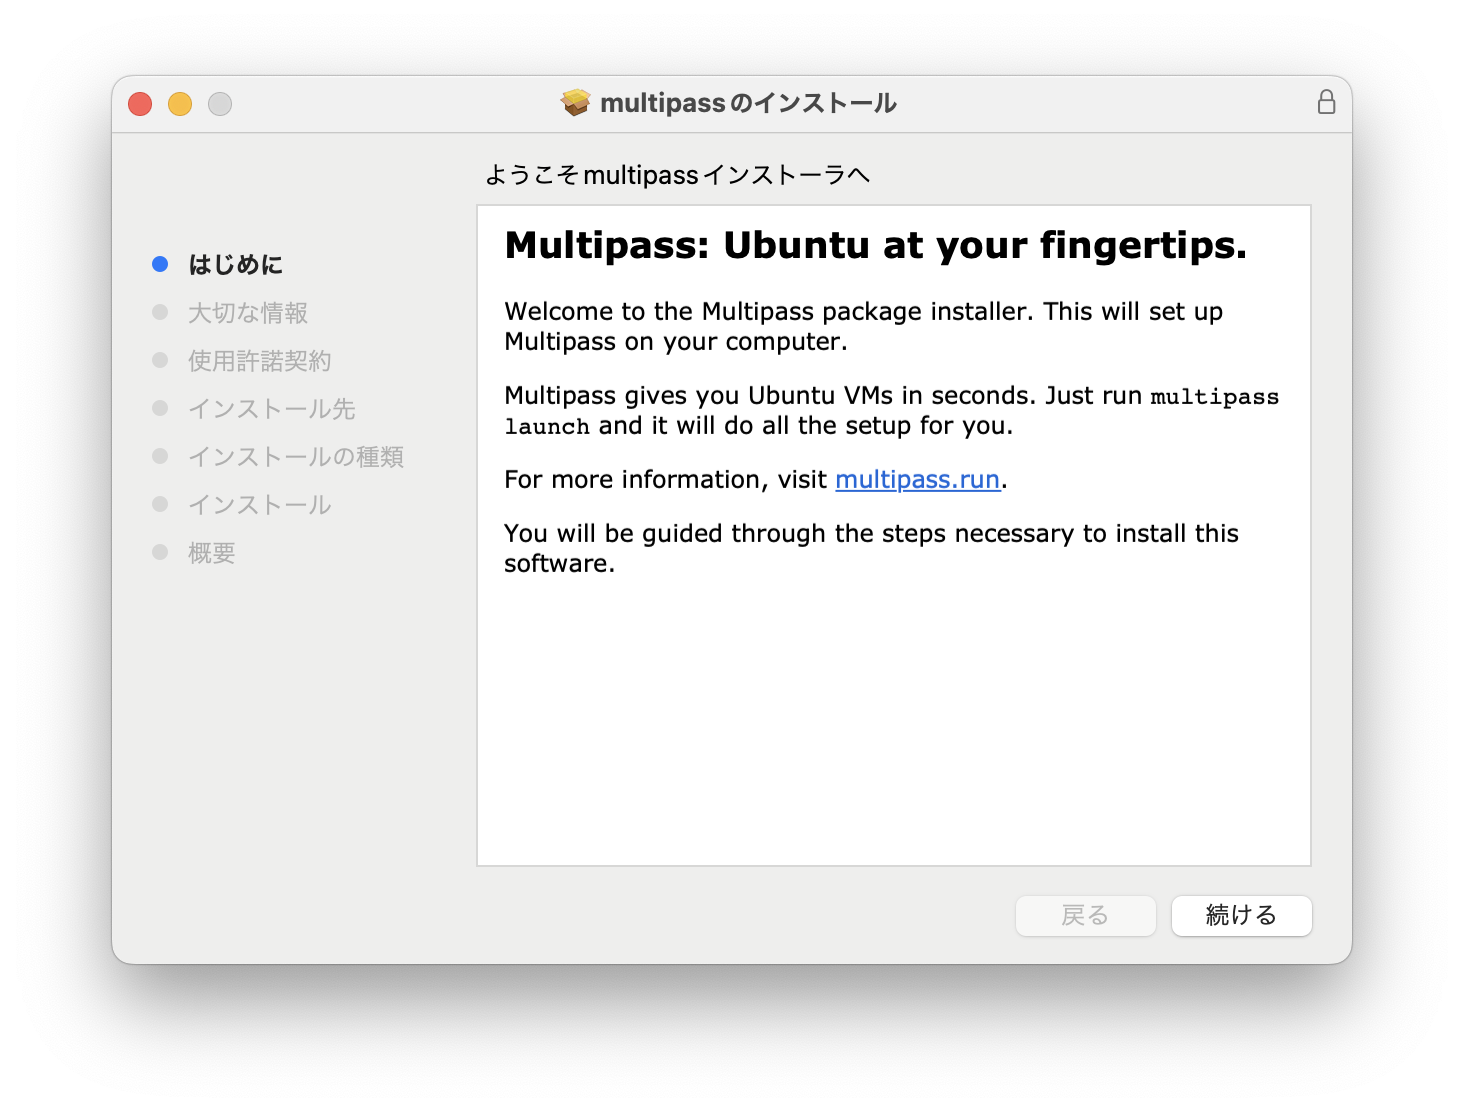
multipass公式サイトからmultipassのパッケージをダウンロードしてインストールする
MultipassでArm版Ubuntu22.04を起動する
Mac版Multipassの公式チュートリアルを確認しながらUbuntu22.04を起動する
実行可能なUbuntuのイメージ
Multipassで実行可能なUbuntuのイメージを確認する
$ multipass find
Image                       Aliases           Version          Description
20.04                       focal             20240306         Ubuntu 20.04 LTS
22.04                       jammy,lts         20240308         Ubuntu 22.04 LTS
23.10                       mantic            20240307         Ubuntu 23.10

Blueprint                   Aliases           Version          Description
anbox-cloud-appliance                         latest           Anbox Cloud Appliance
charm-dev                                     latest           A development and testing environment for charmers
docker                                        0.4              A Docker environment with Portainer and related tools
jellyfin                                      latest           Jellyfin is a Free Software Media System that puts you in control of managing and streaming your media.
minikube                                      latest           minikube is local Kubernetes
ros-noetic                                    0.1              A development and testing environment for ROS Noetic.
ros2-humble                                   0.1              A development and testing environment for ROS 2 Humble.
Ubuntuの起動
デフォルトで作成されるインスタンスはディスクサイズやメモリサイズが小さいため明示的に指定して作成する。
$ multipass launch 22.04  --cpus 6 --disk 20G --memory 8G
Launched: growing-shelduck
起動したUbuntuの状態を確認する。State:Runningと表示されUbuntu22.04が動作していることが確認できる。名前を明示的に指定しなかったため growing-shelduck という名前がMultipassによって自動で付けられた。
$ mutipass ls
Name                    State             IPv4             Image
growing-shelduck        Running           192.168.106.3    Ubuntu 22.04 LTS
起動した growing-shelduck の情報を取得することでIPアドレスが192.168.106.3であることが確認できる。
$ multipass info growing-shelduck
Name:           growing-shelduck
State:          Running
Snapshots:      0
IPv4:           192.168.106.3
Release:        Ubuntu 22.04.4 LTS
Image hash:     f19e2cf2d2e5 (Ubuntu 22.04 LTS)
CPU(s):         6
Load:           0.23 0.17 0.07
Disk usage:     1.6GiB out of 19.3GiB
Memory usage:   170.2MiB out of 7.7GiB
Mounts:         --
起動したUbuntuのシェルを起動する
$ multipass shell growing-shelduck
Welcome to Ubuntu 22.04.4 LTS (GNU/Linux 5.15.0-97-generic aarch64)

 * Documentation:  https://help.ubuntu.com
 * Management:     https://landscape.canonical.com
 * Support:        https://ubuntu.com/pro

  System information as of Sat Mar  9 08:50:12 JST 2024

  System load:             0.0
  Usage of /:              8.1% of 19.21GB
  Memory usage:            2%
  Swap usage:              0%
  Processes:               129
  Users logged in:         0
  IPv4 address for enp0s1: 192.168.106.3
  IPv6 address for enp0s1: fdbb:e645:f4df:3ab:5054:ff:feb2:8257


Expanded Security Maintenance for Applications is not enabled.

10 updates can be applied immediately.
9 of these updates are standard security updates.
To see these additional updates run: apt list --upgradable

Enable ESM Apps to receive additional future security updates.
See https://ubuntu.com/esm or run: sudo pro status


To run a command as administrator (user "root"), use "sudo <command>".
See "man sudo_root" for details.
Ubuntu Desktop環境をインストール
公式のGUI設定方法を参考にしつつデスクトップ環境を用意する。
$ sudo apt update
$ sudo apt install -y ubuntu-desktop
デフォルトのubuntuユーザにパスワードを設定する。パスワード設定を忘れるとデスクトップ環境にログインできない。
$ sudo passwd ubuntu
リモートデスクトップでUbuntu上のアプリを実行する
xrdpをインストールする
$ sudo apt install -y xrdp
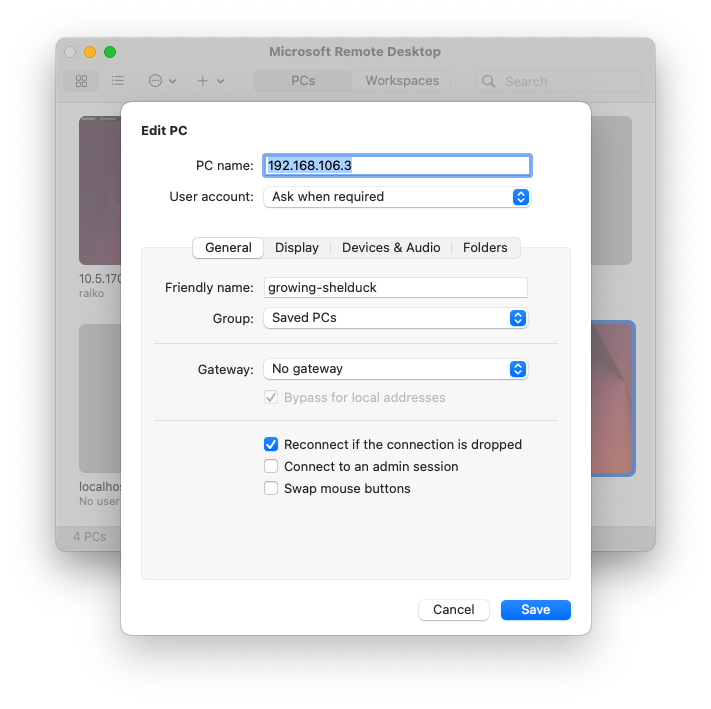
MacであればMicrosoft Remote Desktopアプリでxrdpに接続する。接続するIPアドレスはmultipass infoコマンドで確認できる。今回の場合であれば192.168.106.3となる。
$ multipass info growing-shelduck
Name:           growing-shelduck
State:          Running
Snapshots:      0
IPv4:           192.168.106.3
Release:        Ubuntu 22.04.4 LTS
Image hash:     f19e2cf2d2e5 (Ubuntu 22.04 LTS)
CPU(s):         6
Load:           0.01 0.18 0.19
Disk usage:     5.4GiB out of 19.3GiB
Memory usage:   870.3MiB out of 7.7GiB
Mounts:         --
先ほど multipass info コマンドで調べたIPアドレス192.168.106.3を指定してRemote Desktopアプリでxrdpに接続する。
Chromiumをインストール
$ sudo apt-get install chromium-browser
Chromiumを実行する
$ chromium
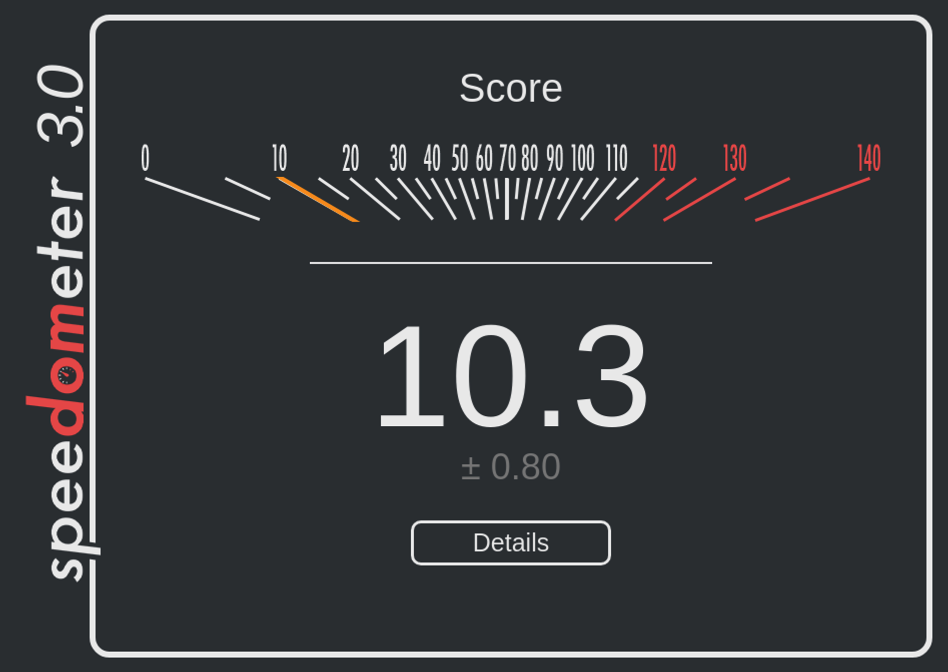
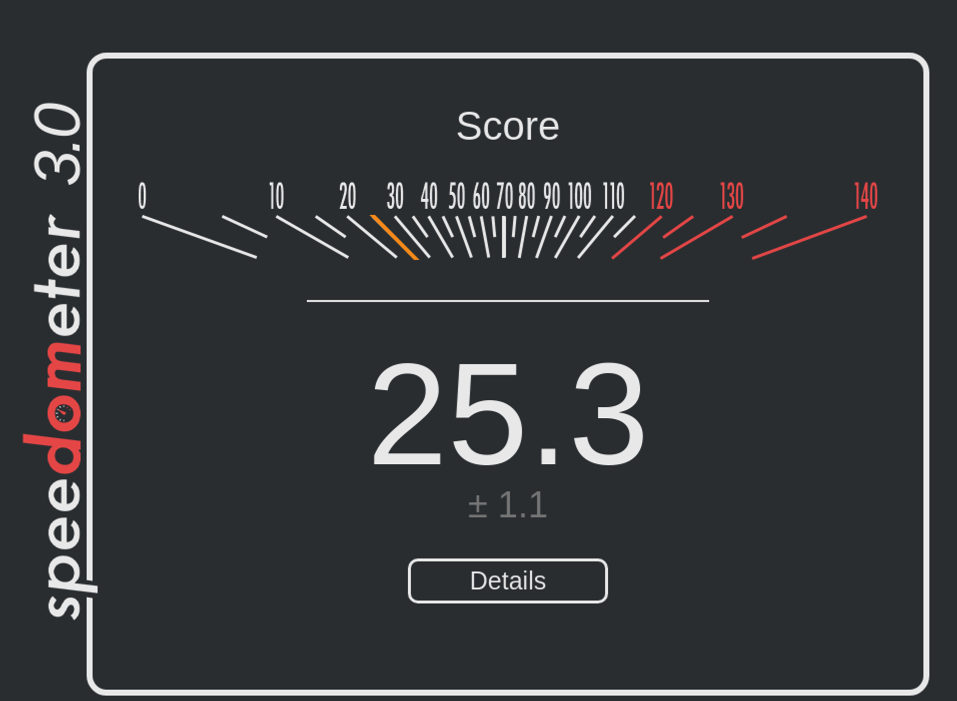
Speedometer3でウェブブラウザのパフォーマンスチェックを行う。なぜかMac上でネイティブ実行されるChromeブラウザよりもスコアが高い。
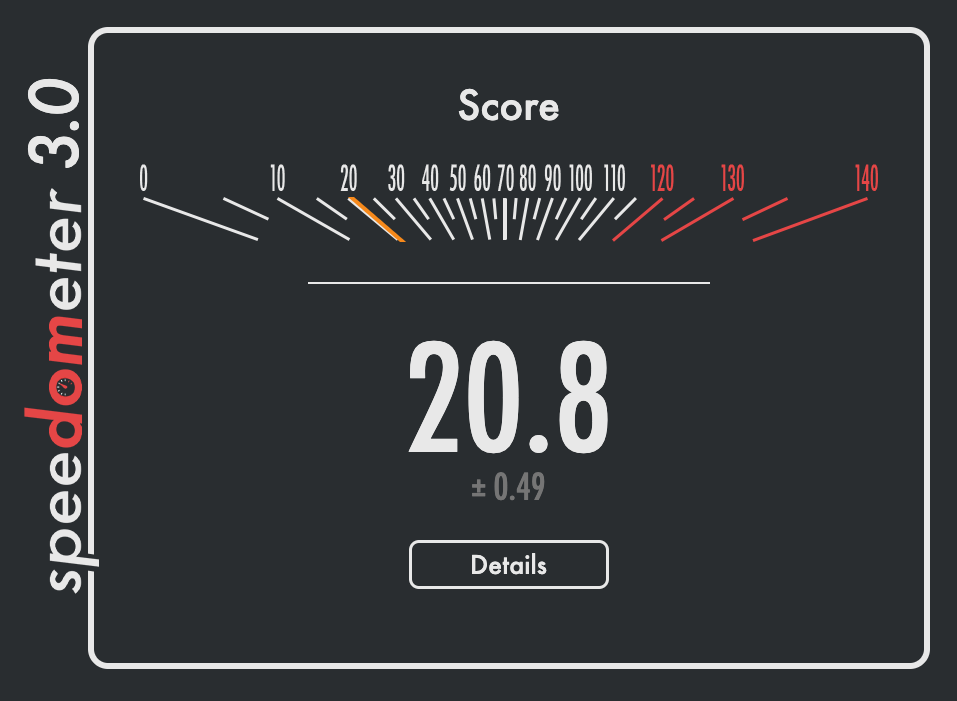
ホストのMac上のChromeでSpeedometer3.0を実行した場合のスコア
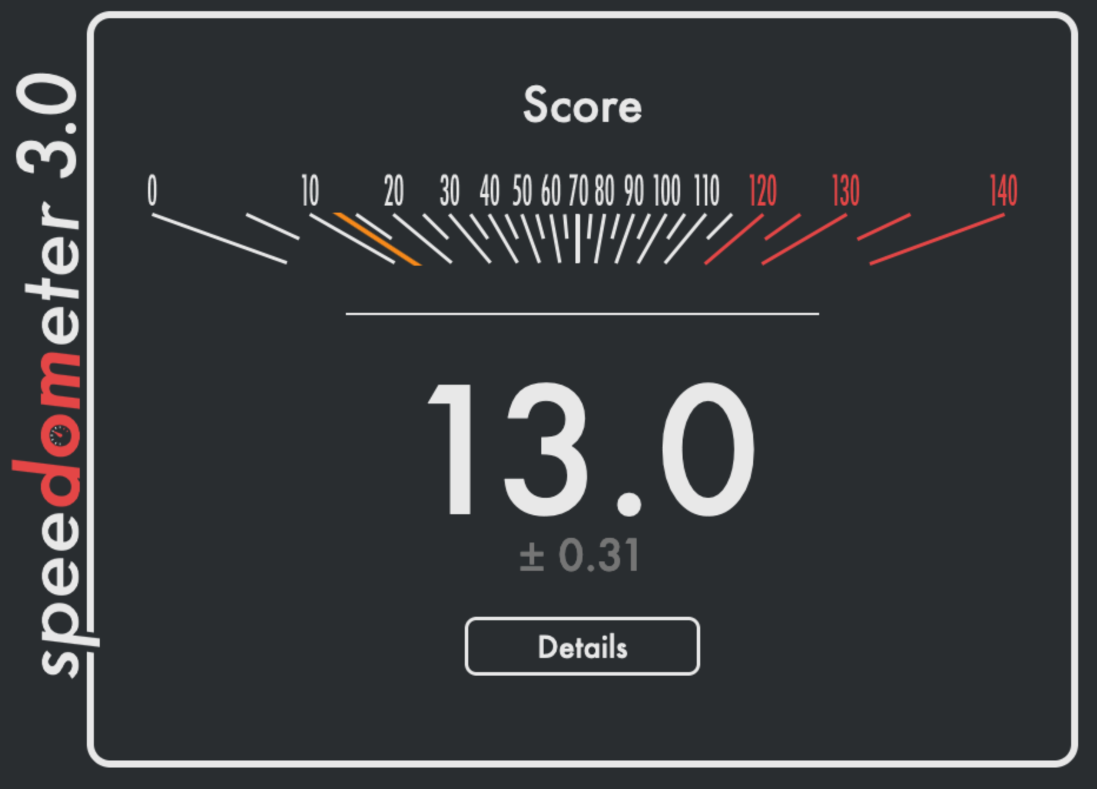
ホストのMac上のFirefoxでSpeedometer3.0を実行した場合のスコア
Rosettaを使ってx86版Chromeを動作させる
Multipassで動作しているArm版UbuntuにRosettaをインストールしてx86_64バイナリのアプリが実行可能な環境を整える。
RosettaをUbuntuにインストール
RosettaをMultipassで動作しているarm版のUbuntu22.04にインストールする
LinuxにRosettaを配置する
Linux用のrosettaの実行ファイルをUbuntu側にコピーして/binに配置する。multipassコマンドで直接root権限が必要なディレクトリにコピーできないため、デフォルトユーザーのホームディレクトリにコピーしてから配置する。
$ multipass transfer /Library/Apple/usr/libexec/oah/RosettaLinux/rosetta growing-shelduck:.
Ubuntu側で/binにrosettaを配置する
$ sudo cp rosetta /bin/
$ ls -la /bin/rosetta
-rwxr-xr-x 1 root root 1595312 Mar 11 18:17 /bin/rosetta
rosettaの実行に必要なライブラリ等を用意する
$ sudo apt install libfuse2
$ sudo apt install python3-pip
$ sudo python3 -m pip install fusepy
$ git clone https://github.com/mrexodia/rosetta-multipass.git
rosettaを実行する環境を構築する (バックグラウンドで起動)
$ sudo python3 rosetta-multipass/mount-rosetta.py /bin/rosetta &
x86_64(amd64)バイナリの実行にrosettaを登録する
$ sudo apt install binfmt-support
$ sudo update-binfmts --install rosetta /bin/rosetta \
    --magic "\x7fELF\x02\x01\x01\x00\x00\x00\x00\x00\x00\x00\x00\x00\x02\x00\x3e\x00" \
    --mask "\xff\xff\xff\xff\xff\xfe\xfe\x00\xff\xff\xff\xff\xff\xff\xff\xff\xfe\xff\xff\xff" \
    --credentials yes --preserve no --fix-binary no
x86_64形式のテスト用バイナリを実行する。
テスト用ファイルの内容をfileコマンで確認しx86_64形式の実行ファイルであることを確かめる。
$ file ./rosetta-multipass/tests/main-static
./rosetta-multipass/tests/main-static: ELF 64-bit LSB executable, x86-64, version 1 (SYSV), statically linked, with debug_info, not stripped
x86_64形式のコマンドを実行する。
Rosettaを通したx86_64形式のコマンドの実行が確認できた。
$ /rosetta-multipass/tests/main-static
ERROR:RosettaFS:Unsupported ioctl(0x80806123) -> Probably the virtualization check changed
Hello from Rosetta!
x86_64(amd64)のパッケージをサポートする
x86_64のパッケージのダウンロード先を登録する。
$ sudo vi /etc/apt/sources.list
...
#amd64
deb [arch=amd64] http://archive.ubuntu.com/ubuntu/ jammy main restricted
deb [arch=amd64] http://archive.ubuntu.com/ubuntu/ jammy-updates main restricted
deb [arch=amd64] http://archive.ubuntu.com/ubuntu/ jammy universe
deb [arch=amd64] http://archive.ubuntu.com/ubuntu/ jammy-updates universe
deb [arch=amd64] http://archive.ubuntu.com/ubuntu/ jammy multiverse
deb [arch=amd64] http://archive.ubuntu.com/ubuntu/ jammy-updates multiverse
deb [arch=amd64] http://security.ubuntu.com/ubuntu jammy-security main restricted
deb [arch=amd64] http://security.ubuntu.com/ubuntu jammy-security universe
deb [arch=amd64] http://security.ubuntu.com/ubuntu jammy-security multiverse
x86_64アーキテクチャのサポートを追加する
$ sudo dpkg --add-architecture amd64
$ sudo apt-get update
x86_64バイナリのhelloコマンドをインストールして実行してみる
Hello, world!が表示されたら成功だ
$ sudo apt-get install hello:amd64
$ which hello
/usr/bin/hello
$ file `which hello`
/usr/bin/hello: ELF 64-bit LSB pie executable, x86-64, version 1 (SYSV), dynamically linked, interpreter /lib64/ld-linux-x86-64.so.2, BuildID[sha1]=ad4cc44d3974b5bca3bebbc40d2e03e320e9839a, for GNU/Linux 3.2.0, stripped
$ hello
Hello, world!
x86版Chromeブラウザを動かす
x86版Chromeのパッケージを公式サイトからダウンロードしインストールし実行する
x86版Chromeブラウザのインストール
Googleの公式サイトからUbuntu向けのx86形式のchromeのdebパッケージをダウンロードする。
$ wget -r https://dl.google.com/linux/direct/google-chrome-stable_current_amd64.deb
$ sudo apt -y install ~/Downloads/google-chrome-stable_current_amd64.deb
x86版Chromeブラウザの動作確認
x86_64版Chromeを実行する
$ google-chrome
psコマンドで確認するとChromeブラウザがrosetta経由で動作していることが確認できる。
$ ps aux | grep chrome
ubuntu      3459  5.6  4.9 35508596 398812 pts/0 Sl+  20:29   0:11 /bin/rosetta /opt/google/chrome/chrome
ubuntu      3466  0.0  0.0 34767756 4796 ?       Sl   20:29   0:00 /bin/rosetta /opt/google/chrome/chrome_crashpad_handler --monitor-self --monitor-self-annotation=ptype=crashpad-handler --database=/home/ubuntu/.config/google-chrome/Crash Reports --url=https://clients2.google.com/cr/report --annotation=channel= --annotation=lsb-release=Ubuntu 22.04.4 LTS --annotation=plat=Linux --annotation=prod=Chrome_Linux --annotation=ver=122.0.6261.111 --initial-client-fd=6 --shared-client-connection
ubuntu      3468  0.0  0.0 34759448 3992 ?       Sl   20:29   0:00 /bin/rosetta /opt/google/chrome/chrome_crashpad_handler --no-periodic-tasks --monitor-self-annotation=ptype=crashpad-handler --database=/home/ubuntu/.config/google-chrome/Crash Reports --url=https://clients2.google.com/cr/report --annotation=channel= --annotation=lsb-release=Ubuntu 22.04.4 LTS --annotation=plat=Linux --annotation=prod=Chrome_Linux --annotation=ver=122.0.6261.111 --initial-client-fd=5 --shared-client-connection
ubuntu      3474  0.0  0.8 35111860 66272 pts/0  S+   20:29   0:00 /bin/rosetta /opt/google/chrome/chrome --type=zygote --no-zygote-sandbox --crashpad-handler-pid=3466 --enable-crash-reporter=, --change-stack-guard-on-fork=enable
ubuntu      3475  0.0  0.8 35111864 66516 pts/0  S+   20:29   0:00 /bin/rosetta /opt/google/chrome/chrome --type=zygote --crashpad-handler-pid=3466 --enable-crash-reporter=, --change-stack-guard-on-fork=enable
ubuntu      3477  0.0  0.3 35111880 25228 pts/0  S+   20:29   0:00 /bin/rosetta /opt/google/chrome/chrome --type=zygote --crashpad-handler-pid=3466 --enable-crash-reporter=, --change-stack-guard-on-fork=enable
ubuntu      3500  1.4  1.7 35123332 144036 pts/0 Sl+  20:29   0:02 /bin/rosetta /opt/google/chrome/chrome --type=utility --utility-sub-type=network.mojom.NetworkService --lang=en-US --service-sandbox-type=none --crashpad-handler-pid=3466 --enable-crash-reporter=, --change-stack-guard-on-fork=enable --shared-files=v8_context_snapshot_data:100 --field-trial-handle=0,i,13569457430638291008,6707936131920262342,262144 --variations-seed-version=20240310-180200.292000
ubuntu      3509  0.1  0.7 35155376 63608 pts/0  Sl+  20:29   0:00 /bin/rosetta /opt/google/chrome/chrome --type=zygote --crashpad-handler-pid=3466 --enable-crash-reporter=, --change-stack-guard-on-fork=enable
ubuntu      3585  3.8  2.2 35432860 180588 pts/0 Sl+  20:29   0:07 /bin/rosetta /opt/google/chrome/chrome --type=zygote --no-zygote-sandbox --crashpad-handler-pid=3466 --enable-crash-reporter=, --change-stack-guard-on-fork=enable
ubuntu      3605  1.9  3.8 1187493552 309548 pts/0 Sl+ 20:29   0:03 /bin/rosetta /opt/google/chrome/chrome --type=zygote --crashpad-handler-pid=3466 --enable-crash-reporter=, --change-stack-guard-on-fork=enable
ubuntu      3647 33.8  7.3 1187728328 595596 pts/0 Sl+ 20:29   1:03 /bin/rosetta /opt/google/chrome/chrome --type=zygote --crashpad-handler-pid=3466 --enable-crash-reporter=, --change-stack-guard-on-fork=enable
ubuntu      3662  0.1  1.0 1187391160 83848 pts/0 Sl+ 20:29   0:00 /bin/rosetta /opt/google/chrome/chrome --type=zygote --crashpad-handler-pid=3466 --enable-crash-reporter=, --change-stack-guard-on-fork=enable
ubuntu      3736  0.0  0.0   6416  1852 pts/1    S+   20:32   0:00 grep --color=auto chrome
Speedometer3でウェブブラウザのパフォーマンスチェックを行う。arm版Chromiumの半分以下だがそこそこのパフォーマンスがでる。残念ながらx86版Chromeアプリを実行する環境は安定しておらず、YouTubeなどのWebサイトを閲覧する場合はレンダリングエンジンがフリーズしてしまう。