1. デザインを追加していこう
htmlやcssは自分で勉強しよう。
https://dotinstall.com/lessons/basic_html_v5
https://dotinstall.com/lessons/basic_css_v5
Coachより htmlとcssについて
HTMLは<>ないに書かれたタグでwebサイトを記述する言語
CSSはタグに文字の大きさや色などのようにデザインを記述する言語
Coachより Bootstrapについて
HTMLのclassだけでスタイル(cssで記述するもの)とアニメーション(javascriptで記述するもの)を適用するためのCSSとJavascriptのフレームワーク
2. bootstrapの使い方
2.1. installしてみよう
- cssは
<head></head>内、jsは<body></body>内の</body>の直前に入れることに注意しよう。
htmlの基本構造
<head>
  <!-- メタデータを表記する -->
</head>

<body>
  <header>
    <!-- ナビゲーションなどの複数のページで共通するもの -->
  </header>

  <!-- コンテンツ:ページの独自の内容 -->
  <div></div>
  <section></section>

  <footer>
    <!-- コンテンツに関する内容 -->
  </footer>
</body>
2.2. ボタンにclassを追加してみよう
全体の配置のデザインはLayout部分のclassを使う。
https://getbootstrap.com/docs/4.4/layout/overview/
各要素のデザインはComponentを使う。
https://getbootstrap.com/docs/4.4/components/alerts/
試しにボタンのクラスを好きなところに適用してみよう。
https://getbootstrap.com/docs/4.4/components/buttons/
2.3. ホテルサイトを自分好みにしてみよう
自分の好みのデザインにしてみよう
手がつけられないひとは順番にやっていこう
2.3.1 navigationを追加

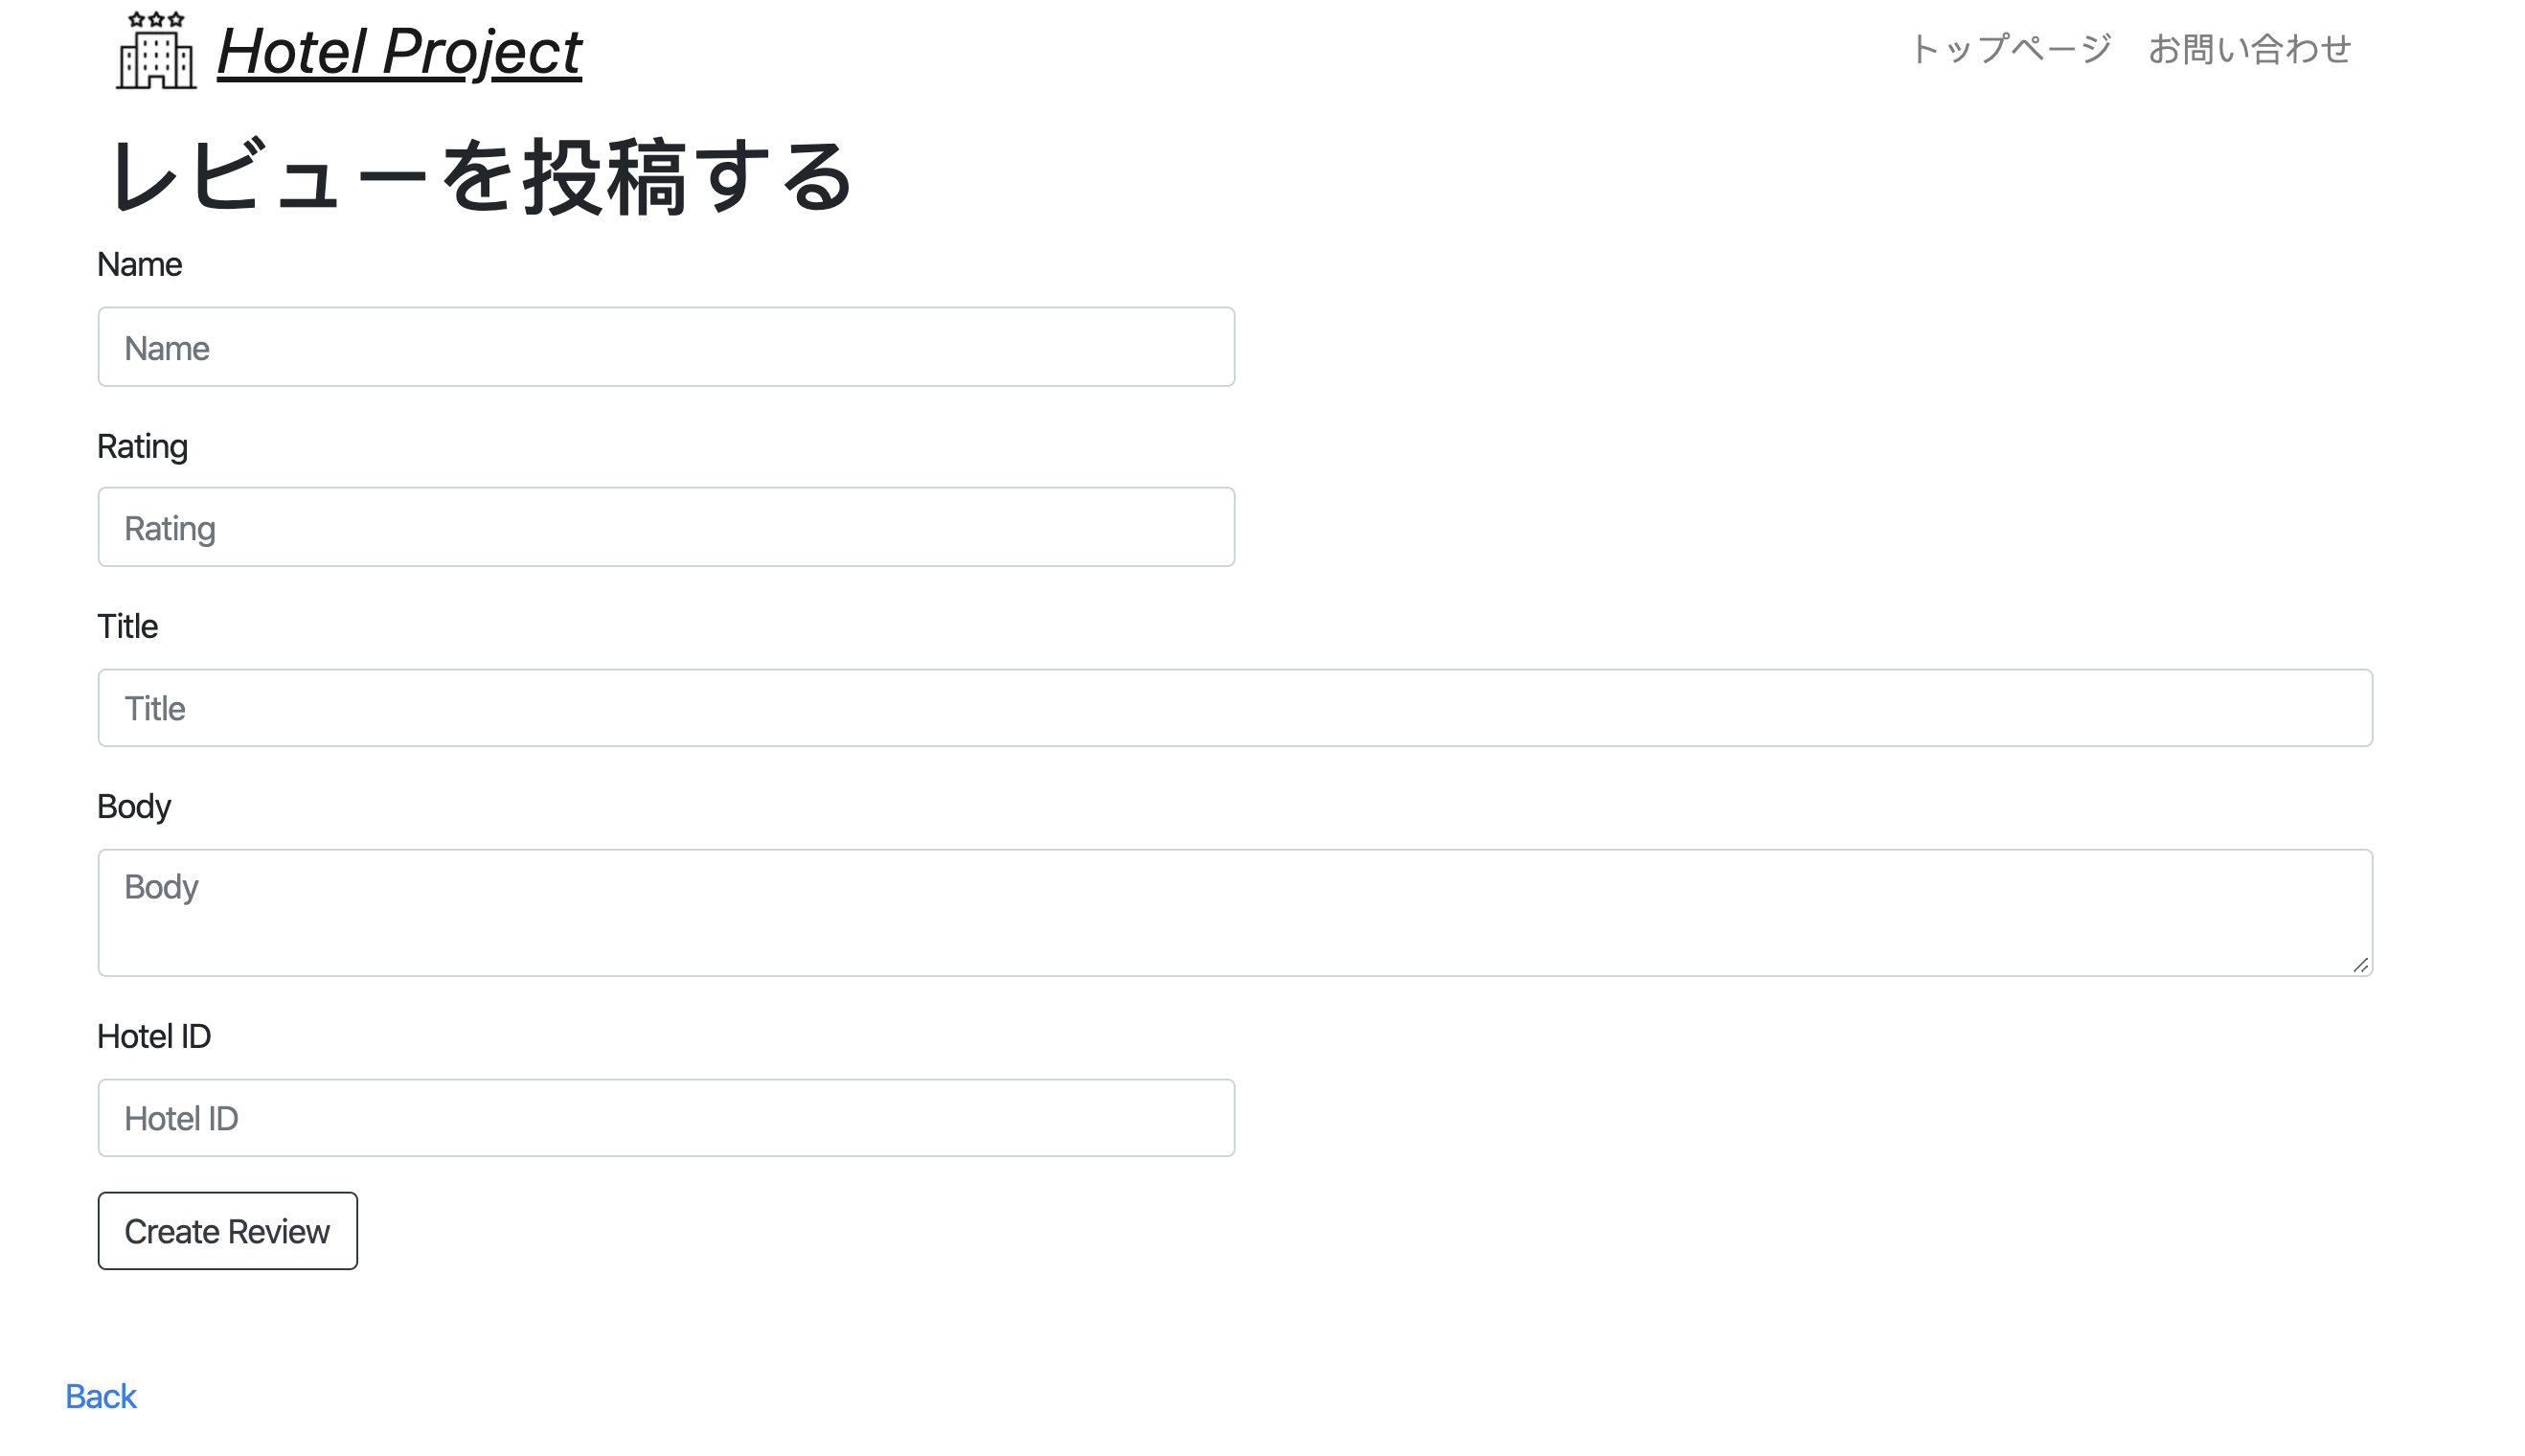
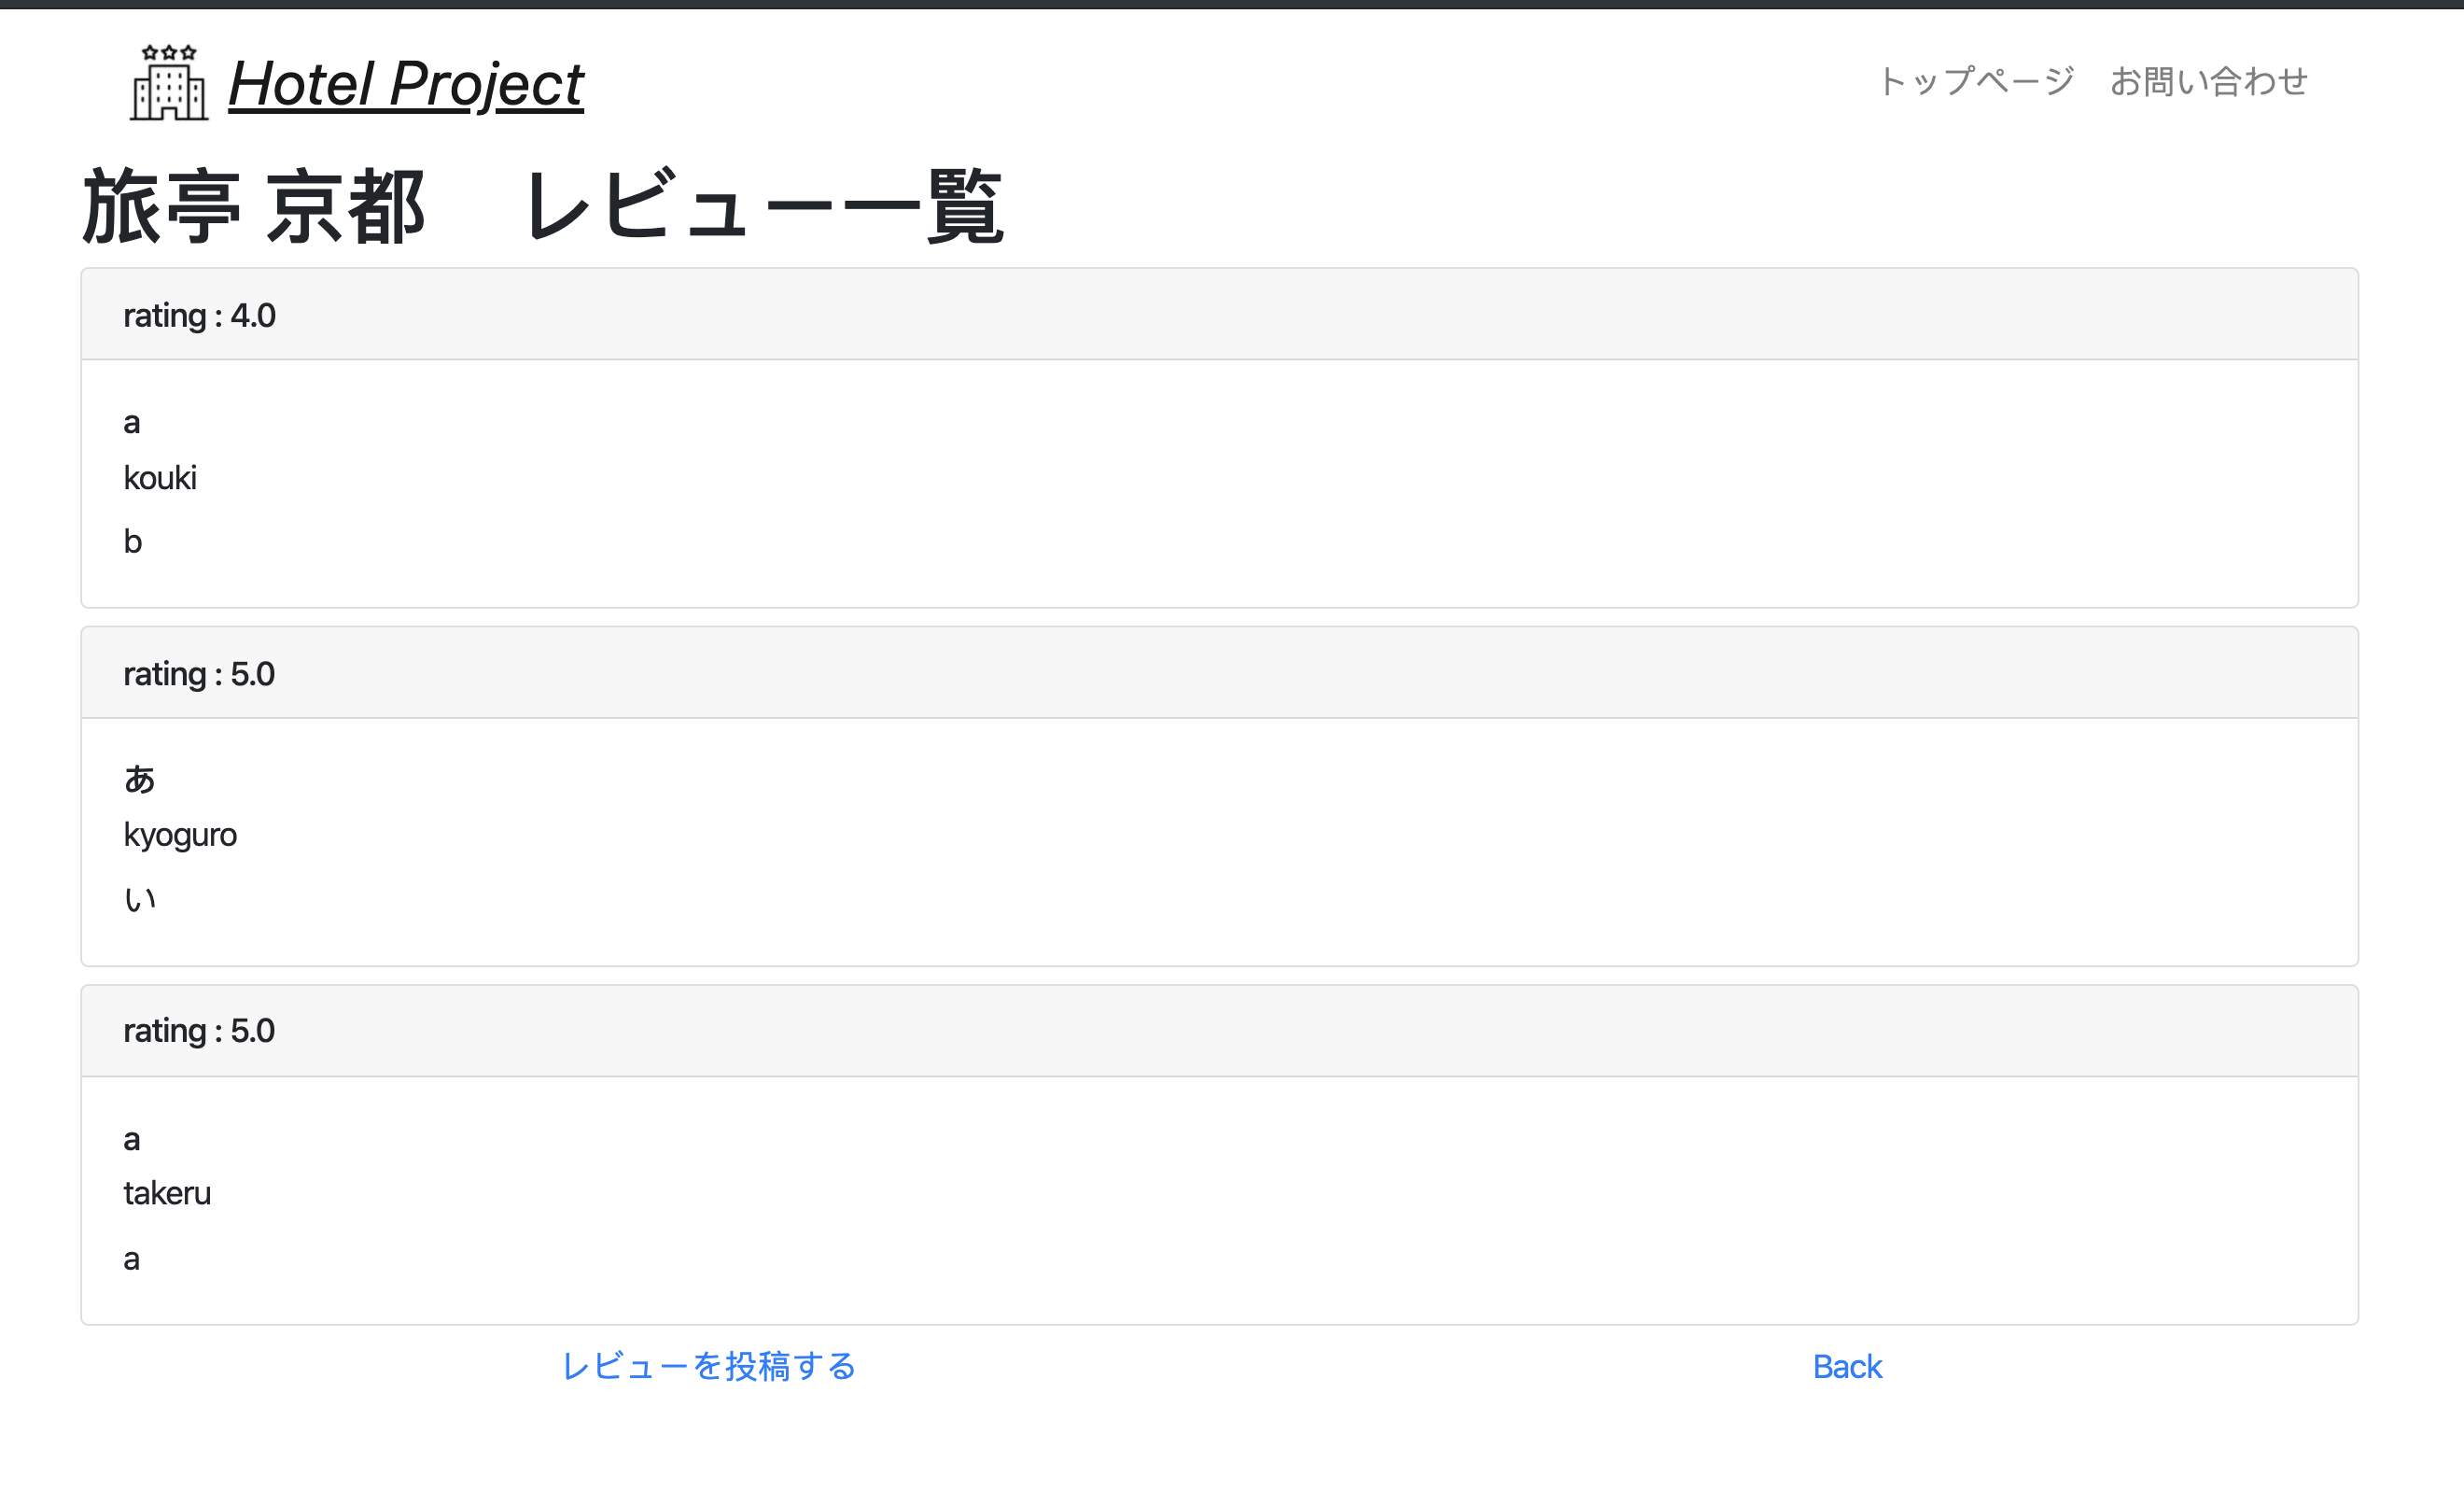
<header></header>内に次の文を入れる。
app/views/layouts/application.html.erb
<div class="container">
  <nav class="navbar navbar-expand-sm navbar-light">
    <a class="navbar-brand font-italic" href="/" style="font-size: 30px"><u>Hotel Project</u></a>
    <button class="navbar-toggler" data-toggle="collapse" data-target="#menu">
      <span class="navbar-toggler-icon"></span>
    </button>
    <div id="menu" class="collapse navbar-collapse d-flex justify-content-end">
      <ul class="navbar-nav">
        <li class="nav-item"><a href="/" class="nav-link">トップページ</a></li>
        <li class="nav-item"><a href="/contacts/new" class="nav-link">お問い合わせ</a></li>
      </ul>
    </div>
  </nav>
</div>
写真も追加したい場合は、app/assets/imagesのフォルダーに使いたい写真を入れ、<nav ~~~>の下の行に次の文を入れる。
app/views/layouts/application.html.erb
<%= image_tag 'hotelproject.png', width: 40, height: 40, class: 'mx-2', alt: 'ホテルのアイコン' %>
2.3.2 footerを追加

<%= yield %>の下の行に次の文を入れる。
app/views/layouts/application.html.erb
<footer class="mt-5">
  <p class="text-center text-muted display-5 bg-light">Hotel Project</p>
</footer>
2.3.3 TOPページのデザイン

<div class="container">
  <div class="row">
    <div class="col-md-3">
    </div>
  </div>
</div>
と
  <div class="card">
    <img src="..." class="card-img-top" alt="...">
    <div class="card-body">
      <h5 class="card-title">Card title</h5>
      <p class="card-text">This is a wider card with supporting text below as a natural lead-in to additional content. This content is a little bit longer.</p>
    </div>
    <div class="card-footer">
      <small class="text-muted">Last updated 3 mins ago</small>
    </div>
  </div>
を組み合わせてTOPページを作っていこう。
2.3.4 ホテル詳細ページのデザイン

======
これ以降は余裕があれば。
2.3.5 都道府県詳細ページのデザイン

2.3.6 レビュー一覧ページのデザイン
2.3.7 レビュー作成ページのデザイン