この記事は IDaaS Advent Calendar 2022 18日目の投稿です。
はじめに
Auth0はデフォルトのログイン画面などが用意され、簡単に利用できるIDaaSです。
今回はデフォルトログイン画面を利用したオーソドックスな方法で進めます。
技術スタック
- Auth0 auth0-react
- React v18.2.0
セットアップ
auth0のReactライブラリに従って進めます
インストール
npm i @auth0/auth0-react
react作成
npx create-react-app sample
実装
index.jsを修正(auth0_domainとauth0_clientidは修正してください)
import React from 'react';
import ReactDOM from 'react-dom/client';
import './index.css';
import App from './App';
import { Auth0Provider } from '@auth0/auth0-react';

const root = ReactDOM.createRoot(document.getElementById('root'));
root.render(
  <Auth0Provider
    domain={auth0_domain}
    clientId={auth0_clientid}
    redirectUri={window.location.origin}
  >
    <React.StrictMode>
      <App />
    </React.StrictMode>
  </Auth0Provider>
);
app.jsもなおす
import React from 'react';
import { useAuth0 } from '@auth0/auth0-react';

function App() {
  const { isLoading, isAuthenticated, error, user, loginWithRedirect, logout } =
    useAuth0();

  if (isLoading) {
    return <div>Loading...</div>;
  }
  if (error) {
    return <div>Oops... {error.message}</div>;
  }

  if (isAuthenticated) {
    return (
      <div>
        Hello {user.name}{' '}
        <button onClick={() => logout({ returnTo: window.location.origin })}>
          Log out
        </button>
      </div>
    );
  } else {
    return <button onClick={loginWithRedirect}>Log in</button>;
  }
}

export default App;
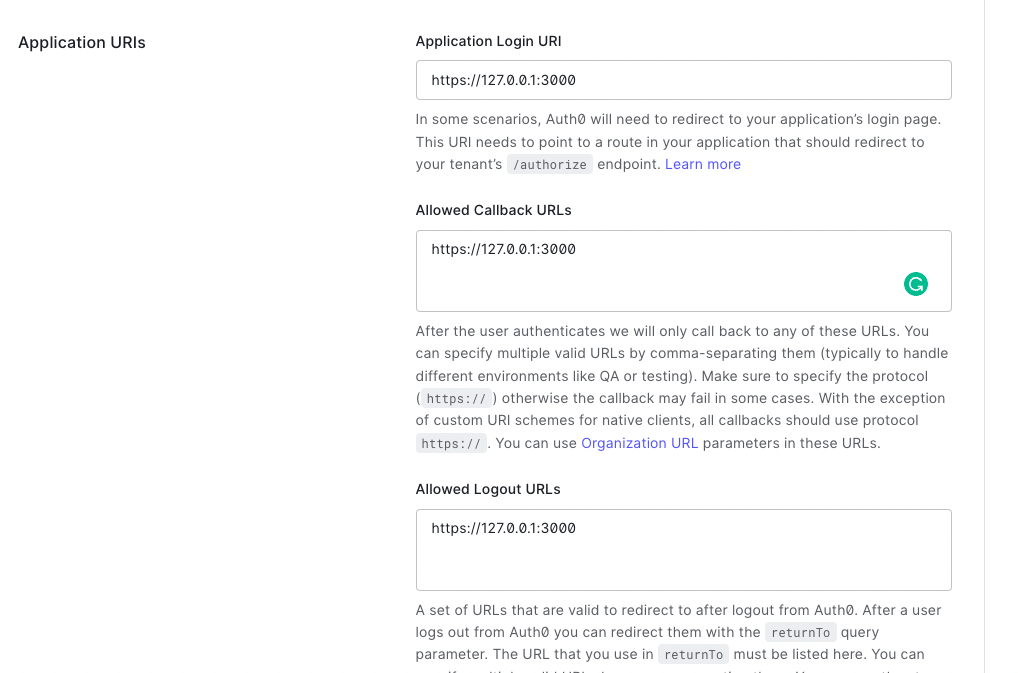
auth0ダッシュボードにて、localhostからのアクセスを許可するところで罠
https://127.0.0.1:3000 にしないと保存できません
昔はそういうのは無かったと思うのですが、変わったんですかね?
※参考にしたURL https://zenn.dev/harasho/articles/dafcbe9fc7ab04ffefe6

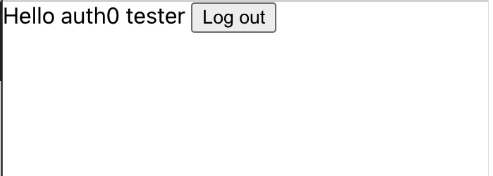
ここまでで動くようになりました
npm run start
ログイン成功すると、ユーザー名(auth0 tester)を取得できる

Auth0の認証フローについて
Auth0の認証フローは
- 今回のAuthorization Code Flow
- モバイルアプリ向けのAuthorization Code Flow with Proof Key for Code Exchange (PKCE)
- APIサーバーとauth0間(M2M)の認証に使うClient Credentials Flow
などなどがあります。
Authorization Code Flow
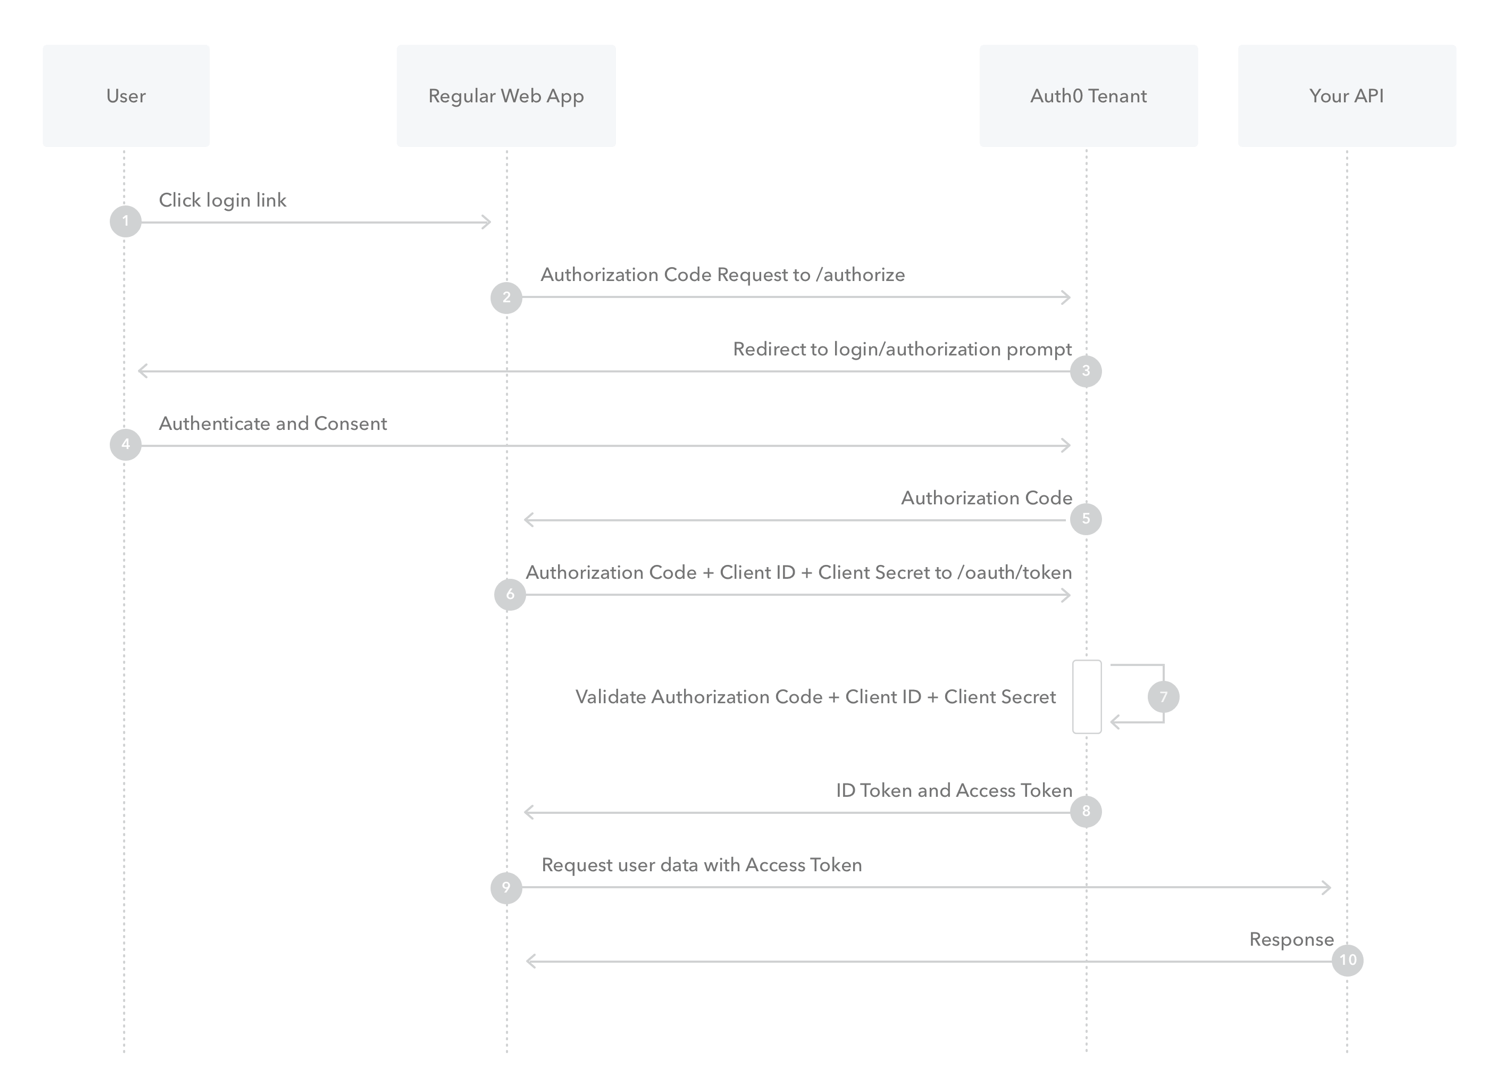
基本的には、以下の流れになります。
2番:/authorizeエンドポイント経由でAuthorization Codeを依頼
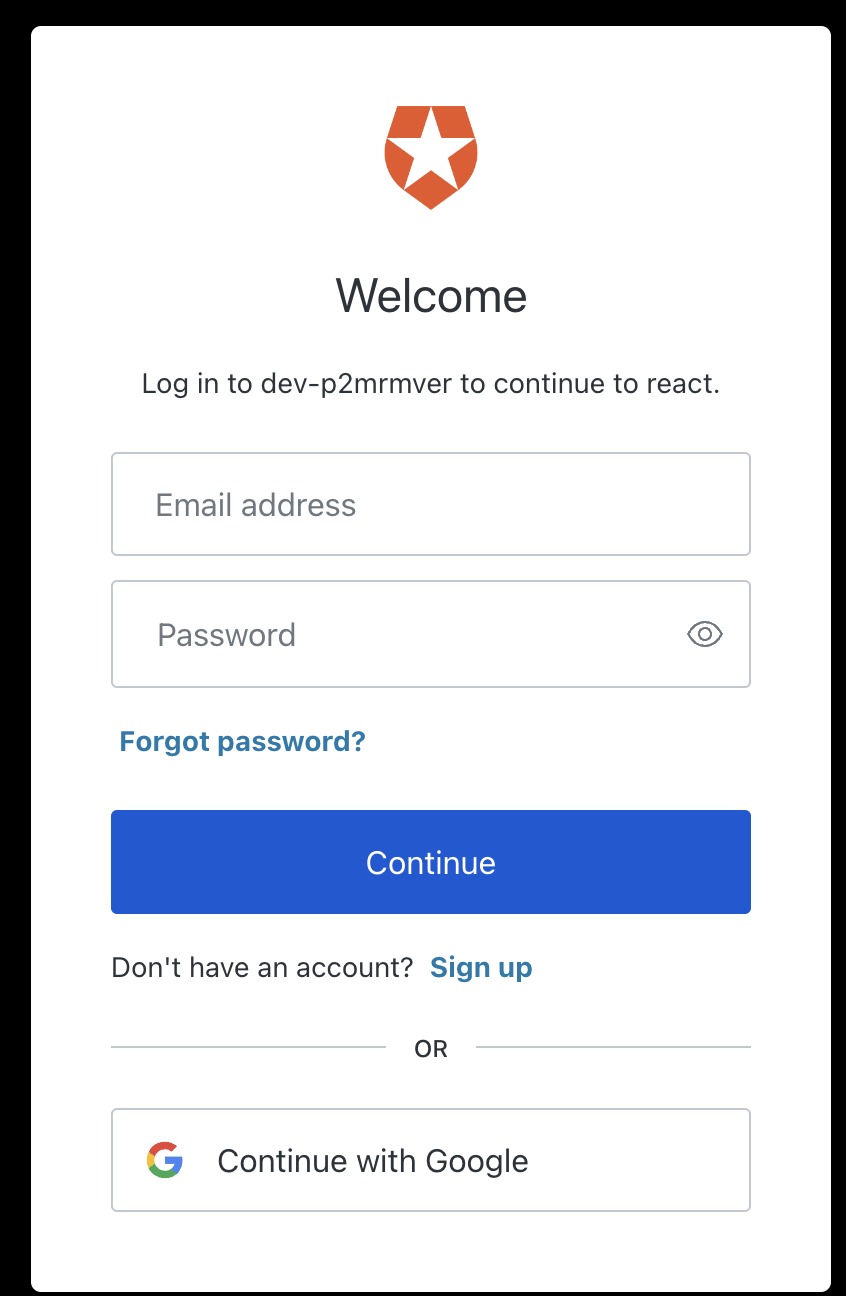
3~4番:login/authorizationプロンプト(Auth0デフォルトのログイン画面)にリダイレクトする
5番:Auth0デフォルトのログイン画面で、認証が成功してAuthorization Codeを取得
6~8番:取得したAuthorization Codeを/oauth/tokenエンドポイントでID TokenとAccess Tokenに交換してもらえる
※今回はAPIサーバーを立ててないので9番と10番のステップは無いです。

↑図の引用元 https://auth0.com/docs/get-started/authentication-and-authorization-flow/authorization-code-flow
最後に
Cross-Origin Authenticationについても触れたかったのですが、途中で力尽きました..
どこかで書きます。がんばります。
IDaaSを利用したアプリケーション開発にお悩みの方は弊社TC3までお問い合わせください。また、優秀なアーキテクトからの応募も常時受け付けています。

