ラクス Advent Calendar 2018 繋ぎの3番バッターです。
今回はChrome 70から実験的に使えるようになっているShape Detection APIについてまとめてみます。使ってみると意外と実用的だったのでPWA化してブラウザだけでスマホアプリ相当のことが実現できそうなことも検証してみました。
Shape Detection APIとは
Webの新しい技術の普及を推進する団体の WICG が仕様策定を進めているJavaScriptのAPIです。
Accelerated Shape Detection in Images
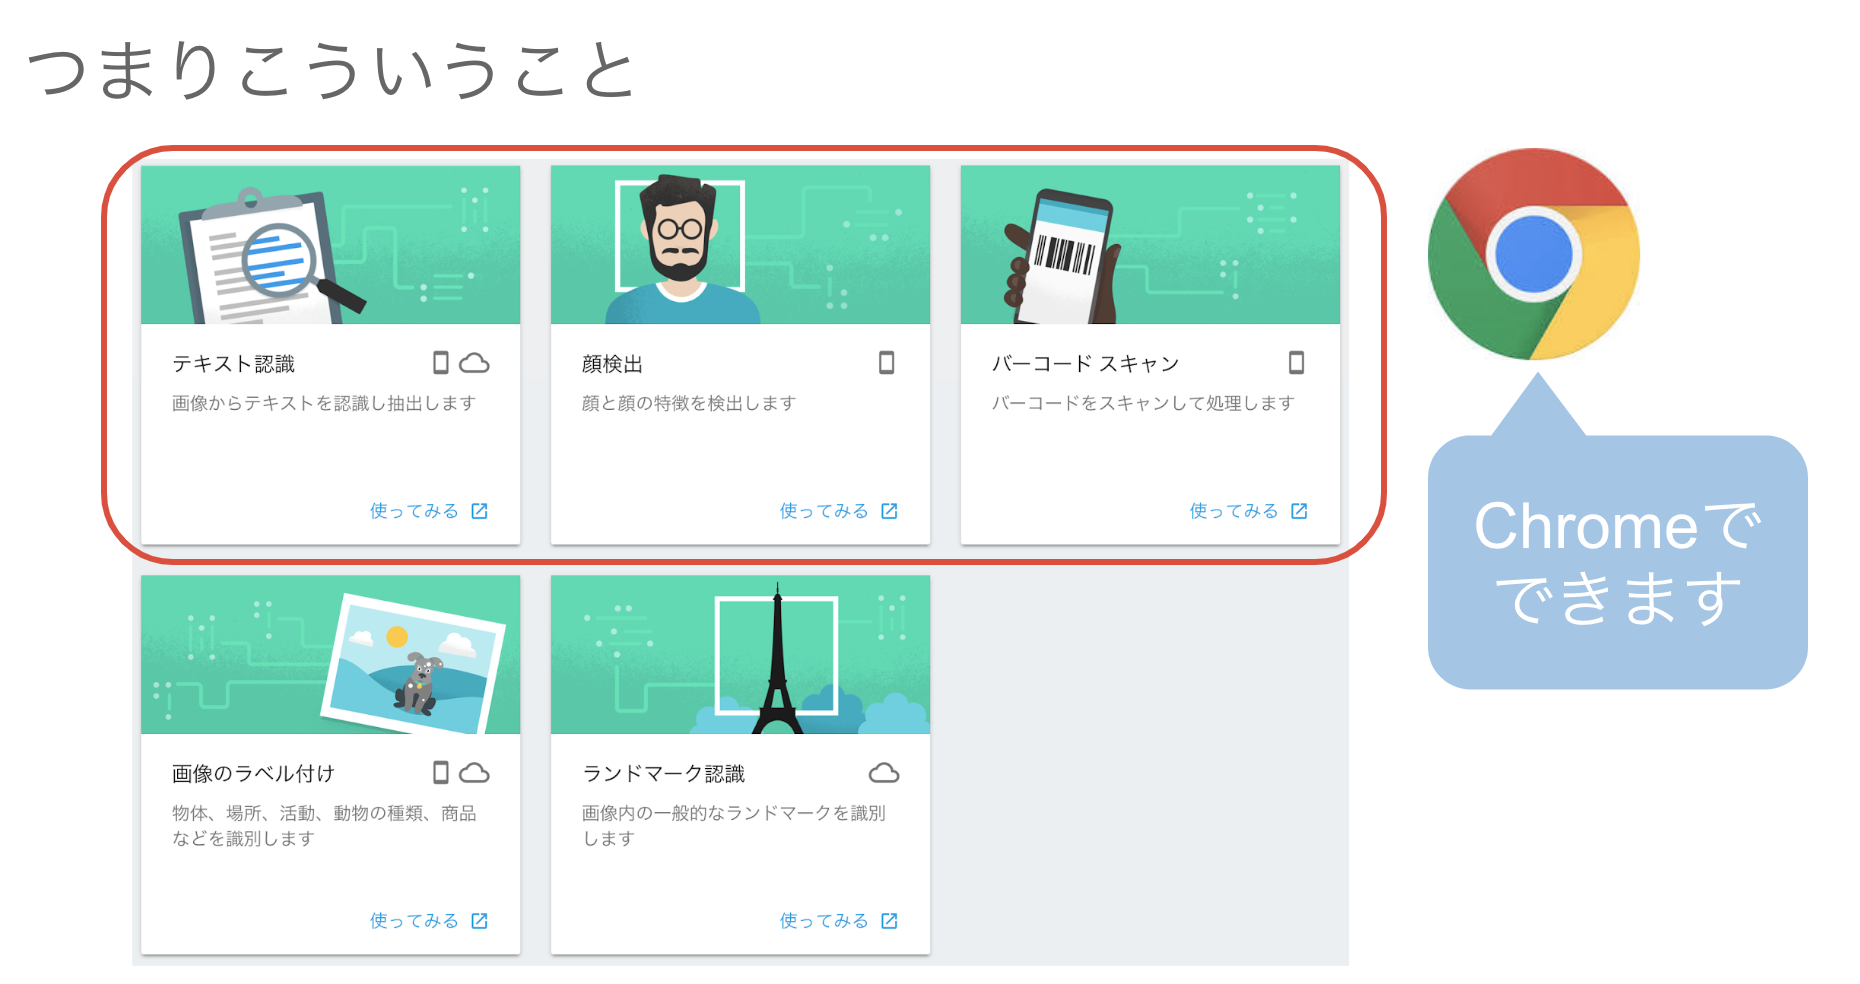
まだEditor's Draft(草案レベル)ですが以下の3つの事ができます。
- Face Detection(顔検出)
- Barcode Detection(バーコードスキャン)
- Text Detection(テキスト認識)
Shape Detection API - Chrome Platform Status
Chrome 70でこの機能がOrigin Trial(実験的に提供する機能)になりました。
Chromium Blog: Chrome 70 beta: shape detection, web authentication, and more
Google I/O 2018でML Kitが発表されましたが、そのうち3つのMLモデルがChromeに直接組み込まれたということになります。
実装方法と使い方
Shape Detection APIを使えるようにするには、まず chrome://flags からExperimental Web Platform featuresを Enabled にする必要があります。アドレスバーに以下を入力して設定します。設定後、Chromeを再起動します。
chrome://flags/#enable-experimental-web-platform-features
Face Detection
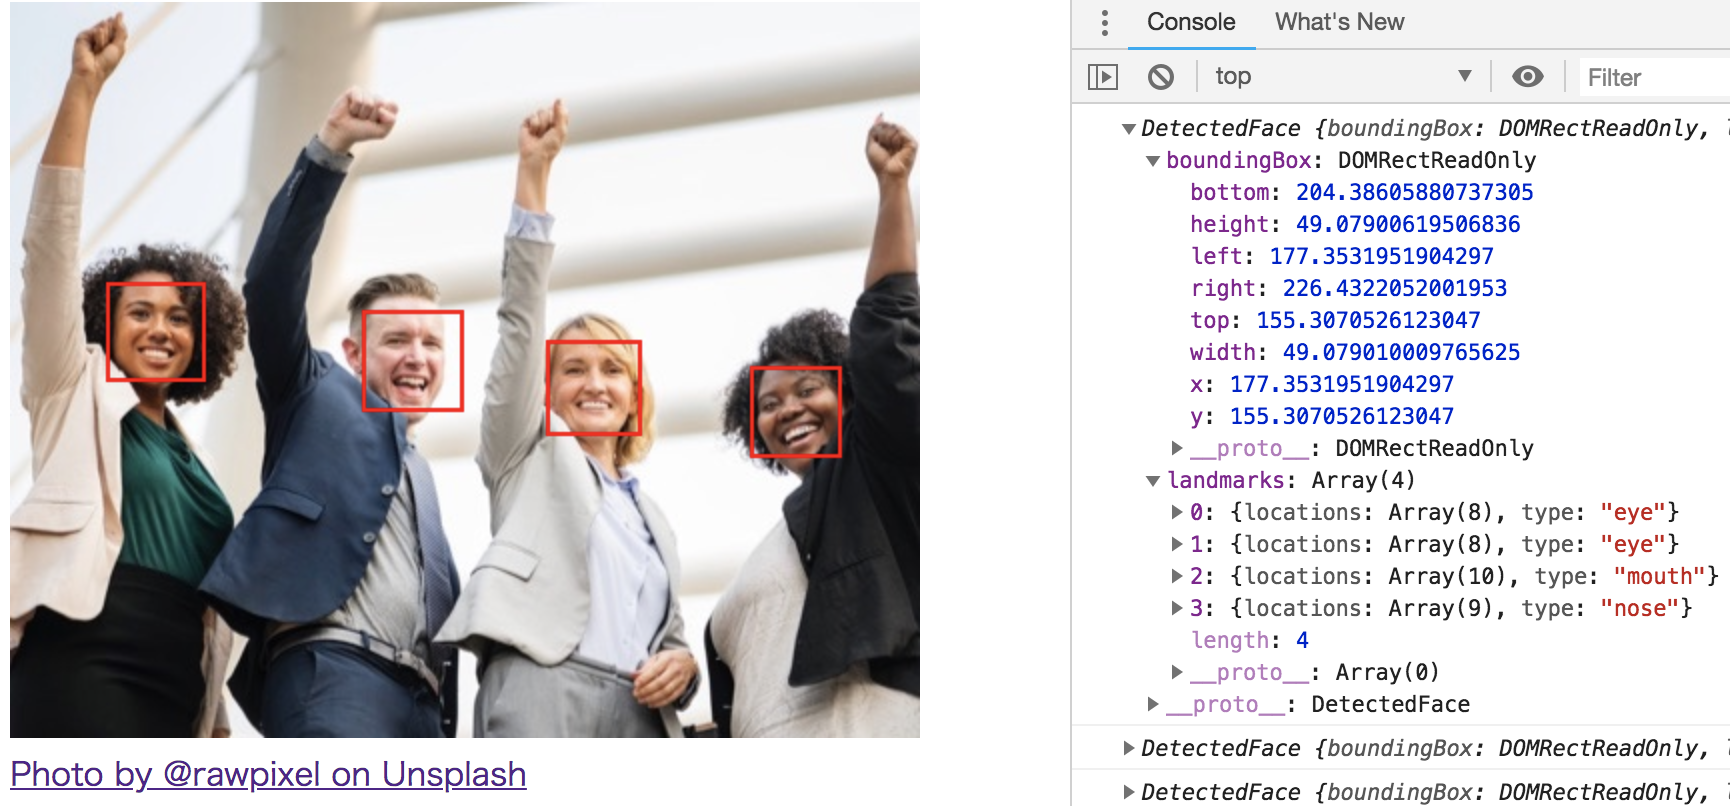
FaceDetector をインスタンス化して image オブジェクトを detect() に渡すことで検出結果を取得できます。
const faceDetector = new FaceDetector();
const image = document.getElementById('image');
// 取得した画像をdetect()に渡す
faceDetector.detect(image)
    .then(faces =>
        {
            for (let face of faces) {
                console.log(face);
            }
        })
    .catch((e) => {
        console.error("Face Detection failed: " + e);
    });
取得できる情報(上記 face の中身)
[{
boundingBox: { // 検出した顔の座標
        bottom: 204.38605880737305
        height: 49.07900619506836
        left: 177.3531951904297
        right: 226.4322052001953
        top: 155.3070526123047
        width: 49.079010009765625
        x: 177.3531951904297
        y: 155.3070526123047
    },
    landmarks: [ // 目や口や鼻の位置
        {

            locations: {
                x: 189.6961212158203,
                y: 169.10687255859375
            },
            type: "eye"
        }, {
            locations: {
                x: 198.4111328125,
                y: 185.17288208007812
            },
            type: "mouth"
        }, {
            {
                x: 202.0699462890625,
                y: 169.6812286376953
            },
            type: "nose",
        }
    ]
}]
APIを使えるかどうかを調べる場合は window.FaceDetector をチェックします。
if (window.FaceDetector == undefined) {
    console.error("Face Detection not supported");
    return;
}
Barcode Detection
実装方法は BarcodeDetector を使う以外は同じなので割愛します。 サンプルコード でご確認ください。
取得できる情報も基本的にFaceDetectorと同じですが、 バーコードの値は rawValue を取得します。
Text Detection
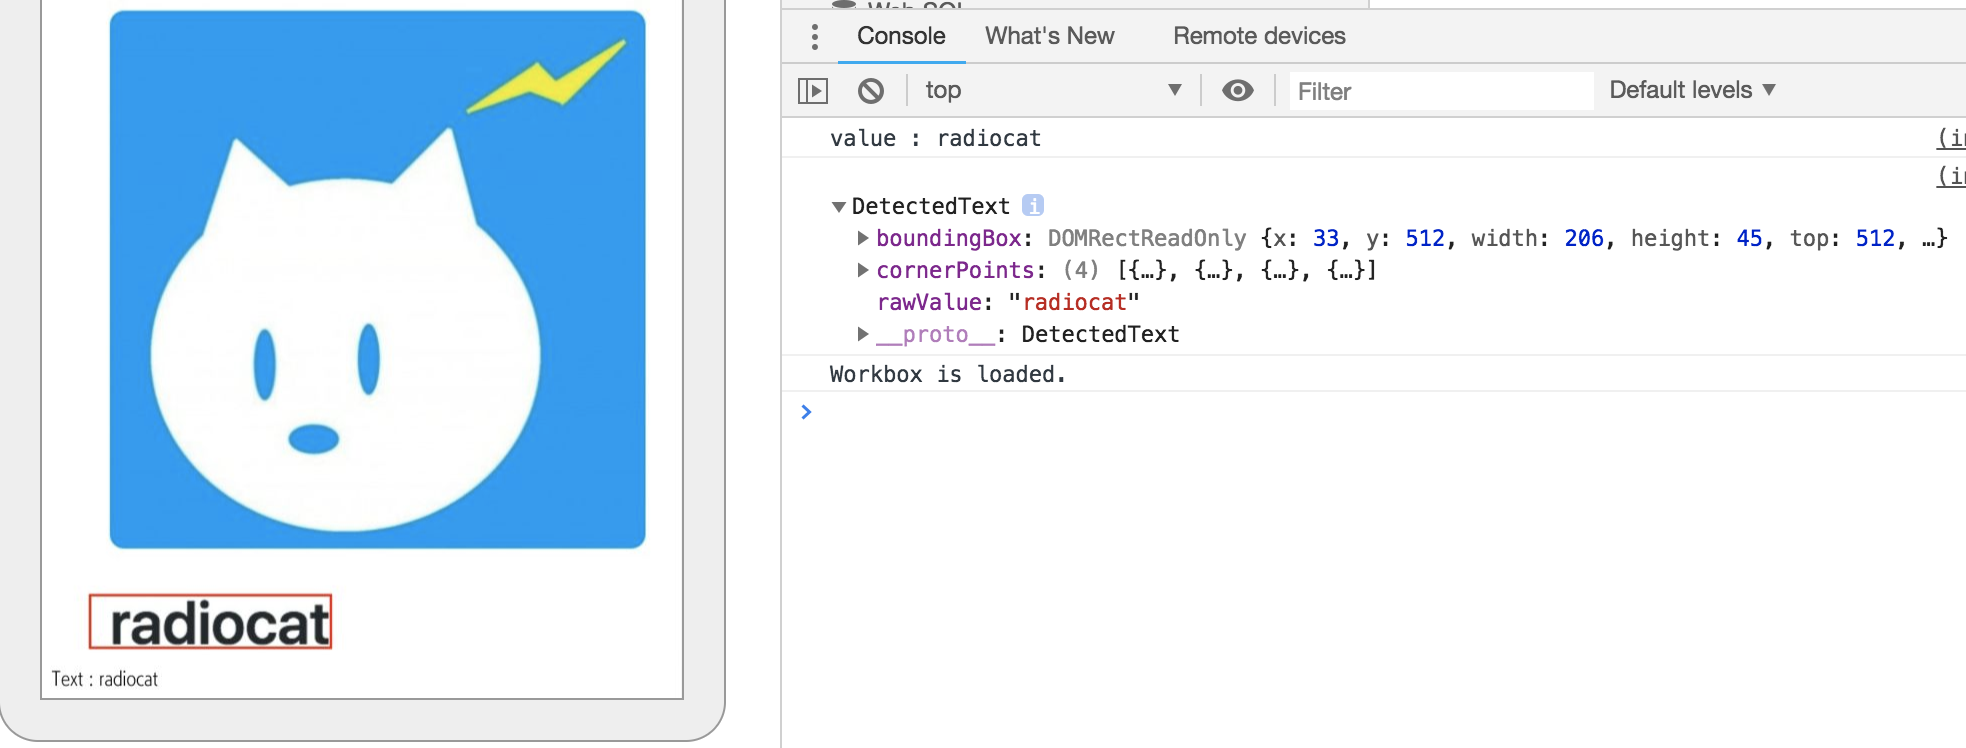
テキストについても BarcodeDetector と同じです。サンプルコード でご確認ください。テキスト認識の結果は rawValue を取得しますが、Macでは座標しか取得できず、Androidはテキストの内容も取得できました。
WICGのドキュメント によると実行するOSに依存しているようです。
Example implementations of Text code detection are e.g. Google Play Services, Apple’s CIDetector (bounding box only, no OCR) or Windows 10 OCR API.
ブラウザからカメラを操作して画像を取得する
ここからはBarcodeDetectorを使ってバーコードリーダーを作る方法を検討します。上記のサンプルコードではあらかじめ用意しておいた画像を使いましたが、実際にはカメラを使ってインタラクティブにバーコードを読み取ることが求められます。
カメラを操作して画像を取得する方法はGoogle DevelopersのWeb Fundamentalsの記事が参考になります。
ユーザーから画像を取得する | Web | Google Developers
inputタグを使う
以下の指定でAndroidではファイル選択ボタンからカメラを起動させることができます。
<input type="file" accept="image/*" capture>
残念ながらこの方法はあまり実用的ではないうえに、実用性を上げるにはいろいろと追加実装も必要になります。
- 最近のスマホの高性能なカメラの画像は大きすぎるので圧縮が必要
- カメラのローテーションを考慮する必要がある
バーコードリーダーの用途では取得した画像を再利用するユースケースもあまり考えられないので、fileプロパティで画像を取得するメリットも無く、現実的ではない選択肢と言えます。
WebRTC APIを使う
WebRTC はビデオチャットなどの実現で使われる技術で、 <video> タグを使ってカメラのリアルタイムプレビューを行ったり、カメラストリームからスナップショットを取得することができるため、それを解析すればバーコードリーダーが実現できます。
const video = document.getElementById('player');
// カメラにアクセスして作成されたストリームを取得
navigator.mediaDevices.getUserMedia({
        video: {
            width: 320,
            height: 240
        },
        audio: false
    })
    .then(function(stream) {
        video.srcObject = stream;
        if (window.BarcodeDetector) {
            const detector = new BarcodeDetector();
            captureTimer = setInterval(function() {
                detector.detect(video).then(
                    function(barcodes) {
                        let barcode = null;
                        for (barcode of barcodes) {
                            console.log(barcode);
                        }
                    }).catch(function(err) {
                    console.log(err);
                });
            }, 100); // 100ミリ秒ごとに解析
        } else {
            console.error(
                'BarcodeDetection is not enable!');
        }
    }).catch(function(err) {
        console.log(err);
    });
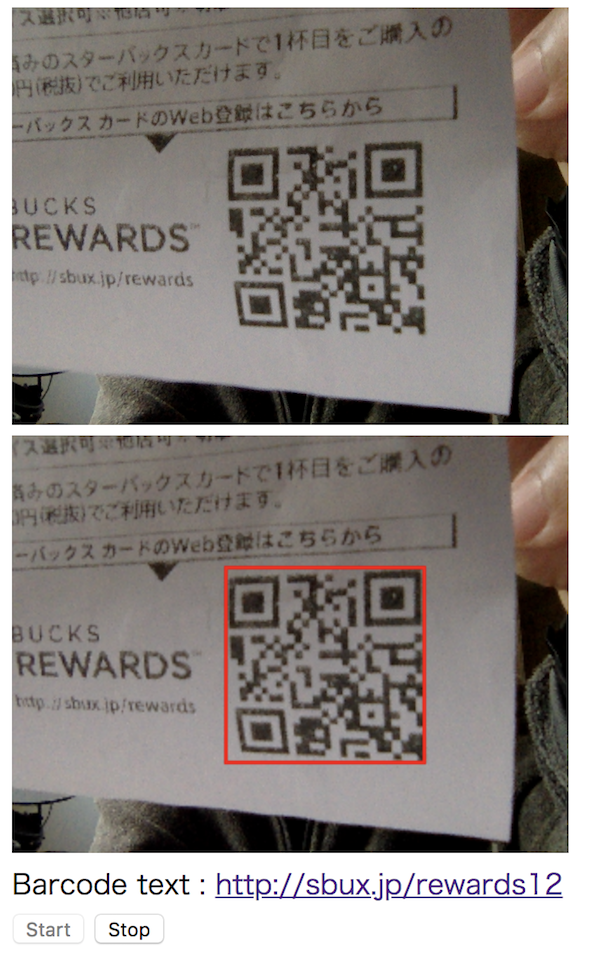
スタバのレシートに付いていたQRコードを読み取ることに成功しました。
PWA化する
最後にこれをPWA化します。そもそもPWAとは?については 過去記事 をご覧ください。
今回はPWA化のために主に2つの作業が必要です。
- ServiceWorkerを実装してオフライン実行できるように必要なファイルをキャッシュする
- Manifestファイルを作成してホーム画面に追加できるようにする
WorkboxでPWA化
まずは1.の作業を行います。PWAの導入に便利なWorkboxを使います。Workboxの使い方はCodelabsの以下のガイドを読めば30分ほどで理解できるのでおすすめです。
基本的にはCodelabsと同じことをやるだけですが、ざっと流れだけまとめておきます。
workbox-cli をインストール
$ npm install --global workbox-cli
sw.js の作成
importScripts('https://storage.googleapis.com/workbox-cdn/releases/3.5.0/workbox-sw.js');

if (workbox) {
  console.log(`Yay! Workbox is loaded 🎉`);

  workbox.precaching.precacheAndRoute([]);

} else {
  console.log(`Boo! Workbox didn't load 😬`);
}
workbox.config.js の生成
$ workbox wizard --injectManifest
今回はGithubに置いたサンプルコードをそのままGithub Pagesで動作できるように pwa/barcode.html にサンプルコードを作り、それをリポジトリのルートにビルドさせます(普通はこんな構成にしないと思いますが)。
module.exports = {
  "globDirectory": "../",  // リポジトリルートにビルド
  "globPatterns": [
    "pwa/barcode.html"    // キャッシュするファイル
  ],
  "swDest": "../sw.js",   // ServiceWorkerのビルド先
  "swSrc": "sw.js"        // ServiceWorkerのソースコード
};
Barcode Detectionの実行の前にServiceWorkerをロードする処理を追加
if ('serviceWorker' in navigator) {
    window.addEventListener('load', () => {
        navigator.serviceWorker.register('sw.js')
            .then(registration => {
                console.log(`Service Worker registered! Scope: ${registration.scope}`);
            })
            .catch(err => {
                console.error(`Service Worker registration failed: ${err}`);
            });
    });
}
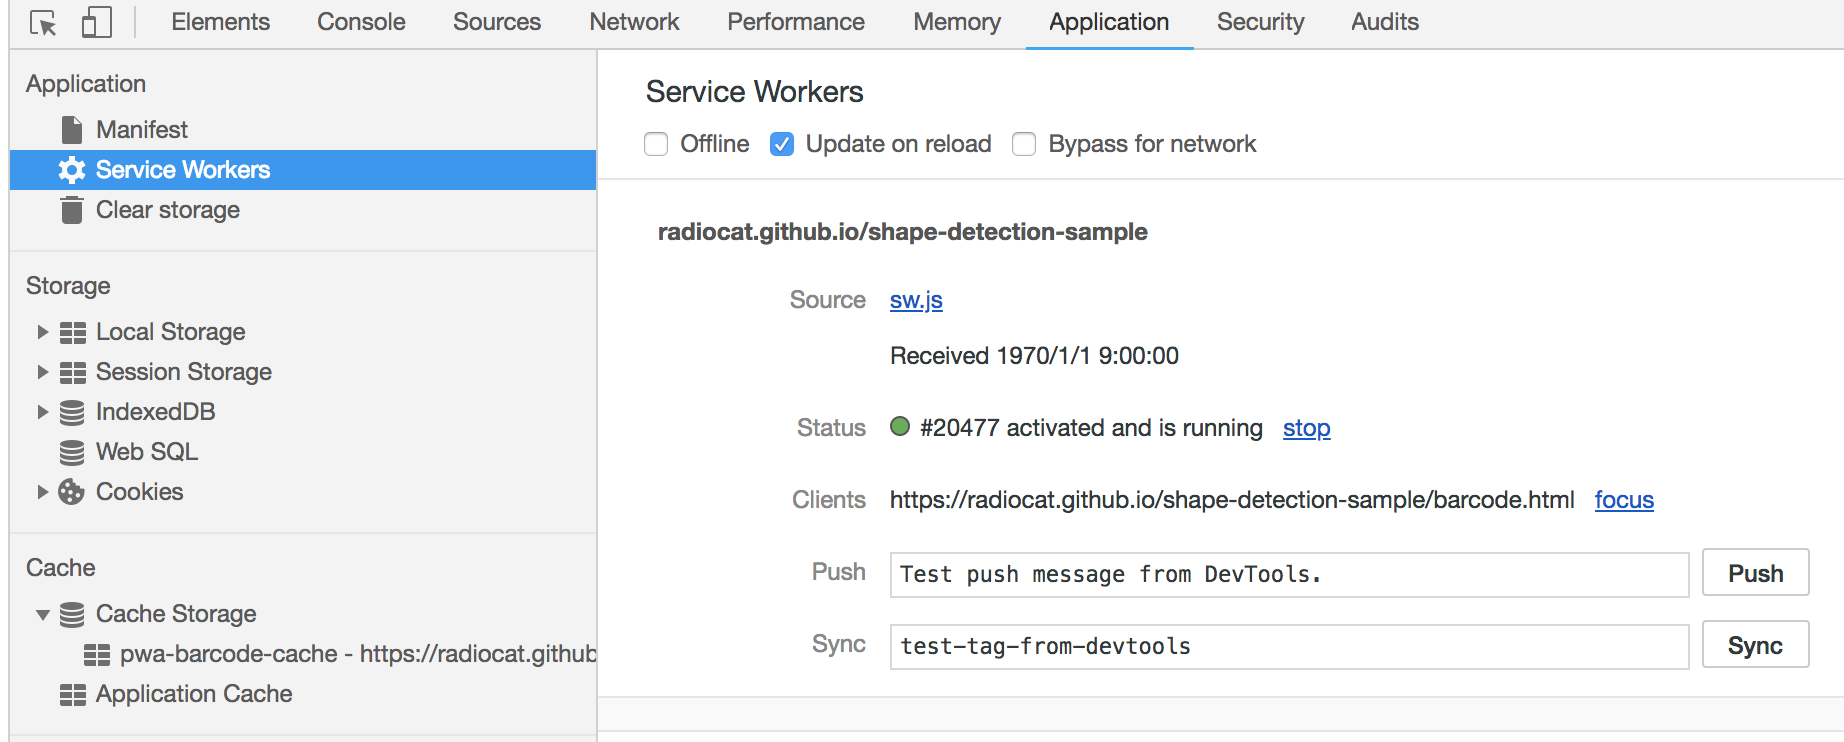
ServiceWorkerがロードされていることを確認
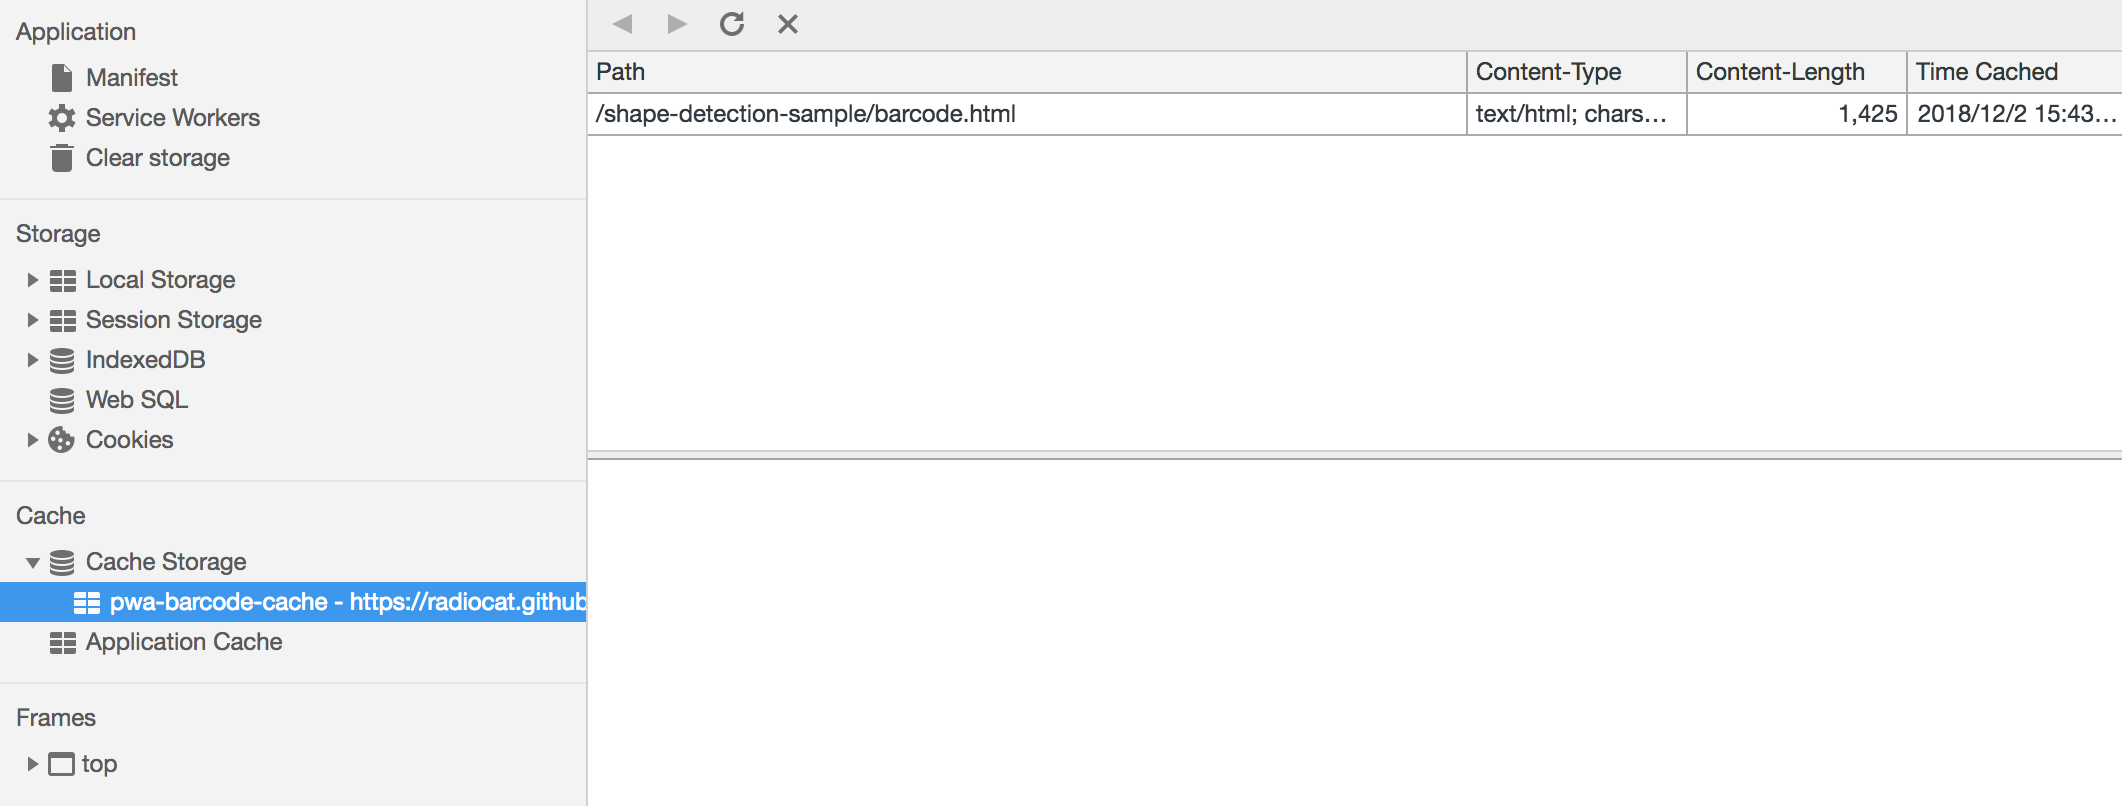
サンプルコードがキャッシュされていることを確認
Manifestファイルの作成
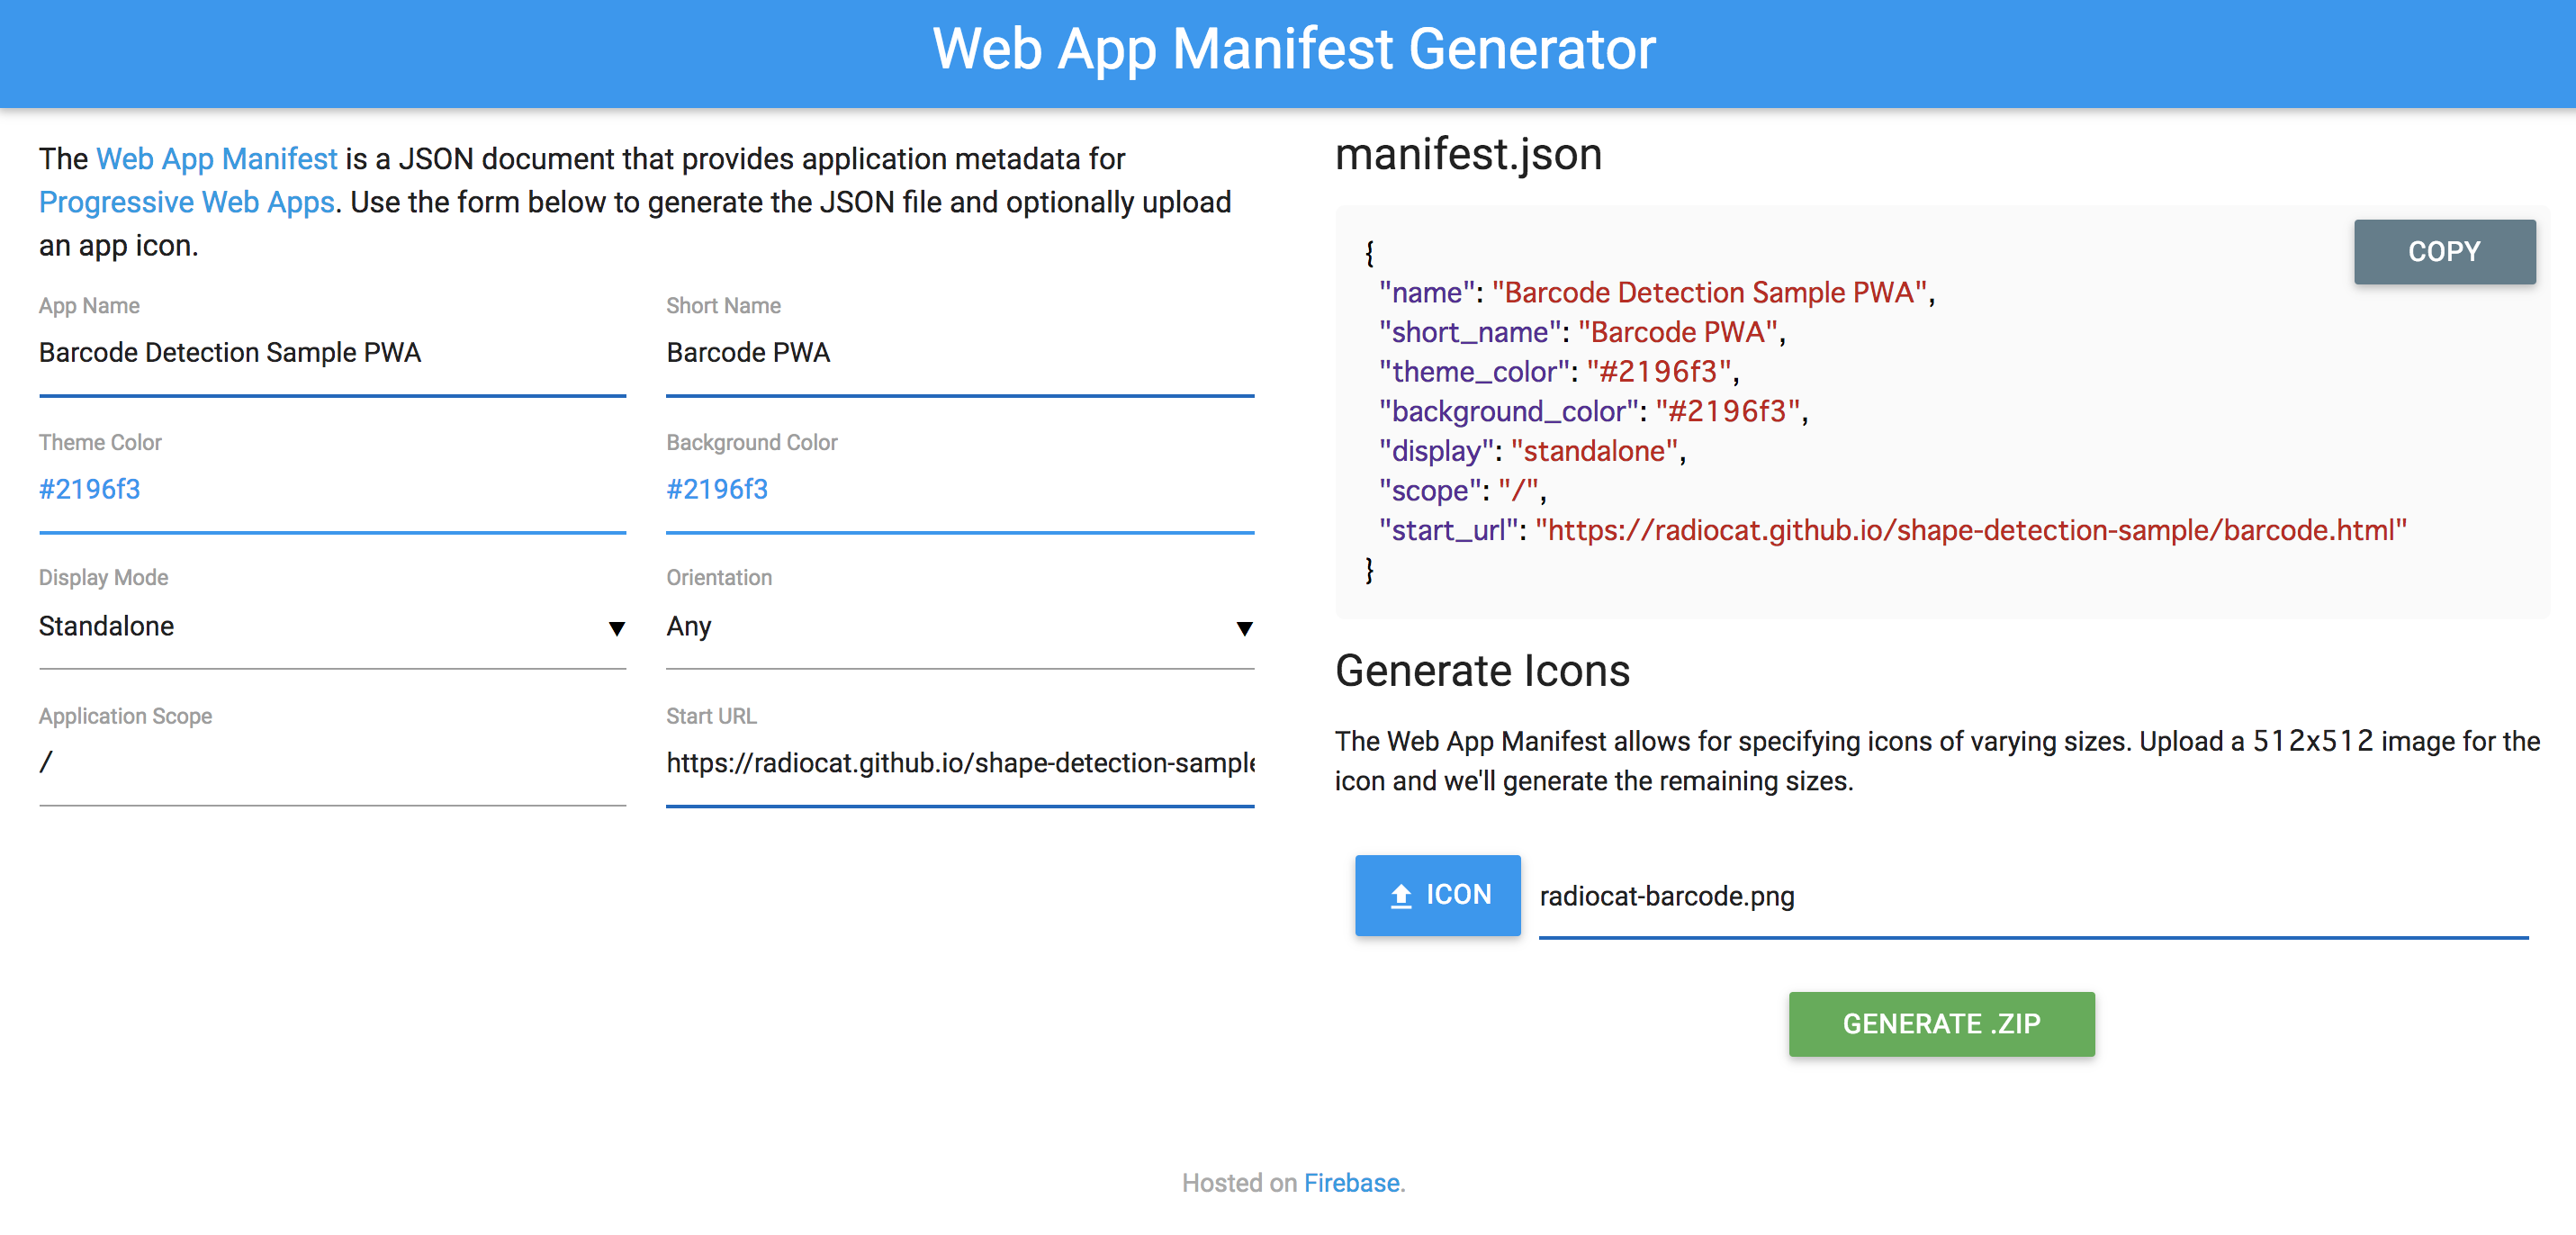
Manifestファイルはジェネレーターを使って自動で作成できます。
必要項目を設定し、512x512のアイコンをアップロードすると他のサイズのアイコンファイルと manifest.json をzipでまとめてダウンロードできます。
ファイルを配置してhtmlからmanifestファイルをロードするように設定
<link rel="manifest" href="manifest.json">
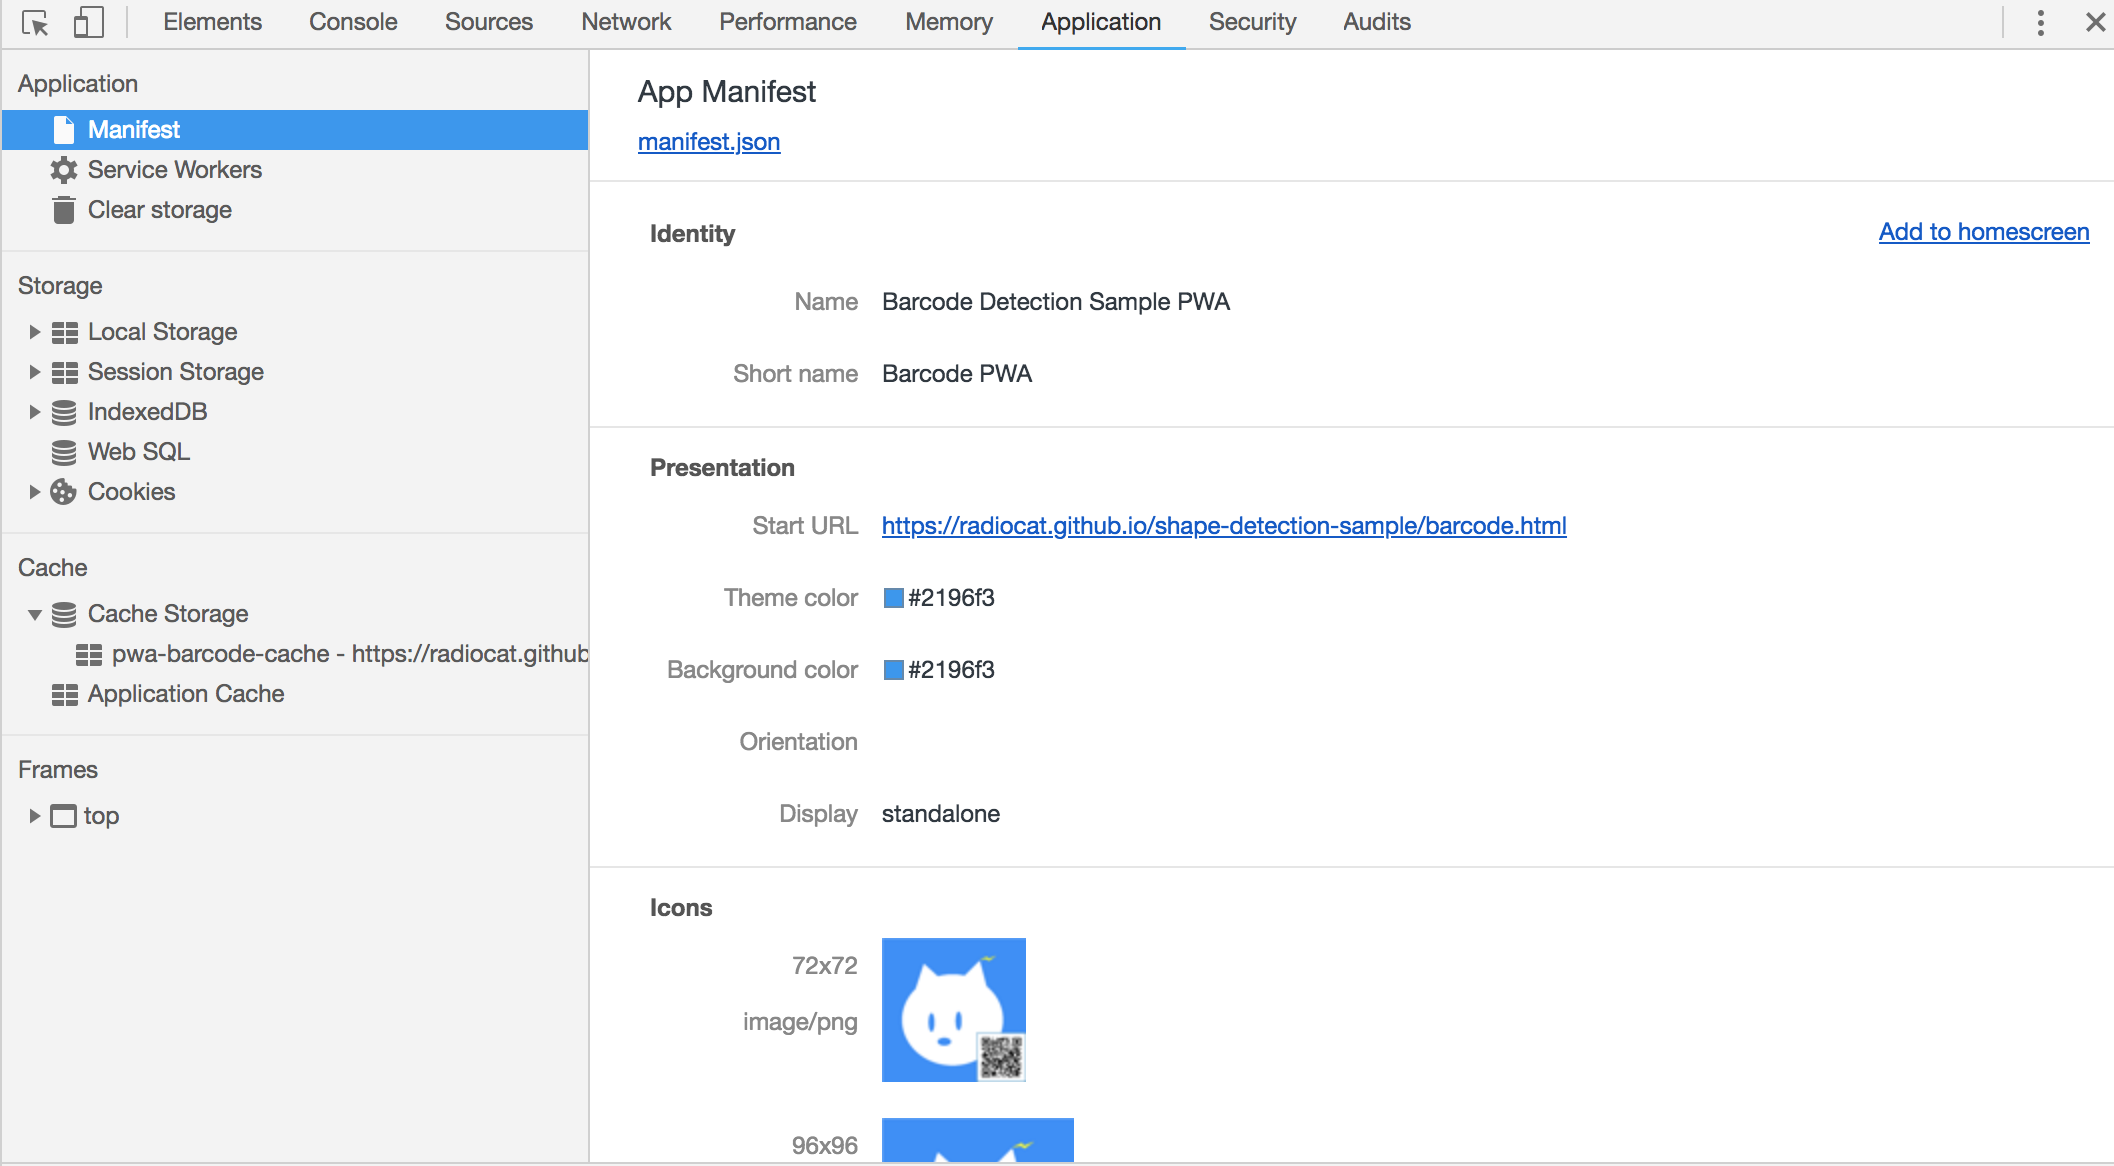
Manifestが設定できていることを確認
ホーム画面に追加できることを確認

サンプルコードとデモ
まとめ
Shape Detection APIはまだ実験的な機能ですが、API自体はそれほど複雑なものではなく既にある程度実用可能な精度も実現されています。WebRTCやPWAのように既存技術との組み合わせによってブラウザだけで様々な用途に活用できる可能性も感じました。それにしても、ML Kitが発表された半年後にブラウザで直接これらのMLモデルが使えるようになっているスピード感には驚きです。
補足
別の勉強会で発表したスライドと今回のサンプルコードのGitHubリポジトリです。
- ブラウザだけで使える機械学習モデル / Shape Detection Sample - Speaker Deck
- radiocat/shape-detection-sample: ShapeDetection Sample
