第10回:ニュースフィード投稿サーバIFをWebアプリから呼び出す
今回は前回作成したニュースフィード投稿IFをフロントエンドから呼び出してみます。
メッセージをの入力とPOSTボタンを作成する
とりあえず画面に置いてみる
長文を入力するための<textarea>タグと<button>タグを追加します。
<div id="newsfeeds">
  <textarea placeholder="message ..."></textarea><br>
  <button>POST</button>
  <ng-container *ngIf="newsfeeds && newsfeeds.newsfeeds">
ボタンをクリックしたときのイベント登録と、<textarea>メッセージを読み取れるようにする。
<textarea>に入力した文字をログに出し、正常に取れているか確認します。
export class NewsfeedsComponent implements OnInit {

  newsfeeds: Newsfeeds;
  message: string;

・・・

  onClickPost() {
    console.log(this.message);
  }
}
<div id="newsfeeds">
  <textarea placeholder="message ..." [(ngModel)]="message"></textarea>
  <button (click)="onClickPost()">POST</button>

  <ng-container *ngIf="newsfeeds && newsfeeds.newsfeeds">
REST IFを呼んでみる
POST IFを作成し、画面と繋いでみる
RestServiceに新しいPOST IFを追加し、クリックイベントにて呼び出してみます。
 ・・・

  async searchNewsFeeds(): Promise<Response<Newsfeeds>> {

   ・・・

  }

  async createNewsFeed(message: string): Promise<Response<null>> {
    return new Promise((resolve, reject) => {
      const url = environment.rest.domain + '/newsfeeds';
      const body = {
        message: message,
        createdAt: new Date()
      };
      this.httpClient.post(url, body).toPromise().then(response => {
        resolve(new Response(null));
      }).catch(error => {
        console.error(error);
        reject(error);
      });
    });
  }

  ・・・
 ・・・

  async onClickPost() {
    try {
      await this.restService.createNewsFeed(this.message);
    } catch (error) {
      // TODO: display alert dialog.
    }
  }
}
動作確認する
実際に画面からメッセージを入力し、POSTしてみましょう。
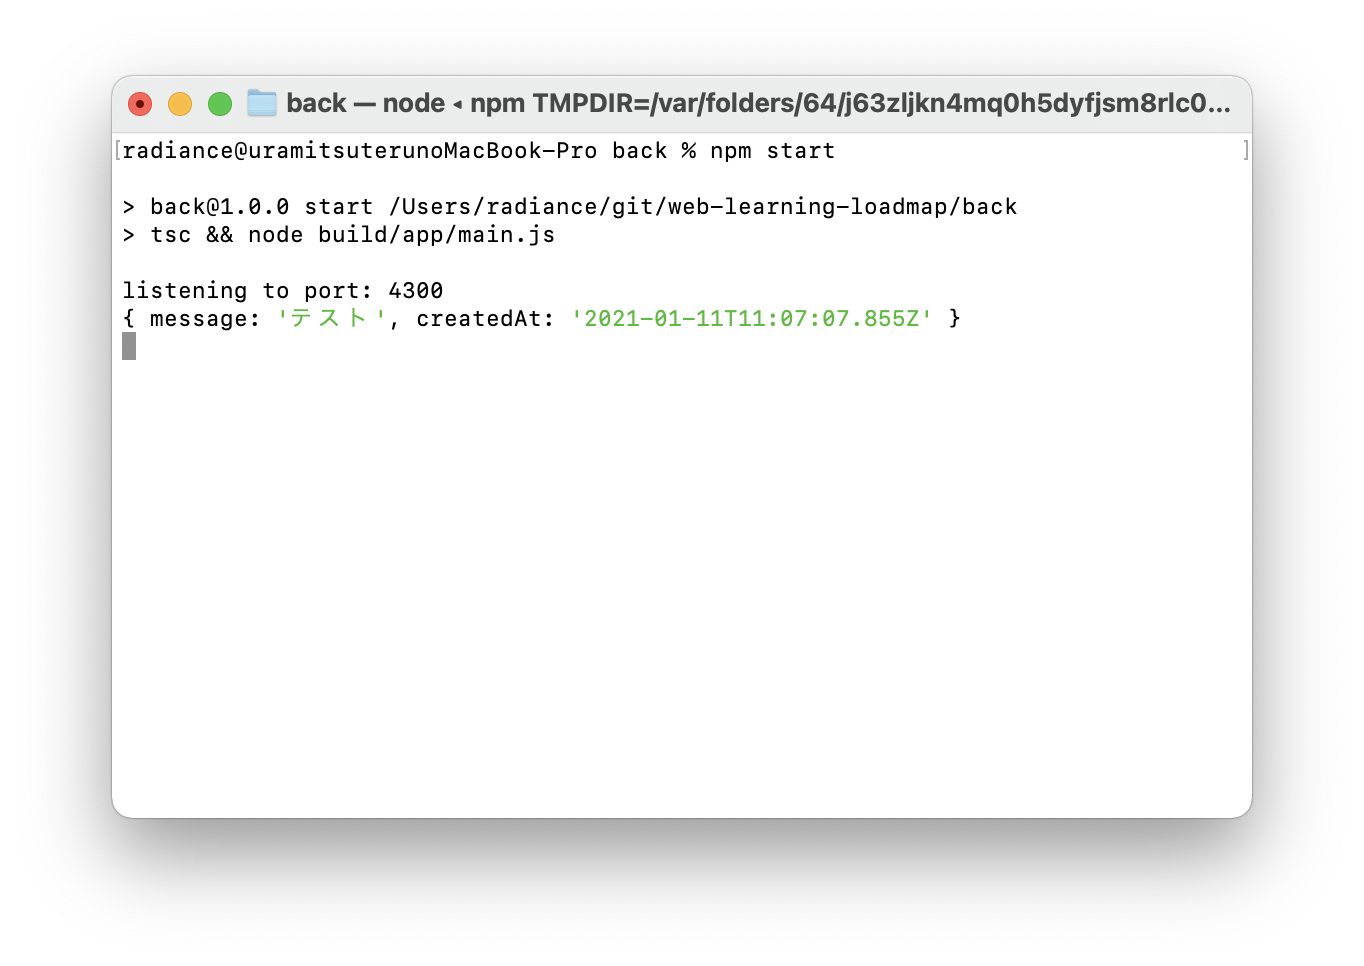
サーバ側のログに入力したメッセージが出力されることが確認できます。
POSTボタンの活性状態を制御する
メッセージが入力されていない時にPOSTボタンが押せたり、サーバ通信が動いたりするのは無駄なので、メッセージが入力されていないときはPOSTボタンを非活性になるように制御します。下記の修正を加えてください。
<div id="post-button"><button (click)="onClickPost()" [disabled]="!message || message.length === 0">POST</button></div>
サインイン画面も同様にID,Passwordが入力されていないときはSign inボタンが活性にならないよう修正してください。
見た目を飾る
最後にscssで見た目を飾って終わります。
  <textarea id="post-message" placeholder="message ..." [(ngModel)]="message"></textarea><br>
  <div id="post-button"><button (click)="onClickPost()">POST</button></div>
# newsfeeds {

  ・・・

  #post-message {
    width: 100%;
    height: 60px;
    border: 0px none;
    border-radius: 5px;
    resize: none;
    box-sizing: border-box;
  }
  #post-button {
    text-align: right;
    margin-bottom: 40px;
    button {
      width: 120px;
    }
  }
}
buttonの活性状態によりマウスカーソルもクリックできる見た目に変わるようにします。
すべてのbuttonに適用したいため、共通のスタイルを追加します。
html, body {
  height: 100%;
}

button {
  cursor: pointer;
  &:disabled {
    cursor: default;
  }
}
最後に
今回はフロントエンドからニュースフィード投稿のREST APIを呼んでみました。
次回からバックエンドにDBを作成していきます。
今回開発したソースコードはGitHubに入っています。


