ある程度仕事していると手持ちのPC1台だけで開発、保守とかやるには環境的に限界があったりします。
新しい開発をしないといけないのにPCが無いので保守環境を崩したり…
そんな訳で、仮想環境を作って切り替えが出来ないかと思ったところVagrantの事を知り、これで何とかできないか試してみる事にしました。
※目的が達成できるかということについては不明のままやってます。
使えれば使う、くらいの気持ちで。
VirtualBox+Vagrantインストール
まずここからVirtualBoxをダウンロードしてインストール。
https://www.virtualbox.org/wiki/Downloads
次にここからVagrantをダウンロードしてインストール。
https://www.vagrantup.com/downloads.html
終わったら一度再起動。
box選び
ここからUbuntuのboxを選んでおきます。
http://www.vagrantbox.es/
が、どれを使えば良いかわからない。
参考
http://blog.kondoyoshiyuki.com/2014/06/12/windows7-vagrant-ubuntu14-04/
https://inexio.jp/20150707-944
http://qiita.com/shinichi62/items/1050f89ed693e3baa3f8
最初はvagrant-disk1と付いてるのを使えばいいのかな?とか思ったんですが、更に調べても別にそんな事はないような…。
ここで止まるのも嫌なので、参考サイト様で使っていた
https://cloud-images.ubuntu.com/vagrant/trusty/current/trusty-server-cloudimg-i386-vagrant-disk1.box
を使ってみます。
boxの追加
ここからはコマンドで操作。
$ vagrantでコマンド一覧が見れます。
addコマンドでvagrantにboxを追加
$ vagrant box add Ubuntu14.04 https://cloud-images.ubuntu.com/vagrant/trusty/current/trusty-server-cloudimg-i386-vagrant-disk1.box
※時間かかります
$ C:\>vagrant box add Ubuntu14.04 https://cloud-images.ubuntu.com/vagrant/trusty/current/trusty-server-cloudimg-i386-vagrant-disk1.box
$ ==> box: Box file was not detected as metadata. Adding it directly...
$ ==> box: Adding box 'Ubuntu14.04' (v0) for provider:
$     box: Downloading: https://cloud-images.ubuntu.com/vagrant/trusty/current/trusty-server-cloudimg-i386-vagrant-disk1.box
$     box: Progress: 100% (Rate: 212k/s, Estimated time remaining: --:--:--)
$ ==> box: Successfully added box 'Ubuntu14.04' (v0) for 'virtualbox'!
設定ファイル作成
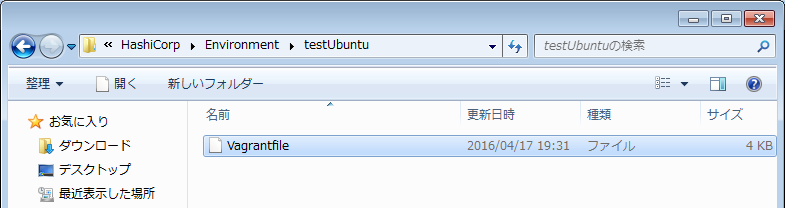
適当な場所にディレクトリを作り、cmd上で移動します。
$ vagrant initと打つと、設定ファイルがそこに作成されます。
$ cd C:\HashiCorp\Environment\testUbuntu
$ vagrant init
ログイン
最終的にはGUI環境で使いたいので、Vagrantfileを開き、以下のコメントアウトされている箇所(先頭のみ)を外します。
# config.vm.provider "virtualbox" do |vb|
#      # Display the VirtualBox GUI when booting the machine
#      vb.gui = true
#
#      # Customize the amount of memory on the VM:
#      vb.memory = "1024"
#    end
$ vagrant upで開始します。
と思ったらエラーに。
C:\HashiCorp\Environment\testUbuntu>vagrant up
Bringing machine 'default' up with 'virtualbox' provider...
==> default: Box 'base' could not be found. Attempting to find and install...
    default: Box Provider: virtualbox
    default: Box Version: >= 0
==> default: Box file was not detected as metadata. Adding it directly...
==> default: Adding box 'base' (v0) for provider: virtualbox
    default: Downloading: base
    default:
An error occurred while downloading the remote file. The error
message, if any, is reproduced below. Please fix this error and try
again.

Couldn't open file /C:/HashiCorp/Environment/testUbuntu/base
base?ってなんだ、ということで調査
参考
http://blog.allianceport.jp/aptv/2013/07/vagrant.html
デフォルトではbaseって名前を指定するようになっているみたいです。
設定ファイルを開き、config.vm.box = "base"となっている箇所をvagrant addした際の名前(今回は"Ubuntu14.04")に変更します。
再度vagrant upするとこんな画面が開いていました。
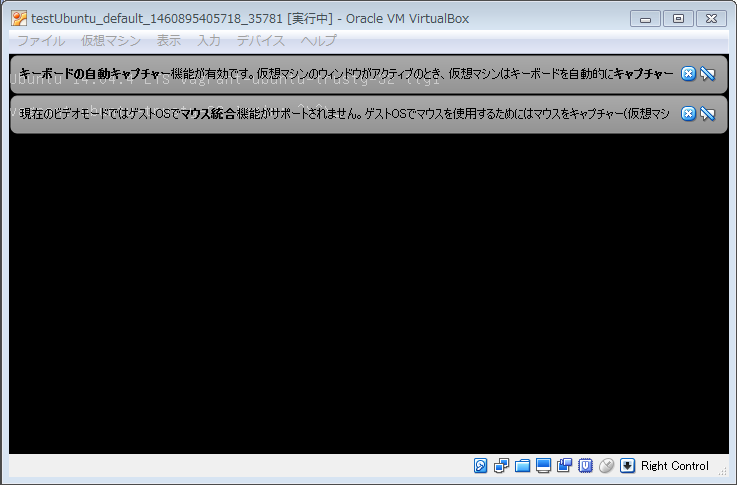
警告の裏にログイン入力があるので、ID、PASS共にvagrantを入力してログインできます。
デスクトップのインストールについてはUbuntuの操作になるみたいなのでまた別に。
4/26追記
思ったよりこの後の操作が少ないので同じ記事で書いてしまいます…
ログインしたら、Ubuntu環境上で# sudo aptitude updateを実行。
これでパッケージを最新化します。
ちなみにネットワーク設定は自分は不要でした。
終わったら# sudo taskselを実行すると、Software selectionのウィンドウが開きます。
その中から、自分はUbuntu desktopを選択しました。
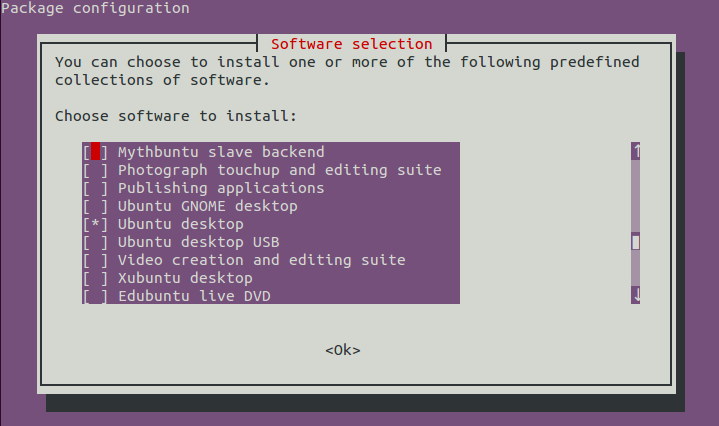
Okを選択してインストールします、かかった時間は15分くらいでした。
終わったらコマンドラインに戻り、$ vagrant reloadを実行。
これでUbuntuデスクトップが起動します、お疲れ様でした。
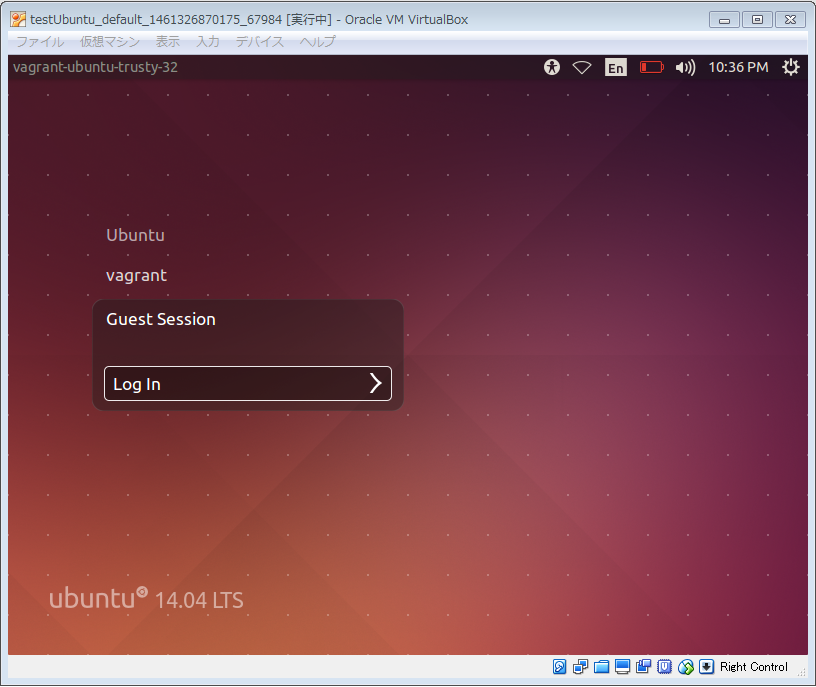
※ログイン時はvagrantをちゃんと選びましょう、気付かなくて何で同じpassで入れないんだろうなぁとか思ってました(笑
※一度# sudo aptitude updateをしないでデスクトップをインストールしたんですが、エラーで動かなくなってしまいました、後からやってもダメみたいで、結局$ vagrant box addからやり直しました。