初めに

最近、巷で人気となっている言語の1つに「Rust」があります。
「Rust」は「C」に置き換わる事が期待されている低レイヤー言語となります。
そんな 「Rust」でweb制作してみたいと思った事はございませんか?
そこで今回は「actix-web」でweb制作を行う方法についてご紹介させていただきます。
フレームワーク

Rustには「Rocket」や「axum」、「actix-web」等の有名なweb開発フレームワークがあります。
今回は最も有名と言われている「actix-web」を使用しweb制作を行います。
下記「actix-web」の公式サイトとなります。
Rustのインストール
「Rust」でwebを作るぞ!と言ったものテスト環境に言語がインストールされておりませんでした。
下記コマンドを使用してRustのインストールを実行します。
curl --proto '=https' --tlsv1.2 -sSf https://sh.rustup.rs | sh
インストールが完了したら「cargo」のパスを通します。
詳しくは下記をご確認よろしくお願い致します。
新しいプロジェクトの作成
始めに「cargo」を使用して新しいプロジェクトを作成します。
今回は例として「web-test」として作成致しました。
下記作成コマンドとなります。
cargo new web-test
上記作成すると下記のメッセージが表示されます。
Creating binary (application) `web-test` package
note: see more `Cargo.toml` keys and their definitions at https://doc.rust-lang.org/cargo/reference/manifest.html
依存関係の設定
次に先程作成したプロジェクトディレクトリに移動します。
cd web-test
「Cargo.toml」ファイルにwebフレームワークの依存関係を記述します。
今回は下記の様に記述しました。
[package]
name = "web-test"
version = "0.1.0"
edition = "2021"

[dependencies]
actix-web = "4"
プログラムの作成
続いて「src」配下の「main.rs」にHello World!のプログラムを追記します。
下記コマンドで移動します。
cd src
下記コマンドで編集を行います。
vi main.rs
今回は公式サイトに記載された下記のコードを貼り付けました。
use actix_web::{get, web, App, HttpServer, Responder};

#[get("/")]
async fn index() -> impl Responder {
    "Hello, World!"
}

#[get("/{name}")]
async fn hello(name: web::Path<String>) -> impl Responder {
    format!("Hello {}!", &name)
}

#[actix_web::main]
async fn main() -> std::io::Result<()> {
    HttpServer::new(|| App::new().service(index).service(hello))
        .bind(("IPアドレス", 8080))?
        .run()
        .await
}
作成したコードは「argo run」を使用し実行する事が出来ます。
cargo run
上記実行しました所、gccコンパイラがインストールされてい為、エラーとなりました。
error: linker `cc` not found
  |
  = note: No such file or directory (os error 2)

error: could not compile `libc` (build script) due to 1 previous error
warning: build failed, waiting for other jobs to finish...
下記コマンドを使用し「gccコンパイラ」のインストールを行います。
dnf install gcc
上記インストール後再び、「argo run」を使用し実行します。
cargo run
動作確認
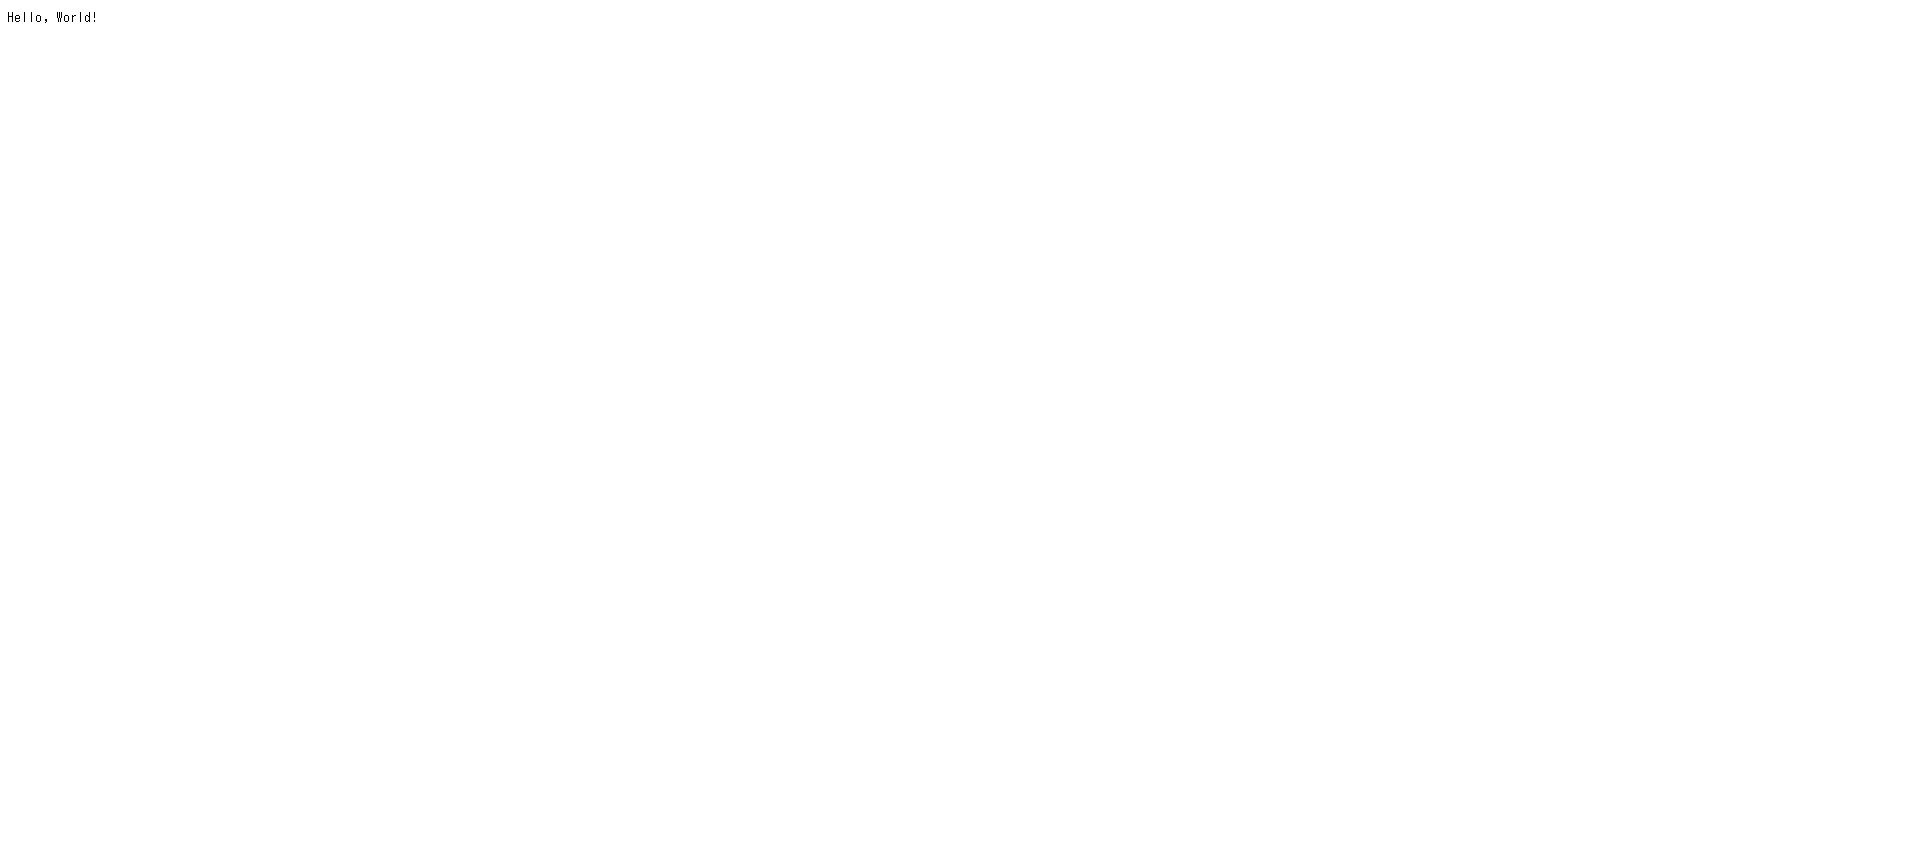
最後に指定したIPアドレスをweb経由でアクセスします。
上記画像の様に「Hello, World!」が表示されていれば成功です。
※ファイヤーウォールで指定したポートを許可する必要があります。