Successor to Vagrantとされる ottoをPHPerが使ってみました。以下はOSX El Capitan、ottoは2015/10/03現在の0.1.1を使用して実行しています。
ottoの設置
https://ottoproject.io/downloads.html からバイナリファイルをダウンロードして適当なところに置きます。
$ otto version
Otto v0.1.1
Laravelのインストール
適当な位置にComposerでインストールします。
$ composer create-project laravel/laravel --prefer-dist
.
.
(略)
ottoを使う
ottoの構成をする
ドキュメントを読むとAppfileというのが必要らしいですので設置します。
$ cd laravel
$ vi Appfile
と言っても何を書いていいのかよくわからないのでnameとtypeだけ書いてみます。
application {
        name = "otto-sample"
        type = "php"
}
その後、compileコマンドを実行します
$ otto compile
==> Loading Appfile...
==> Fetching all Appfile dependencies...
==> Compiling...
    Application:    otto-sample (php)
    Project:        laravel
    Infrastructure: aws (simple)

    Compiling infra...
    Compiling foundation: consul
==> Compiling main application...
==> Compilation success!
    This means that Otto is now ready to start a development environment,
    deploy this application, build the supporting infastructure, and
    more. See the help for more information.

    Supporting files to enable Otto to manage your application from
    development to deployment have been placed in the output directory.
    These files can be manually inspected to determine what Otto will do.
一瞬で終わります。PHPと認識(?)されたようです。
開発環境をつくる
これもdevコマンドだけでいいみたいですね。Vagrantは1.7.4が必要ですが、アップデートが必要な場合はやってくれます。Virtualboxはさすがにインストールしてくれないみたいですが、5.0.6を事前にインストールしておきました。
$ otto dev
==> Creating local development environment with Vagrant if it doesn't exist...
    Raw Vagrant output will begin streaming in below. Otto does
    not create this output. It is mirrored directly from Vagrant
    while the development environment is being created.

Bringing machine 'default' up with 'virtualbox' provider...
==> default: Importing base box 'hashicorp/precise64'...
==> default: Matching MAC address for NAT networking...
==> default: Checking if box 'hashicorp/precise64' is up to date...
.
.
.
(略)
==> Development environment successfully created!
    IP address: 172.16.1.76
Vagrantを使ってごにょごにょしているみたいですね。今回、IPは172.16.1.76が割り当てられました。ちなみにこのIPアドレスは
$ otto dev address
で確認できます。続いて、できた環境にSSHして起動してみましょう。
$ otto dev ssh
vagrant@precise64:/vagrant$ php -v
PHP 5.6.13-1+deb.sury.org~precise+3 (cli)
Copyright (c) 1997-2015 The PHP Group
Zend Engine v2.6.0, Copyright (c) 1998-2015 Zend Technologies
    with Zend OPcache v7.0.6-dev, Copyright (c) 1999-2015, by Zend Technologies
vagrant@precise64:/vagrant$ php artisan serve --host=0.0.0.0 --port=8080
そして、http://172.16.1.76:8080 にアクセスすると...
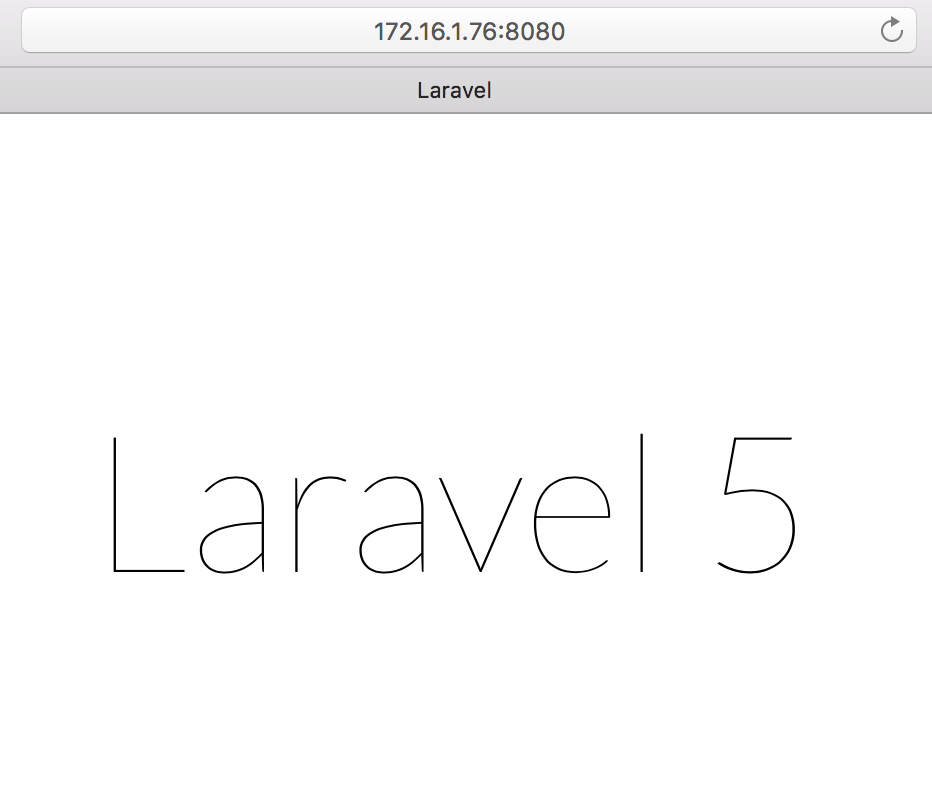
簡単!!!
デプロイする
infraはどうもawsと認識されているようなので、このままデプロイしてみます。まずはinfraコマンドを実行します。途中でAWSのキー入力やパスワード設定などが求められるので、指示に従って入力します。Terraformがインストールされるようです。
$ otto infra
==> Detecting infrastructure credentials for: laravel (aws)
    Cached and encrypted infrastructure credentials found.
    Otto will now ask you for the password to decrypt these
    credentials.
.
.
.
==> Downloading terraform v0.6.3...
    URL: https://dl.bintray.com/mitchellh/terraform/terraform_0.6.3_darwin_amd64.zip
すごすぎてだんだんついていけなくなってきましたが、次はbuildコマンドです。ここではアプリケーションがgit管理されていないとうまくいかないので、Laravelを一旦コミットします。
# Laravelのキーを生成します。
$ php artisan key:generate
# config/app.phpのSomeRandomStringとなっているところを表示されたキーに変更します。
$ vi config/app.php
$ git init
$ git add .
$ git commit -m "commit for otto"
そしてbuildコマンド。先ほどのパスワードが聞かれるので入力します。今度はpackerとconsulがインストールされるようです。AMIのイメージを作ってapacheなどをインストールしているようです。ようです...としか言えなくなってきました(汗)
$ otto build
==> Querying infrastructure data for build...
==> Building deployment archive...
==> Building deployment artifact with Packer...
    Raw Packer output will begin streaming in below. Otto
    does not create this output. It is mirrored directly from
    Packer while the build is being run.

otto output will be in this color.

==> otto: Prevalidating AMI Name...
==> otto: Inspecting the source AMI...
==> otto: Creating temporary keypair: packer 560fb781-530f-6230-d69e-0bdb6f6ba205
==> otto: Creating temporary security group for this instance...
==> otto: Authorizing access to port 22 the temporary security group...
==> otto: Launching a source AWS instance.
.
.
.
(略)
==> Build success!
    The build was completed successfully and stored within
    the directory service, meaning other members of your team
    don't need to rebuild this same version and can deploy it
    immediately.
それでは、最後にdeployコマンドです。再びパスワードが聞かれます。
$ otto deploy
aws_security_group.app: Creating...
  description:                         "" => "Managed by Terraform"
.
.
.
(略)
Outputs:

  url = http://xxxxxxx.compute-1.amazonaws.com/
成功したっぽい!指示されたURLにアクセスすると表示された...と言いたいところでしたが、Fobiddenになっていました。
生成されたEC2にSSHして調べてみると、apacheの設定がほとんどなかったので、mod-rewriteがきいていない様子。
とりあえず、 http://xxxxxxx.compute-1.amazonaws.com/public/ にアクセスすると表示できました。この辺の設定は追って確認したいですね。
お掃除
これまで作ったものを全て捨て去るコマンドも用意されています。awsのセキュリティグループなども適当なので消しておきましょう。
$ otto deploy destroy
$ otto infra destroy
$ otto dev destroy
まとめ
ottoを使ってLaravelをデプロイしてみました。正直すごすぎてほとんど分かっていないのですが、使い方の流れはなんとなくつかめたような気がするので、ちょっとずつ細かいところを見ていきたいと思います。