OpenShift AI
Red Hat® OpenShift® AI とは、柔軟でスケーラブルな人工知能 (AI) および機械学習 (ML) プラットフォームです。このプラットフォームにより、企業はハイブリッドクラウド環境全体で AI 対応アプリケーションを大規模に作成および提供できるようになります。
OpenShift AI はオープンソース・テクノロジーを使用して構築されており、実験、モデル提供、革新的なアプリケーションの提供のための、信頼性と一貫性に優れた運用機能を提供します。
OpenShift AI の導入
ここでは、Red Hat OpenShift on IBM Cloud (ROKS) 4.14 の環境に、以下のドキュメントを参考にして OpenShift AI を導入してみます。
以下に、手順や前提条件等が記載されています。
ここでは、以下の情報を元に、当資料作成時点の最新版 2.9.1 を導入します。
Red Hat OpenShift AI: Supported Configurations
https://access.redhat.com/articles/rhoai-supported-configs

Operator Hub から OpenShift AI を選択して導入します。
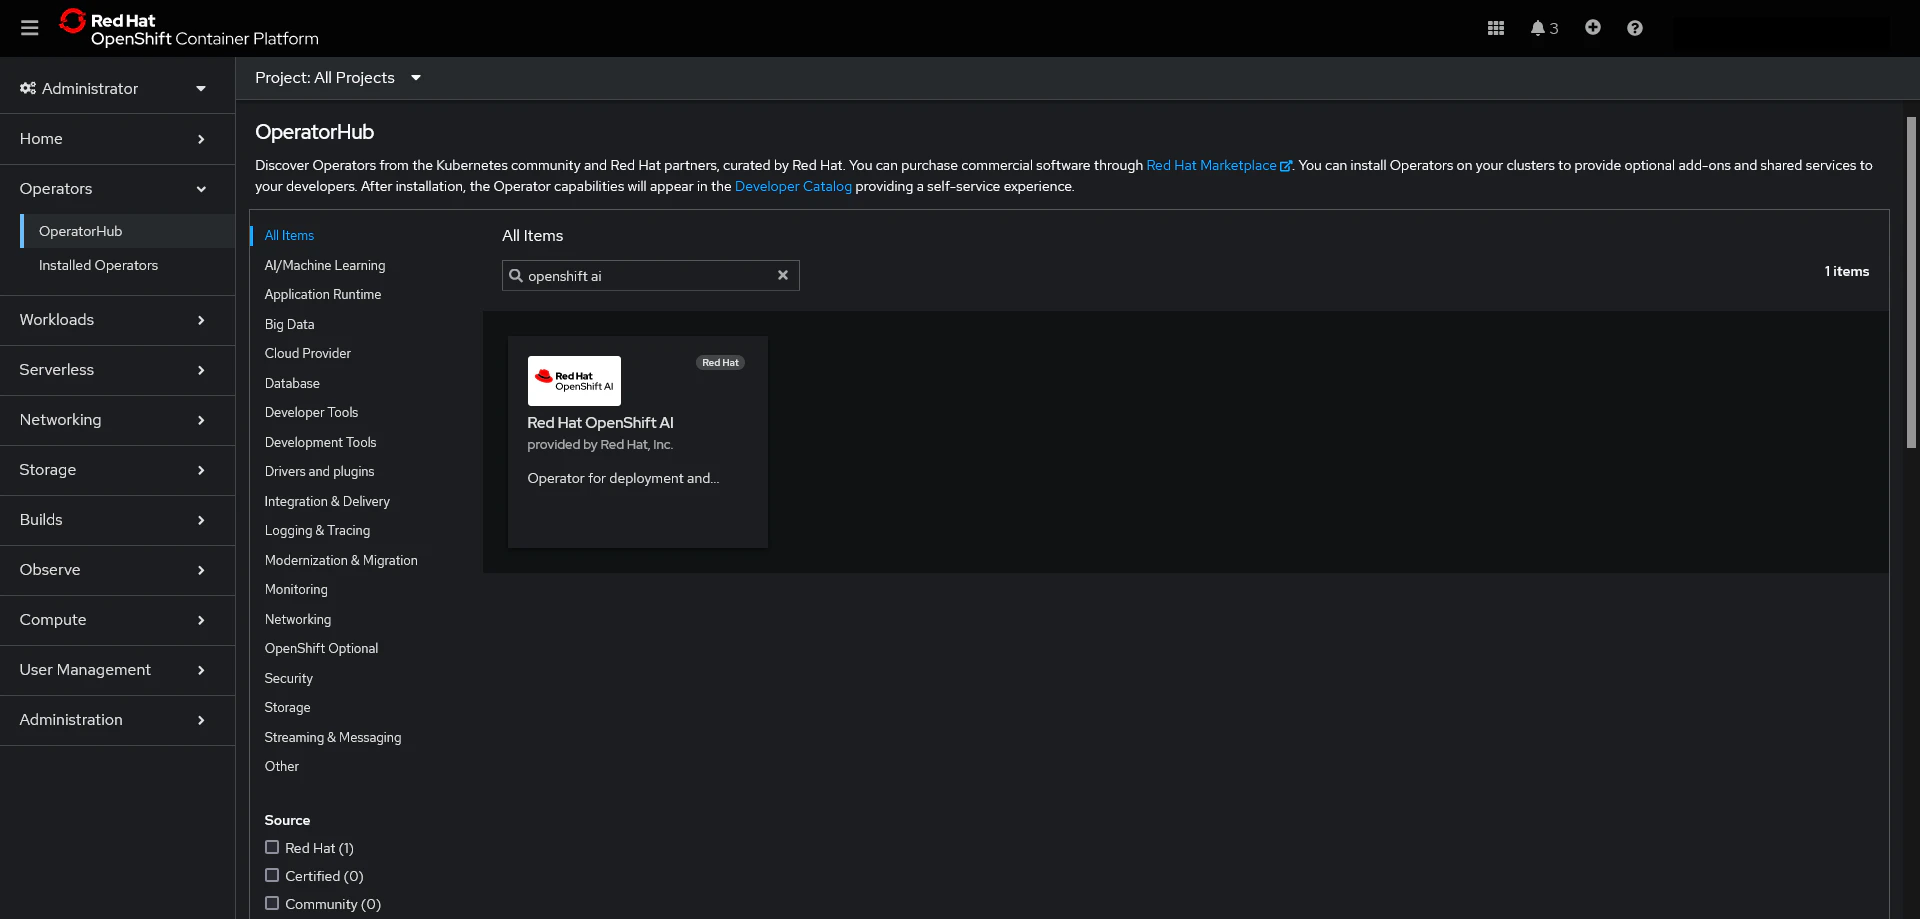
今回は、以下のような指定で導入しました。
$ oc get subs rhods-operator -n redhat-ods-operator -o json | jq -r '.spec'
{
  "channel": "fast",
  "installPlanApproval": "Manual",
  "name": "rhods-operator",
  "source": "redhat-operators",
  "sourceNamespace": "openshift-marketplace",
  "startingCSV": "rhods-operator.2.9.1"
}

$ oc get csv rhods-operator.2.9.1
NAME                   DISPLAY                VERSION   REPLACES               PHASE
rhods-operator.2.9.1   Red Hat OpenShift AI   2.9.1     rhods-operator.2.9.0   Succeeded
次に、OpenShift AI で導入される KServe には以下の前提条件があるため、Red Hat OpenShift Serverless と Red Hat OpenShift Service Mesh も導入します。Operator の導入のみで、導入後の設定は行いません。Red Hat - Authorino Operator は対象外としました。
Install KServe dependencies
- To support the KServe component, which is used by the single-model serving platform to serve large models, you must also install Operators for Red Hat OpenShift Serverless and Red Hat OpenShift Service Mesh and perform additional configuration. For more information, see Serving large models.
- If you want to add an authorization provider for the single-model serving platform, you must install the Red Hat - Authorino Operator. For information, see Adding an authorization provider for the single-model serving platform.
なお、OpenShift AI 導入後に KServe を Disable ( managementState = Removed ) にする場合は、Red Hat OpenShift Service Mesh も Disable にする必要があります。
2.4.4. Disabling KServe dependencies
- If you have not enabled the KServe component (that is, you set the value of the managementState field to Removed), you must also disable the dependent Service Mesh component to avoid errors.
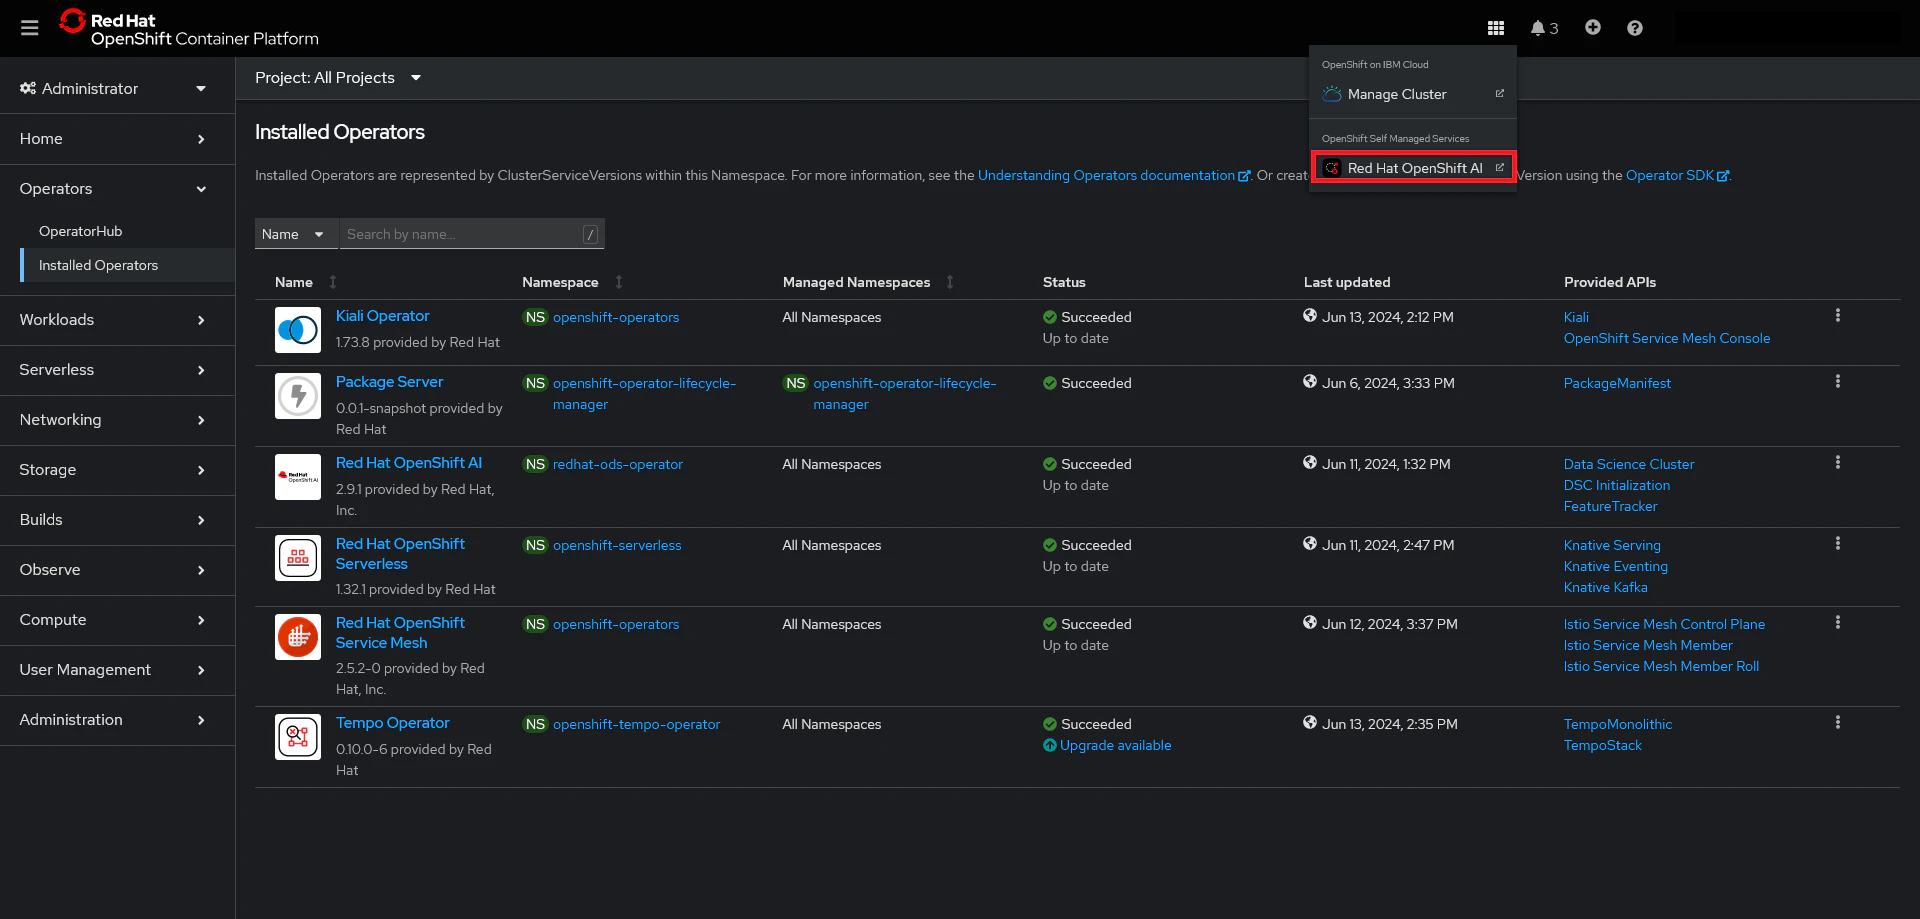
前述の Operator の導入を完了すると、概ね以下のようになります。
※ 念のため、Red Hat OpenShift Service Mesh のオプションである Kiali と Tempo も導入しています。
この時点で、右上のタイルアイコン配下の Red Hat OpenShift AI から OpenShift AI の UI を開くことが出来るようになります。
次に、OpenShift AI の Component を構成します。
2.4. Installing and managing Red Hat OpenShift AI components
- The following procedures show how to use the command-line interface (CLI) and OpenShift Container Platform web console to install and manage components of Red Hat OpenShift AI on your OpenShift Container Platform cluster.
Installed Operators から OpenShift AI を選択して、Data Science Cluster を構成します。
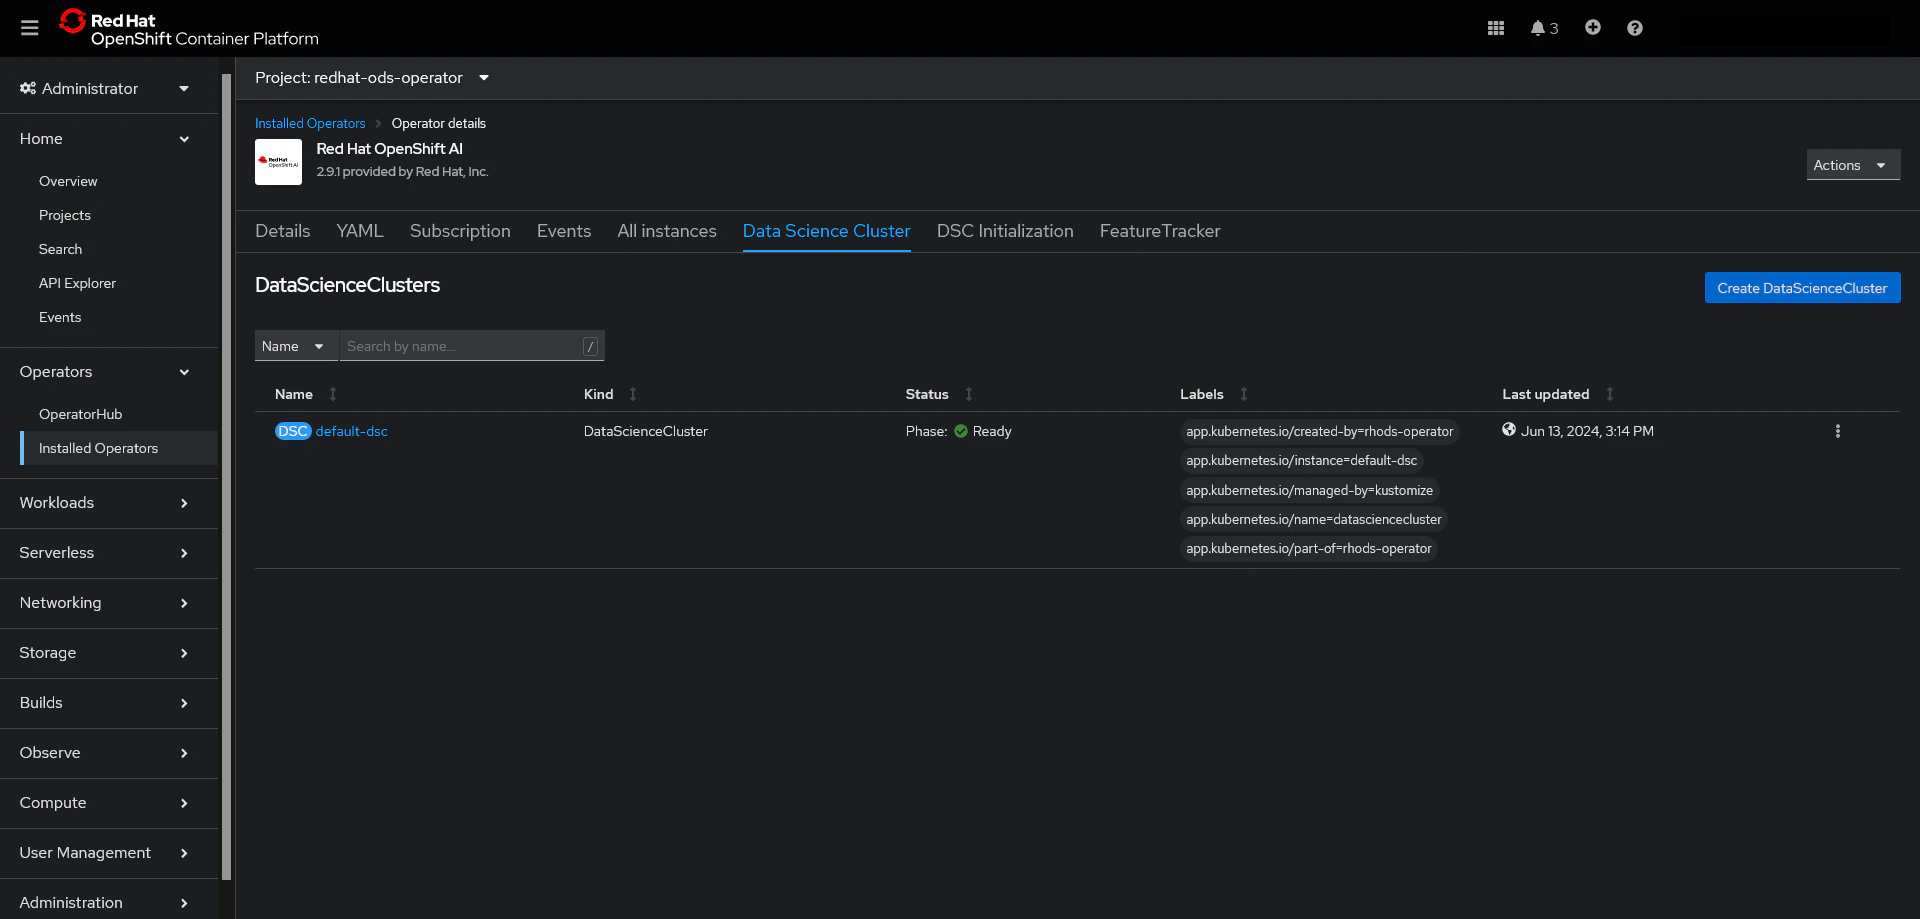
DataScienceCluster CR の .spec.components をデフォルトで構成します。なお、今回導入した 2.9.1 の Schema は以下のようなレイアウトになっています。
$ oc explain DataScienceCluster.spec.components
GROUP:      datasciencecluster.opendatahub.io
KIND:       DataScienceCluster
VERSION:    v1

FIELD: components <Object>

DESCRIPTION:
    Override and fine tune specific component configurations.

FIELDS:
  codeflare     <Object>
    CodeFlare component configuration. If CodeFlare Operator has been installed
    in the cluster, it should be uninstalled first before enabled component.

  dashboard     <Object>
    Dashboard component configuration.

  datasciencepipelines  <Object>
    DataServicePipeline component configuration. Require OpenShift Pipelines
    Operator to be installed before enable component

  kserve        <Object>
    Kserve component configuration. Require OpenShift Serverless and OpenShift
    Service Mesh Operators to be installed before enable component Does not
    support enabled ModelMeshServing at the same time

  kueue <Object>
    Kueue component configuration.

  modelmeshserving      <Object>
    ModelMeshServing component configuration. Does not support enabled Kserve at
    the same time

  ray   <Object>
    Ray component configuration.

  trustyai      <Object>
    TrustyAI component configuration.

  workbenches   <Object>
    Workbenches component configuration.
構成後の Component の状態は、以下で確認することが出来ます。
$ oc get DataScienceCluster default-dsc -o json | jq -r '.status.installedComponents'
{
  "codeflare": true,
  "dashboard": true,
  "data-science-pipelines-operator": true,
  "kserve": true,
  "kueue": true,
  "model-mesh": true,
  "ray": true,
  "trustyai": false,
  "workbenches": true
}
また、構成した Component の Pod が redhat-ods-applications Project で稼働します。
$ oc get pod -n redhat-ods-applications
NAME                                                              READY   STATUS    RESTARTS   AGE
codeflare-operator-manager-6cb5c976d5-zzrkw                       1/1     Running   0          6d21h
data-science-pipelines-operator-controller-manager-bc4f57dc2xtk   1/1     Running   0          6d21h
etcd-7ddbc959b8-5wf2m                                             1/1     Running   0          6d21h
kserve-controller-manager-849dcf98b6-xq6k8                        1/1     Running   0          6d21h
kuberay-operator-759464465c-xsl2j                                 1/1     Running   0          6d21h
kueue-controller-manager-56559d6db6-wkc7s                         1/1     Running   0          6d21h
modelmesh-controller-58cc8bd7c5-594jp                             1/1     Running   0          6d21h
modelmesh-controller-58cc8bd7c5-d57mg                             1/1     Running   0          6d21h
modelmesh-controller-58cc8bd7c5-xjkcm                             1/1     Running   0          6d21h
notebook-controller-deployment-556969c7cf-jj5jj                   1/1     Running   0          6d21h
odh-model-controller-6d9b6db854-5zp9l                             1/1     Running   0          6d21h
odh-model-controller-6d9b6db854-sbhvr                             1/1     Running   0          6d21h
odh-model-controller-6d9b6db854-wlxn5                             1/1     Running   0          6d21h
odh-notebook-controller-manager-66d759cbb4-qjtd4                  1/1     Running   0          6d21h
rhods-dashboard-6f64f58c89-9b9dt                                  2/2     Running   0          6d21h
rhods-dashboard-6f64f58c89-khvd4                                  2/2     Running   0          6d21h
rhods-dashboard-6f64f58c89-mn9mq                                  2/2     Running   0          6d21h
rhods-dashboard-6f64f58c89-nbfkd                                  2/2     Running   0          6d21h
rhods-dashboard-6f64f58c89-pwhqh                                  2/2     Running   0          6d21h
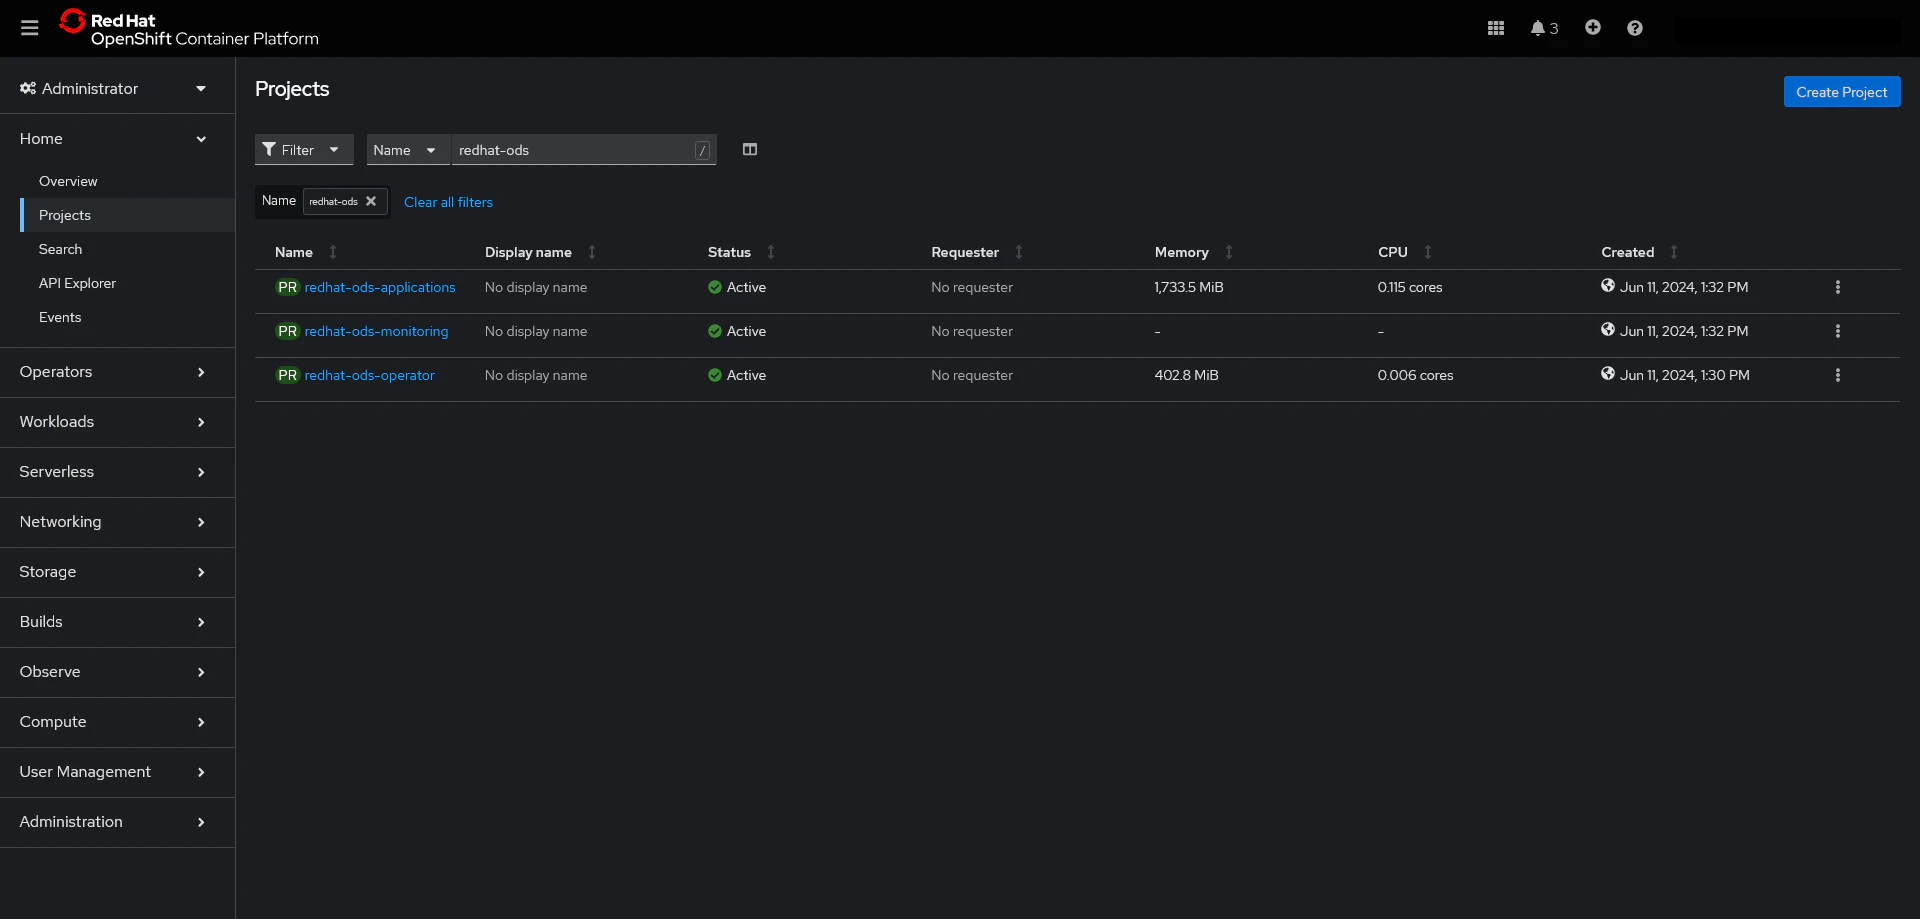
なお、OpenShift AI の導入では、redhat-ods-applications、redhat-ods-monitoring、redhat-ods-operator Project が構成されます。
導入完了時点の UI (User Interface)
導入完了時点では、以下のように Jupyter Notebook のみが使用可能になっています。 (Applications -> Enabled)
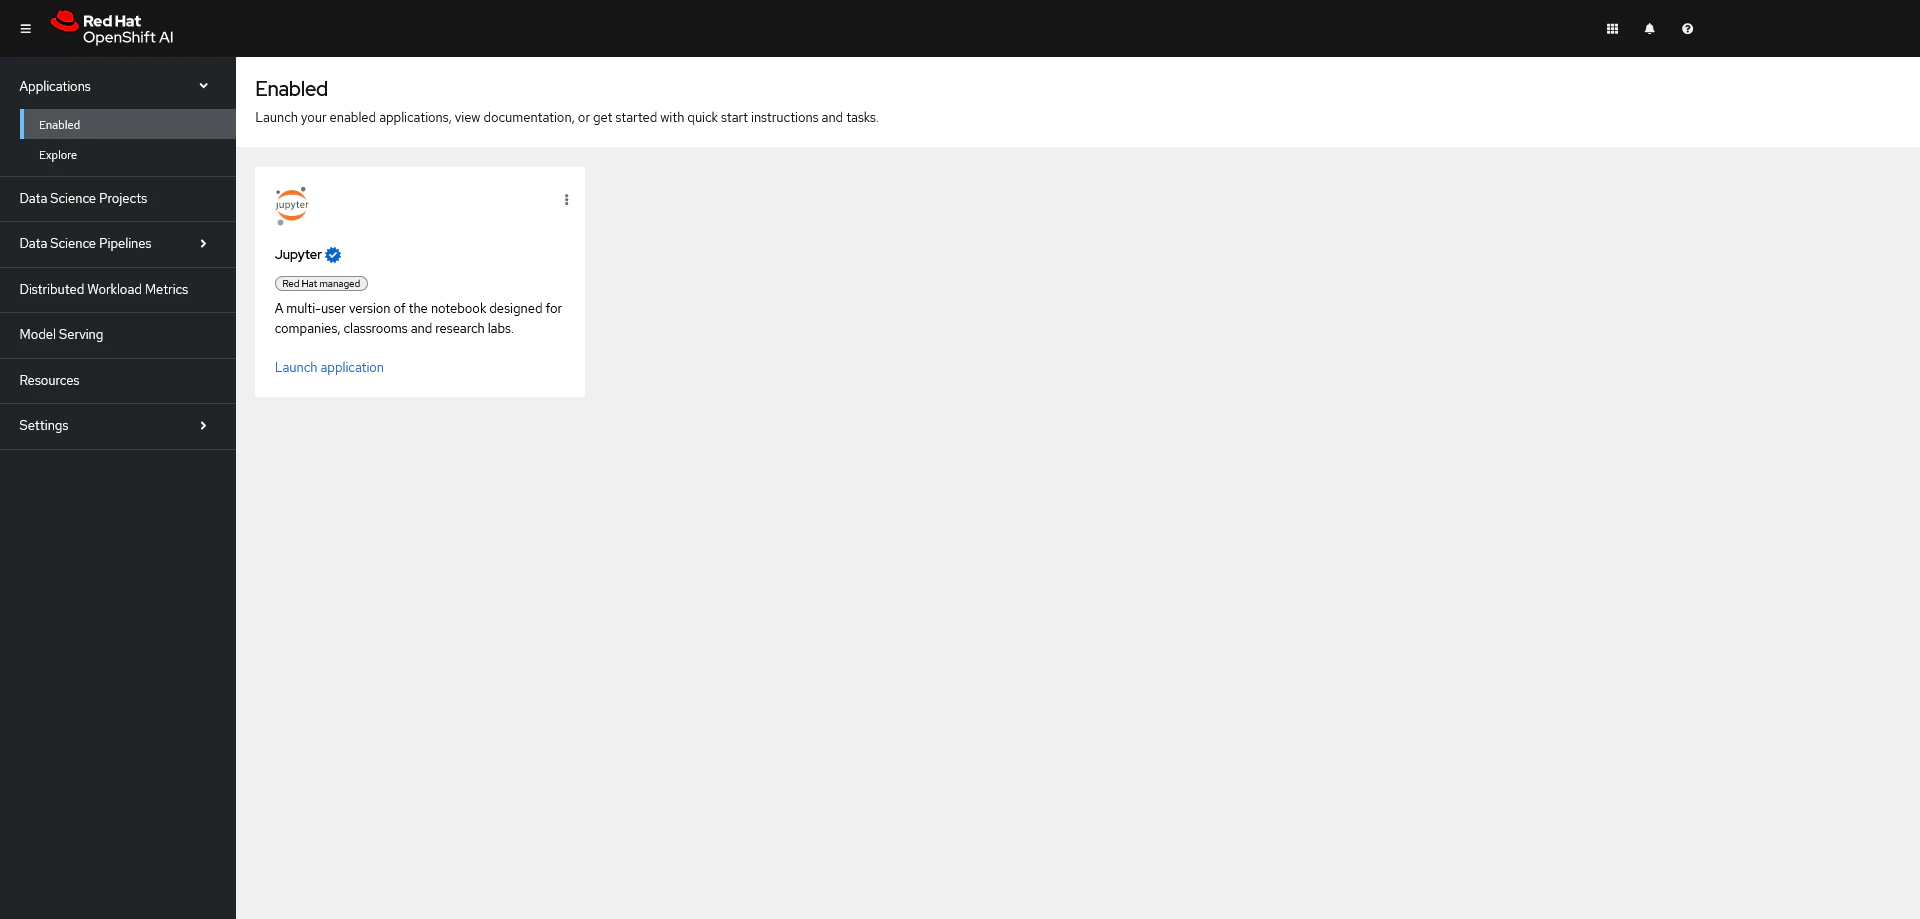
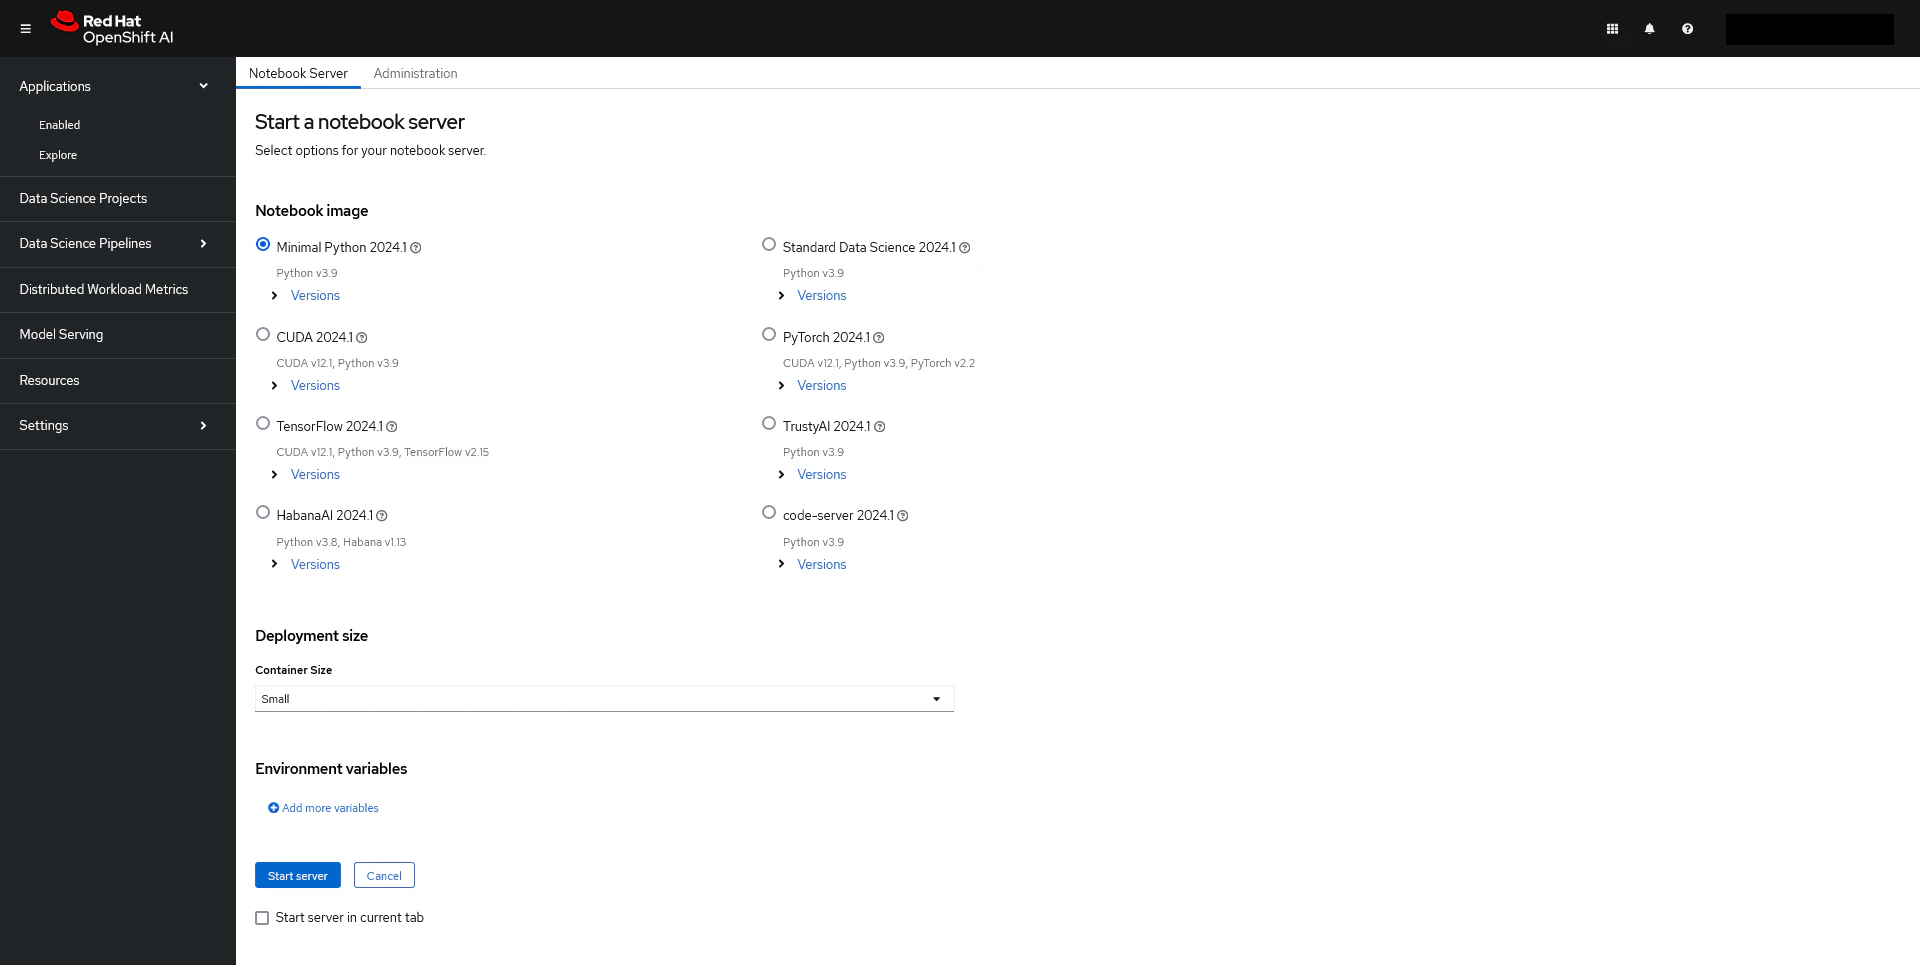
Jupyter Notebook は、簡単な設定で構成できるようになっています。
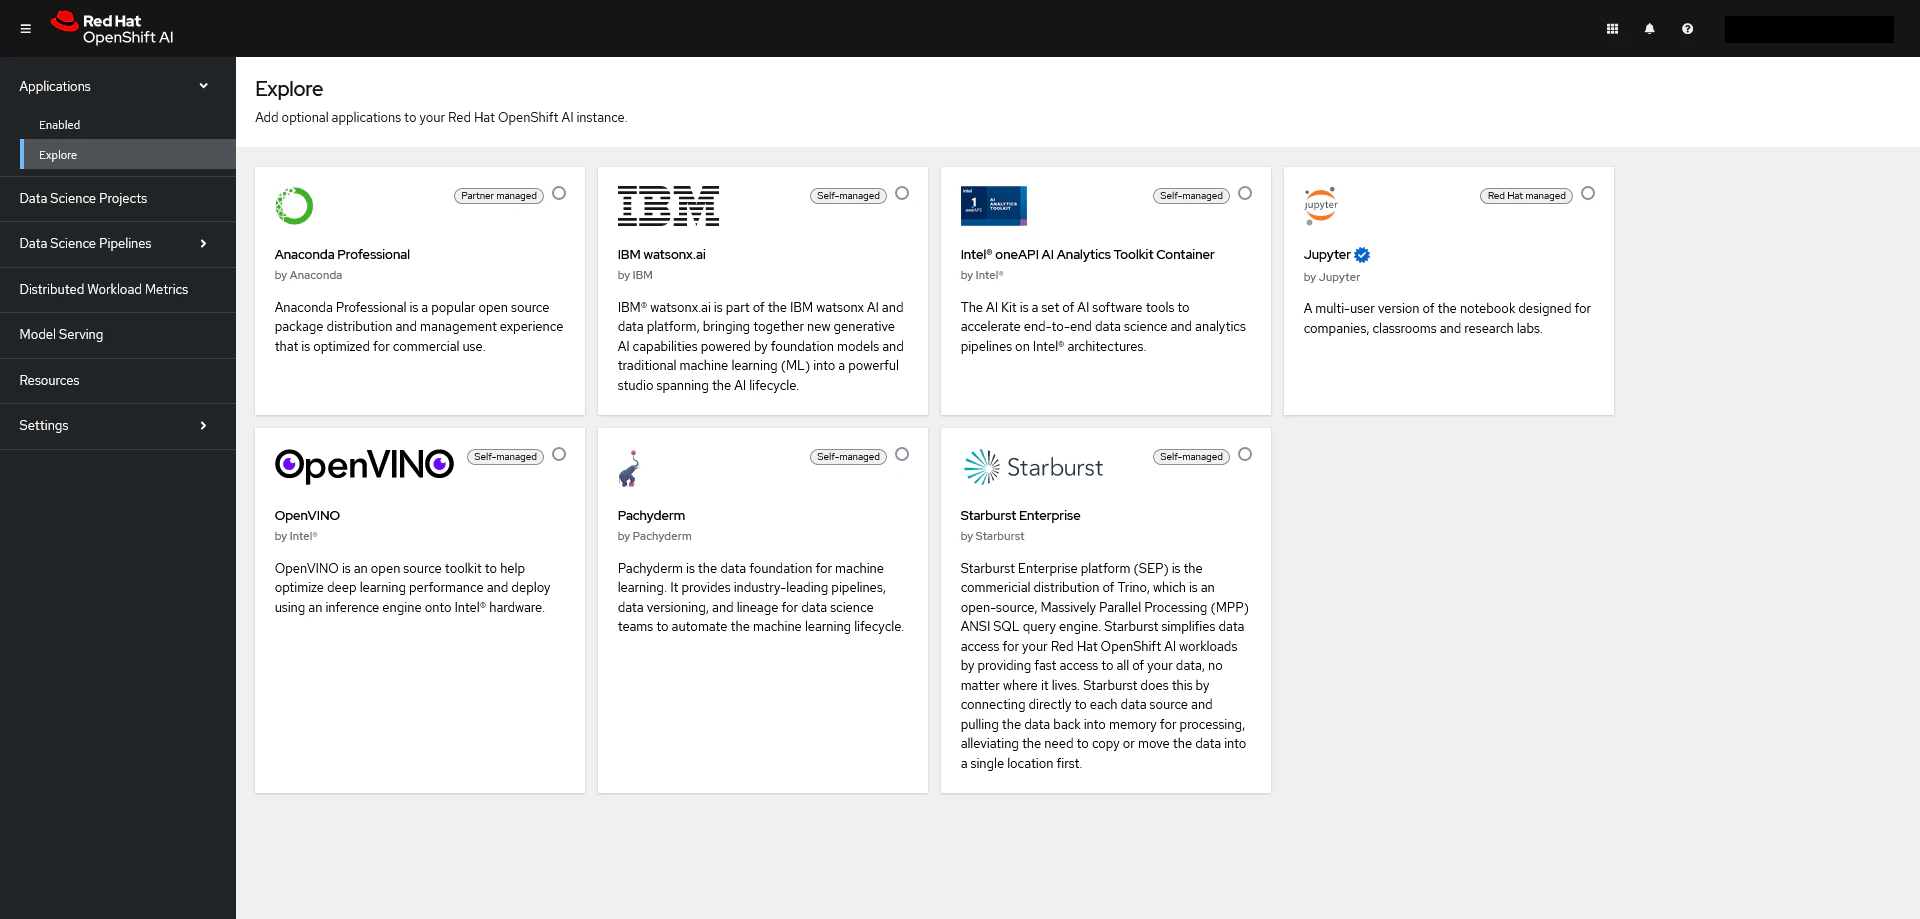
Applications -> Explore は以下のようになっています。
Data Science Projects、Data Science Pipelines、Distributed Workload Metrics、Model Serving には何もありません。
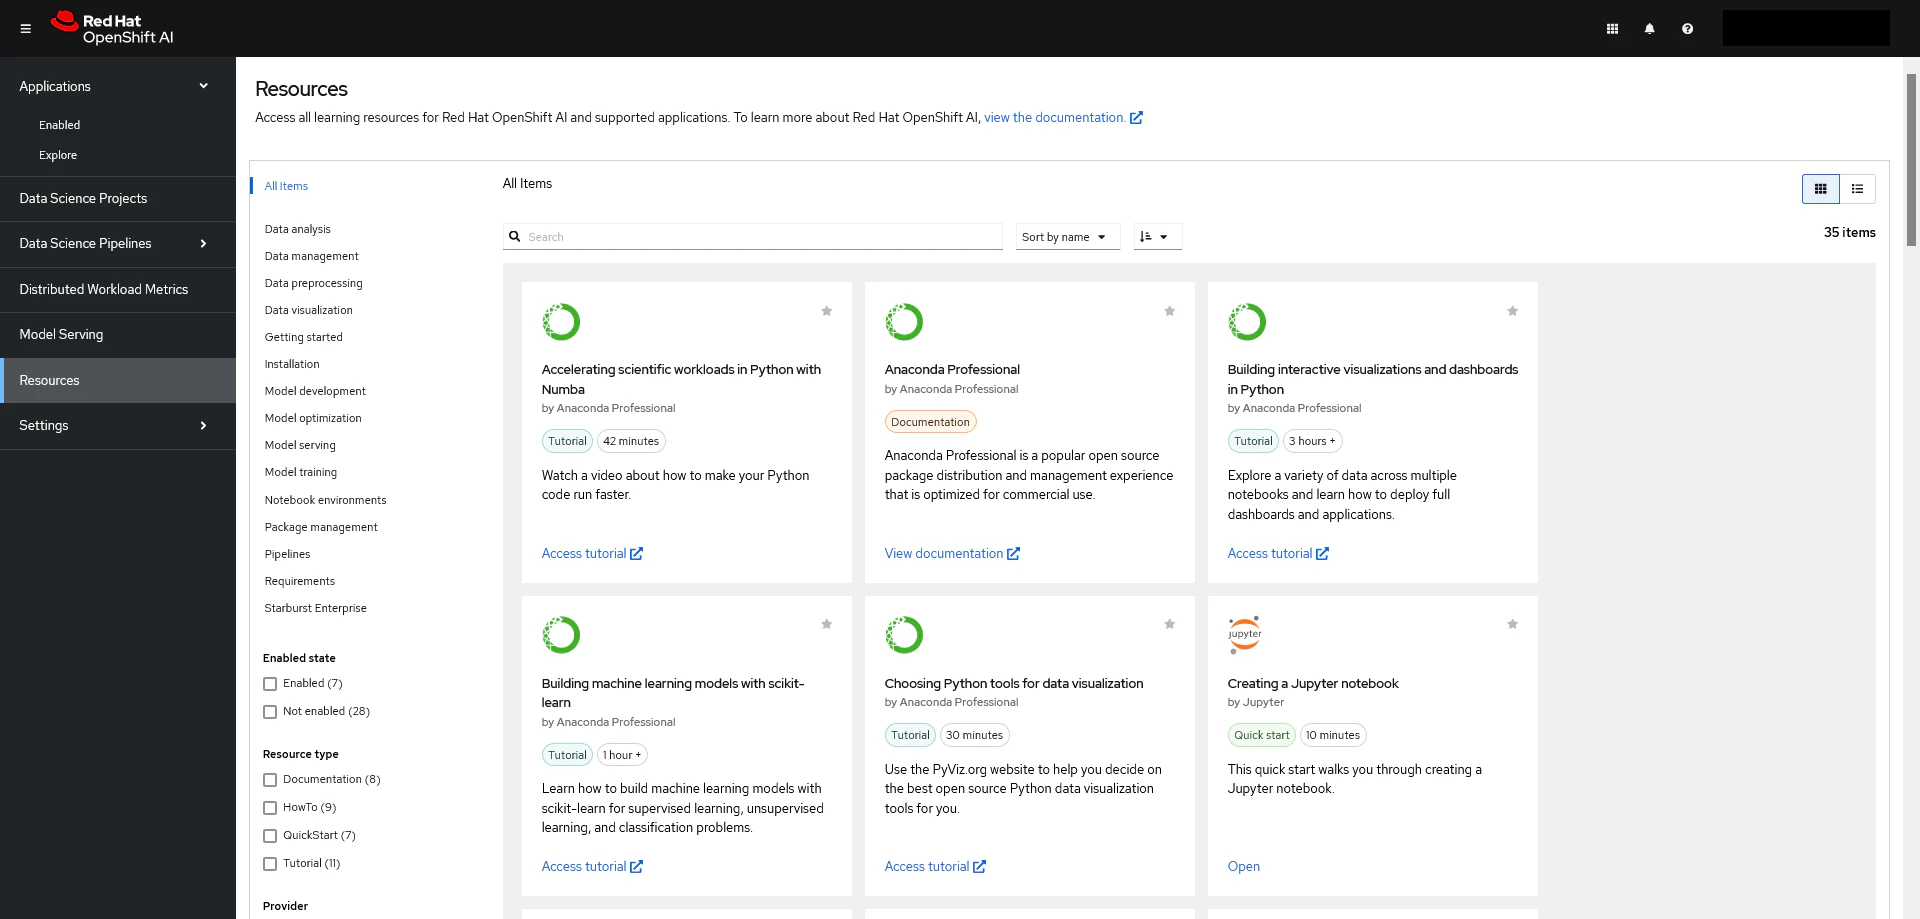
Resources は以下のようになっています。
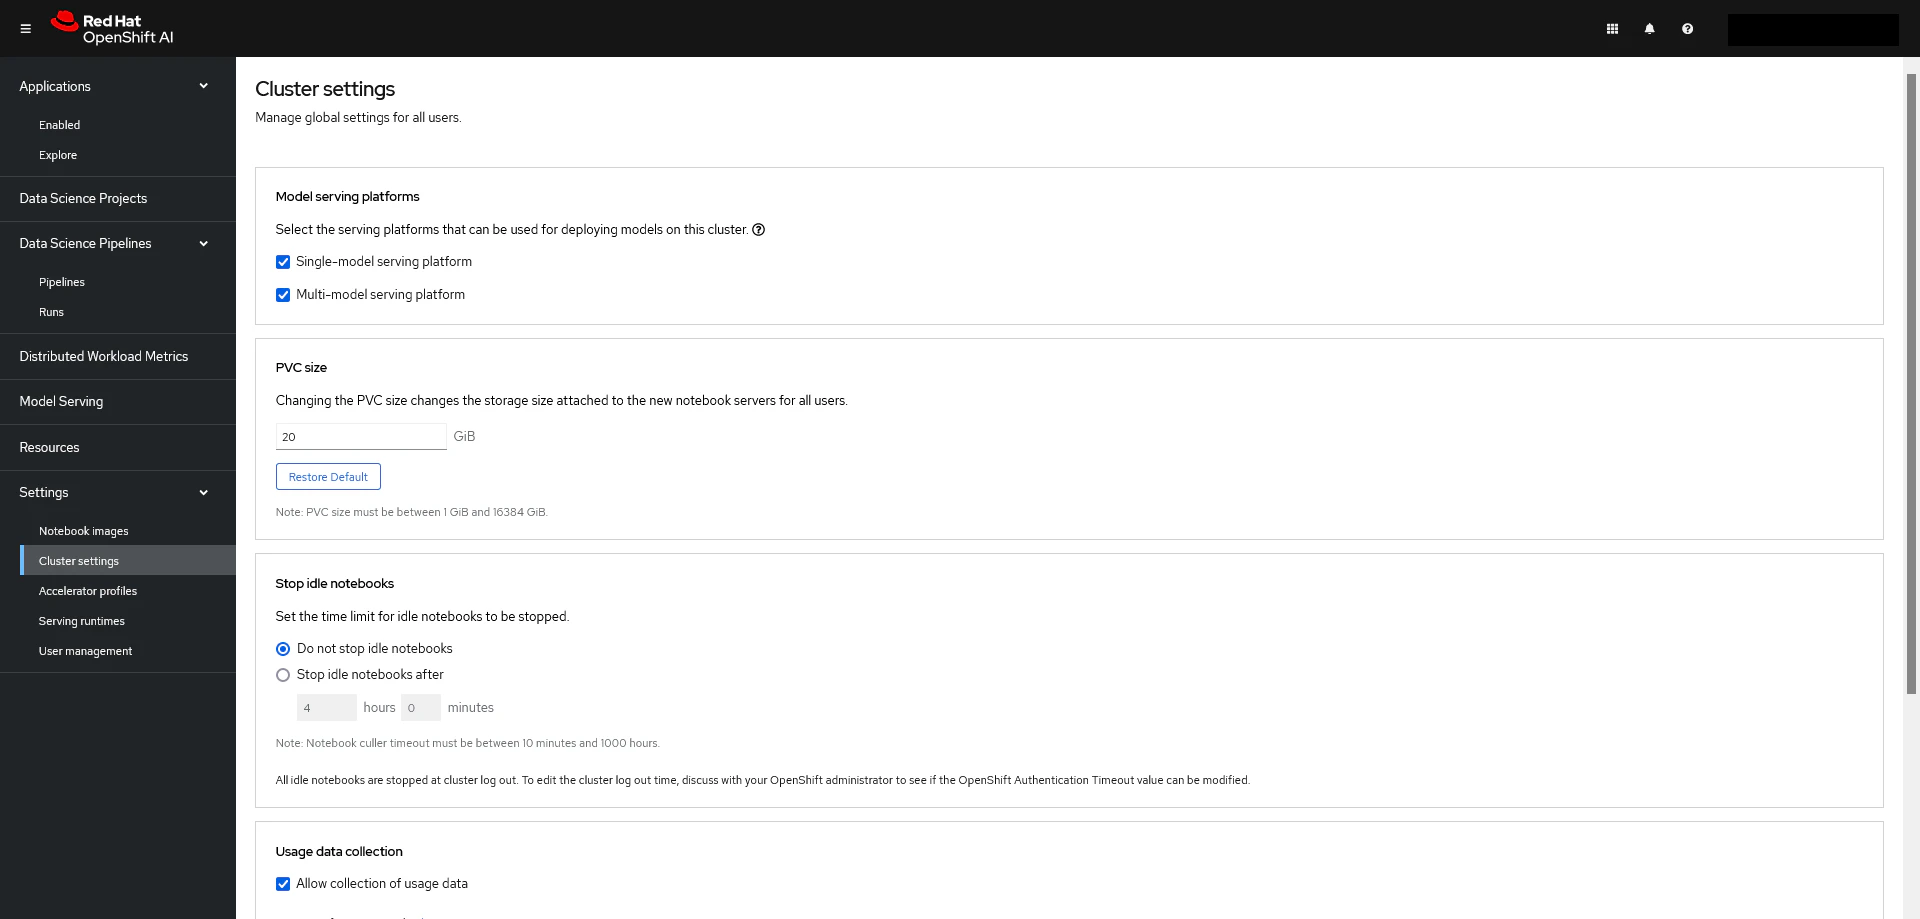
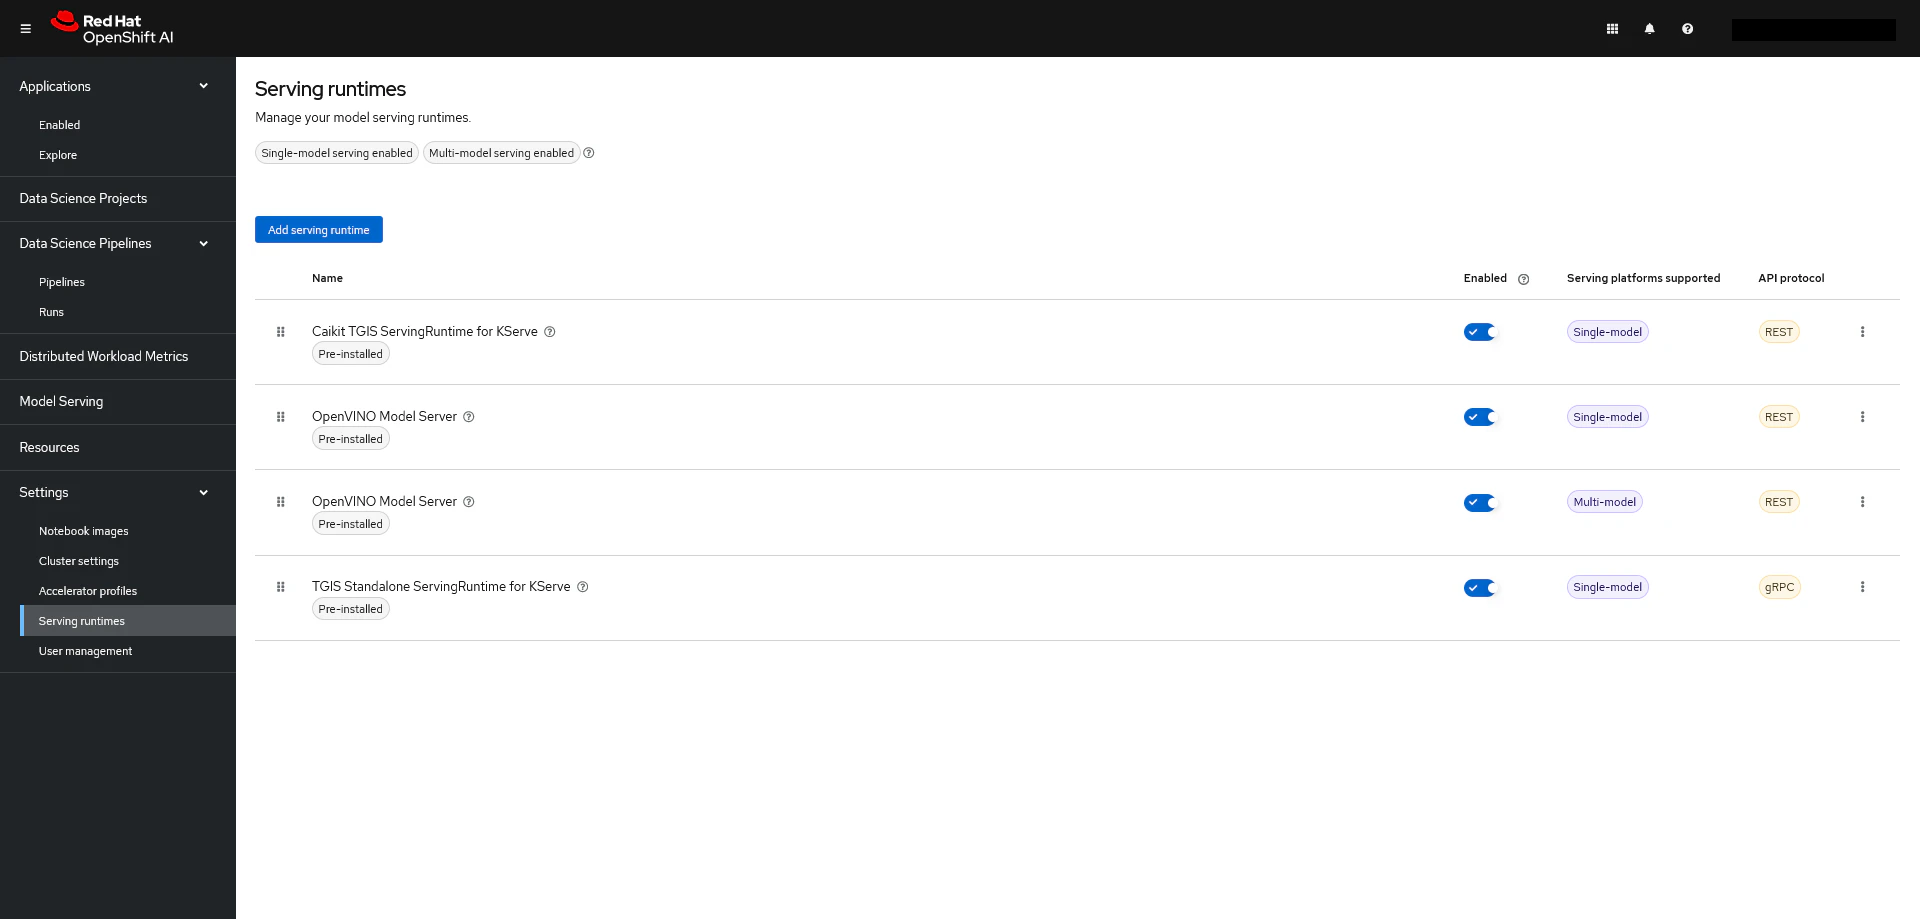
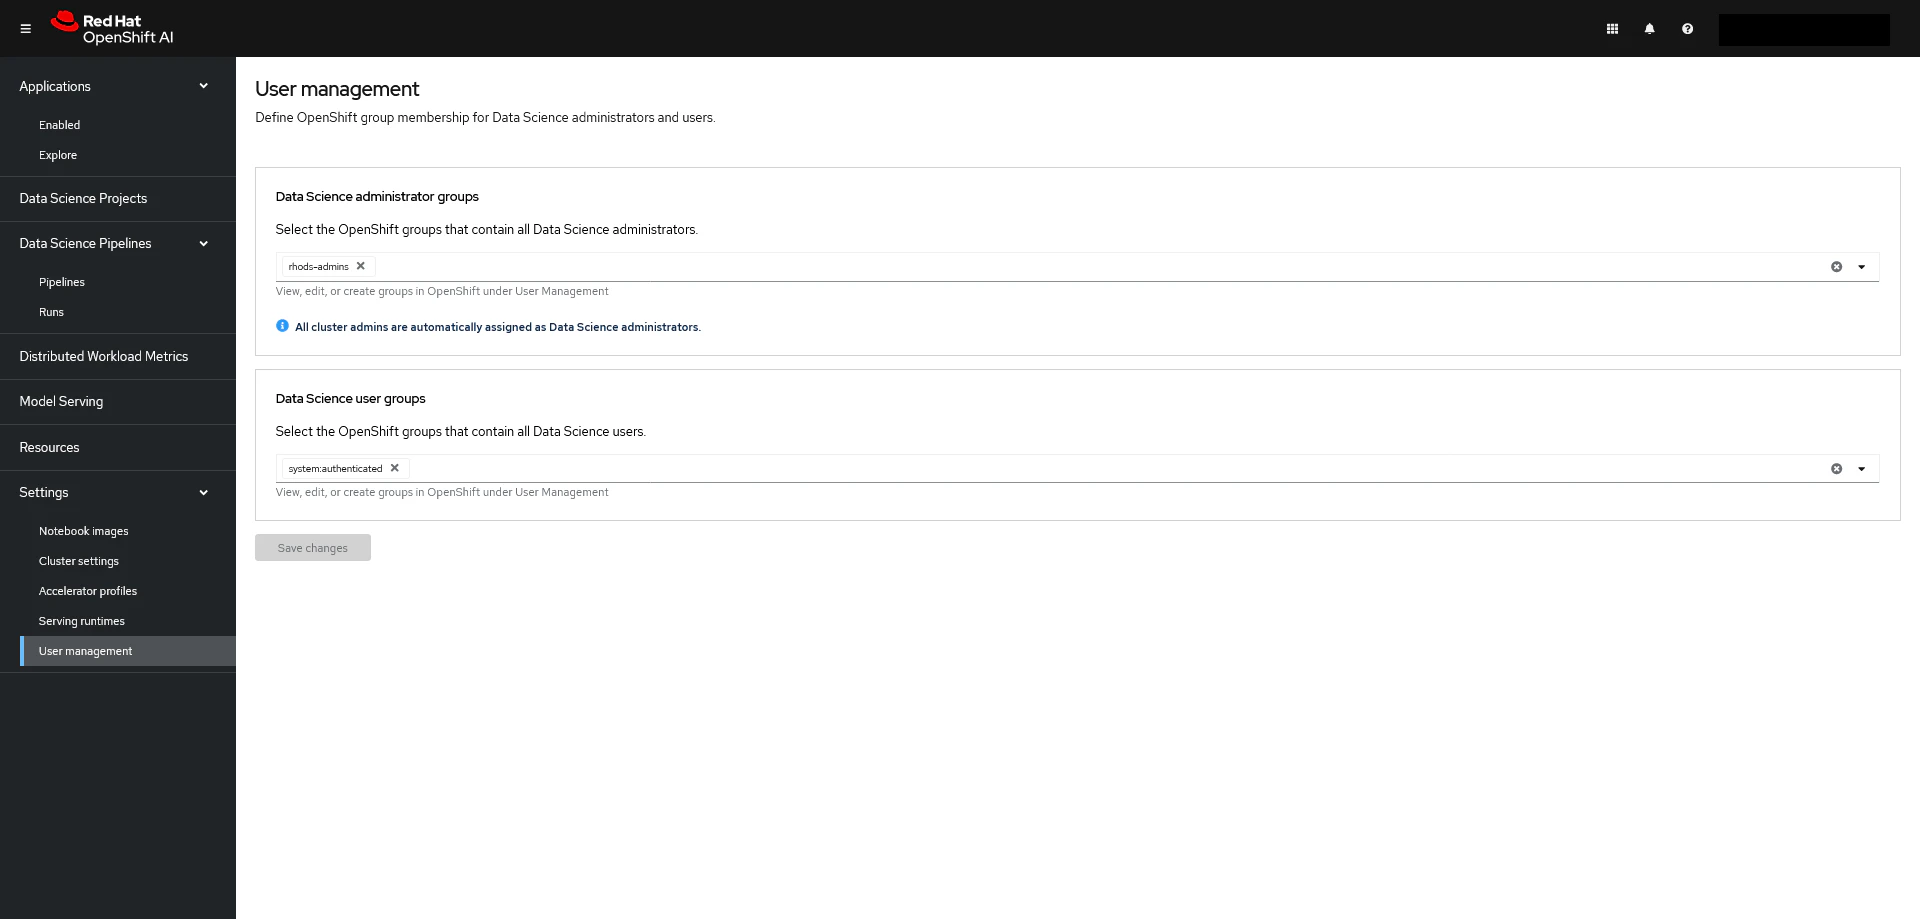
Settings には、Cluster settings、Serving runtimes、User management 等があります。
このように、非常に簡単に OpenShift AI を導入することが出来ます。