はじめに
Angularでアプリ作ってると公開したくなりますよね?
GitHub Pagesはブランチさえ作れば簡単に公開できるので、とても便利なサービスです。
ただ、毎回手動でデプロイするのは手間がかかるので、Travis CIでテスト通すついでにデプロイまでやってしまいましょう!
準備するもの
- GitHubアカウント
- Node.jsのインストール
- Angular CLIのインストール
手順
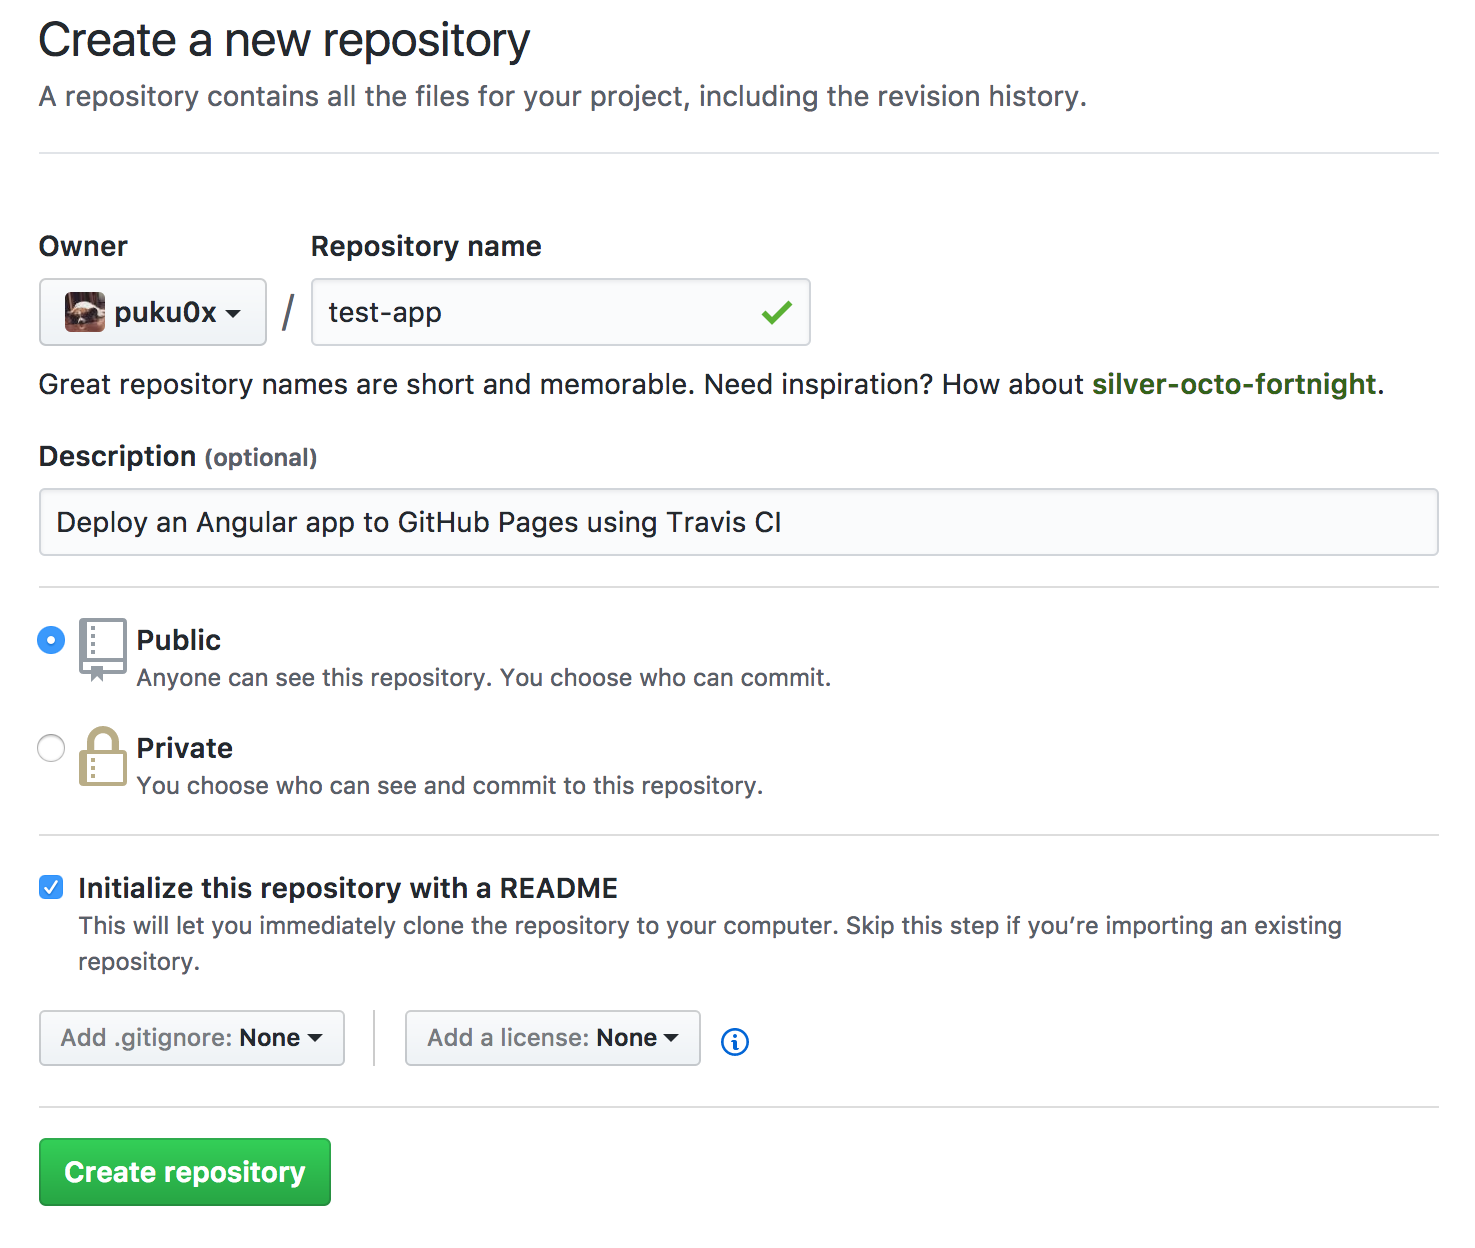
1. 新規リポジトリを作成
ここでは仮に、test-appという名前でリポジトリを作成します。
一番下の**「Initialize this ...」**にはチェックを入れておいてください。
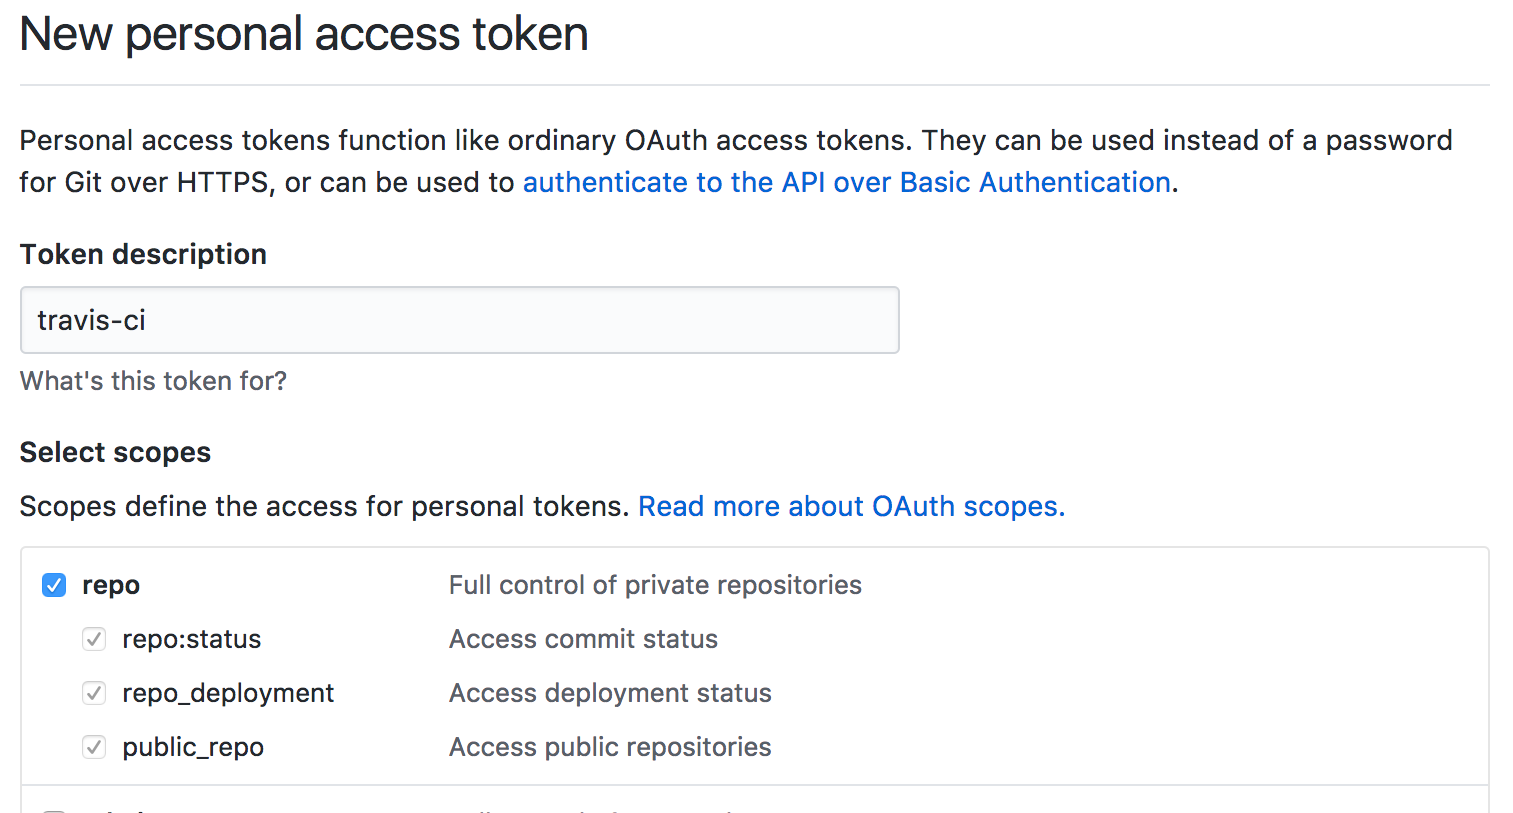
2. GitHub APIトークンの生成
GitHubの「Personal Access Token」からトークンを生成します。
Token descriptionを入力したら、**「repo」**にチェックを入れ、
APIトークンは後で使うので、ここでコピーしておいてください。
3. Travis CIの設定
Travis CIの「Accounts」から対象となるリポジトリを選択します。
画像のようにチェックを入れたら、歯車ボタンを押して次の「APIトークンの設定」へ進みましょう。
4. APIトークンの設定
ここでは仮に、GITHUB_TOKENという名前で先程生成したAPIトークンを設定します(画像は一例です)。
**「Add」**を押すと登録されます。
5. リポジトリをクローン
GitHub Desktopを利用するかgit cloneを実行してリポジトリをクローンしましょう。
6. Angular CLIで新規アプリを作る
$ ng new test-app
作成後、先程クローンしたリポジトリへtest-app内のファイルを全部コピーしましょう。

7. karma.conf.jsの修正
Travis CIでのユニットテストは、Chromeのヘッドレスモードで実行する必要があるので、設定を変更します。
browsers: ['ChromeHeadless'],
8. protractor.conf.jsの修正
E2EテストもChromeのヘッドレスモードで実行するのでオプションを追加します。
  capabilities: {
    'browserName': 'chrome',
    chromeOptions: {
      args: ['--headless']
    }
  },
9. .travis.ymlの追加
設定ファイルを追加しましょう。
下記の例では、
- Node.jsのVer.6以降の利用
- キャッシュ有効化
- Chromeのインストール
- Angular CLIのインストール
- ユニットテストの実行
- E2Eテストの実行
- アプリのプロダクションビルド実行
- GItHub Pagesへデプロイ
のスクリプトを記述しています。
sudo: false

language: node_js

node_js:
  - "6"
  - "7"
  - node

dist: trusty

cache:
  directories:
    - node_modules

addons:
  apt:
    sources:
      - google-chrome
    packages:
      - google-chrome-stable

before_install:
  - npm install -g @angular/cli

script:
  - ng test --single-run
  - ng e2e
  - ng build --prod --base-href="https://puku0x.github.io/test-app/"

deploy:
  provider: pages
  skip_cleanup: true
  github_token: $GITHUB_TOKEN
  local_dir: dist
  on:
    branch: master
ビルドスクリプト中の--base-hrefには、
https://<ユーザ名>.github.io/<リポジトリ名>/
を設定しましょう。
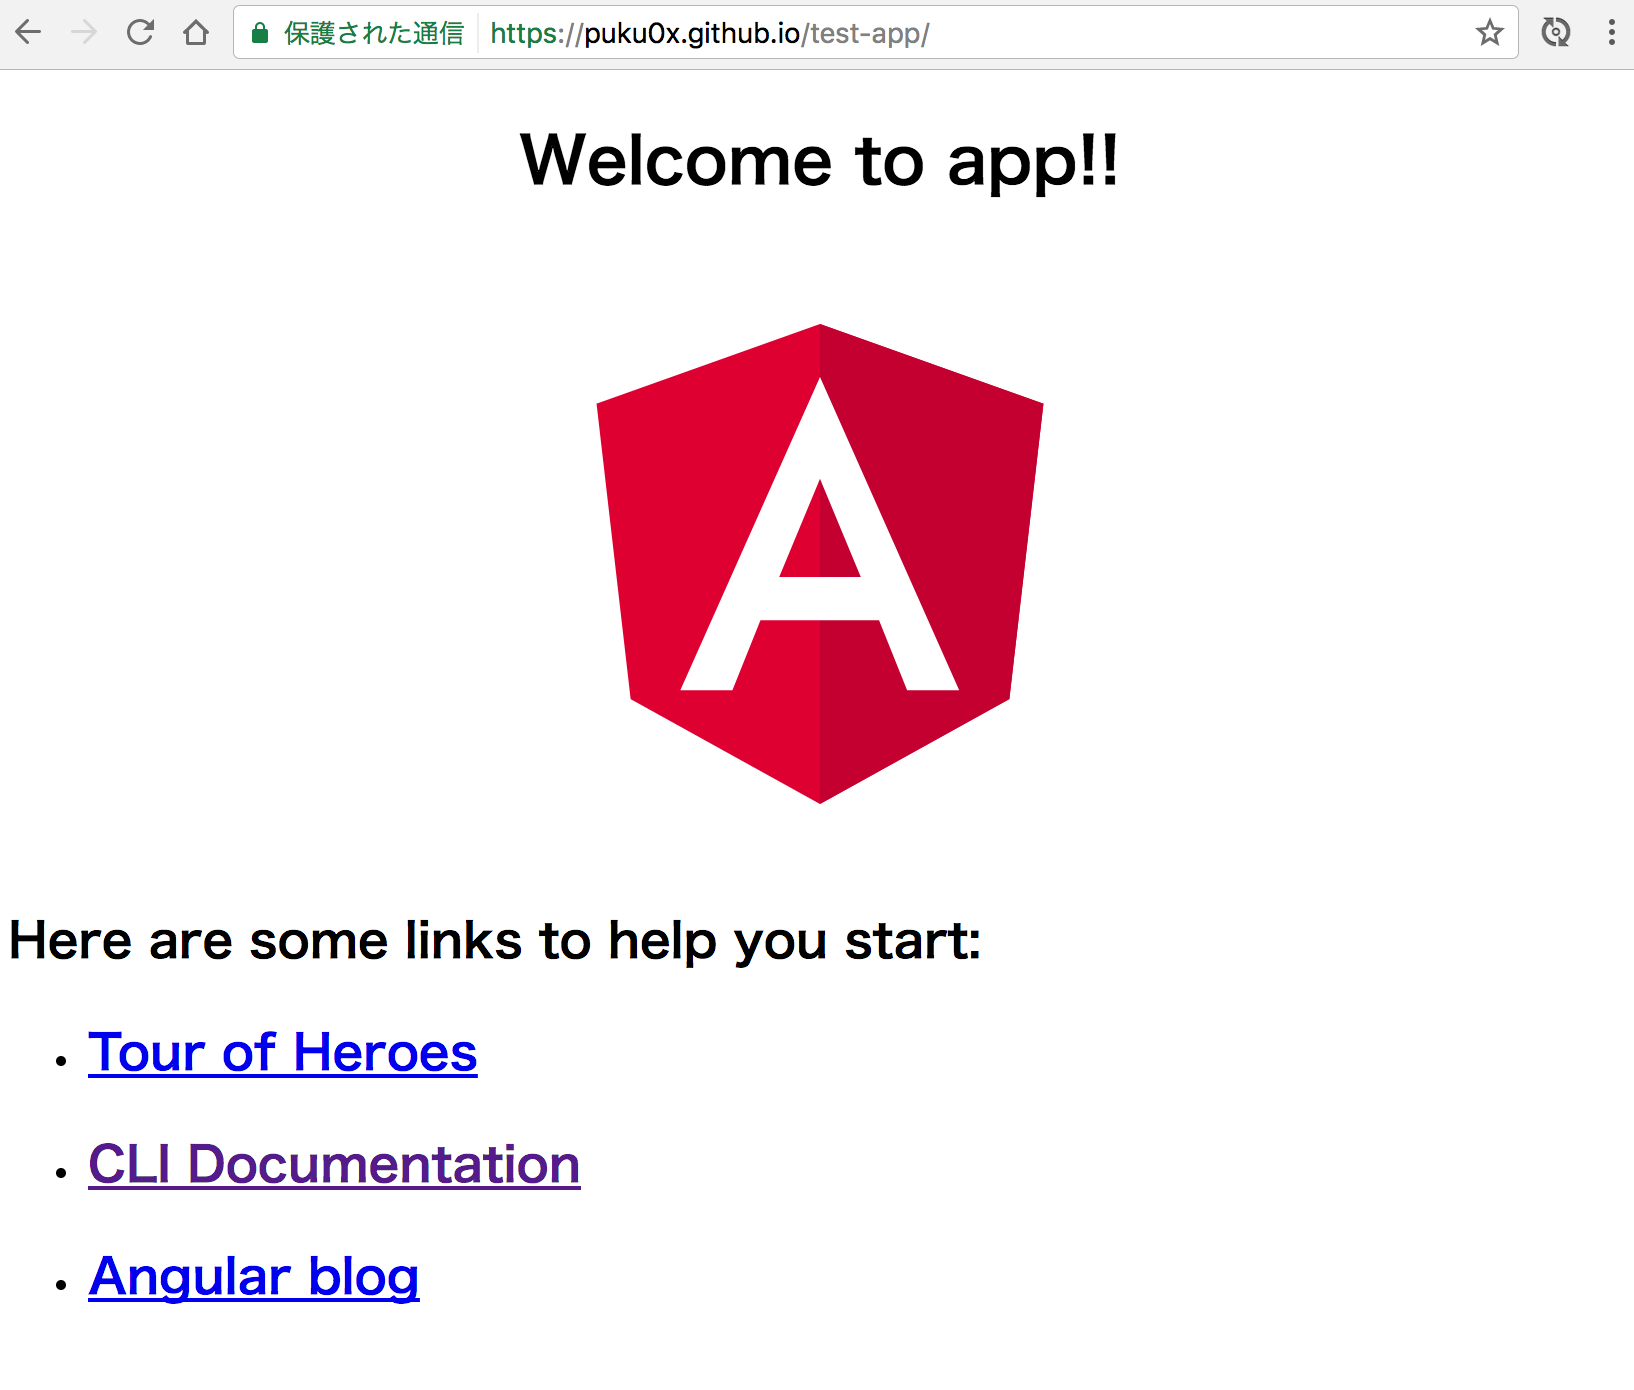
10. ページにアクセス
終わりに
比較的簡単な設定で、アプリをテストしてデプロイまでできました。
開発周りのツールやサービスはますます便利になっていますね!
もっと簡単にできるよ!という場合はコメントまでどうぞ!
参考URL
https://caveofcode.com/2017/05/publish-an-angular-app-to-github-pages/
https://github.com/puku0x/test-app


