初めてのSpring Boot
ツール:Eclipse
1. まずSpringBootでHello Worldを出力しましょう。
Eclipse > ファイル > 新規 > Spring スターター・プロジェクト
※名前とパッケージ名は任意のものでOKです。
タイプはMavenを選択してください。
依存関係は、Spring Boot DevTools, Spring WEB, H2 Database, Spring Data JPA, Thymeleaf, Validation
完了を押下すると、Spring Boot プロジェクトが作成されます。
| Spring Boot DevTools | 開発補助モジュール。自動リロードやブラウザが自動更新 |
| Spring WEB | Spring MVCを使用したWebアプリケーションを作成可能 |
| H2 Database | SQLデータベースエンジン |
| Spring Data JPA | Spring bootでデータベースにアクセス |
| Thymeleaf | テンプレートエンジン。動的なWebページを作成可能 |
| Validation | 入力チェック |


作成されたファイルについて説明していきます。
/demo/src/main/java/com/example/demo/DemoApplication.java
package com.example.demo;

import org.springframework.boot.SpringApplication;
import org.springframework.boot.autoconfigure.SpringBootApplication;

@SpringBootApplication // Spring Bootのアプリケーションクラス
public class DemoApplication {

    public static void main(String[] args) {
// アプリケーション起動メソッド アプリケーションクラスのインスタンスとパラメータを渡しています。
        SpringApplication.run(DemoApplication.class, args);
    }
}
@SpringBootApplication
Spring Bootアプリケーションのエントリーポイントに付けるアノテーションです。
このアノテーションは、以下の3つのアノテーションをまとめたものです。
@Configuration
@EnableAutoConfiguration
@ComponentScan
このアノテーションを付けることで、Spring Bootアプリケーションの基本的な設定が自動的に行われます。
/demo/src/main/resources/application.properties
application.propertiesとはSpring Bootで用意されている
デフォルトの設定ではなく環境独自の設定を行うためのファイルです。
/demo/src/test/java/com/example/demo/DemoApplicationTests.java
テストクラス
2.では、実際にソースコードを以下のように編集して表示させてみましょう。
/demo/src/main/java/com/example/demo/DemoApplication.java
	import org.springframework.boot.SpringApplication;
	import org.springframework.boot.autoconfigure.SpringBootApplication;
+ 	import org.springframework.web.bind.annotation.GetMapping;
+	import org.springframework.web.bind.annotation.RestController;

	@SpringBootApplication // Spring Bootのアプリケーションクラス
+	@RestController // REST APIアノテーション
	public class DemoApplication {

	    public static void main(String[] args) {
        // アプリケーション起動メソッド アプリケーションクラスのインスタンスとパラメータを渡しています。
            SpringApplication.run(DemoApplication.class, args);
        }

+       @GetMapping() // GETリクエストがあった場合の処理 引数が空の場合は / となる
+       String index() {
+           return "hello world!";
+       }
	}
3.アプリケーションを実行します。
パッケージ・エクスプローラーのルートディレクトリを右クリック > 実行 > Spring Bootアプリケーション
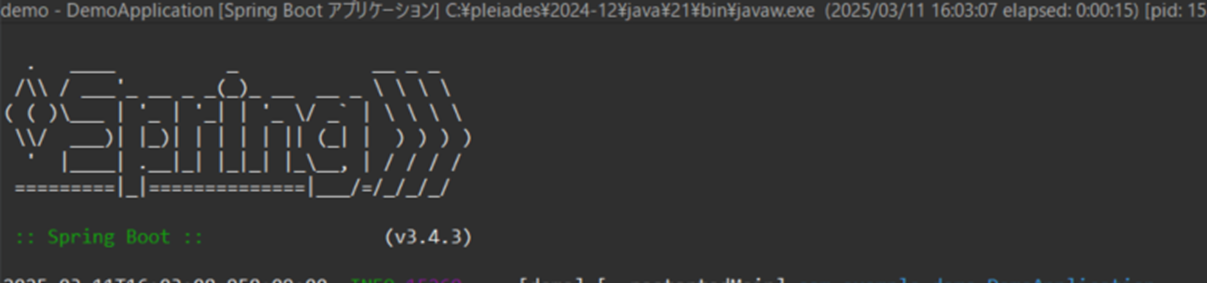
するとコンソールに以下の出力がされます。
で動作を確認して終了です。
次回は、MVCモデルの説明とSpringBootにおけるMVCの説明になります。