pythonanywhereとは
公式サイト
特徴(Beginnerプラン)
- 無料サーバー
- 広告なし
- 無料SSL
- 独自ドメイン不可
- ストレージ容量は512MB
最新情報はこちら → Plans and pricing: PythonAnywhere
手順
アカウント作成【2分】
「Start running Python online in less than a minute!」をクリック

「Create a Beginner account」をクリック

ユーザーネームなどを設定(サイトのURLが username.pythonanywhere.comになることに注意)

webサイト作成【2分】
右上の「Web」をクリック -->「Add a new web app」をクリック

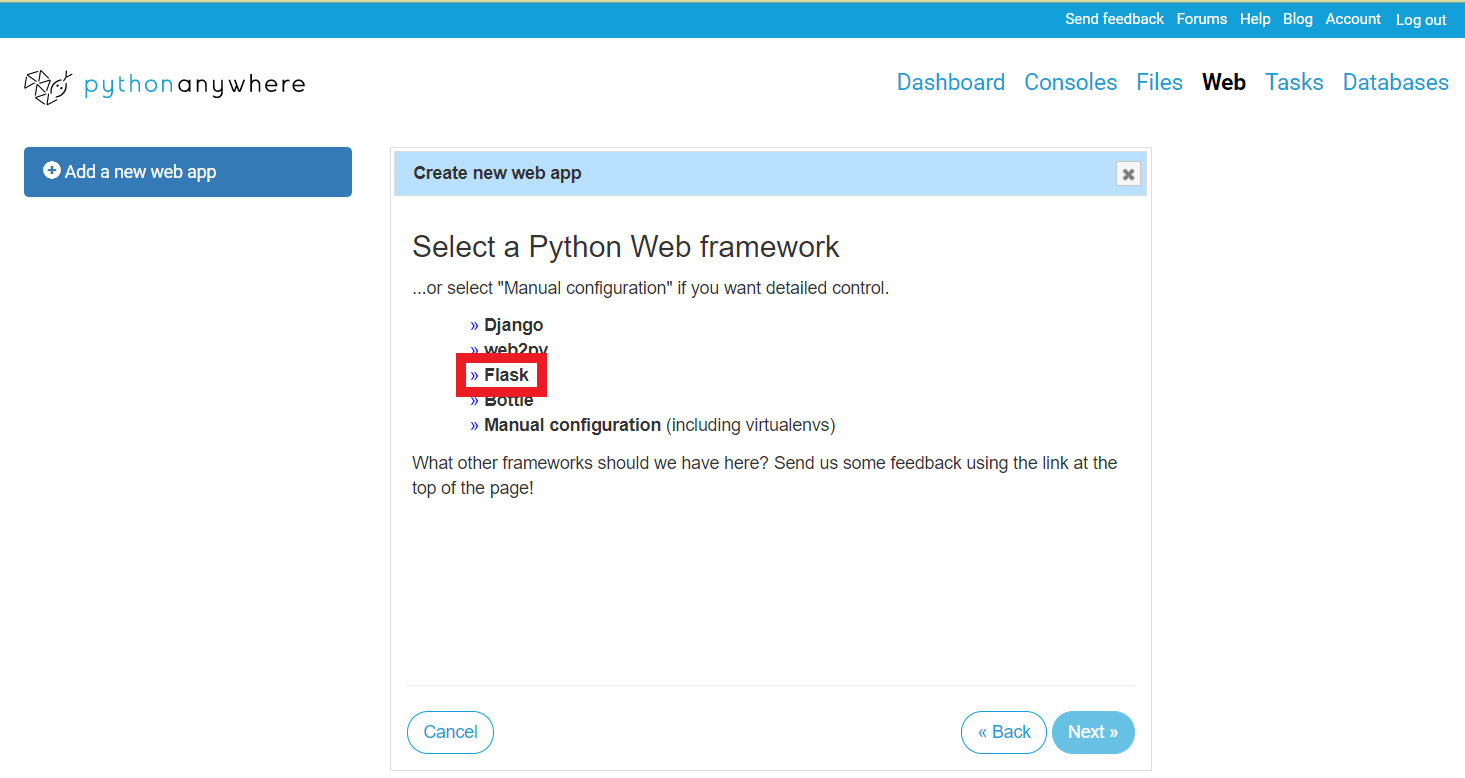
「Next」をクリック

「Flask」を選択
「Python 3.9」を選択

home/username/mysite/flask_app.pyに新しくファイルが作成される
「Next」をクリック

完成
「Configuration for」の下にあるリンクをクリック

「Hello from Flask!」と表示される

カスタマイズ【5分】
home/
 └─ username/
     └─ mysite/
         ├─ flask_app.py
         ├─ static/
         │   ├─ css/
         │   ├─ img/
         │   └─ js/
         └─ templates/
             └─ index.html
flask_app.pyの修正とindex.htmlの追加
# A very simple Flask Hello World app for you to get started with...

from flask import Flask, render_template

app = Flask(__name__)

@app.route('/')
def hello_world():
    return render_template('index.html')
<!DOCTYPE html>

<html lang="ja" dir="ltr">

<head>
  <meta charset="utf-8">
  <meta http-equiv="X-UA-Compatible" content="IE=edge">
  <meta name="viewport" content="width=device-width, initial-scale=1.0, shrink-to-fit=no, user-scalable=no">
  <title>タイトル</title>
</head>

<body>
  <h1>サンプル</h1>
  <p>pythonanywhereで公開</p>
</body>

</html>
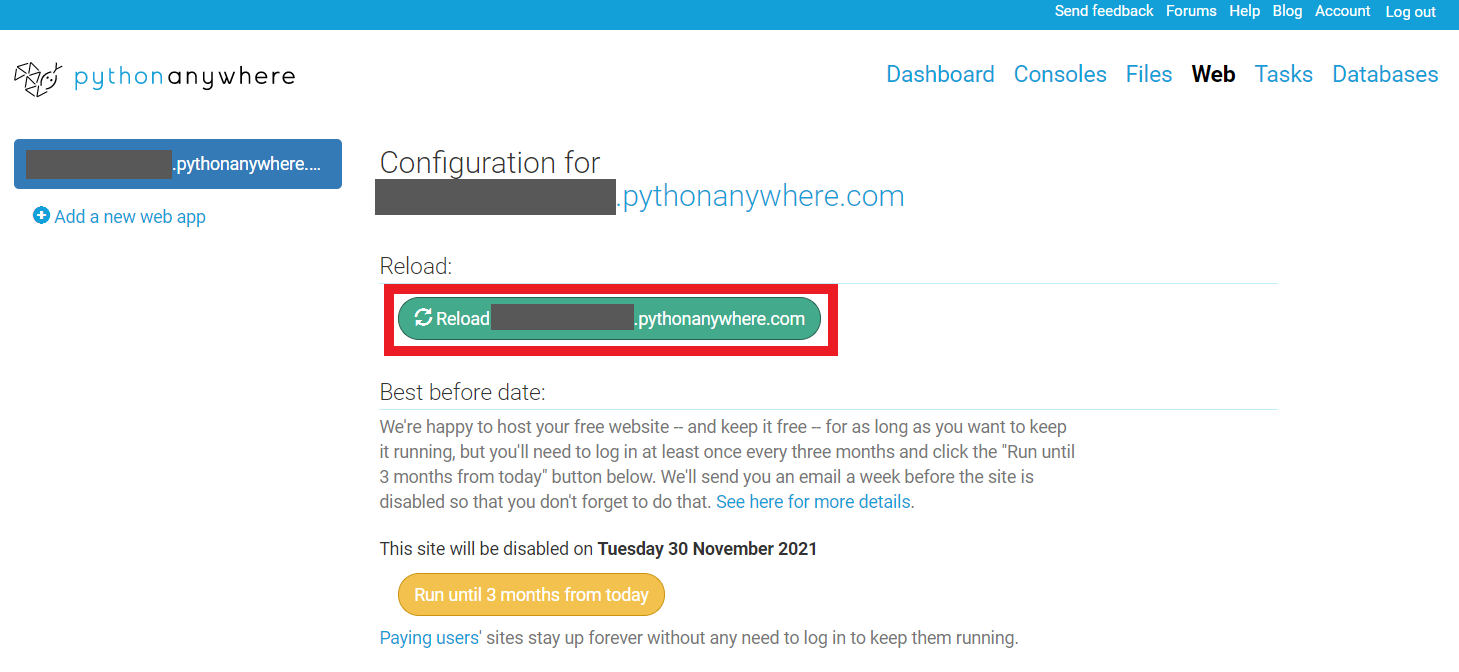
ファイルの作成が完了したら、右上の「Web」をクリック -->「Reload username.pythonanywhere.com」をクリック
以下のように表示される
このままでもよいが、ワンクリックで「保護されていない通信」という表示を消すことができる(SSL設定)

SSL設定【1分】
右上の「Web」をクリック --> ページ下部の「Force HTTPS」を「Enabled」に切替

先程のような表示が消えて鍵マークがつく(SSL化)

これで完成
注意
サイトが使用停止にならないように、3ヶ月以内ごとに「Run until 3 months from today」ボタンを押す

アカウント数について
フォーラムで次のようなやり取りがあった。
How many accounts can i have using my email address?
(自分のメールアドレスでいくつまでアカウントを作成できますか?)
We do not limit that. Feel free to create multiple accounts :)
(制限はありません。自由に複数アカウントを作成してください :) )
つまり、アカウント数の制限はない!
参考