確認
- LINE Developers アカウント、プロバイダー、チャンネル作成済み
- Google アカウント作成済み
- 特定のメッセージに対する返信を実装したい
- ボタンを送信したい
実行例
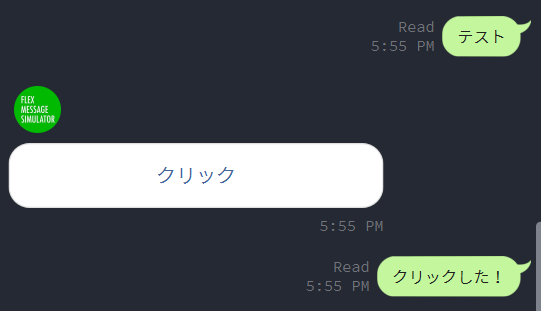
「テスト」と送信すると、「クリック」と書かれたボタンが送られてくる。ボタンを押すと「クリックした!」と送信される。
手順
1. Channel access token の取得
LINE Developers Consoleの「Messaging API」タブを開く。「Channel access token (long-lived)」の「Issue」をクリックし、キーをコピーする。
2. Flex Message の実装
Flex Message Simulatorでシミュレーションしながら実装できる。

JSON
{
  "type": "bubble",
  "body": {
    "type": "box",
    "layout": "vertical",
    "contents": [
      {
        "type": "button",
        "action": {
          "type": "message",
          "label": "クリック",
          "text": "クリックした!"
        }
      }
    ],
    "paddingAll": "0px"
  }
}
3. Google Apps Scriptの作成
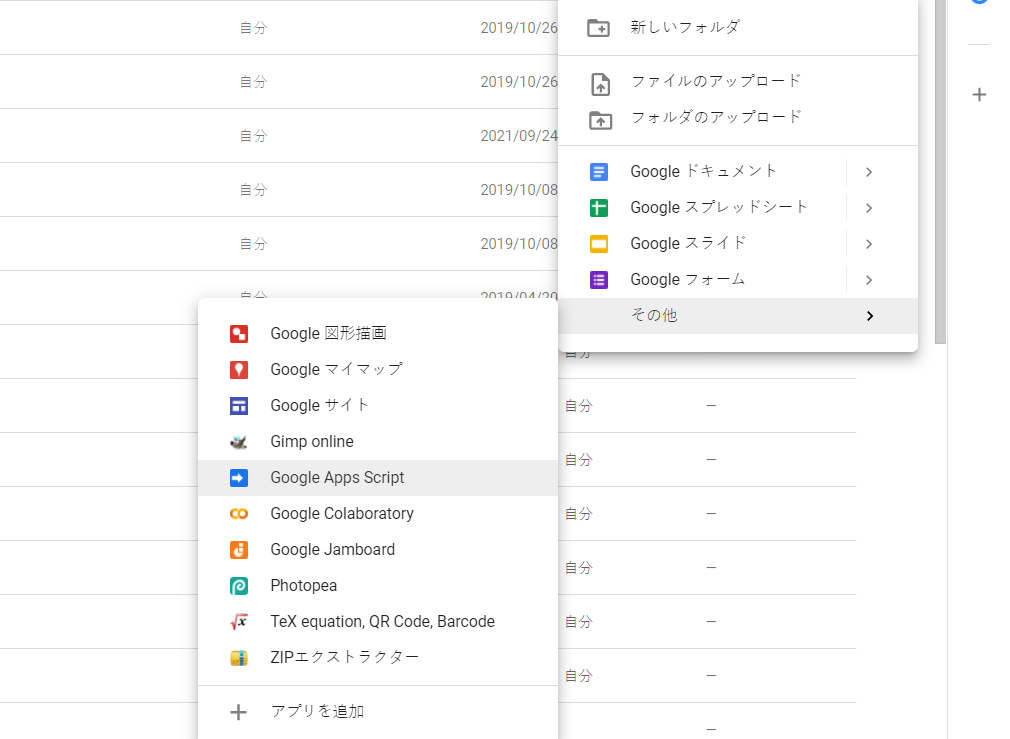
Google Driveのマイドライブ上で右クリック → その他 → Google Apps Script を選択
4. gsファイルの作成
main.gs
// 環境変数を設定
const SCRIPT_PROPERTIES = PropertiesService.getScriptProperties();             // スクリプトプロパティを取得
SCRIPT_PROPERTIES.setProperty("ACCESS_TOKEN", "ここにアクセストークンを入力");   // 1度実行したら削除する
// アクセストークンの取得
const ACCESS_TOKEN = SCRIPT_PROPERTIES.getProperty("ACCESS_TOKEN");

// Flex Message Simulatorで作成したJSONコード
const CLICK_BTN = {
  "type": "bubble",
  "body": {
    "type": "box",
    "layout": "vertical",
    "contents": [
      {
        "type": "button",
        "action": {
          "type": "message",
          "label": "クリック",
          "text": "クリックした!"
        }
      }
    ],
    "paddingAll": "0px"
  }
};

// Flex Messageを取得
function getFlexMsg(label, content){
  return {
    "type": "flex",
    "altText": label,
    "contents": content
  };
}

// イベントを受け取って実行する
function doPost(e){
  const EVENTS = JSON.parse(e.postData.contents).events;
  for (const event of EVENTS){
    execute(event);
  }
}

// イベントを実行する
function execute(event){
  const EVENT_TYPE = event.type;          // イベントのタイプ
  const REPLY_TOKEN = event.replyToken;   // 応答メッセージを送る際に使用する応答トークン

  if(EVENT_TYPE === "message"){           // メッセージイベントの場合
    let messages;                         // 送信するメッセージオブジェクト
    if(event.message.type === "text"){    // テキストメッセージの場合
      let text = event.message.text;      // 受け取ったテキスト
      switch(text){
        case "テスト":
          messages = [getFlexMsg("ボタン", CLICK_BTN)];
          break;
      }
    }
    sendReplyMessage(REPLY_TOKEN, messages);
  }
}

// メッセージを送信
function sendReplyMessage(replyToken, messages){
  const URL = "https://api.line.me/v2/bot/message/reply";
  const RES = UrlFetchApp.fetch(URL, {
    "headers": {
      "Content-Type": "application/json; charset=UTF-8",
      "Authorization": "Bearer " + ACCESS_TOKEN,
    },
    "method": "post",
    "payload": JSON.stringify({
      "replyToken": replyToken,
      "messages": messages
    }),
  });
  return RES;
}
メッセージイベントのJSONコード例
JSON
{
  "destination": "xxxxxxxxxx",
  "events": [
    {
      "replyToken": "nHuyWiB7yP5Zw52FIkcQobQuGDXCTA",
      "type": "message",
      "mode": "active",
      "timestamp": 1462629479859,
      "source": {
        "type": "user",
        "userId": "U4af4980629..."
      },
      "message": {
        "id": "325708",
        "type": "text",
        "text": "@example Hello, world! (love)",
        "emojis": [
          {
            "index": 14,
            "length": 6,
            "productId": "5ac1bfd5040ab15980c9b435",
            "emojiId": "001"
          }
        ],
        "mention": {
          "mentionees": [
            {
              "index": 0,
              "length": 8,
              "userId": "U850014438e..."
            }
          ]
        }
      }
    }
  ]
}
5. デプロイ
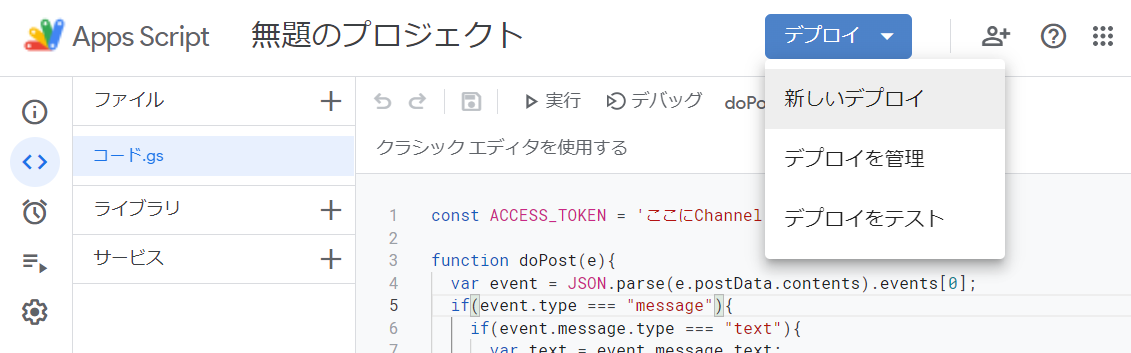
「デプロイ → 新しいデプロイ」を選択
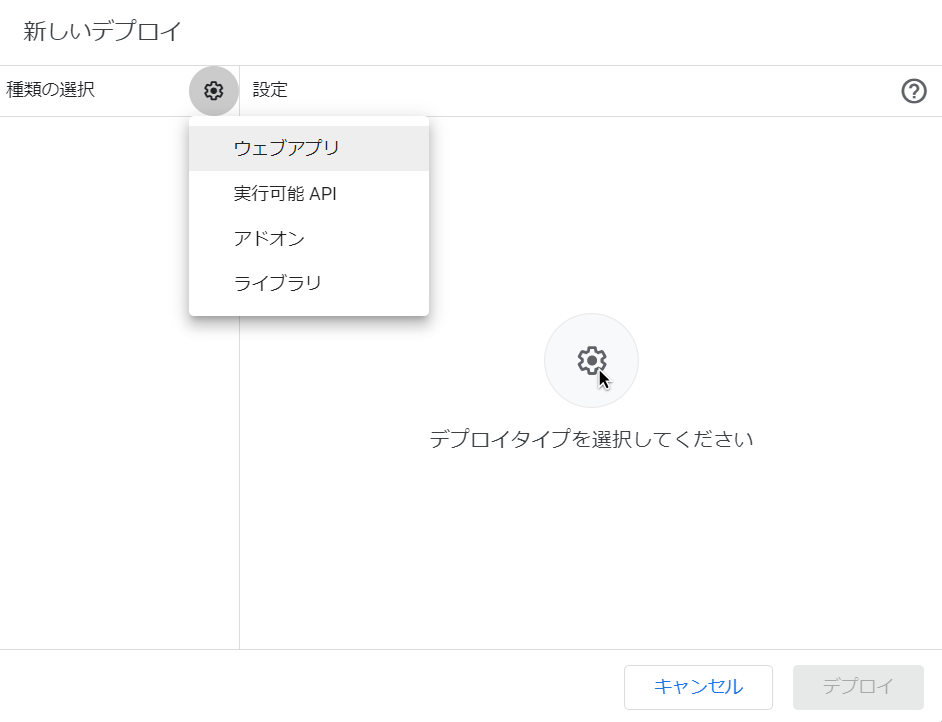
種類は「ウェブアプリ」を選択
アクセスできるユーザーを「全員」にする

URLをコピーしておく
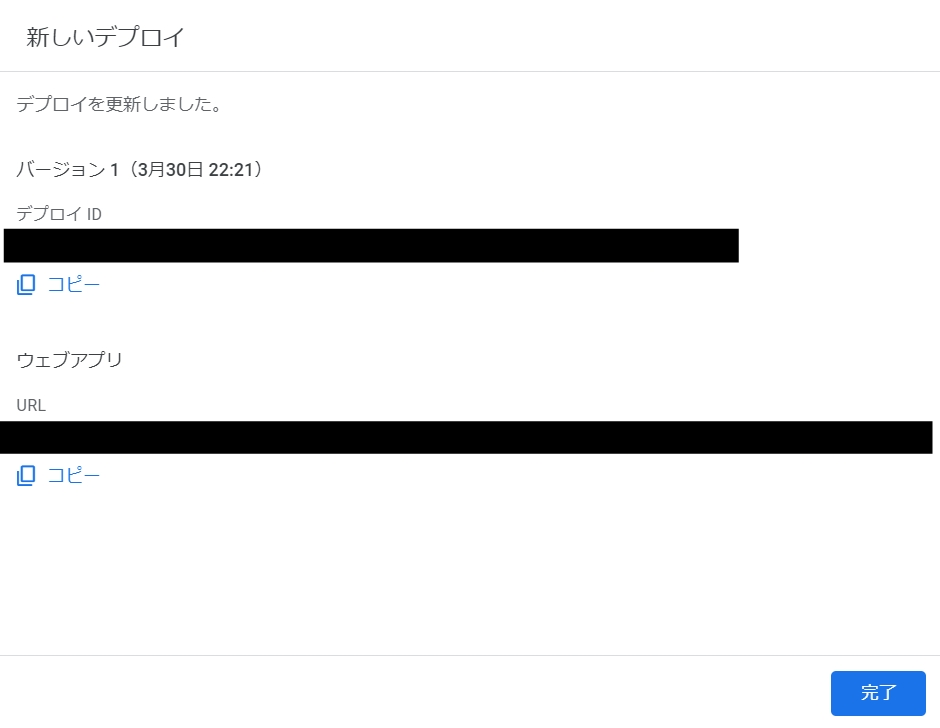
コードを修正するたびに「デプロイ → デプロイの管理 → 編集(鉛筆アイコン)」でバージョンを「新バージョン」にし、デプロイする必要がある。
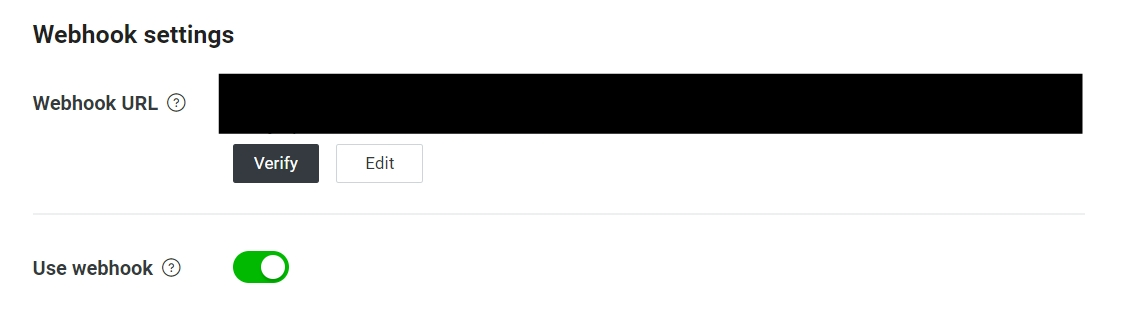
6. Webhook URL の設定
LINE Developers Consoleの「Messaging API」タブを開く。コピーした URL を Webhook URL に設定し 「Use webhook」をON にする。
参考