はじめに
Render.com公式でLaravelアプリをデプロイする方法が紹介されていますが、古いバージョン(Laravel 5.8)の方法しか記載されていません。
本記事ではLaravel 9.37.0に対応したDocker+nginxを用いたデプロイ方法を紹介します。
解説したコードはhttps://github.com/ppputtyo/laravel-render-example に置いています。
Render.comとは
さまざまなアプリをGitHub連携で簡単に運用できるPaaSで、近年はHerokuの移行先として注目されています。
また、Render.com公式の記述によると、実際に次世代Herokuを目指して開発されたことがわかります。
We’ve built Render to help developers and businesses avoid the cost and inflexibility traps of legacy Platform-as-a-Service solutions like Heroku.
(開発者や企業がHerokuのようなレガシーなPaaSのコストや柔軟性の問題を回避できるように、私たちはRender.comを開発しました。)
Render.comではアカウント内のすべてのWebサービスの実行時間合計が750時間/月までなら無料で使用できます。つまり、1つのサービスを運用する場合であれば24時間無料で稼働することができます。無料プランのその他の制限については以下に詳細が記載されています。
解説すること
- Render.comにLaravelアプリをDocker+nginxでデプロイする方法
解説しないこと
- Render.comでのDBの利用方法
ローカル実行環境
- OS: macOS Monterey 12.4
- CPU: Apple M1
- PHP 8.1.6
- Laravel 9.37.0
1. Laravelアプリの作成
下記コマンドで新規Laravelアプリを作成します。
composer create-project laravel/laravel laravel-render-com
2. 認証機能の実装
以下のコマンドを実行して認証機能を実装します。
composer require laravel/ui
php artisan ui vue --auth
npm install
3. appServiceProviderを変更
app/Providers/AppServiceProvider.phpを以下のように変更します。
<?php

namespace App\Providers;

use Illuminate\Support\ServiceProvider;
use Illuminate\Routing\UrlGenerator; // 追加

class AppServiceProvider extends ServiceProvider
{
    /**
     * Register any application services.
     *
     * @return void
     */
    public function register()
    {
        //
    }

    /**
     * Bootstrap any application services.
     *
     * @return void
     */
    // 変更
    public function boot(UrlGenerator $url)
    {
        if (env('APP_ENV') == 'production') {
            $url->forceScheme('https');
        }
    }
}
4. Dockerの設定
Laravelプロジェクト直下にDockerfileを作成します。
# richarvey/nginx-php-fpmをベースとする
FROM richarvey/nginx-php-fpm:2.1.2

COPY . .

# Image config
ENV SKIP_COMPOSER 1
ENV WEBROOT /var/www/html/public
ENV PHP_ERRORS_STDERR 1
ENV RUN_SCRIPTS 1
ENV REAL_IP_HEADER 1

# Laravel config
ENV APP_ENV production
ENV APP_DEBUG false
ENV LOG_CHANNEL stderr

# Allow composer to run as root
ENV COMPOSER_ALLOW_SUPERUSER 1

CMD ["/start.sh"]
Laravelプロジェクト直下に.dockerignoreファイルを作成します。
/node_modules
/public/hot
/public/storage
/storage/*.key
/vendor
.env
.phpunit.result.cache
Homestead.json
Homestead.yaml
npm-debug.log
yarn-error.log
conf/nginx/nginx-site.confを作成し、nginxの設定を記述します。
server {
  # Render provisions and terminates SSL
  listen 80;

  # Make site accessible from http://localhost/
  server_name _;

  root /var/www/html/public;
  index index.html index.htm index.php;

  # Disable sendfile as per https://docs.vagrantup.com/v2/synced-folders/virtualbox.html
  sendfile off;

  # Add stdout logging
  error_log /dev/stdout info;
  access_log /dev/stdout;

  # block access to sensitive information about git
  location /.git {
    deny all;
    return 403;
  }

  add_header X-Frame-Options "SAMEORIGIN";
  add_header X-XSS-Protection "1; mode=block";
  add_header X-Content-Type-Options "nosniff";

  charset utf-8;

  location / {
      try_files $uri $uri/ /index.php?$query_string;
  }

  location = /favicon.ico { access_log off; log_not_found off; }
  location = /robots.txt  { access_log off; log_not_found off; }

  error_page 404 /index.php;

  location ~* \.(jpg|jpeg|gif|png|css|js|ico|webp|tiff|ttf|svg)$ {
    expires 5d;
  }

  location ~ \.php$ {
    fastcgi_split_path_info ^(.+\.php)(/.+)$;
    fastcgi_pass unix:/var/run/php-fpm.sock;
    fastcgi_index index.php;
    fastcgi_param SCRIPT_FILENAME $document_root$fastcgi_script_name;
    fastcgi_param SCRIPT_NAME $fastcgi_script_name;
    include fastcgi_params;
  }

  # deny access to . files
  location ~ /\. {
    log_not_found off;
    deny all;
  }

  location ~ /\.(?!well-known).* {
    deny all;
  }
}
5. デプロイスクリプトの作成
scripts/00-laravel-deploy.shを作成します。
#!/usr/bin/env bash
echo "Running composer"
composer global require hirak/prestissimo
composer install --no-dev --working-dir=/var/www/html

echo "Caching config..."
php artisan config:cache

echo "Caching routes..."
php artisan route:cache

echo "Running migrations..."
php artisan migrate --force
6. GitHubにリポジトリを作成
GitHubにリポジトリを作成し、これまでの内容をpushします。
7. Render.comにデプロイ
- Render.comでアカウントを作成します。
- 管理画面からNew Web Serviceを選択し、新規Webサービスを作成します。
- GitHubのアカウントを接続し、先ほど作成したリポジトリにRender.comのアプリをインストールします。
- Render.comで先ほどのリポジトリを選択します。
- 以下の項目を入力します。
- Name: 任意の名前
- Enviroment: Docker
- Region: Singapore (Southeast Asia)
- Branch: デプロイしたいブランチ
- Plans: 使用したい料金プラン
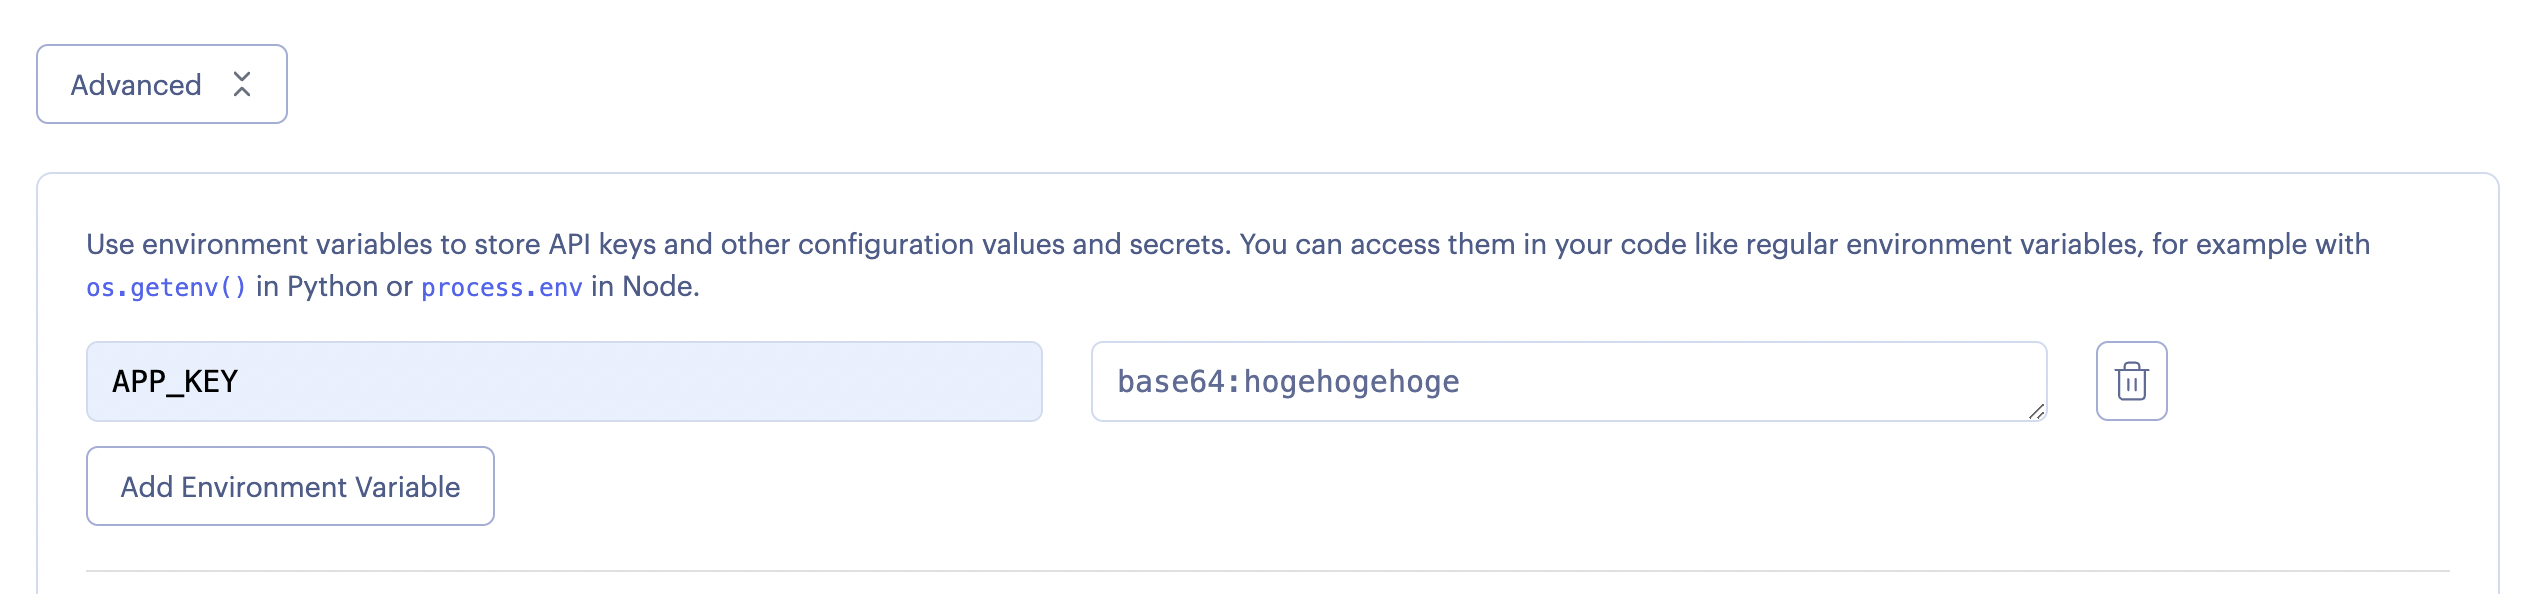
- Advancedを選択し、環境変数にAPP_KEYを登録します。
(APP_KEYとはLaravelプロジェクト直下の.envファイルの3行目あたりに記載されているbase64:〇〇=で表される文字列です。)
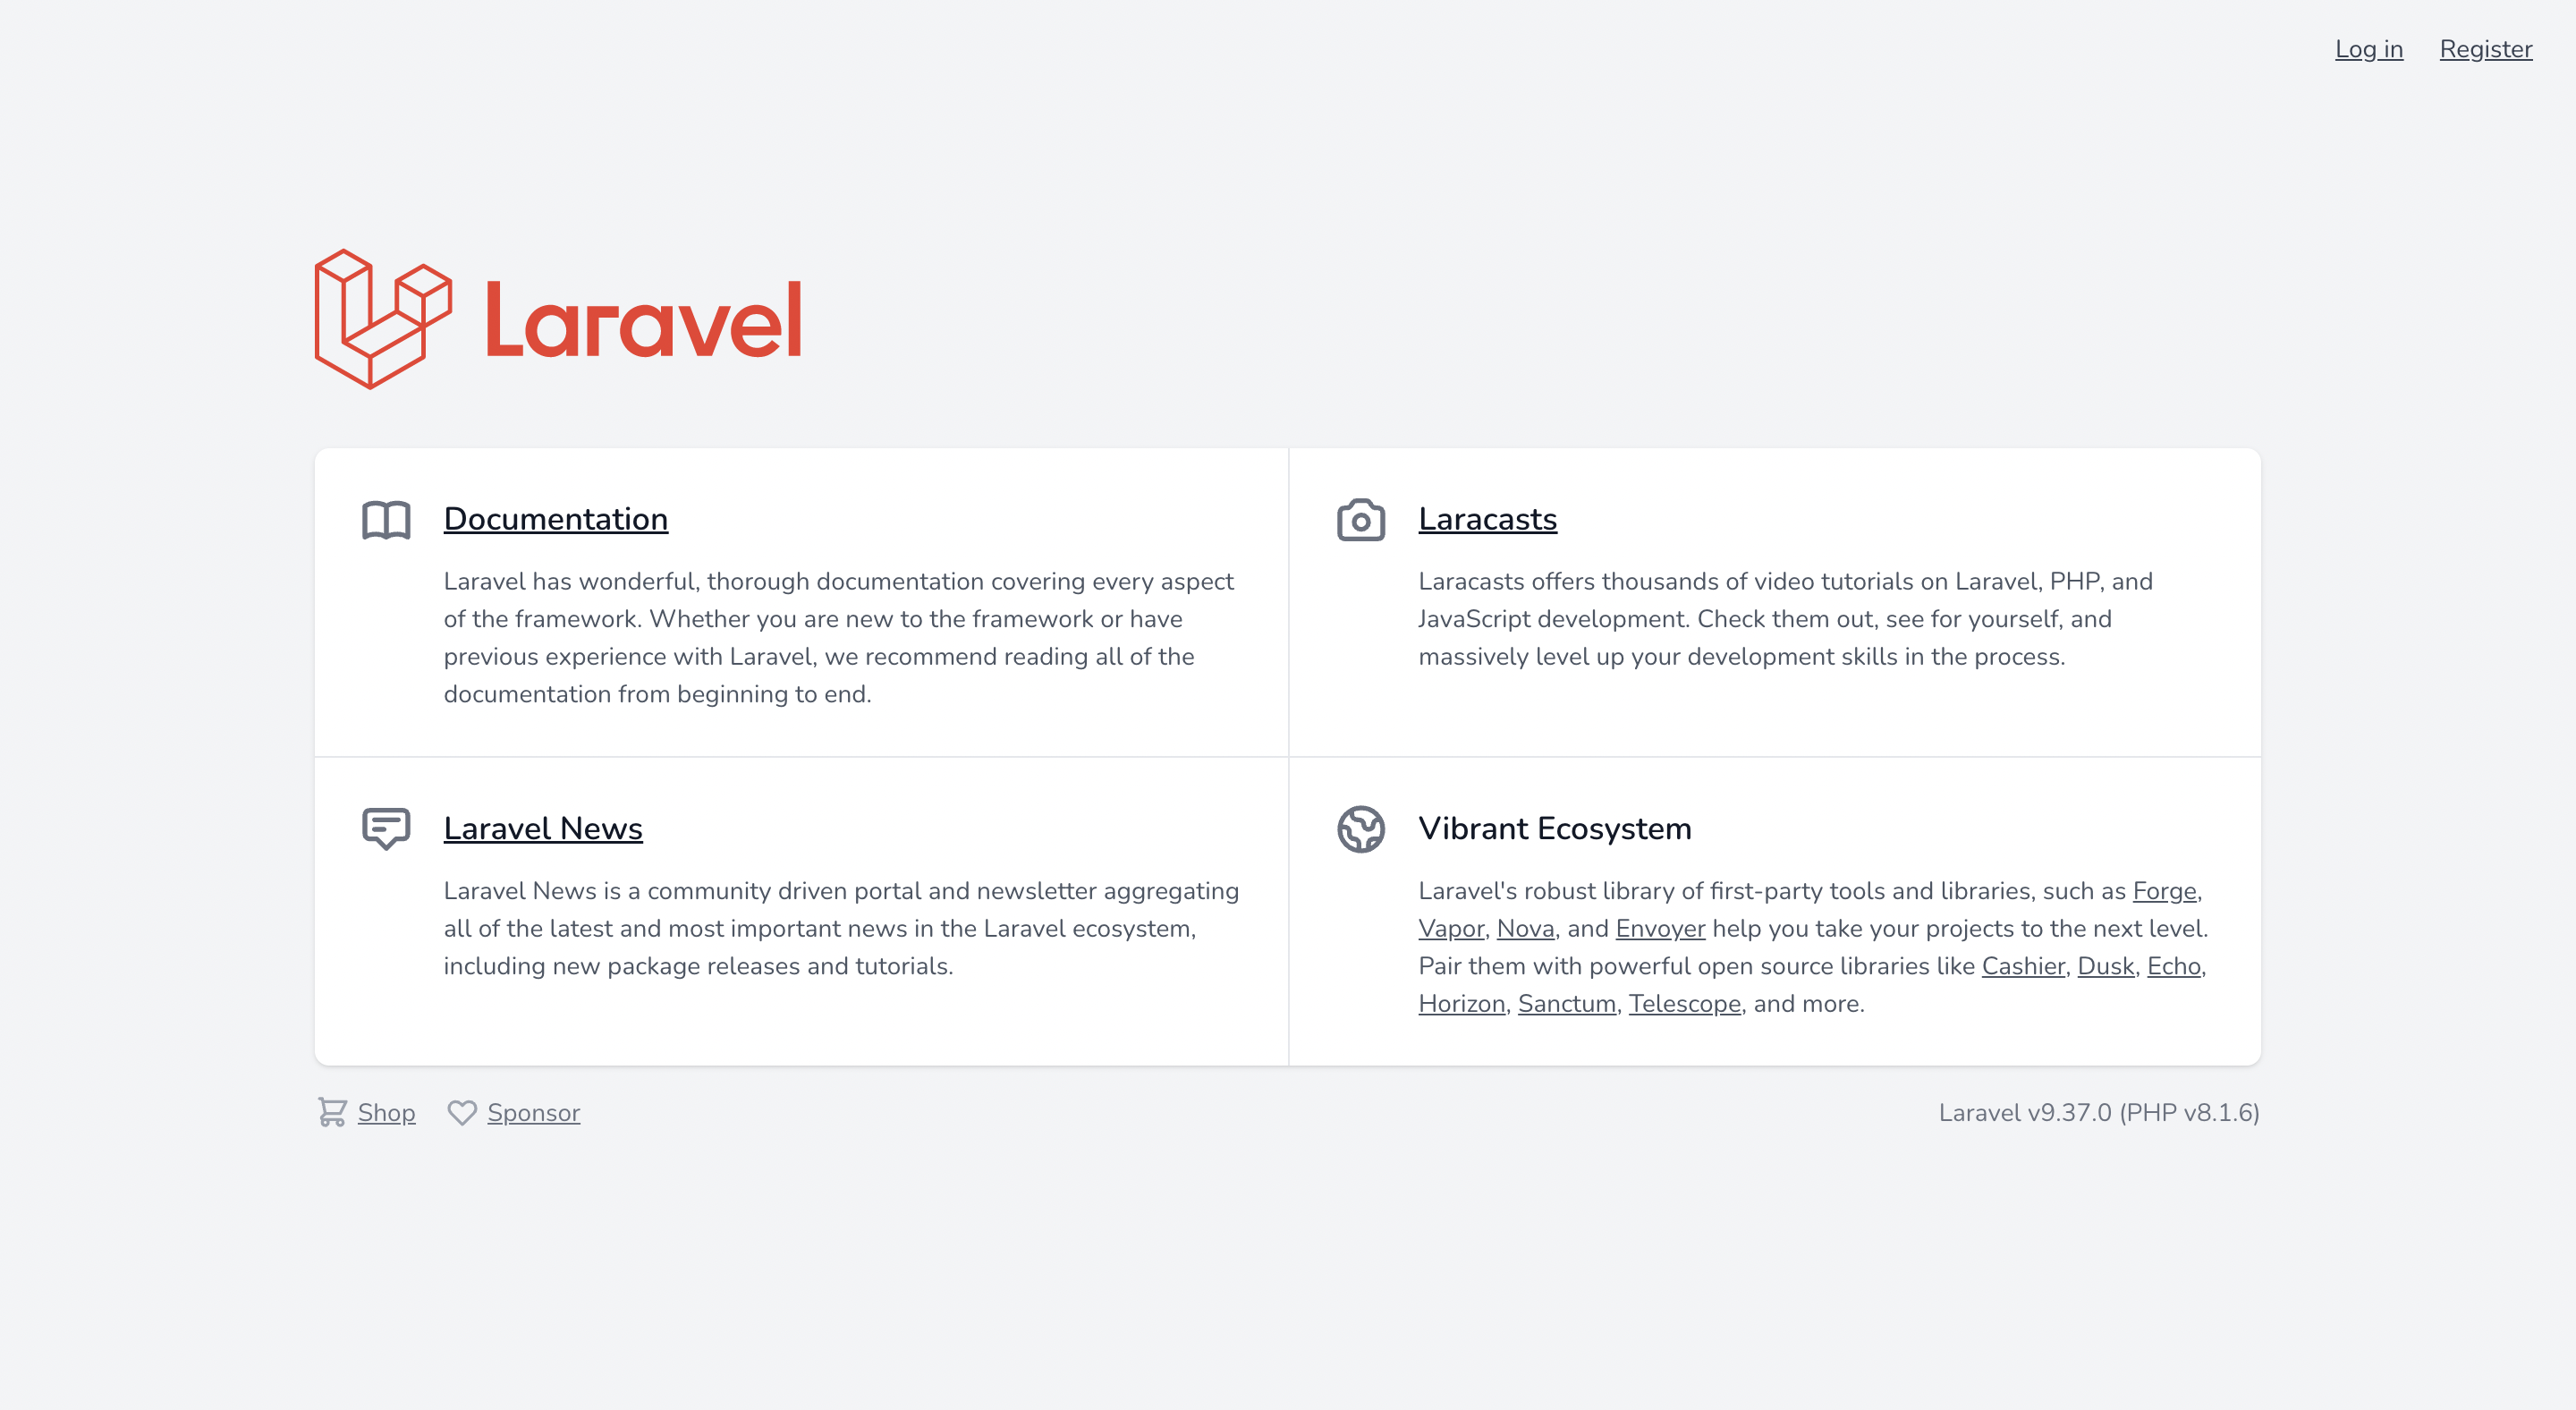
- Create Web ServiceをクリックするとWebサービスが作成され、自動的にビルドが実行されます。
- ビルド終了後、左上のサービス名の下に記載されているURLにアクセスすると、以下のページが表示されれば成功です。