概要
Raspberry Pi 3にインストールしたWindows10 IoT Coreにリモート接続します。
Windows10 IoT Coreの設定
IPアドレス設定 ※必要な人だけ設定してください※
Windows10 IoT Coreを再起動したタイミングでIPアドレスが変わってしまうことがあり、面倒なのでIPアドレスを固定にします。
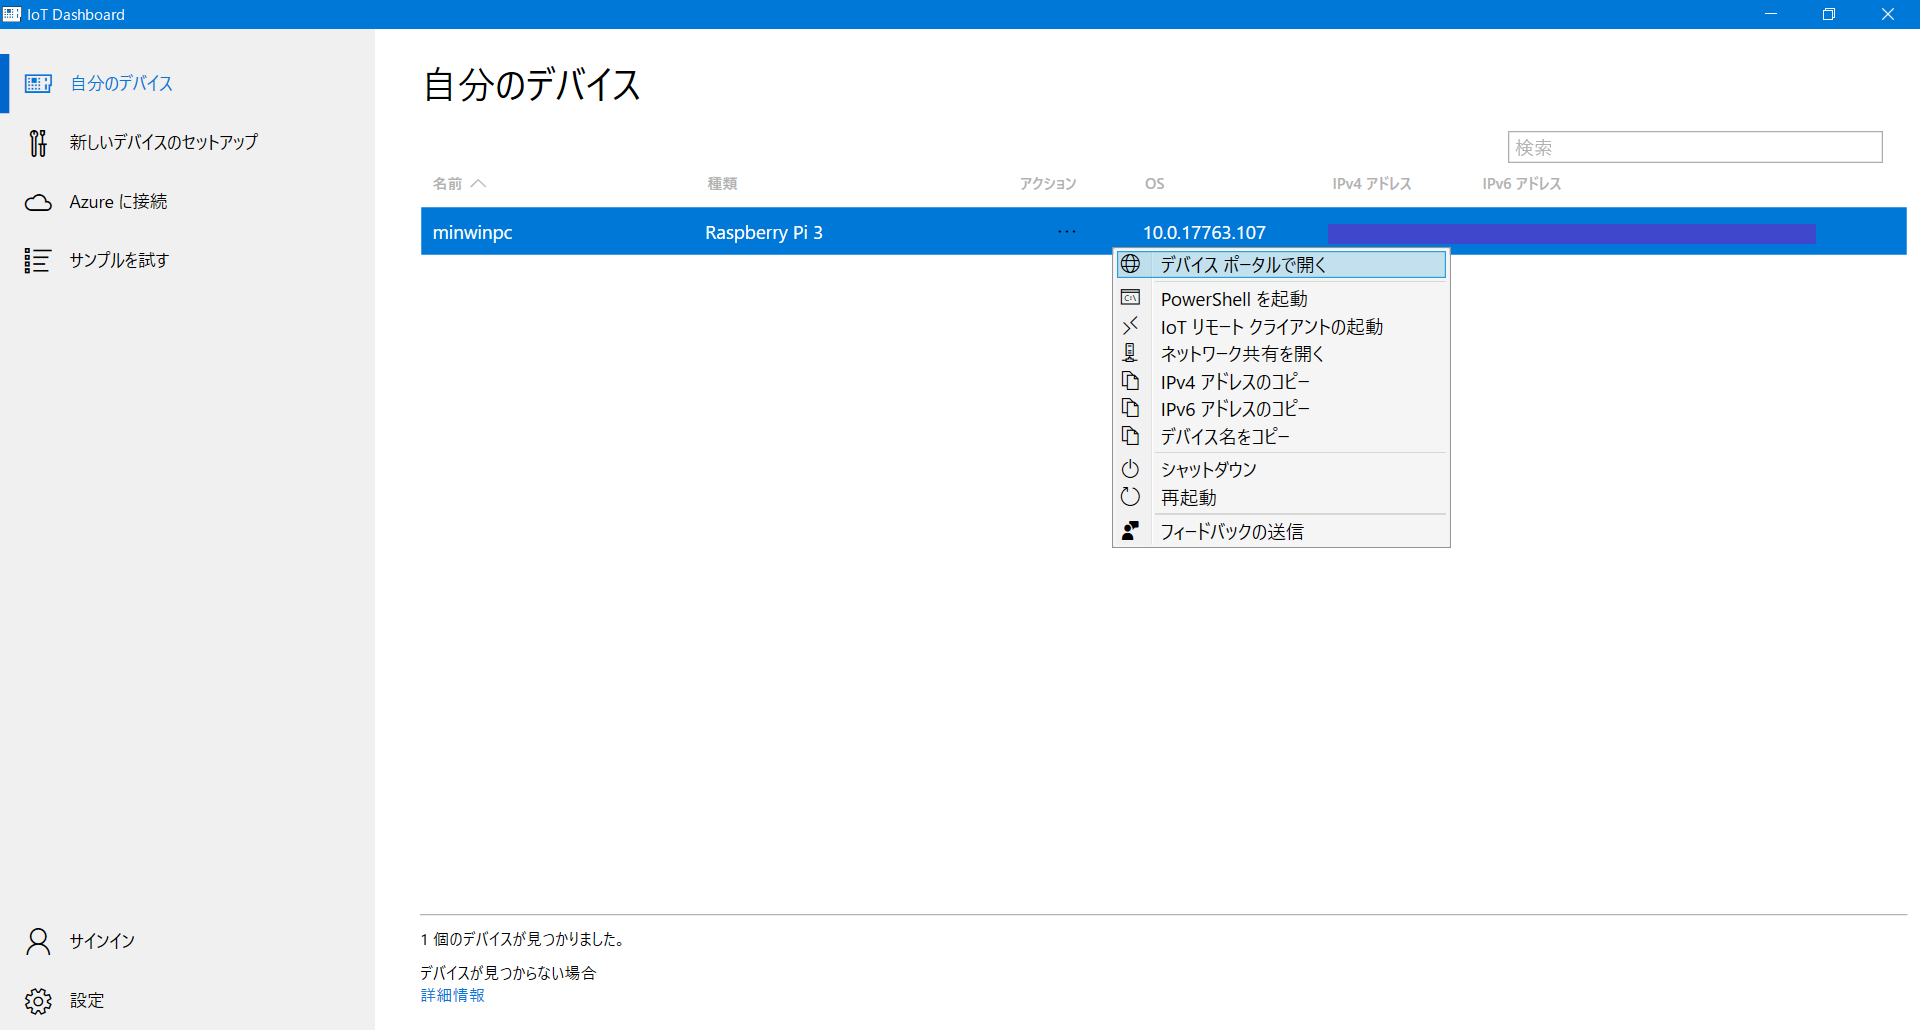
Windows 10 IoT Core ダッシュボードから[デバイスポータル]を開きます。
ID/PASSを聞かれるのでadministrator/IoT Coreをインストールしたときに設定したパスワード を入力します。
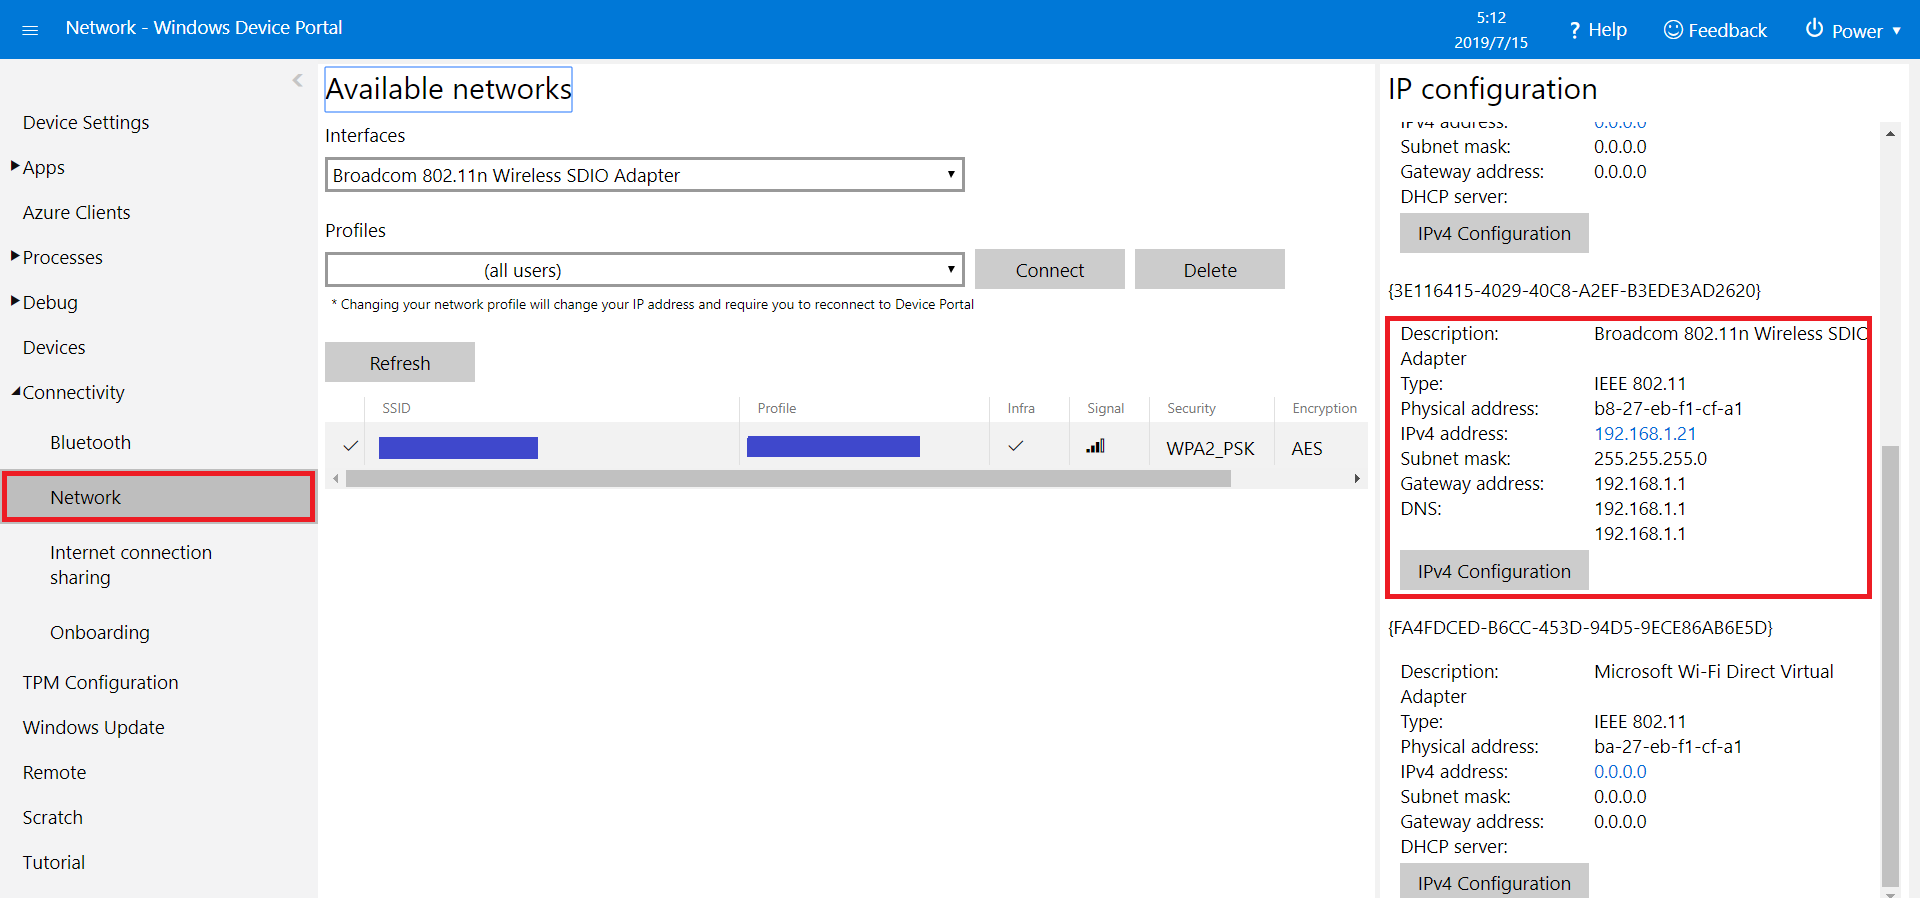
左側のメニュー[Network]をクリックします。
右側の[IP Configuration]のリストから該当のIPアドレスを固定にします。
Windows IoT Remote Serverを有効にする。
左側のメニュー[Remote]をクリックします。
[Enable Windows IoT Remote Server]にチェックします。
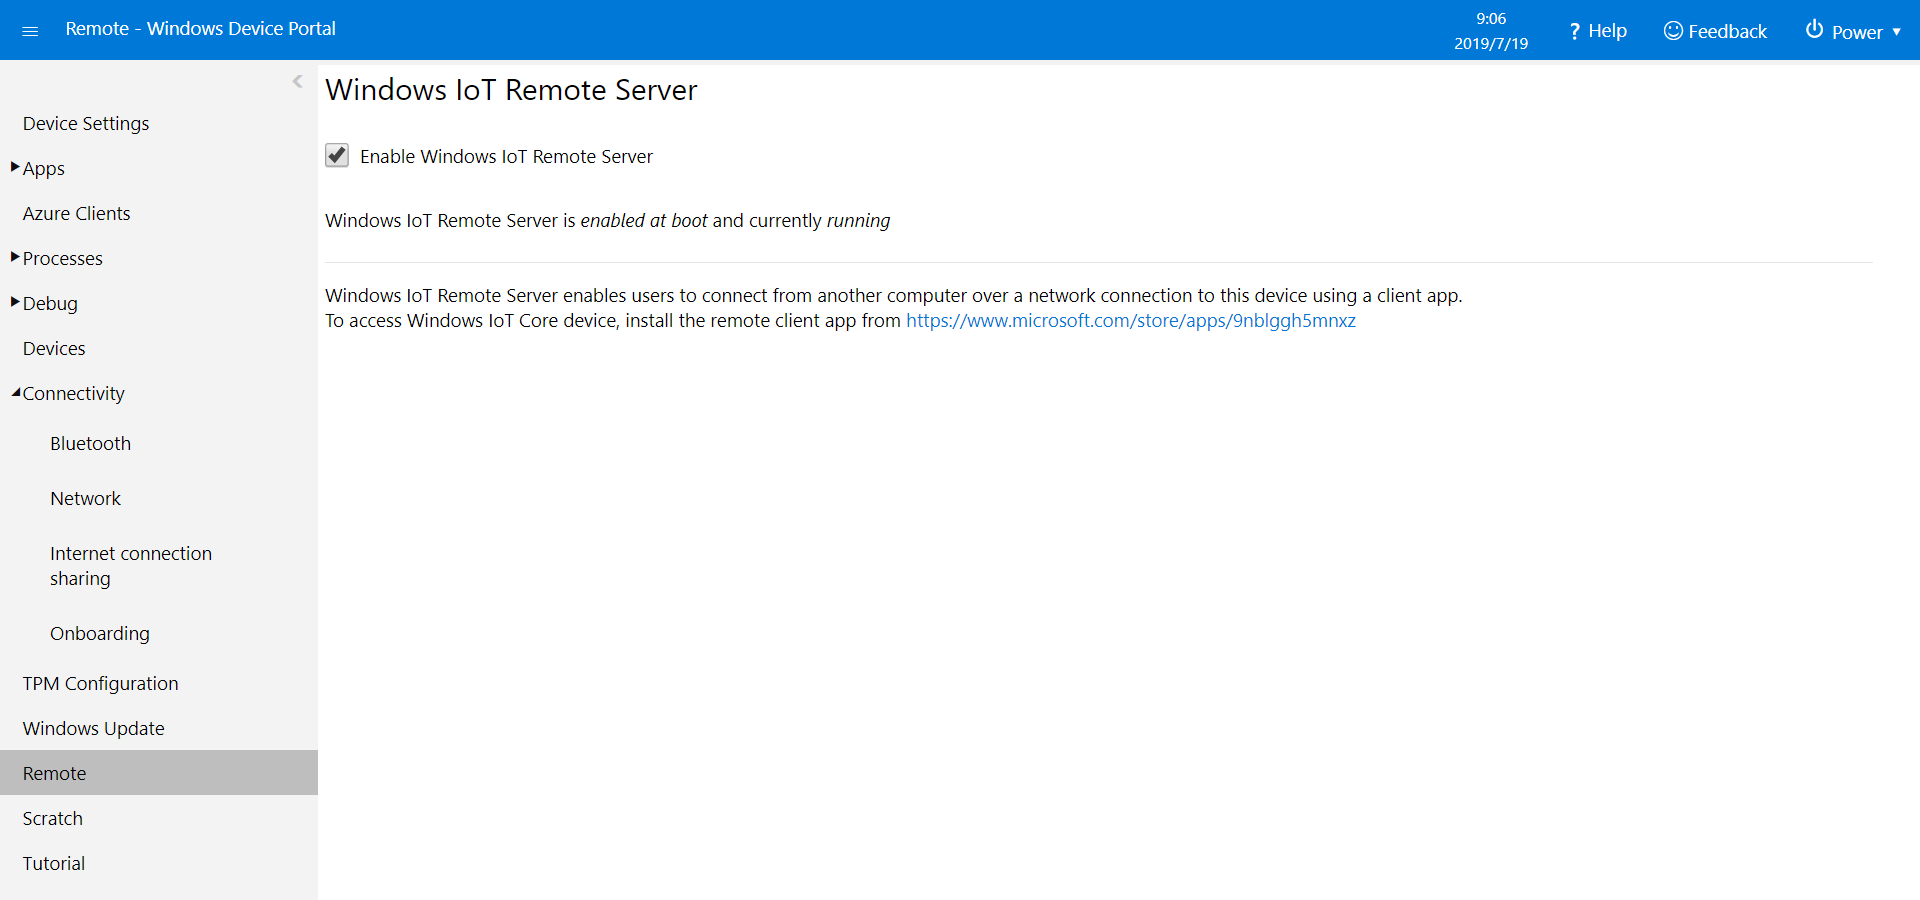
IoTリモートクライアントを使ってリモート接続
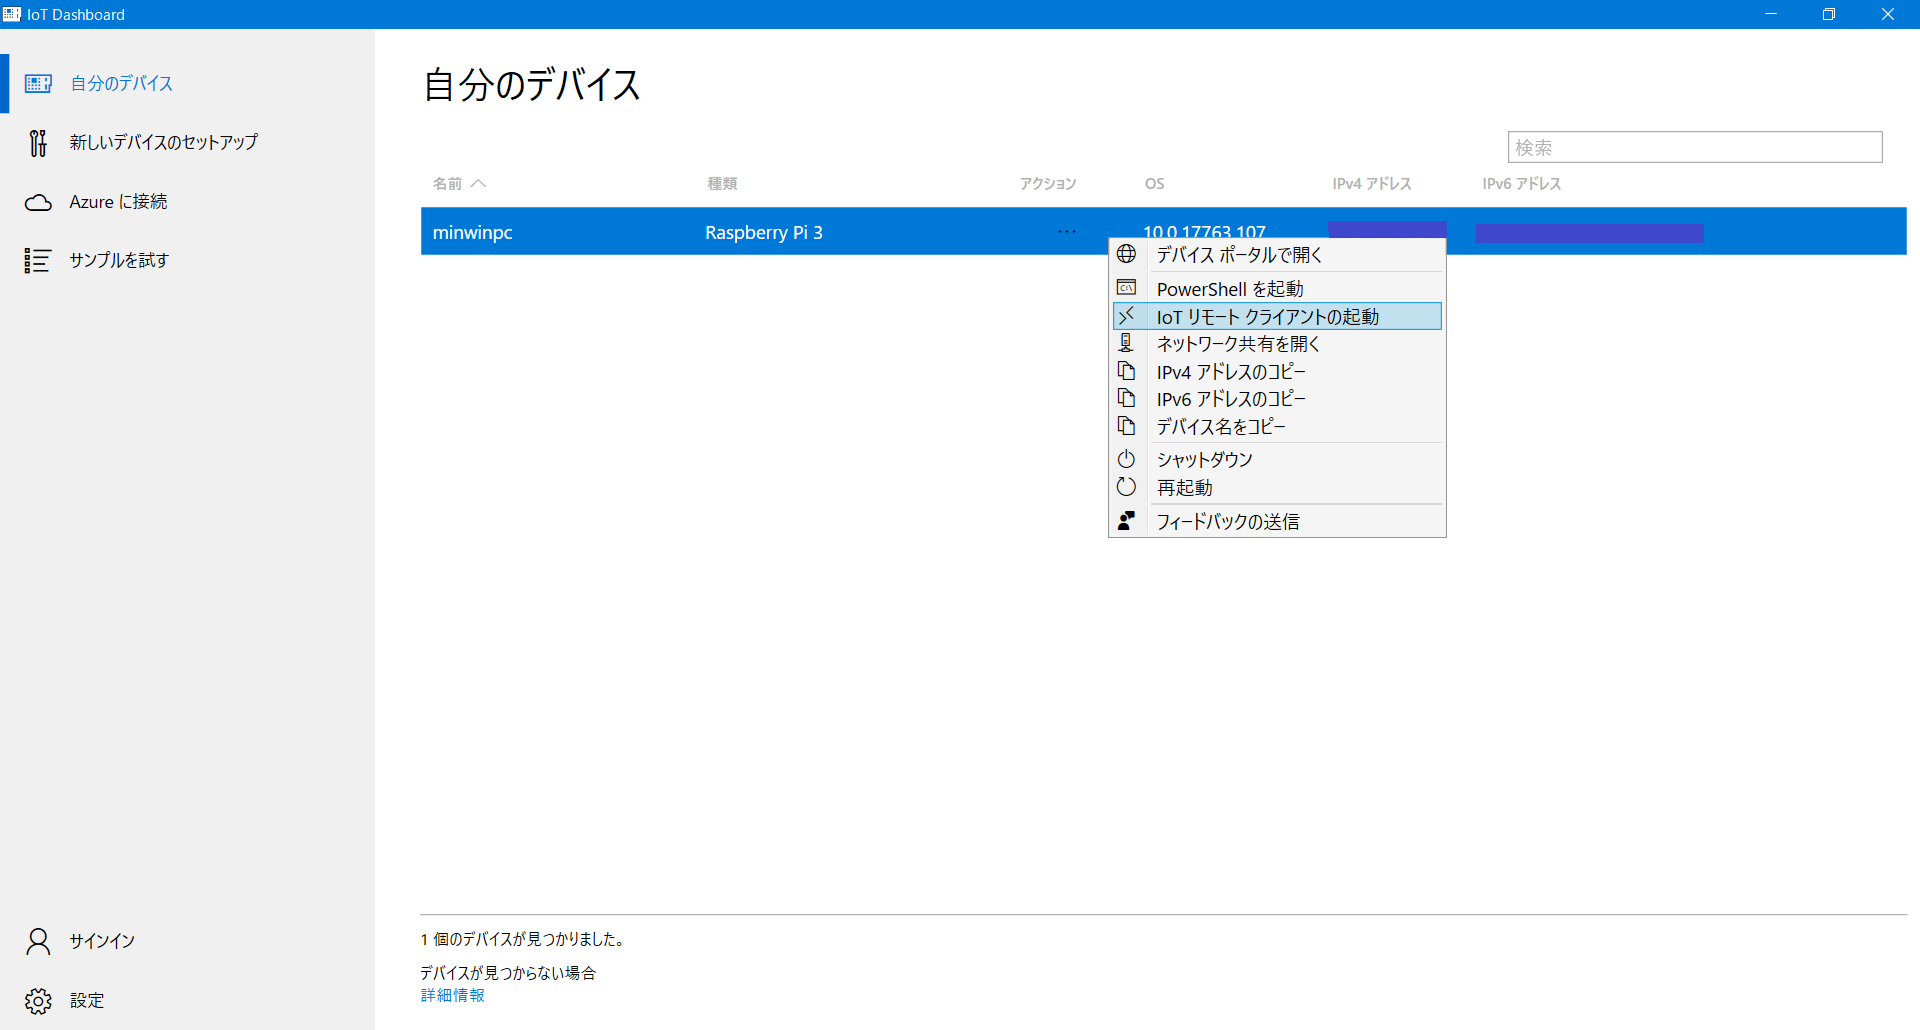
Windows 10 IoT Core ダッシュボードから[IoTリモートクライアントの起動]を開きます。
下記のメッセージが表示されたら[はい]をクリックします。
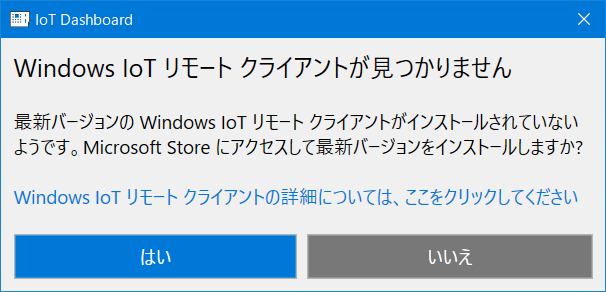
Windows IoT Remote Clientをインストールします。

インストールが完了したら、再びWindows 10 IoT Core ダッシュボードから[IoTリモートクライアントの起動]を開きます。
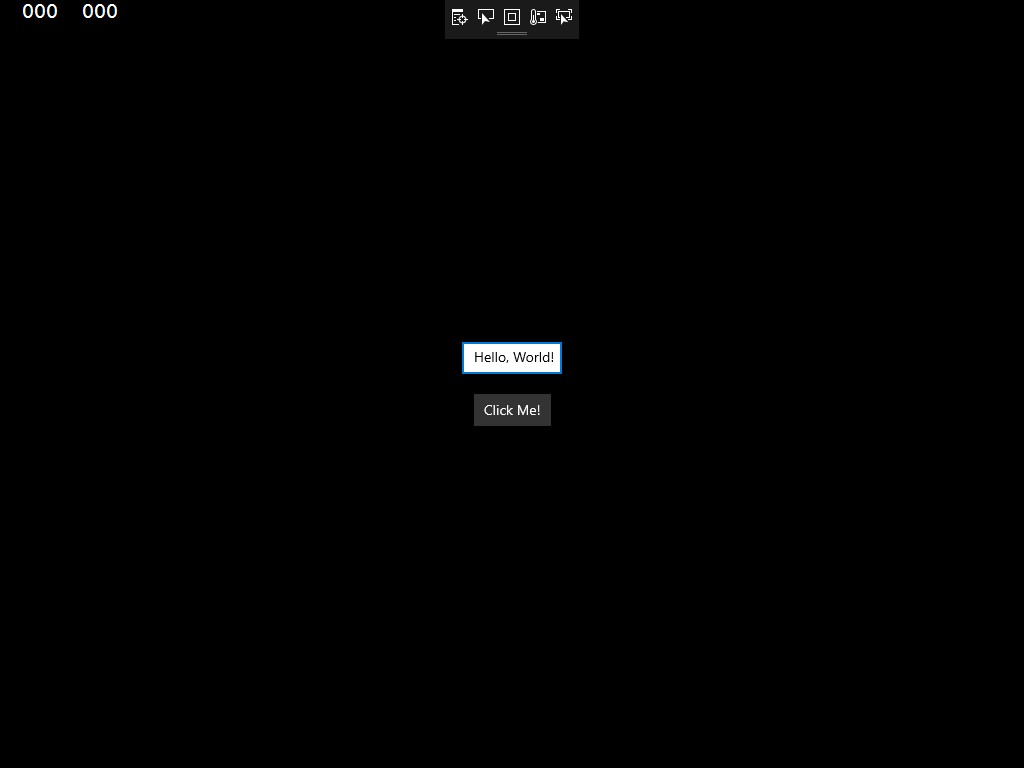
ですが、私の環境では画面が表示されず真っ黒...なぜかマウスだけはリモートで動かせました。

どうやらRaspberry Pi 3では動かないみたいです。Raspberry Pi 4に期待。
https://docs.microsoft.com/ja-jp/windows/iot-core/manage-your-device/remotedisplay
(おまけ)Visual Studio 2019からリモートデバッグ
サンプルアプリケーションをダウンロード
ここからダウンロードできます。
https://github.com/Microsoft/Windows-iotcore-samples
VS2019からリモートデバッグ
ダウンロードしたサンプルアプリの中のHelloWorld.slnをVS2019で開きます。
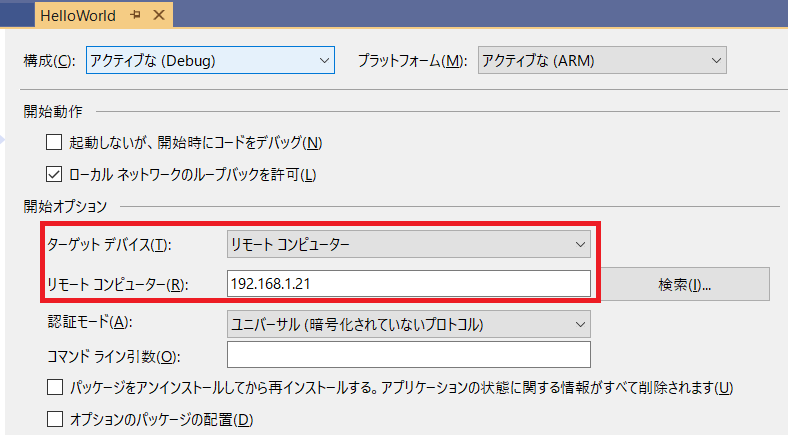
プロジェクトのプロパティを開き、左側のメニューから[デバッグ]を選択します。
[ターゲットデバイス]:リモートコンピューターを選択
[リモートコンピューター]:Raspberry Pi 3のIPアドレスを入力します。
