OpenAIが提供するAPIサービスを使って、ChatGPTっぽい応答をしてくれるLINEボットを立ち上げます。
といっても、OpenAIが用意してくれているnpmモジュールを使えば簡単です。
(すでにたくさんの有志の方が試されているので、あまり真新しさはないですが。。。)
OpenAIの文章生成AIとして、ChatGPTと同じtext-davinci-003というGPT3.5系文章生成モデルを使います。また、適当な文字を入れると、それに合った画像を表示してくれるようにもしてみます。
環境一式を以下にアップしました。
poruruba/line_aibot
OpenAIのAPIキーを発行
以下のサイトを参考にさせていただきました。
【2023年版】OpenAIのAPIキー発行手順!ChatGPT風の文章生成やDALL-Eの画像生成AI利用
LINEボットを立ち上げる
以下のサイトを参考にしました。
LINEボットを実装する
OpenAIを扱うための便利なnpmモジュールと、LINEボット用のnpmモジュールを使います。
npm install openai
npm install @line/bot-sdk
'use strict';

const HELPER_BASE = process.env.HELPER_BASE || "/opt/";
const Response = require(HELPER_BASE + 'response');

const OPENAI_APIKEY = "【OpenAIのAPIキー】";

const { Configuration, OpenAIApi } = require("openai");
const configuration = new Configuration({
  apiKey: OPENAI_APIKEY
});
const openai = new OpenAIApi(configuration);

const LINE_CHANNEL_ACCESS_TOKEN = "【LINEのチャネルアクセストークン】";
const LINE_CHANNEL_SECRET = "【LINEのチャネルシークレット】";

const config = {
  channelAccessToken: LINE_CHANNEL_ACCESS_TOKEN,
  channelSecret: LINE_CHANNEL_SECRET
};
const LineUtils = require(HELPER_BASE + 'line-utils');
const line = require('@line/bot-sdk');
const app = new LineUtils(line, config);

app.message(async (event, client) =>{
  console.log(event);
  console.log(event.message.text);

  var text = event.message.text.trim();
  var type = "normal";
  if( text.endsWith("の画像") || text.endsWith("の写真") ){
    text = text.slice(0, -3);
    type = "image";
  }else if( text.endsWith("の絵") ){
    text = text.slice(0, -2);
    type = "image";
  }
  if( type == "image" ){
    const image = await openai.createImage({
      prompt: text,
      size: "256x256",
    });
    console.log(JSON.stringify(image.data), null, '\t');

    var url = image.data.data[0].url;
    var message = app.createImageResponse(url);
    return client.replyMessage(event.replyToken, message);
  }else{
    const response = await openai.createCompletion({
      model: "text-davinci-003",
      prompt: text,
      temperature: 0.9,
      max_tokens: 1024,
    });
    console.log(JSON.stringify(response.data), null, '\t');

    var text = response.data.choices[0].text.trim();

    var message = app.createSimpleResponse(text)
    return client.replyMessage(event.replyToken, message);
  }
});

exports.handler = app.lambda();
大したことはやっていません。openai.createCompletion()の部分や、openai.createImage()の部分が大事です。
パラメータは以下を参考にしてください。
Completions
Images
LINEボットサーバのためのエンドポイントは、以下に示す通り/aibot-talkとしました。LINE Developer Consoleで、Webhookとして指定します。
paths:
  /aibot-talk:
    post:
      parameters:
        - in: body
          name: body
          schema:
            $ref: "#/definitions/CommonRequest"
      responses:
        200:
          description: Success
          schema:
            $ref: "#/definitions/CommonResponse"
以下の部分を各自の環境に合わせて編集してください。
const OPENAI_APIKEY = "【OpenAIのAPIキー】";

const LINE_CHANNEL_ACCESS_TOKEN = "【LINEのチャネルアクセストークン】";
const LINE_CHANNEL_SECRET = "【LINEのチャネルシークレット】";
使い方
使い方は、立ち上げたLINEボットを友達登録して、会話したい文章をLINEアプリから伝えるだけです。
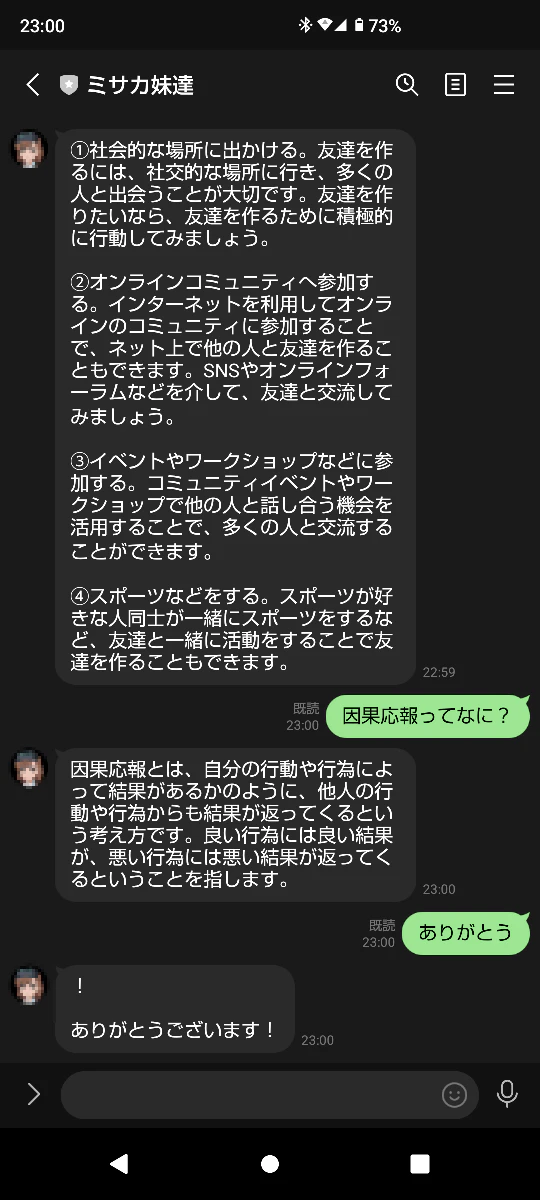
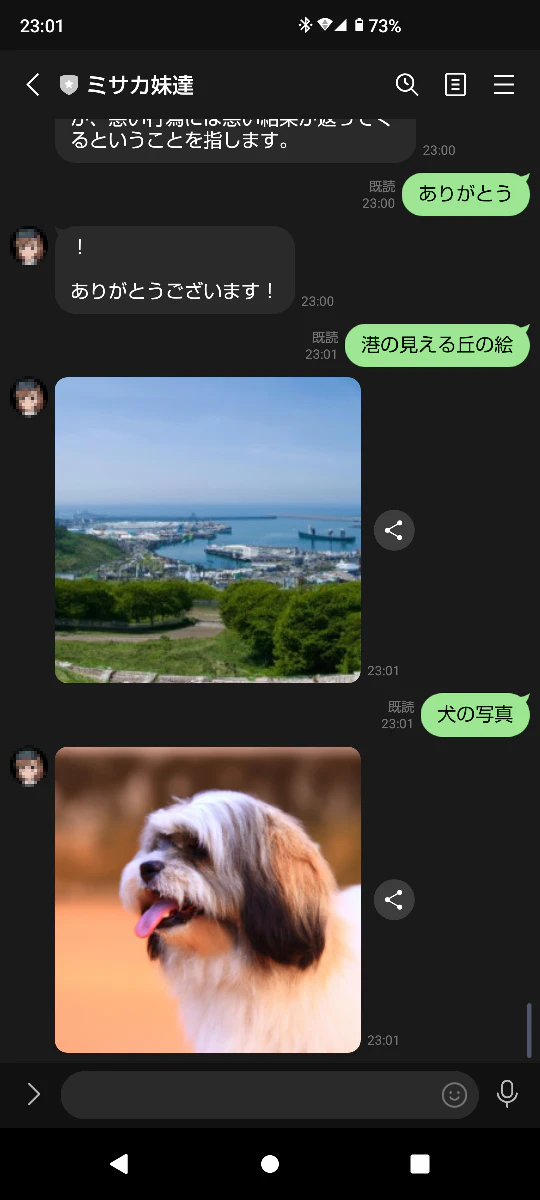
また、「XXXXの写真」とか「XXXXの画像」とか「XXXXの絵」という文章を入れると、XXXXにあった画像が表示されるようにしました。
終わりに
かなり端折って説明しました。。。
以上