第1回投稿で、SwaggerでLambdaのデバッグ環境を作りました。
GoogleHome、Alexaと続いて、とうとうClovaのスキルをデバッグします。
Clovaスキルを作る
早速、Clovaスキルを作成しましょう。
Clova Developer Center β
https://clova-developers.line.biz/
スキル設定、または、スキルを開発する ボタンを押下します。
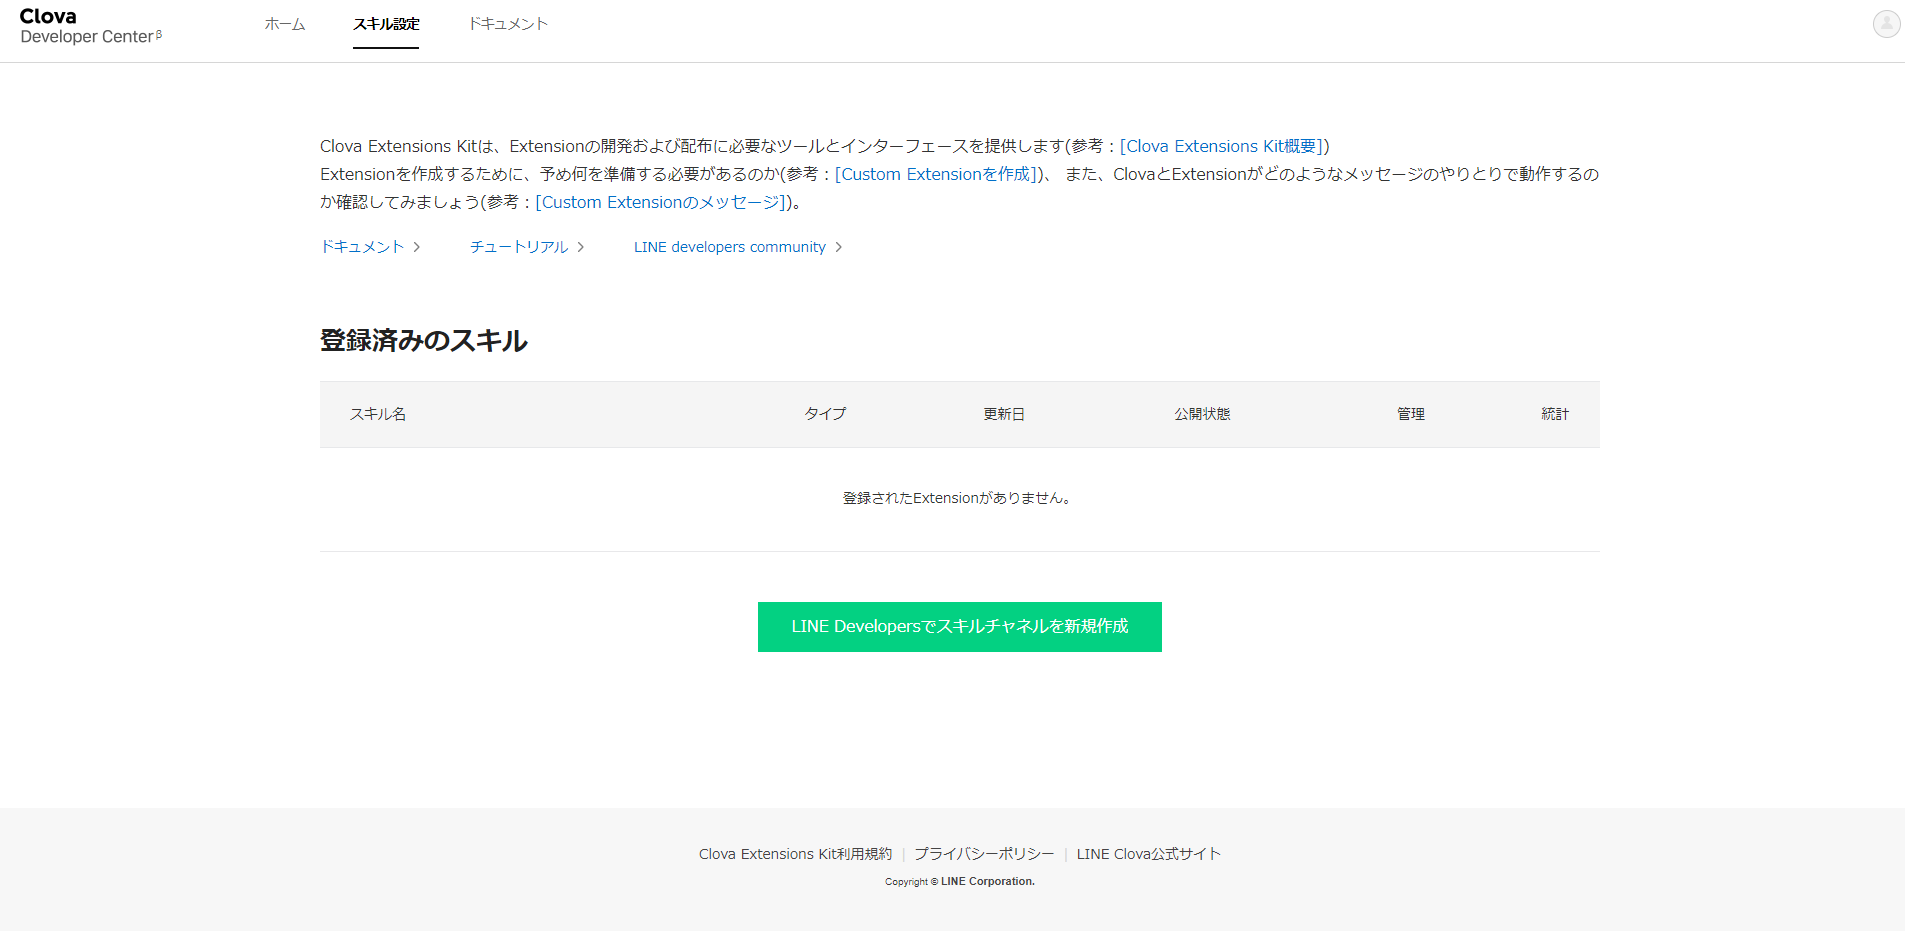
それでは、「LINE Developersでスキルチャネルを新規作成」を押下しましょう。
まずは、プロバイダを選択します。まだ作っていなければ、これを機に作りましょう。
チャネル名は適当に「テストスキル」にしました。

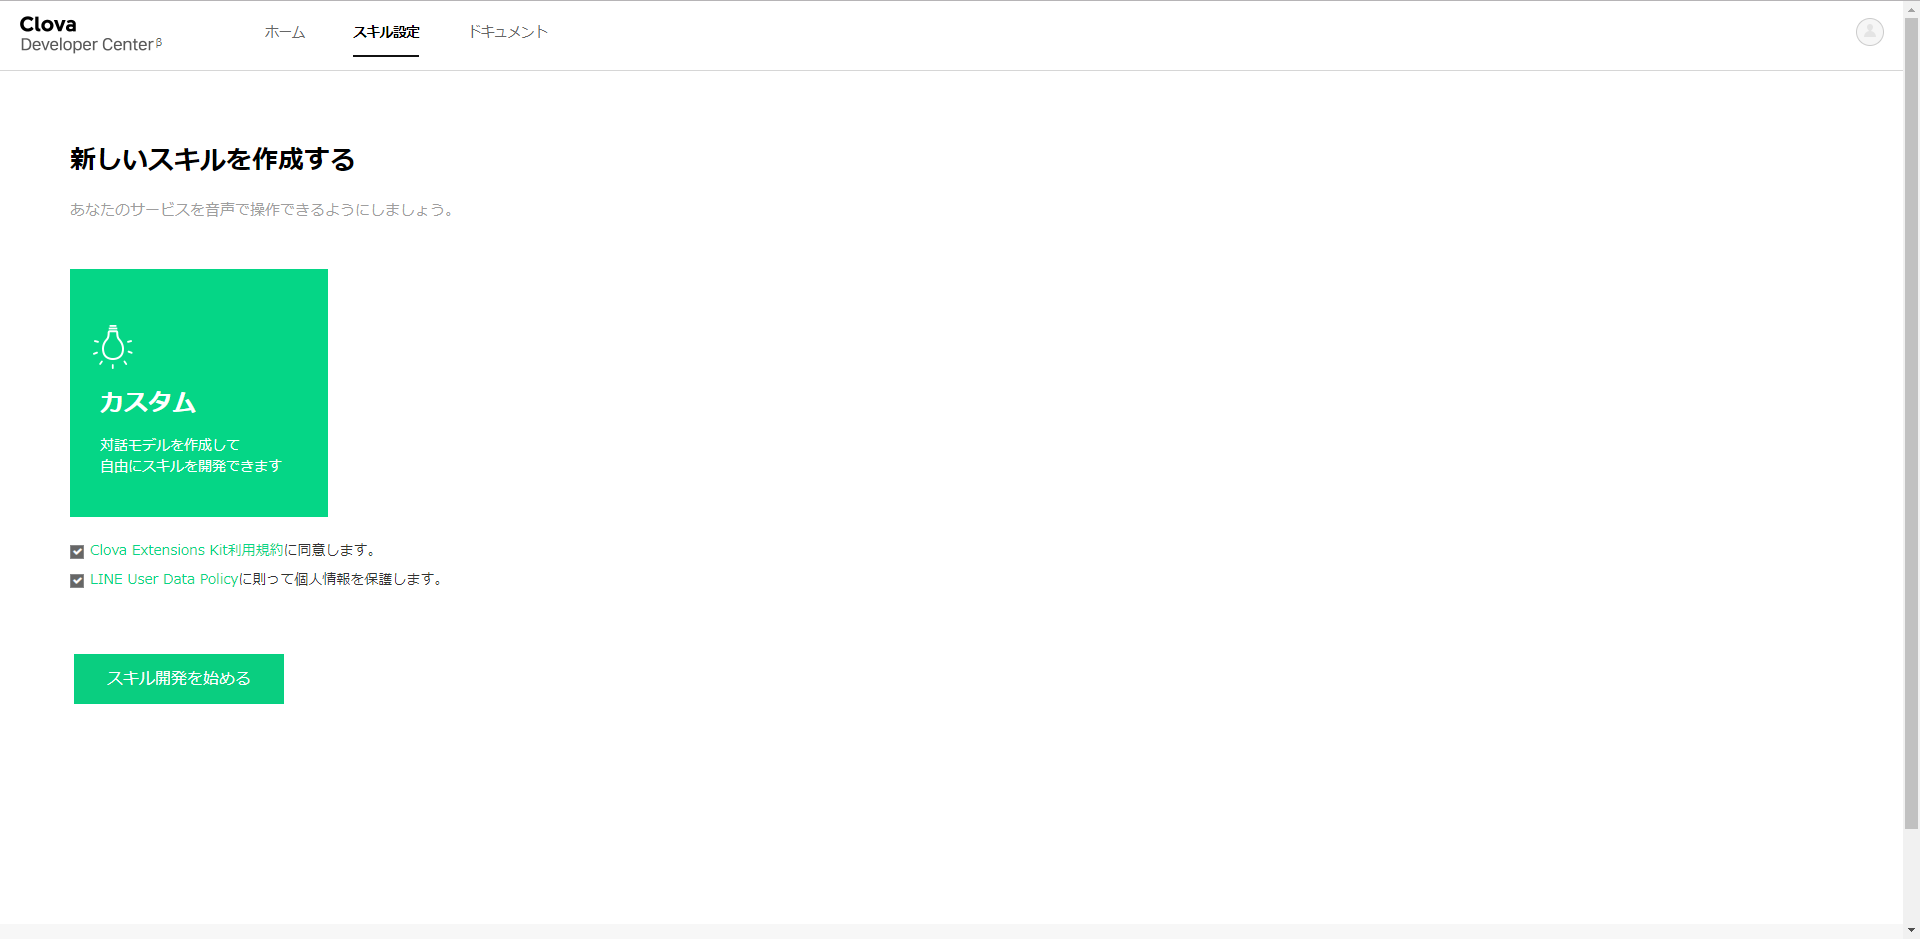
さあ、スキル開発を始めましょう。
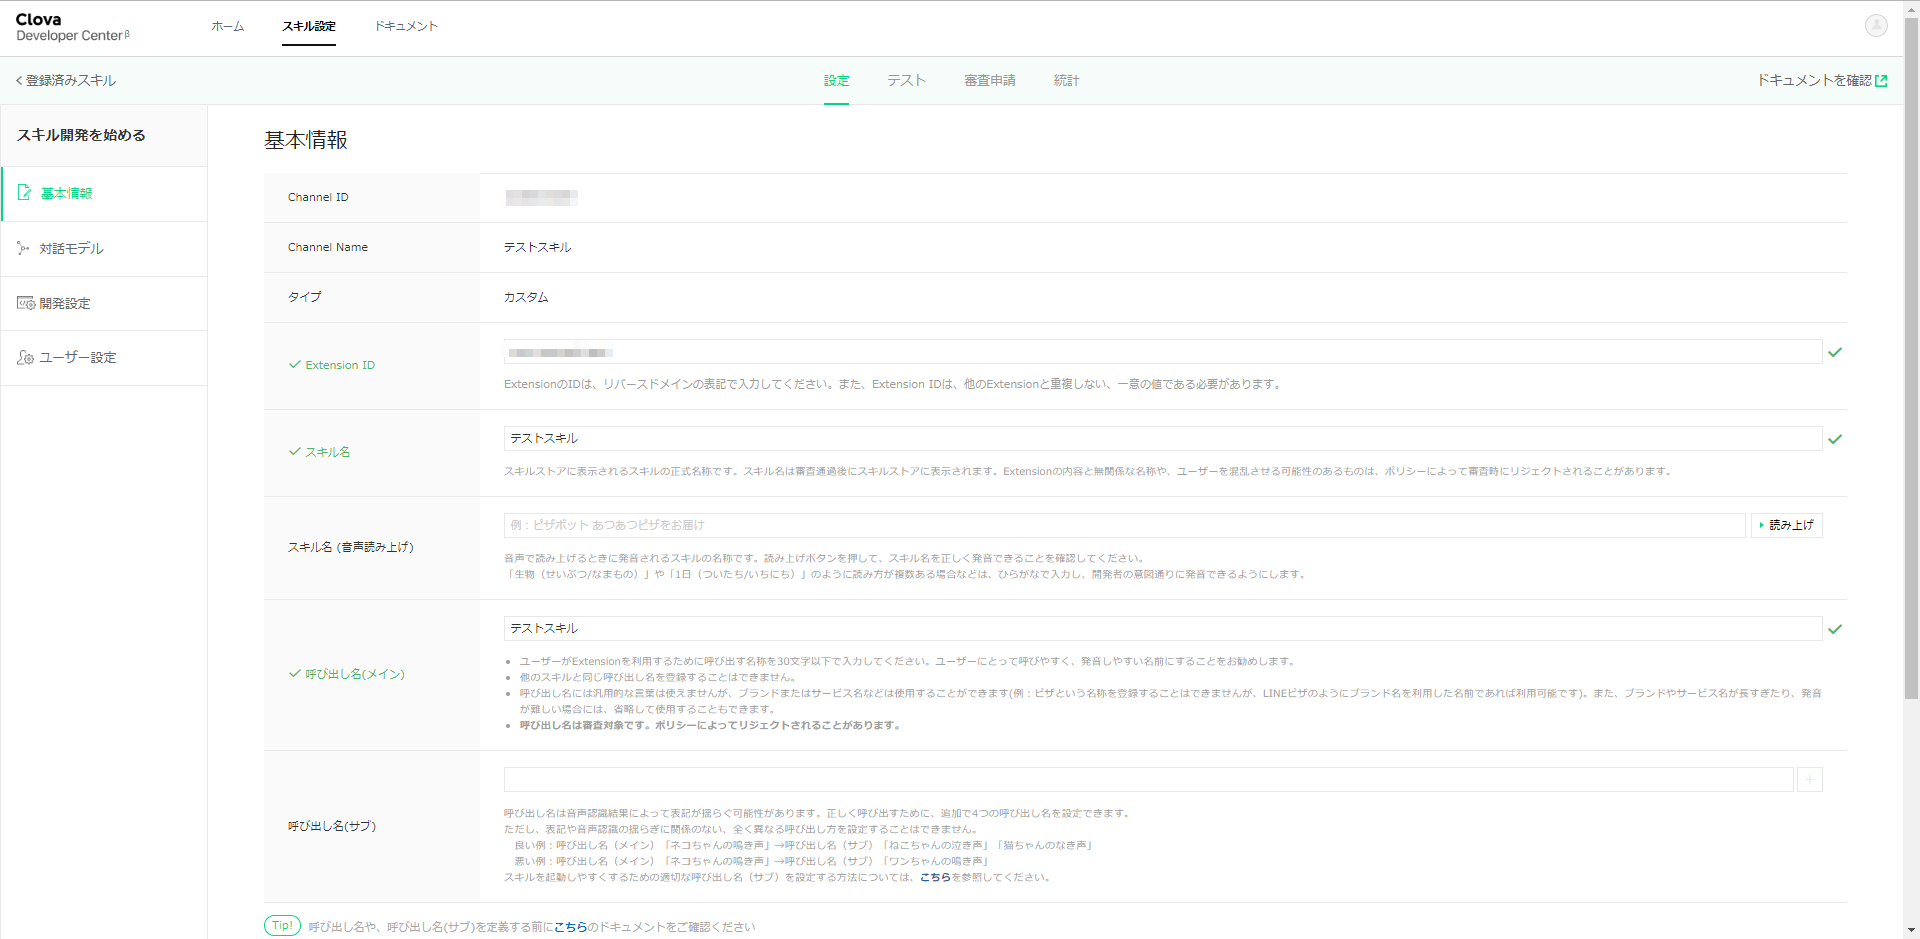
手始めに、いくつか入力しなければいけないのですが、適当で大丈夫です。スキル名や呼び出し名は「テストスキル」にしました。
それでは、発話を設定していきます。
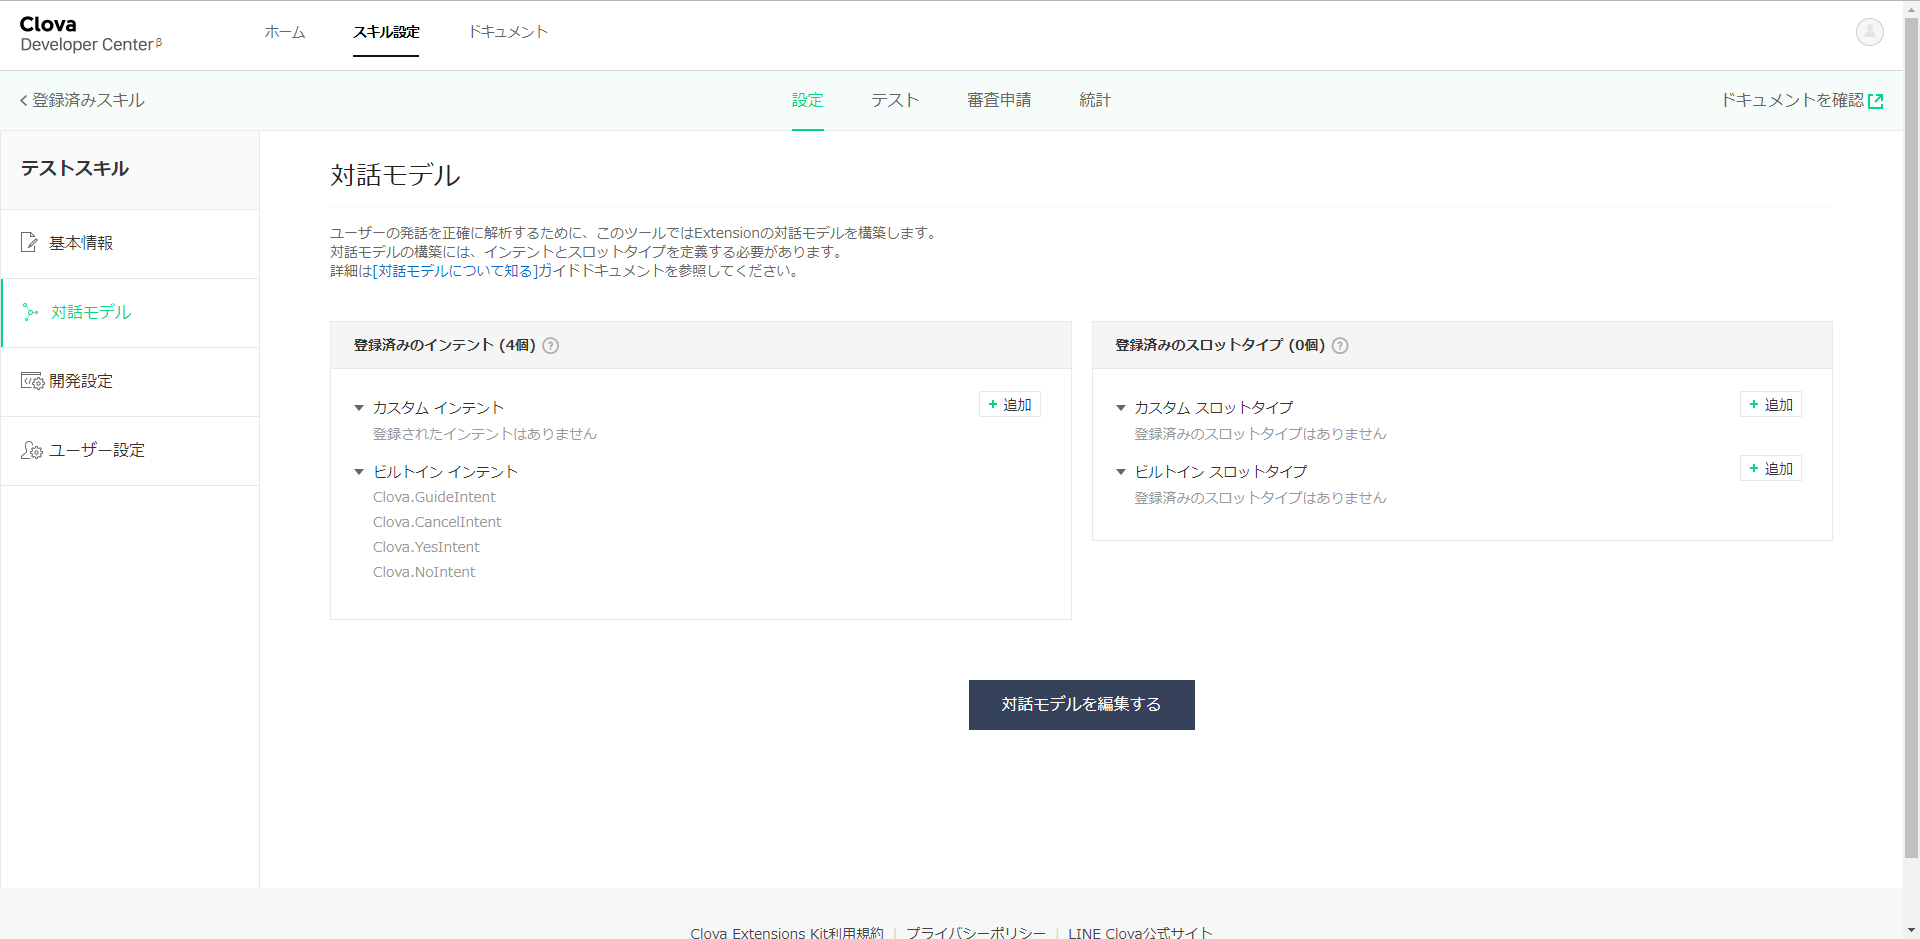
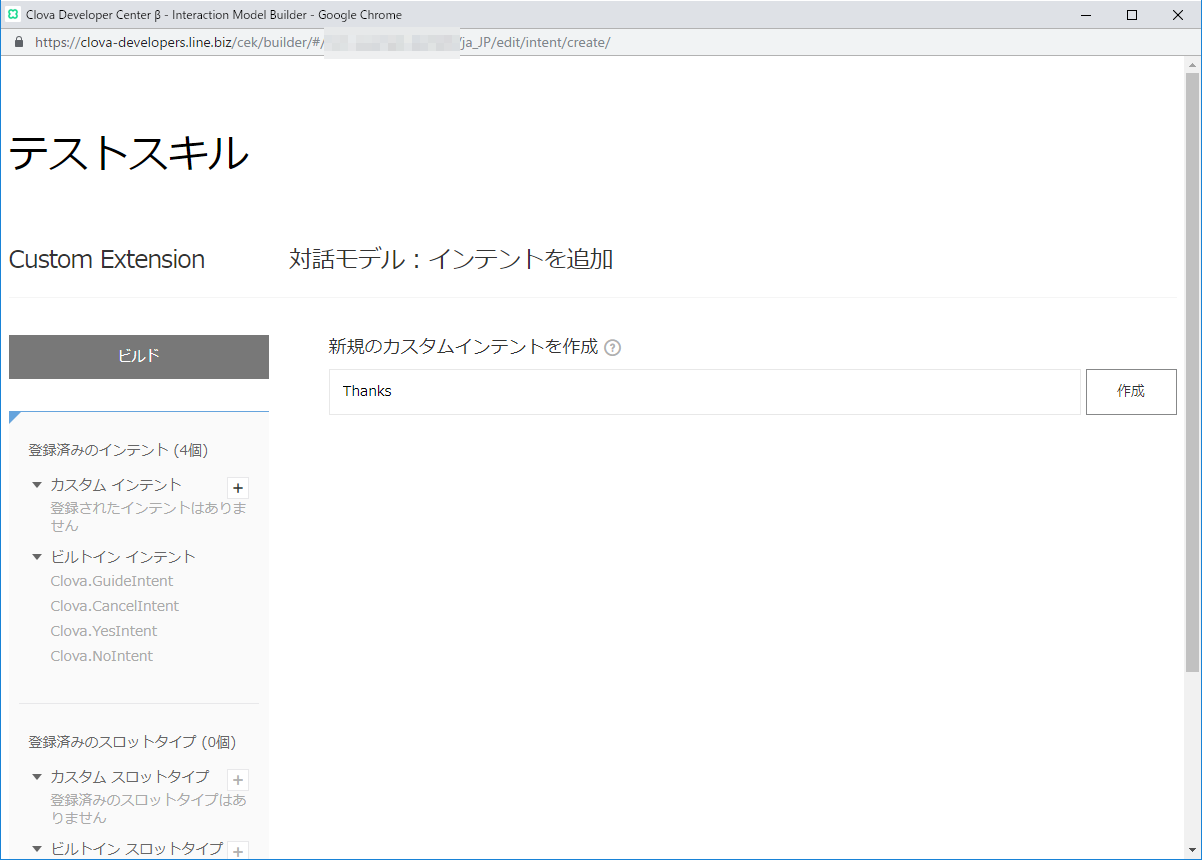
まずは、カスタムインテントを作りましょう。毎度の通り、インテント名を「Thanks」とします。
「ありがとう」というと「どういたしまして」、と返すためです。
サンプル発話に「ありがとう」と入力します。
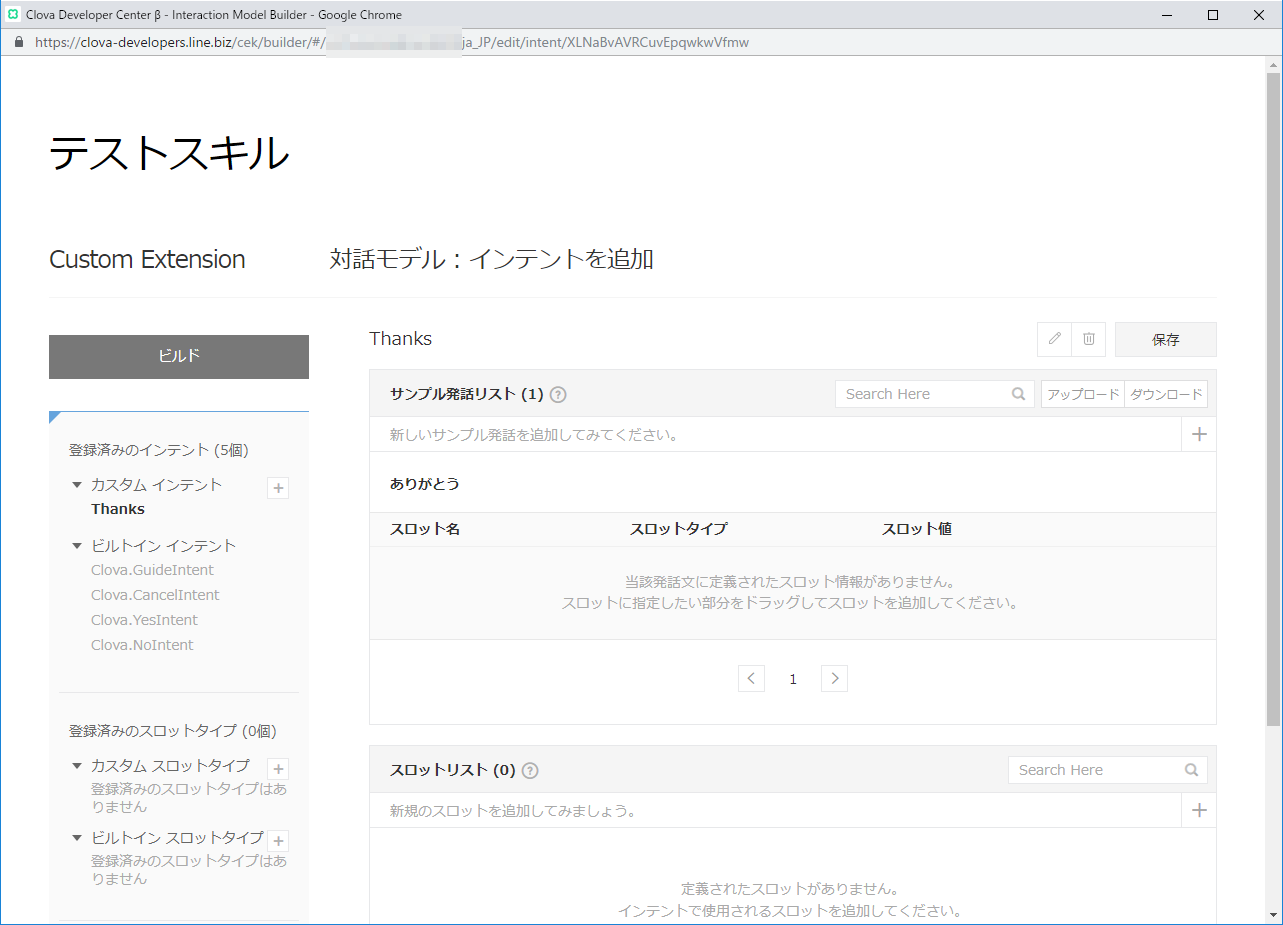
そして、ビルドボタンでビルドを開始しておきます。
完了まで数分かかります。
ローカルのデバッグ環境に転送する。
それでは、受け付けた発話をローカルのデバッグ環境に転送する設定をします。
左側のナビゲータから開発設定を選択します。
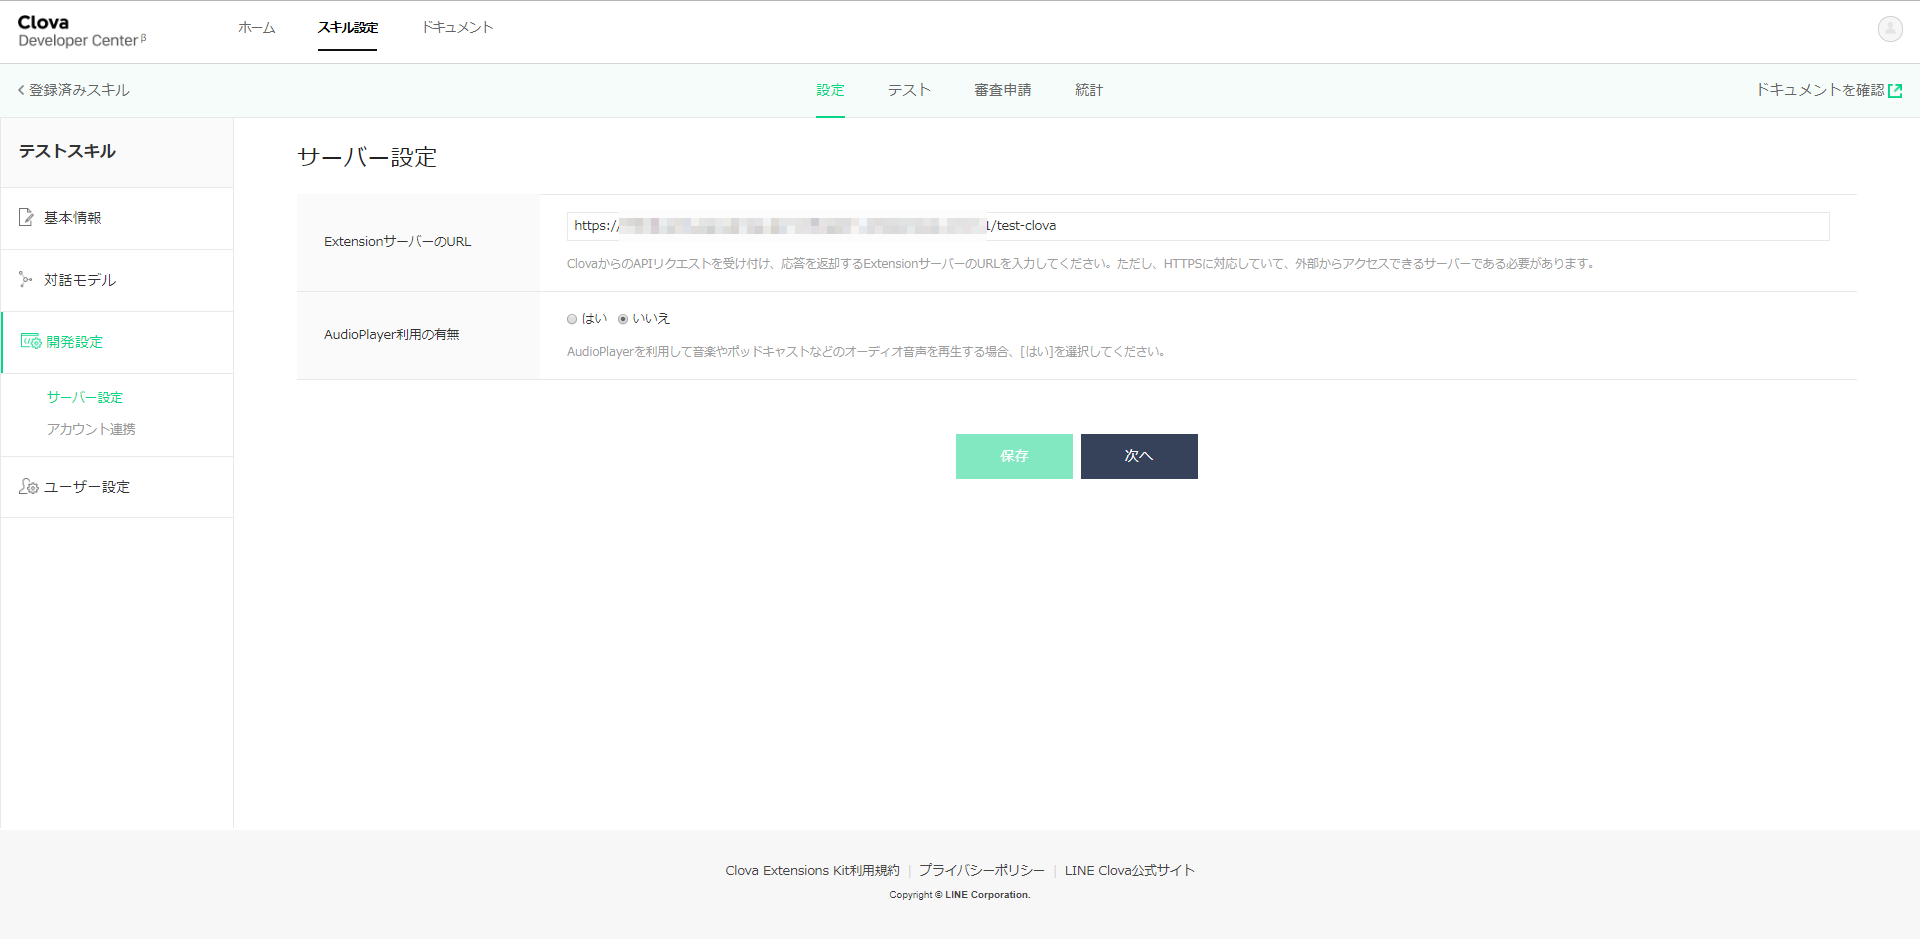
ここで表示される「ExtensionサーバーのURL」に、これから立ち上げるRESTfulサーバのURLを指定します。
そして、保存ボタンを押下しておきます。
ローカルのデバッグ環境を立ち上げる。
それでは、転送を引き受けるデバッグ環境を設定していきます。
Swagger定義ファイルは以下の感じです。
  /test-clova:
    post:
      x-swagger-router-controller: routing
      operationId: test-clova
      parameters:
        - in: body
          name: body
          schema:
            $ref: "#/definitions/CommonRequest"
      responses:
        200:
          description: Success
          schema:
            $ref: "#/definitions/CommonResponse"
実装の場所をrouting.jsに指定するのですが、これまたちょっと違う場所に指定します。Alexaの時と同じところです。
const alexa_table = {
//  "test-alexa" : require('./test_alexa').handler,
//  "test-clova": require('./test-clova').handler,
"test-clova": require('./test-clova').handler,
};
実装には、以下のnpmモジュールを利用しますので、ローカル環境にインストールしておきます。
npm install --save @line/clova-cek-sdk-nodejs
実装はapi/controllers/test-clova/index.jsに置きます。
const clova = require('@line/clova-cek-sdk-nodejs');

const HELPER_BASE = process.env.HELPER_BASE || '../../helpers/';
const ClovaUtils = require( HELPER_BASE + 'clova-utils');
const app = new ClovaUtils(clova);

app.intent('LaunchRequest', async (responseHelper) =>{
    responseHelper.setSimpleSpeech({
        lang: 'ja',
        type: 'PlainText',
        value: 'こんにちは',
    });
});

app.intent('Thanks', async (responseHelper) =>{
    responseHelper.setSimpleSpeech({
        lang: 'ja',
        type: 'PlainText',
        value: 'どういたしまして。',
    });
});

exports.handler = app.lambda();
Dialogflowと同じような書き方ができるように、ヘルパを使っています。
api/helpers/clova-utils.jsに置きます。
'use strict';

class ClovaUtils{
    constructor(clova){
        this.clova = clova;
        this.clovaSkillHandler = clova.Client.configureSkill();
        this.launchHandle = null;
        this.eventHandle = null;
        this.sessionEndedHandle = null;
        this.intentHandles = new Map();

        this.clovaSkillHandler
        .onLaunchRequest(async responseHelper => {
            if( this.launchHandle ){
                console.log('handle: LaunchRequest called');
                return await this.launchHandle(responseHelper);
            }
        })
        .onIntentRequest(async responseHelper => {
            const intent = responseHelper.getIntentName();

            var handle = this.intentHandles.get(intent);
            if( handle ){
                console.log('handle: ' + intent + ' called');
                return await handle(responseHelper);
            }
        })
        .onSessionEndedRequest(async responseHelper => {
            if( this.sessionEndedHandle ){
                console.log('handle: SessionEndedRequest called');
                return await this.sessionEndedHandle(responseHelper);
            }
        })
        .onEventRequest(async responseHelper => {
            if( this.eventHandle ){
                console.log('handle: EventRequest called');
                return await this.eventdHandle(responseHelper);
            }
        });
    }

    intent( matcher, handle ){
        if( matcher == 'LaunchRequest')
            this.launchHandle = handle;
        else if( matcher == 'SessionEndedRequest')
            this.sessionEndedHandle = handle;
        else if( matcher == 'EventRequest')
            this.eventHandle = handle;
        else
            this.intentHandles.set(matcher, handle);
    }

    getAttributes( responseHelper ){
        return responseHelper.getSessionAttributes();
    }

    setAttributes( responseHelper, attributes){
        responseHelper.setSessionAttributes(attributes);
    }

    getSlots( responseHelper ){
        return responseHelper.getSlots();
    }

    handle(){
        return this.clovaSkillHandler.handle();
    }

    lambda(){
        return this.clovaSkillHandler.lambda();
    }
};

module.exports = ClovaUtils;
こんな感じで、インテント名を指定すれば、それに該当する発話を受けて関数が呼ばれます。
app.intent(【インテント名】, async (responseHelper) =>{
関数の中身は、Clovaが提供してくれているSDKの作法に従います。
Clova CEK SDK Nodejs
https://github.com/line/clova-cek-sdk-nodejs
インテント名「LaunchRequest」は、特別なインテントで、***を開いて と言ってスキルを起動させたときに呼ばれるものです。
さあ、起動させましょう。
Clova Developer Centerで接続確認ができます。
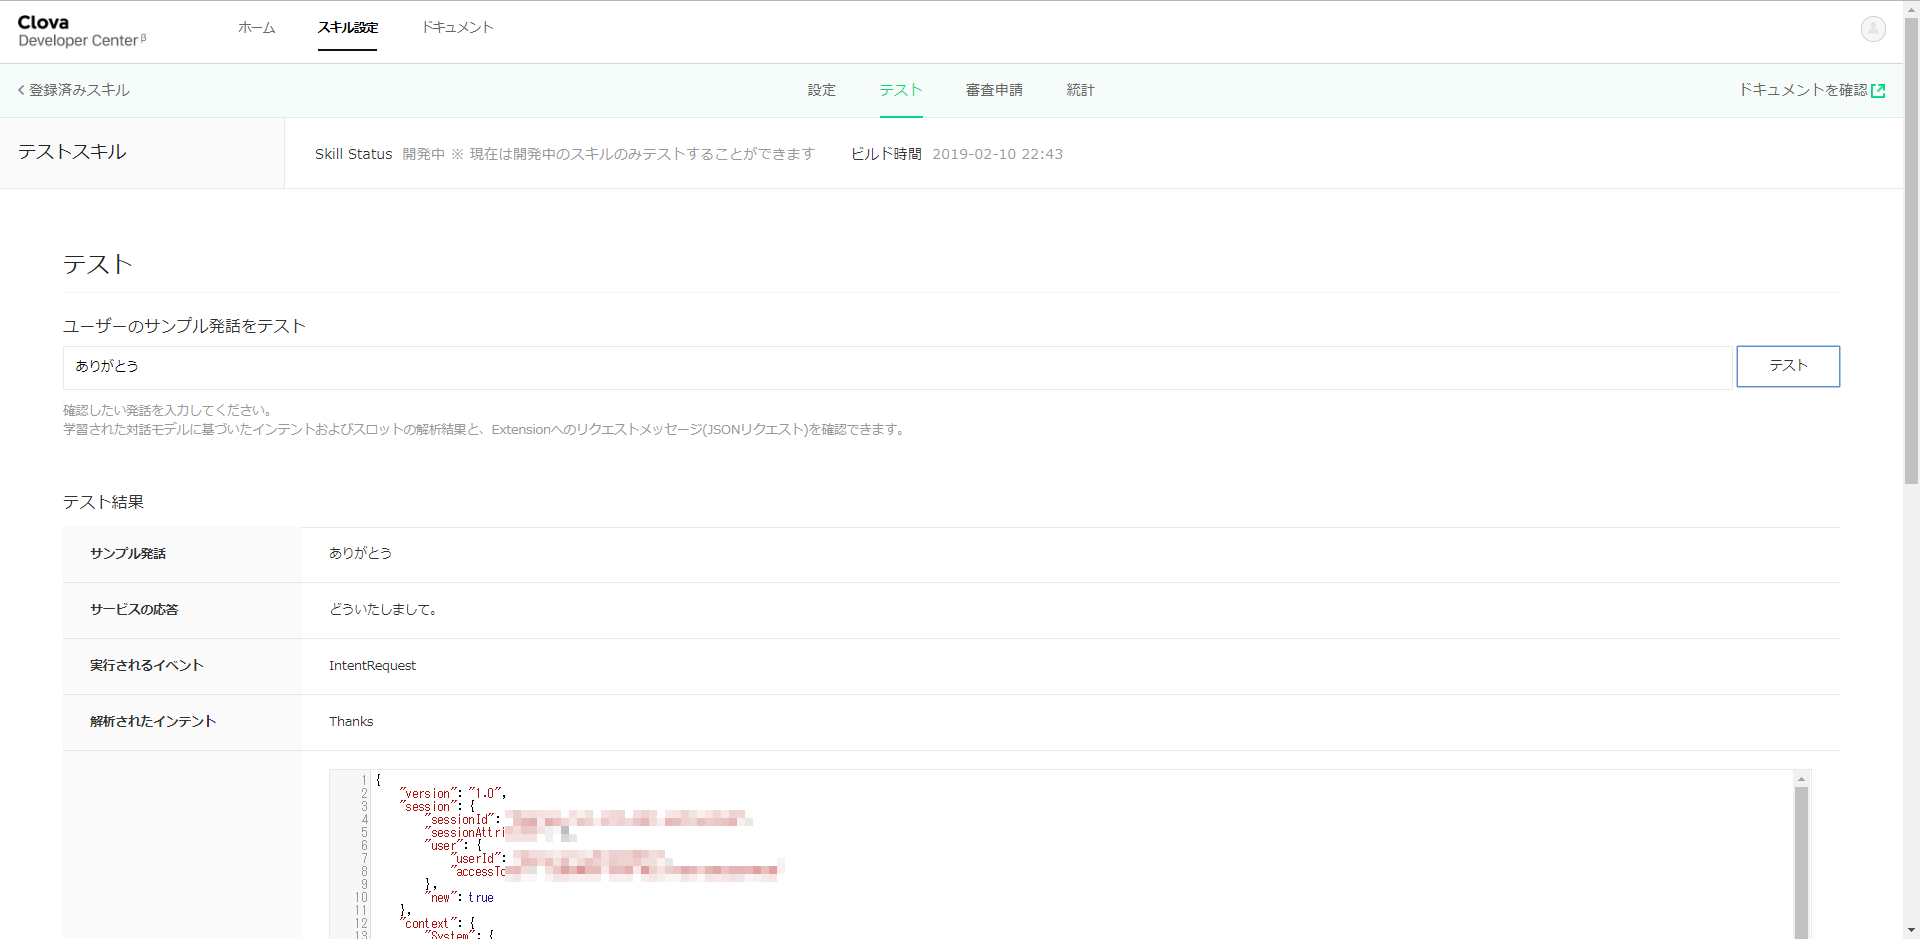
テストタブを選択します。「ユーザのサンプル発話をテスト」のところに、「ありがとう」と入力して、「テスト」ボタンを押してみましょう。
「どういたしまして」が返ってきましたでしょうか?
Clova Friendsでも試してみます。
Clovaに対して、以下を話してみましょう。
→「Clova、テストスキルを開いて」
← 「こんにちは」
→「ありがとう」
← 「どういたしまして」
この通りになりましたでしょうか?
Lambdaに配置する
以下を参考に、アップロードします。
SwaggerでLambdaのデバッグ環境を作る(1)
SwaggerでLambdaのデバッグ環境を作る(3):Dialogflowをデバッグする
SwaggerでLambdaのデバッグ環境を作る(1)の「AWS LambdaにヘルパライブラリのLayerを追加」のあたりからです。
注意点として、clova-utils.jsというヘルパーライブラリを追加していますので、レイヤは更新が必要です。
また、Clova用にnpmモジュールを追加していますので、Lambdaに上げるときに一緒にアップしてください。それについては、SwaggerでLambdaのデバッグ環境を作る(3)の「Lambdaにアップロードする」 のあたりを参考にしてください。
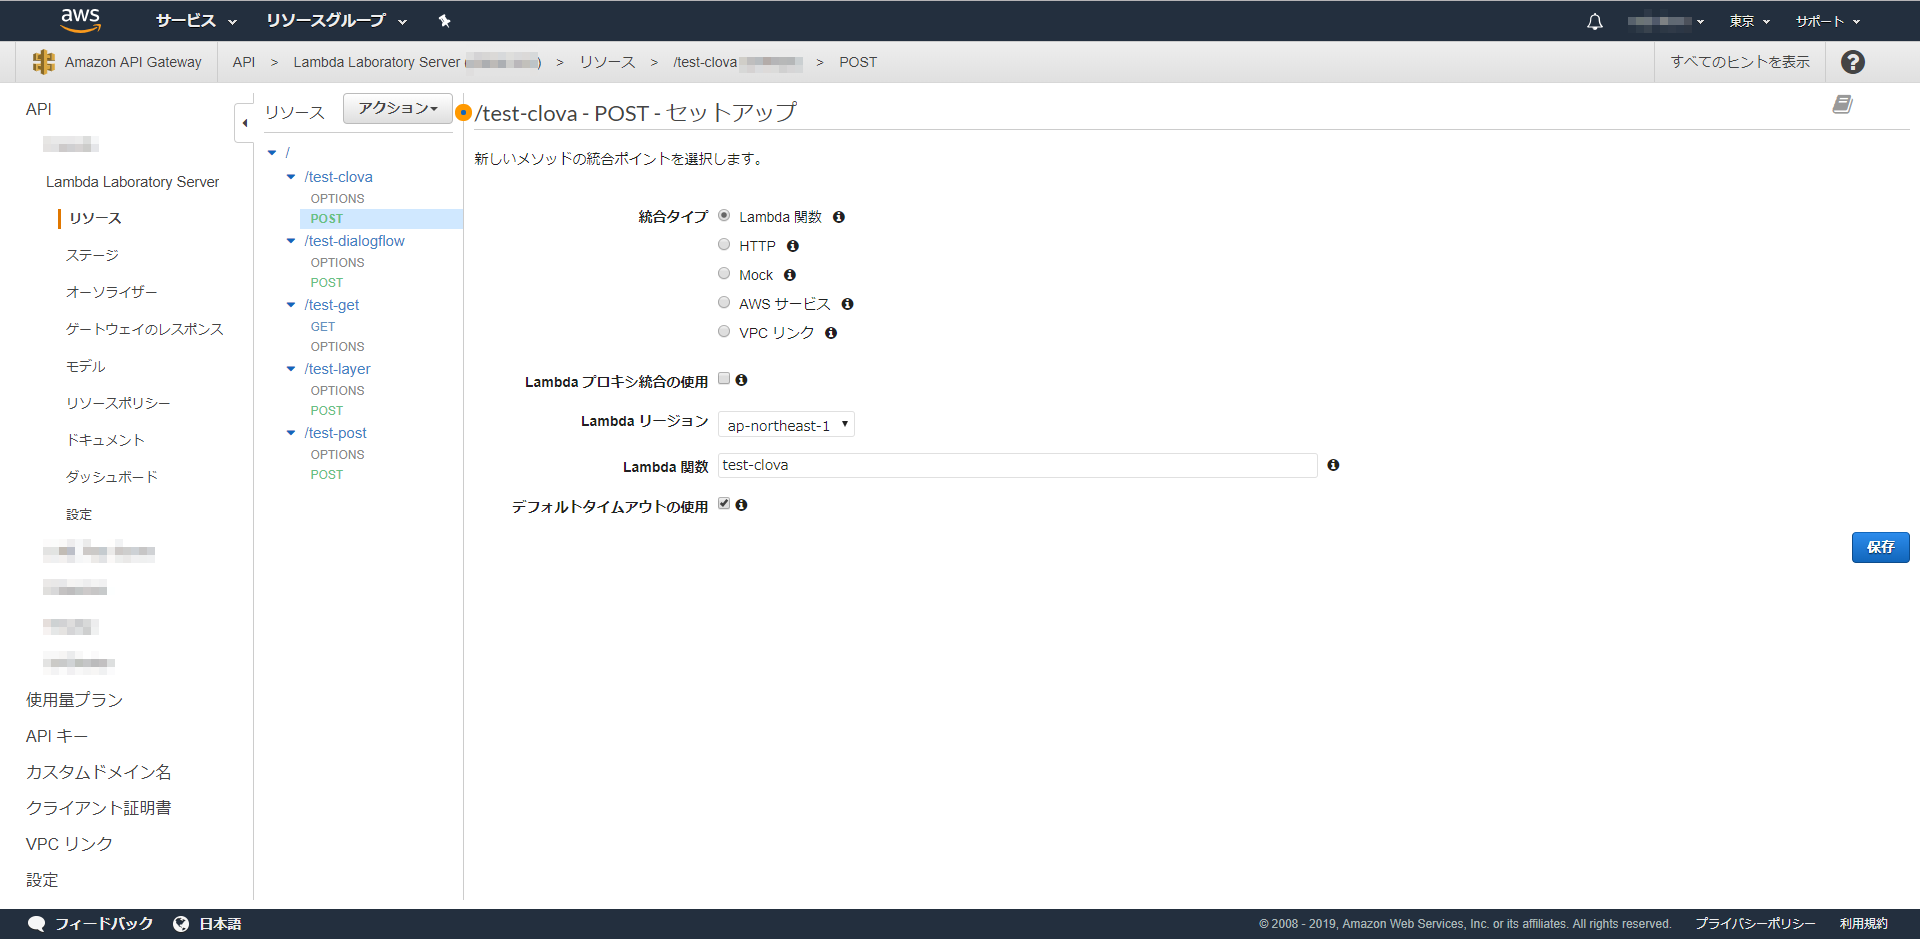
API Gatewayのエンドポイントを作る際に、注意点があります。
「Lambda プロキシ統合の使用」のチェックボックスはOnにしないでください。
以上です。