はじめてNode-REDのノードを作成しました。
今回作ったのは、QiitaのWebページから、投稿数、LGTM数、フォロワー数をスクレイピングするノードです。
最後に、定期的に上記を取得して、Node-REDダッシュボードに表示するところもやってみます。
作成したノードは以下にあります。
poruruba/ node-red-contrib-example-qiita-counter
https://github.com/poruruba/node-red-contrib-example-qiita-counter
Node-REDのセットアップ
以下を実行します。
$ npm install node-red -g
$ cd ~/.node-red
$ node-red
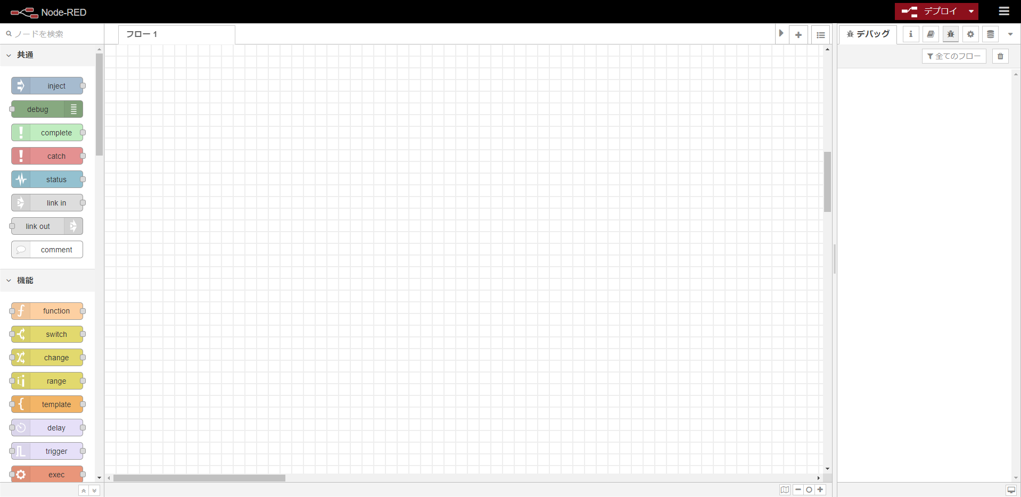
これで、ポート番号1880で立ち上がりますので、ブラウザから以下のように入力してください。
デフォルトで、実行ユーザのホームディレクトリにある .node-redというフォルダに設定された内容をもとに起動します。
Node-REDノードの作成
以下を参考にすれば、苦も無く作成できます。
はじめてのノード開発
https://nodered.jp/docs/creating-nodes/first-node
これから、qiita-counterという名前のノードを作成していきます。
別の名前のノードを作成する場合は、以降で作成するファイル名やファイルの中身で出てくるqiita-counterという単語を置換すればよいかと思います。
$ mkdir node-red-contrib-example-qiita-counter
$ cd node-red-contrib-example-qiita-counter
$ npm init -y
必ず必要なファイルは以下の通りです。
・package.json
・qiita-counter.js
・qiita-counter.html
まず、package.jsonから
{
    "name": "node-red-contrib-example-qiita-counter",
    "version": "1.0.0",
    "description": "A simple node that retrieve qiita user's Items, Contributions, Followers.",
    "main": "qiita-counter.js",
    "scripts": {
        "test": "echo \"Error: no test specified\" && exit 1"
    },
    "keywords": [],
    "node-red": {
        "nodes": {
            "qiita-counter": "qiita-counter.js"
        }
    }
}
大事なのは、node-red の部分です。この記載が必要です。
次に、qiita-counter.htmlです。
<script type="text/javascript">
    RED.nodes.registerType('qiita-counter',{
        category: 'function',
        color: '#a6bbcf',
        defaults: {
            name: {value:""},
            userid: {value:""}
        },
        inputs:1,
        outputs:1,
        icon: "file.png",
        label: function() {
            return this.name || "qiita-counter";
        }
    });
</script>

<script type="text/html" data-template-name="qiita-counter">
    <div class="form-row">
        <label for="node-input-name"><i class="icon-tag"></i> Name</label>
        <input type="text" id="node-input-name" placeholder="Name">
    </div>
    <div class="form-row">
        <label for="node-input-userid"><i class="icon-tag"></i> Default UserId</label>
        <input type="text" id="node-input-userid" placeholder="UserId">
    </div>
</script>

<script type="text/html" data-help-name="qiita-counter">
    <p>A simple node that retrieve qiita user's Items, Contributions, Followers.</p>
</script>
defaults は、Node-REDのWebコンソールで、このノードの情報ダイアログで設定できるようにするプロパティの名前とデフォルト値です。
nameに加えて、useridというプロパティを足しています。
data-template-name="qiita-counter" のエレメントは、情報ダイアログでプロパティの設定を受け付けるためのものです。
data-help-name="qiita-counter" のエレメントは、各所でツールチップされるヘルプの内容です。
最後が、qiita-counter.jsです。
const cheerio = require('cheerio');
const fetch = require('node-fetch');

module.exports = function(RED) {
    function QiitaCounterNode(config) {
        RED.nodes.createNode(this, config);
        var node = this;
        node.on('input', async (msg, send, done) => {
            try{
                const UserId = msg.payload || config.userid;
                const text = await do_get('https://qiita.com/' + UserId);
	            const $ = cheerio.load(text);
	            const description = $("meta[name='description']").attr("content");
                const description_list = description.split(' ');
                if( description_list.length < 6 )
                    throw 'get error';

                msg.payload = {
                    UserId: UserId,
                    Items: parseInt(description_list[1]),
                    Contributions: parseInt(description_list[3]),
                    Followers: parseInt(description_list[5]),
                    create_at: new Date().getTime()
                };
                send(msg);
            }catch(error){
                done(error);
            };
        });
    }
    RED.nodes.registerType("qiita-counter", QiitaCounterNode);
}

function do_get(url) {
  return fetch(url, {
      method: 'GET',
    })
    .then((response) => {
      if (!response.ok)
        throw 'status is not 200';
      return response.text();
    });
}
Qiitaの情報の抽出は、QiitaユーザのWebページにmeta情報として投稿数・LGTM数・フォロワー数があるので、それをスクレイピングしています。
スクレイピングには、npmモジュールのcheerioを使っています。また、Webページ取得にnode-fetchを使っています。
ですので、以下を実行しておきます。そうすることで、package.jsonのdependenciesが追記されます。
$ npm install cheerio
$ npm install node-fetch
詳細は以下をご参照ください。
Qiitaの自分の投稿にLGTMが付いたら通知してもらう
誰のQiitaユーザの情報を取得するかは以下で決めています。
const UserId = msg.payload || config.userid;
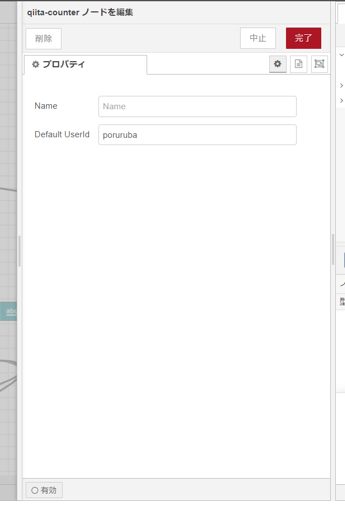
msg.payloadに文字列があれば、それをQiitaユーザ名とみなします。もし、空文字だった場合は、config.userid をQiitaユーザ名とみなします。後者は、Node-REDのWebコンソールにおいて、このノードの情報ダイアログで指定できます。
Qiitaからスクレイピングが成功すると、以下の内容が以降のノードに渡されます。
msg.payload = {
 UserId: 【Qiitaユーザ名】,
 Items: 【投稿数】,
 Contributions: 【LGTM数】,
 Followers: 【フォロワー数】,
 create_at: 【取得日時】
};
これで準備ができました。
このノードを組み込みます。
cd ~/.node-red
npm link /home/XXXX/node-red-contrib-example-qiita-counter
installではなくlinkとしているのは、開発中のため実体を.node-redに置かず、リンクとして組み込むためです。
リンクで組み込んだため、もともとのファイル(qiita-counter.jsやqiita-counter.html)を修正しても、node-redの再起動だけで反映されます。
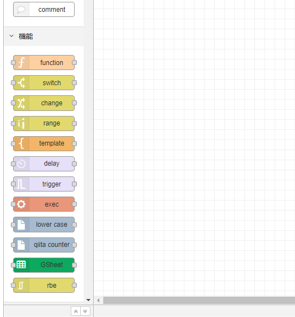
node-redを再起動すると、qiita-counterというノードが増えているのがわかります。
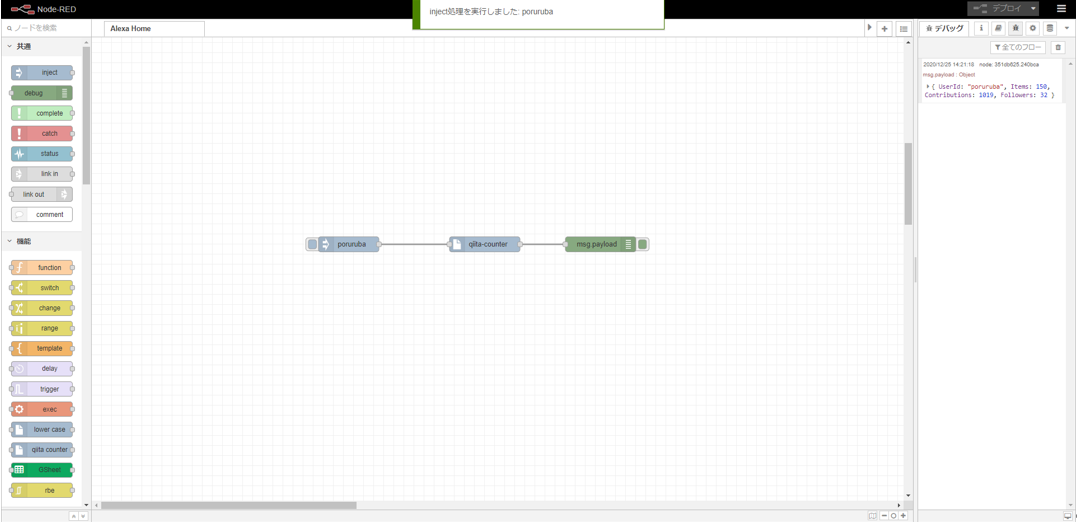
あとは、inject、qiita-counter、debugをつなげれば、動作は確認できます。
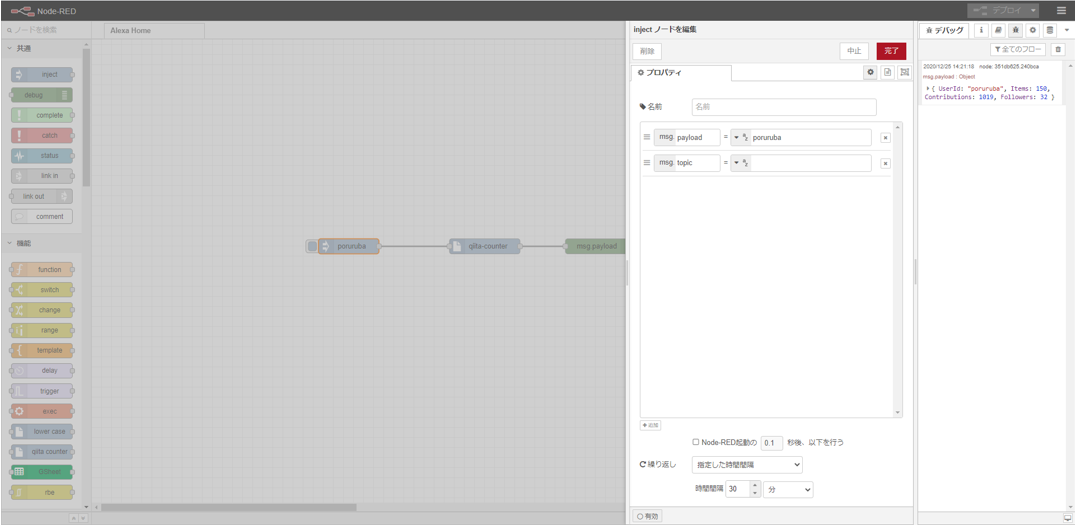
Qiitaユーザ名は、injectの情報ダイアログでpayloadに指定するのでも良いですし、qiita-counterの情報ダイアログで、Default UserIdとして指定するのでも良いです。(ちなみに、injectそのままですと、payloadとして時刻が入っており、Qiitaユーザ名とみなしてしまいますので、変更しておきます。)
右上のデプロイボタンを押してから、injectノードのボタンを押してください。
GitHubからノードインストール
もし、上記ファイルの作成が面倒であれば、GitHubに登録済みですので、以下のように実行すれば、このノードが組み込まれます。
$ cd ~/.node-red
$ npm install https://github.com/poruruba/node-red-contrib-example-qiita-counter.git
定期的に取得してダッシュボードに表示
定期的な実行には、injectノードの繰り返し機能を使います。
以下の設定では、30分ごとに実行するようにしています。
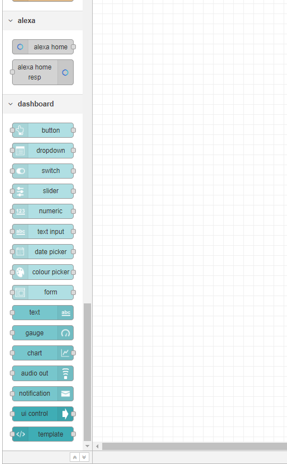
ダッシュボードは、以下のノードを追加します。
node-red-dashboard
右上のメニュー→パレットの管理 から追加します。
追加すると、複数のノードが追加されます。
このうち、textノードを使います。投稿数・LGTM数・フォロワー数 の3つを使います。
適当なグループを作り、名前を例えば「ダッシュボード」としておきます。
そこにタブを作り、名前を例えば「Qiita」とでもしておきます。
あとは、以下のように、textノードを設定しておきます。
Label:投稿数
Value format:{{msg.payload.Items}}

Label:LGTM数
Value format:{{msg.payload.Contributions}}

Label:フォロワー数
Value format:{{msg.payload.Followers}}
最後に、右上からデプロイし、1度だけ、injectのボタンを押します。あとは、30分ごとに自動的に更新されます。
ダッシュボードは以下のURLから開けます。
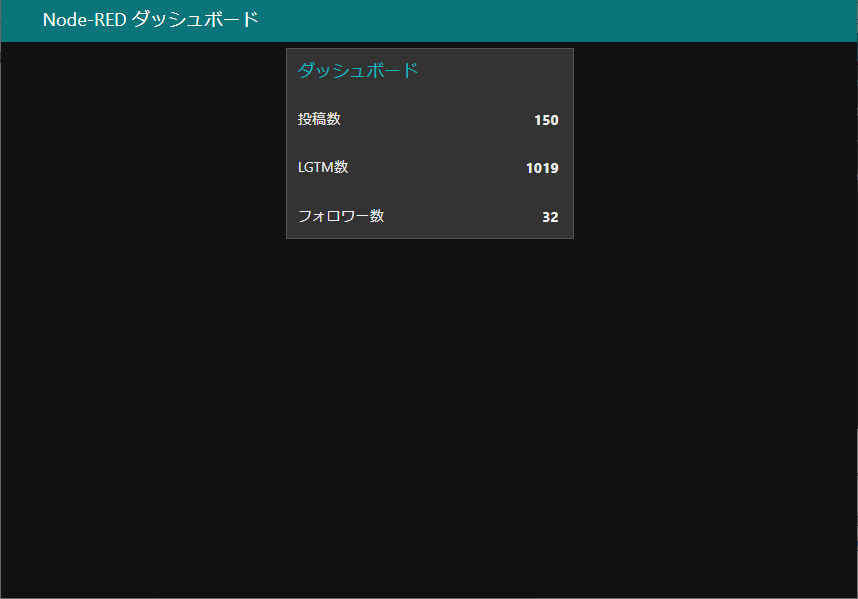
こんな感じで、表示されました!
以上
