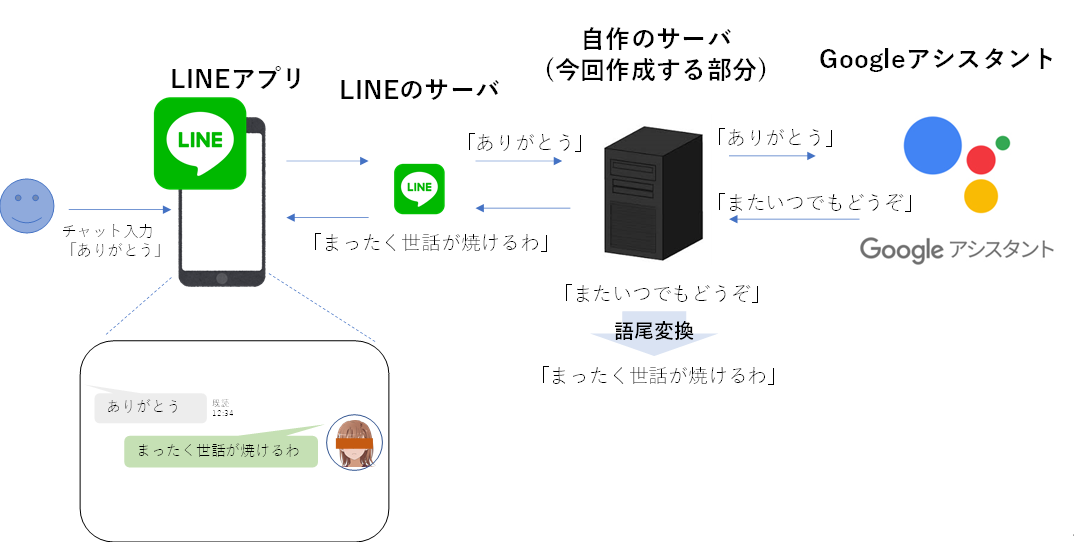
何か「OK、Google」したいときに、Googleアシスタントを立ち上げるのも寂しいし、ロボットから味気ない応答をもらっても寂しい。。。
Googleアシスタントは、テキスト入力してテキストで応答をもらえるのでその機能を使うこととし、さらに応答をツンデレっぽく語尾変換してみました。
LINEアプリのフレンドから応答が来れば、より本物感が出てきます。
構成はこんな感じです。
毎度の通り、GitHubに上げておきます。
poruruba/Chatbot_Tsundere
https://github.com/poruruba/Chatbot_Tsundere
GoogleアシスタントAPIを有効にする
こちらを参考に進めます。
googlesamples/assistant-sdk-nodejs
https://github.com/googlesamples/assistant-sdk-nodejs
※大変参考になったgoogleassistant.jsがあります。これをもとにカスタマイズ済みのため使わなくても大丈夫です。
actions-on-google/actionis-on-google-testing-nodejs
https://github.com/actions-on-google/actions-on-google-testing-nodejs
※便利なファイルgenerate-credentials.jsを使うだけです。
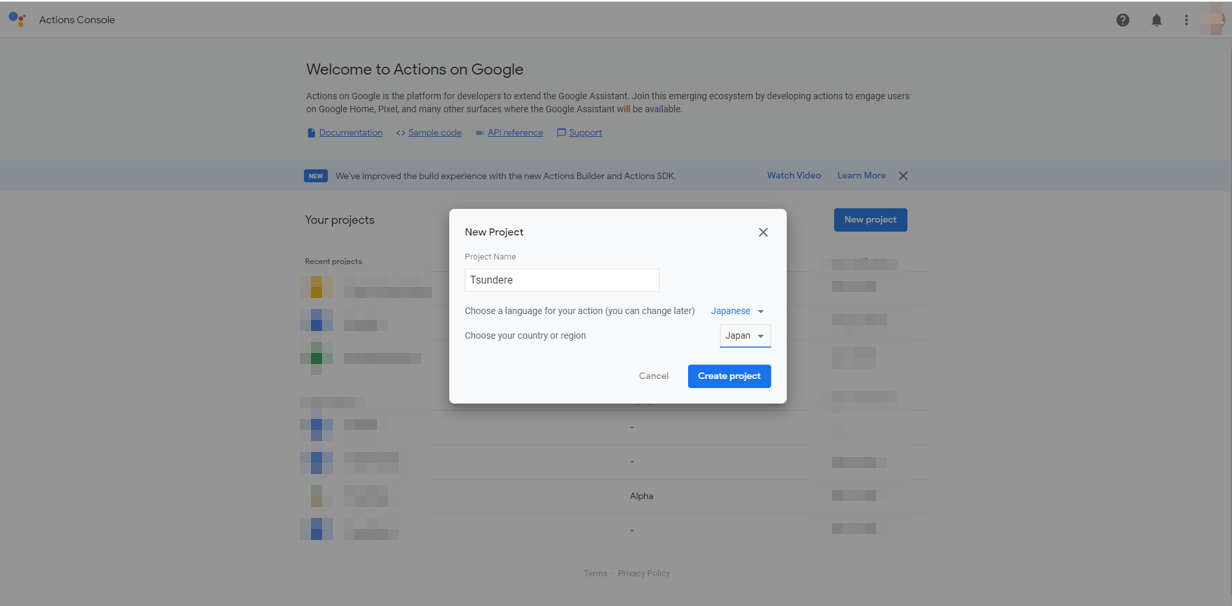
まずは、GoogleのActions Consoleから、プロジェクトを作成します。
Actions Console
https://console.actions.google.com/
Project Nameは適当に、「Tsundere」とでもしておきます。
LanguageはJapanese、CountryはJapanにします。
Create Projectボタンを押下します。
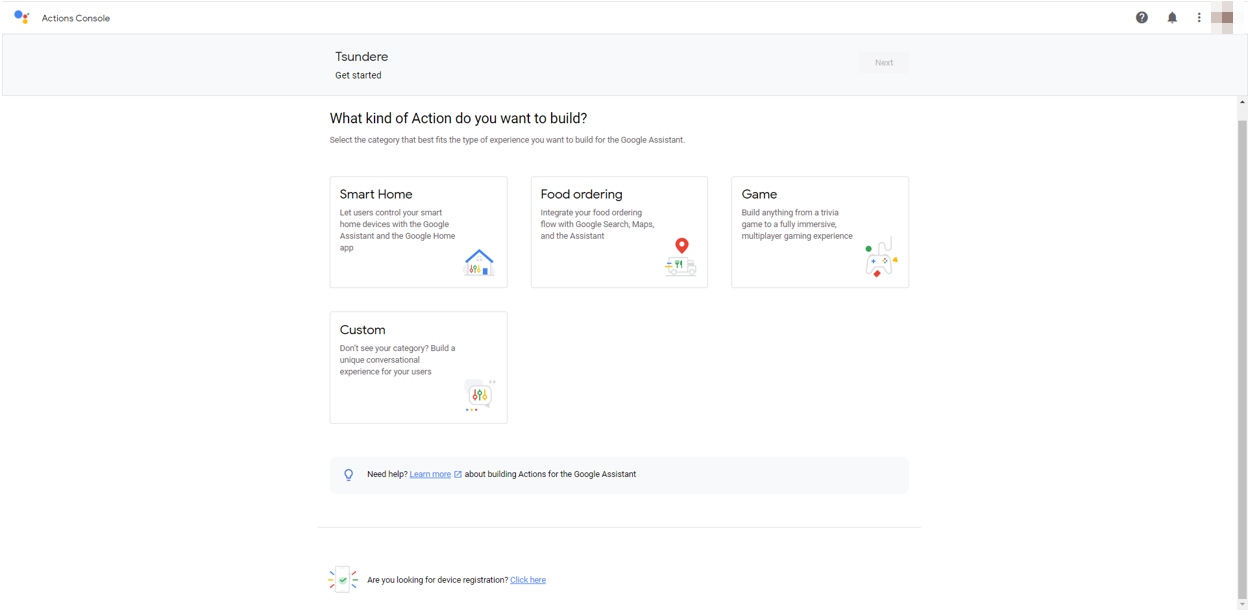
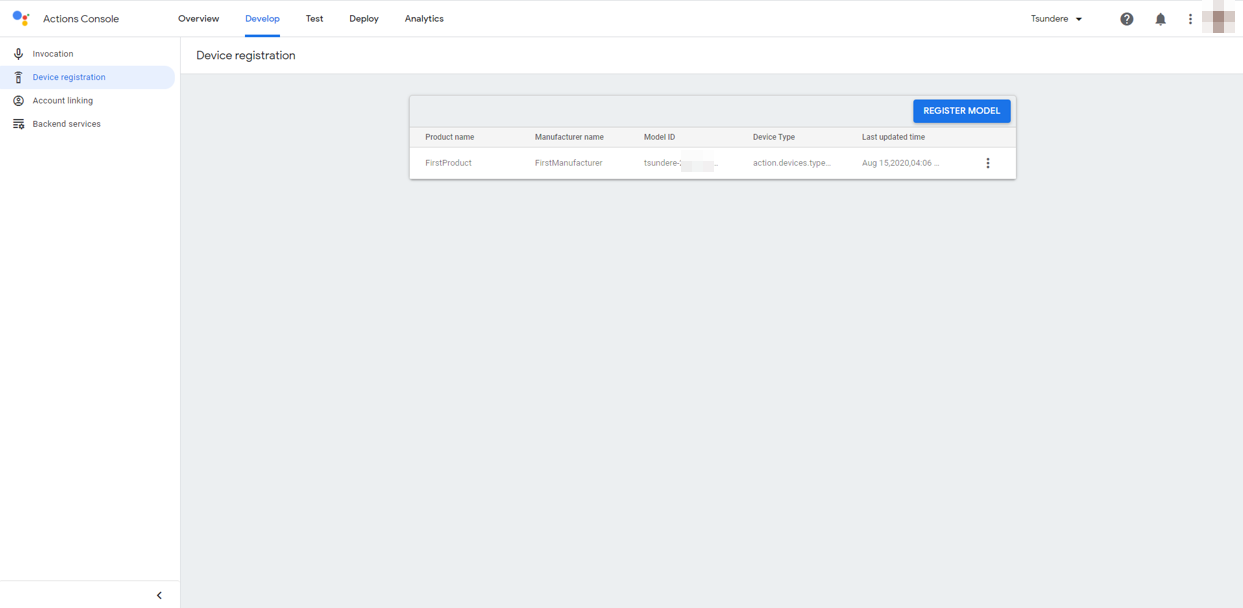
次の画面が間違いやすいのですが、一番下に、「Are you looking for device registration? Click here」となっているので、Click hereをクリックします。
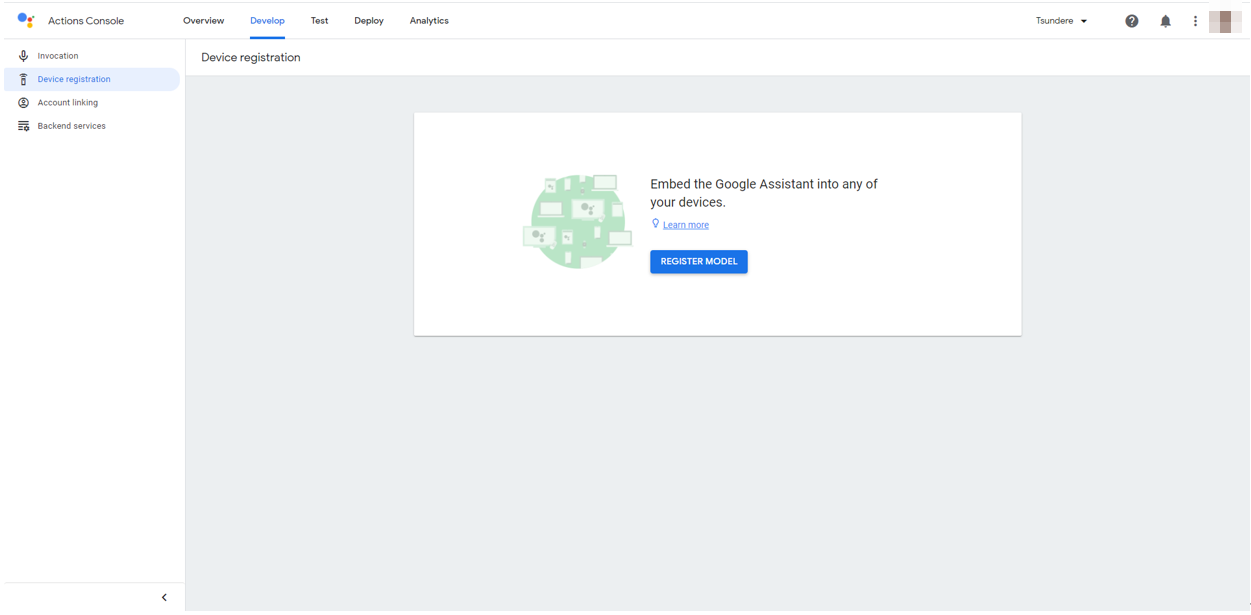
「Register Model」ボタンを押下します。
適当に入力しましょう。何でもいいです。
Product name:FirstProduct
Manufacturer name:FirstManufactuerer
Device type:Speaker
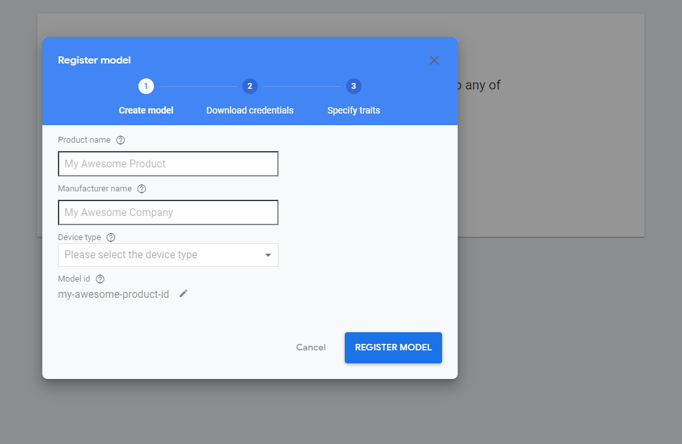
Download OAuth 2.0 credentials ボタンを押下して、JSONファイルを取得します。Nextボタンを押下します。JSONファイルはクレデンシャルファイルであり、後で使います。credentials.jsonという名前に変えておきます。

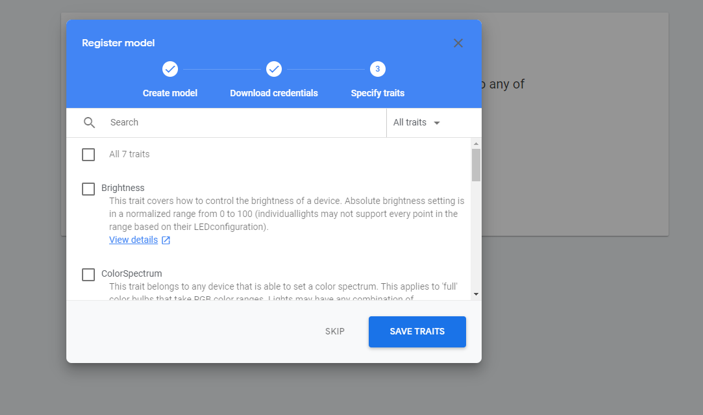
適当に、All 7 traitsを選択しておきます。Save Traitsボタンを押下します。
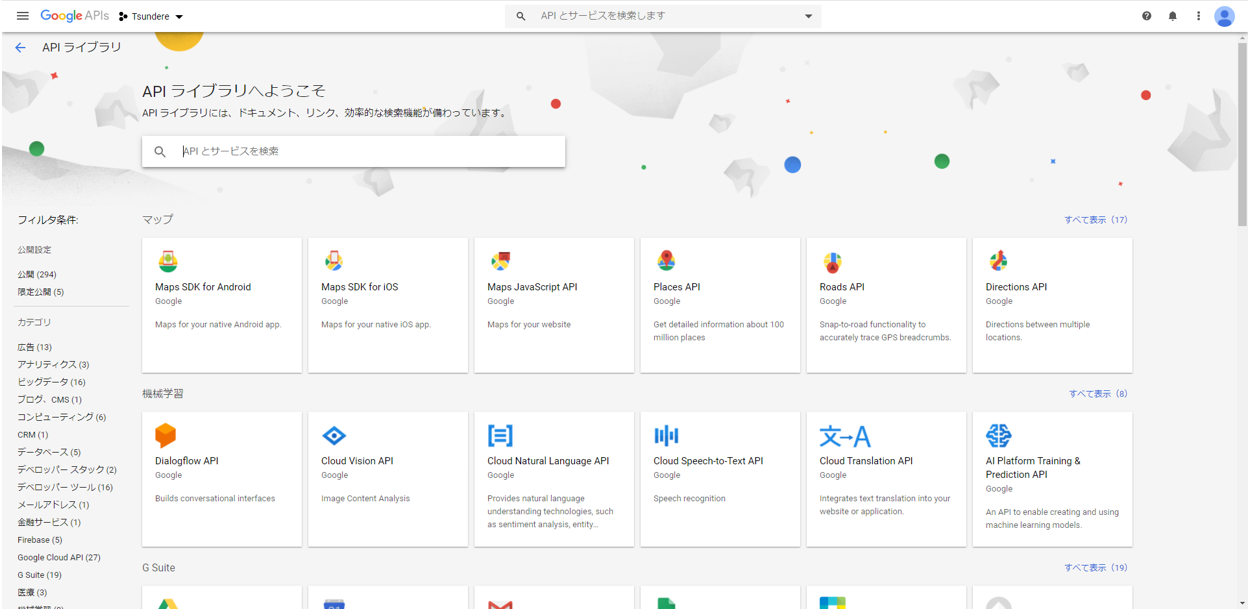
次に、Google Developer Consoleから、「Google Assistant API」を有効化します。
Google Developer Console
https://console.developers.google.com/apis/dashboard
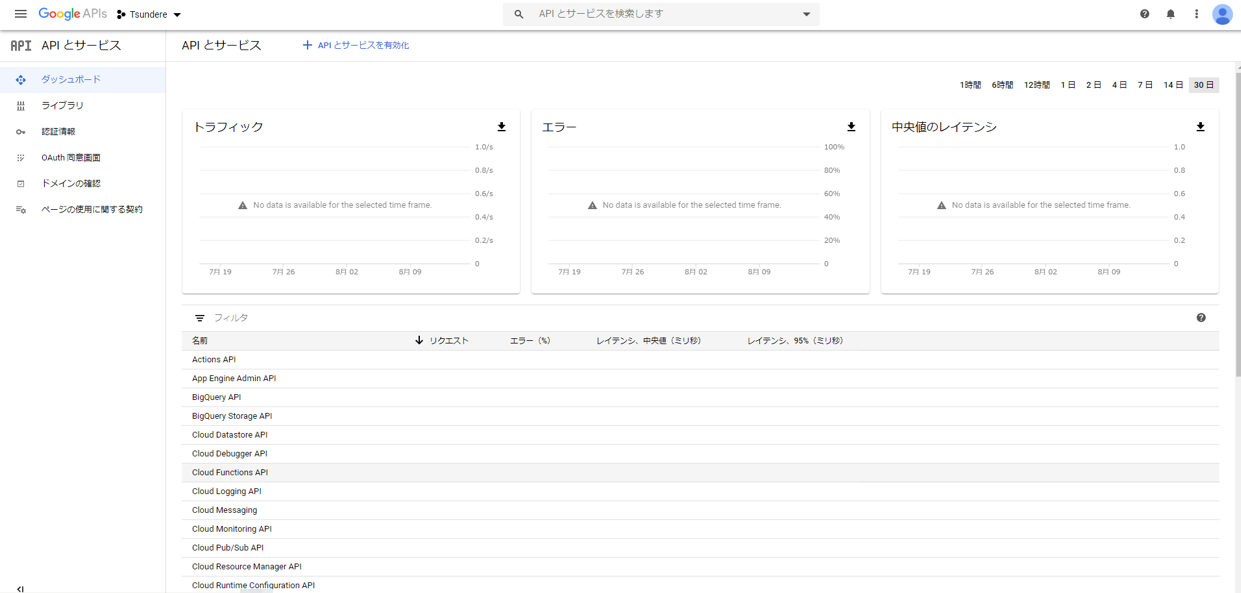
+APIとサービスを有効化 をクリック
検索にAssistantを入力して、Google Assistant APIを選択
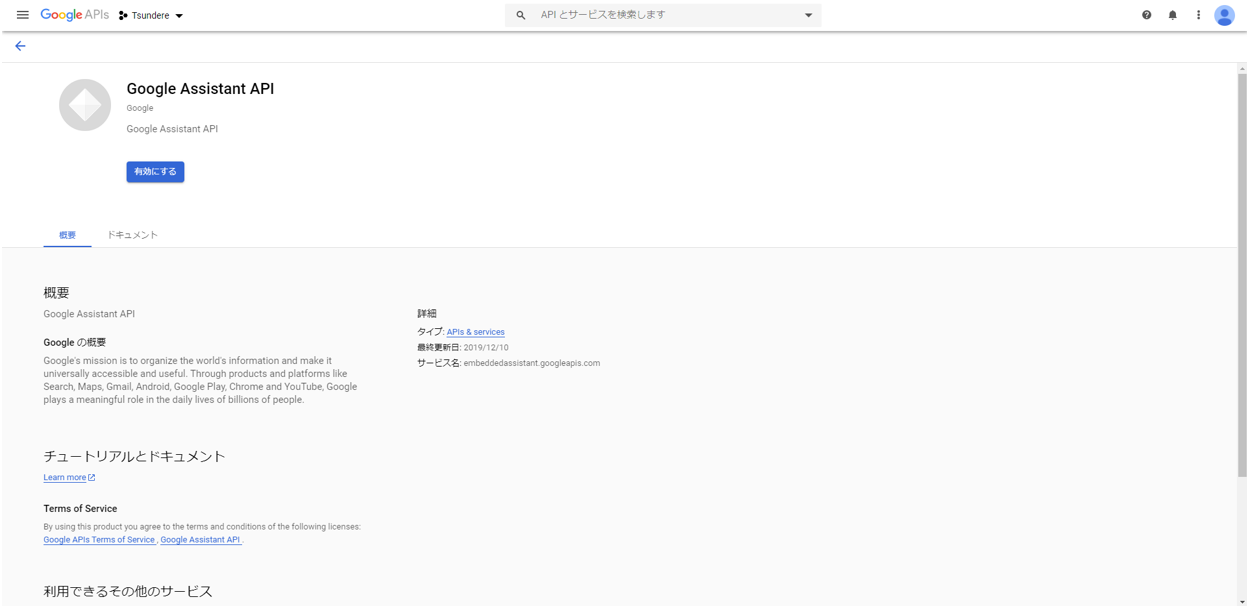
有効にする ボタンを押下します。これでOKです。
デバイスクレデンシャルファイルの作成
*****
(追記:2022/3/22)
・Google APIの仕様が少々変わったようで、以降の操作をするためには、事前に以下の設定が必要のようです。
Google Developer Consoleにおいて、
OAuth同意画面
・公開ステータス:テスト
・ユーザの種類:外部
・テストユーザ:以降でログインするユーザのメールアドレスを追加
****
actions-on-google/actionis-on-google-testing-nodejs からZIPをダウンロードしたファイルの中にある有用なJSファイルを使います。
$ unzip actions-on-google-testing-nodejs-master.zip
$ cd actions-on-google-testing-nodejs-master
$ npm install
さきほどダウンロードしたcredentials.jsonを同じフォルダにコピーし、以下を実行します。
$ node generate-credentials.js credentials.json
途中で、URLが表示されますので、コピーペースとしてブラウザから開きます。
さきほどプロジェクトを作成したときのGoogleアカウントでログインすると、許可を求められますので、許可します。そうすると、認可コードのような文字列が表示されます。それをコピーします。
nodeを実行したコマンドラインに戻って、さきほどの認可コードのようなものをペーストします。
そうすると、test-credentials.jsonというファイルが出来上がります。次に使うときのために、devicecredentials.jsonと名前を変えておきます。
Googleアシスタントをローカル実行できるか試してみる
まずは、nodeでローカル実行できるか試してみましょう。
$ mkdir assistant_test
$ cd assistant_test
$ npm init -y
$ npm install google-auth-library google-proto-files grpc
さきほど生成したdevicecredentials.jsonを同じフォルダにコピーしておきます。
vi index.js
'use strict';

const GoogleAssistant = require('./googleassistant');
const deviceCredentials = require('./devicecredentials.json');

const CREDENTIALS = {
  client_id: deviceCredentials.client_id,
  client_secret: deviceCredentials.client_secret,
  refresh_token: deviceCredentials.refresh_token,
  type: "authorized_user"
};

const assistant = new GoogleAssistant(CREDENTIALS);

assistant.assist("ありがとう")
    .then(({ text }) => {
        console.log(text); // Will log the answer
    })
    .catch(error =>{
    	console.error(error);
    });
ユーティリティである googleassistant.jsは以下です。
使用しているライブラリのバージョンが新しいと動かないところがあったので直しておきました。grpcもDeprecatedのようですが、とりあえず動いているのでそのままにしています。
'use strict';

const path = require('path');
const grpc = require('grpc');
const protoFiles = require('google-proto-files');
const { GoogleAuth, UserRefreshClient } = require('google-auth-library');

const PROTO_ROOT_DIR = protoFiles.getProtoPath('..');
const embedded_assistant_pb = grpc.load({
    root: PROTO_ROOT_DIR,
    file: path.relative(PROTO_ROOT_DIR, protoFiles.embeddedAssistant.v1alpha2)
}).google.assistant.embedded.v1alpha2;

class GoogleAssistant {
    constructor(credentials) {
        GoogleAssistant.prototype.endpoint_ = "embeddedassistant.googleapis.com";
        this.client = this.createClient_(credentials);
        this.locale = "ja-JP";
        this.deviceModelId = 'default';
        this.deviceInstanceId = 'default';
    }
    createClient_(credentials) {
        const sslCreds = grpc.credentials.createSsl();
        // https://github.com/google/google-auth-library-nodejs/blob/master/ts/lib/auth/refreshclient.ts
        const auth = new GoogleAuth();
        const refresh = new UserRefreshClient();
        refresh.fromJSON(credentials, function (res) { });
        const callCreds = grpc.credentials.createFromGoogleCredential(refresh);
        const combinedCreds = grpc.credentials.combineChannelCredentials(sslCreds, callCreds);
        const client = new embedded_assistant_pb.EmbeddedAssistant(this.endpoint_, combinedCreds);
        return client;
    }

    assist(input) {
        const config = new embedded_assistant_pb.AssistConfig();
        config.setTextQuery(input);
        config.setAudioOutConfig(new embedded_assistant_pb.AudioOutConfig());
        config.getAudioOutConfig().setEncoding(1);
        config.getAudioOutConfig().setSampleRateHertz(16000);
        config.getAudioOutConfig().setVolumePercentage(100);
        config.setDialogStateIn(new embedded_assistant_pb.DialogStateIn());
        config.setDeviceConfig(new embedded_assistant_pb.DeviceConfig());
        config.getDialogStateIn().setLanguageCode(this.locale);
        config.getDeviceConfig().setDeviceId(this.deviceInstanceId);
        config.getDeviceConfig().setDeviceModelId(this.deviceModelId);
        const request = new embedded_assistant_pb.AssistRequest();
        request.setConfig(config);

        delete request.audio_in;
        const conversation = this.client.assist();
        return new Promise((resolve, reject) => {
            let response = { input: input };
            conversation.on('data', (data) => {
                if (data.device_action) {
                    response.deviceAction = JSON.parse(data.device_action.device_request_json);
                } else if (data.dialog_state_out !== null && data.dialog_state_out.supplemental_display_text) {
                    response.text = data.dialog_state_out.supplemental_display_text;
                }
            });
            conversation.on('end', (error) => {
                // Response ended, resolve with the whole response.
                resolve(response);
            });
            conversation.on('error', (error) => {
                reject(error);
            });
            conversation.write(request);
            conversation.end();
        });
    }
}

module.exports = GoogleAssistant;
以下、実行してみましょう。以下の感じです。
$ node index.js
(node:31667) DeprecationWarning: grpc.load: Use the @grpc/proto-loader module with grpc.loadPackageDefinition instead
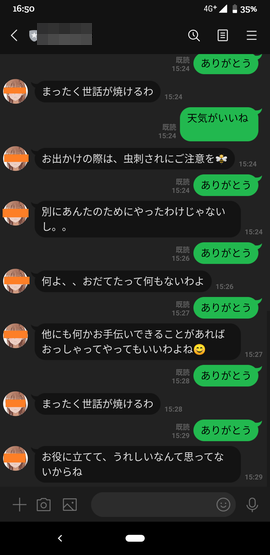
他にも何かお手伝いできることがあればおっしゃってくださいね?
LINEボットの登録
LINE Developer Consoleからボットを登録します。
LINE Developer Console
https://developers.line.biz/console/
英語表記になっている場合は、右下の選択から日本語を選択してください。
プロバイダをまだ作成していなければ作成し、すでに作成済みであれば、それを選択します。
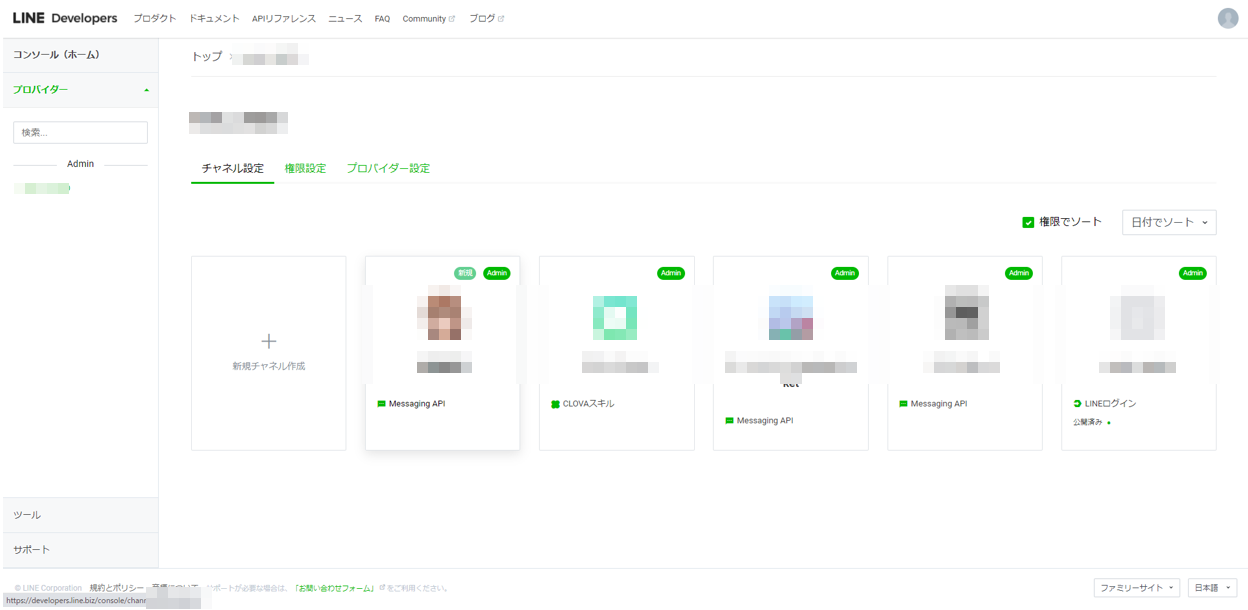
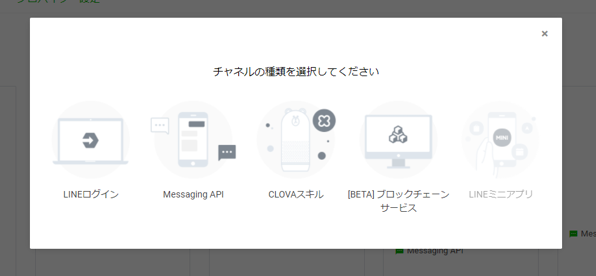
「+新規チャネル作成」をクリックします。
ボットは、Messaging APIです。
チャネルアイコン、チャネル名、チャネル説明、大業種、小業種、メールアドレスを入力してください。
チャネルアイコンが一番大事です。これで、見た目の印象がガラッと変わります!
次に、チャネル基本設定にある「チャネルシークレット」をメモっておきます。
次に、Messaging API設定で、チャネルアクセストークン(長期)において、発行ボタンを押下して、秘匿の文字列を生成しておきます。これも後で使います。
LINE公式アカウント機能において、応答メッセージがありますが、これは無効にしておきます。
さらに、Webhook URLに今回立ち上げるサーバのURLとエンドポイントをくっつけて入力します。
https://【立ち上げるサーバのURL】/tsundere
とりあえず、ここまでにして、次にLINEボット用のサーバを立ち上げます。
LINEボット用のサーバを立ち上げる
環境一式をGitHubに上げておきましたので、詳細はそちらを参照してください。
$ cd server
$ npm install
$ mkdir cert
$ mkdir credentials
作成したフォルダcertにHTTPSのためのSSL証明書を置きます。その後、app.jsの147行目あたりの以下の記載の部分を、SSL証明書ファイル名に変更しておきます。
      key:  fs.readFileSync('./cert/server.key'),
      cert: fs.readFileSync('./cert/server.crt'),
      ca: fs.readFileSync('./cert/secom.crt')
もし、起動するポート番号を変える場合には以下のようにします。
vi .env
SPORT=10443
また、作成しておいたデバイスクレデンシャルは、credentialsフォルダにコピーしておきます。
重要なのは、api\controllers\tsundere\index.jsです。
'use strict';

const HELPER_BASE = process.env.HELPER_BASE || '../../helpers/';
const Response = require(HELPER_BASE + 'response');
const Redirect = require(HELPER_BASE + 'redirect');

const config = {
  channelAccessToken: process.env.LINE_CHANNEL_ACCESS_TOKEN || '【チャネルアクセストークン】',
  channelSecret: process.env.LINE_CHANNEL_SECRET || '【チャネルシークレット】',
};

const LineUtils = require(HELPER_BASE + 'line-utils');
const app = new LineUtils(config);

const GoogleAssistant = require('./googleassistant');
const deviceCredentials = require('./../../../credentials/devicecredentials.json');

const tsundere = require('./tsundere');

const CREDENTIALS = {
  client_id: deviceCredentials.client_id,
  client_secret: deviceCredentials.client_secret,
  refresh_token: deviceCredentials.refresh_token,
  type: "authorized_user"
};

const assistant = new GoogleAssistant(CREDENTIALS);

app.message(async (event, client) =>{
  var response = await assistant.assist(event.message.text);
  console.log(response);
  var text = response.text;
  if( text.trim() == '')
    text = "サポートしていません";
  var text = tsundere(text);
  console.log(text);

  const echo = { type: 'text', text: text };
  return client.replyMessage(event.replyToken, echo);
});

exports.handler = app.lambda();
ときどき、response.textが空文字で帰ってくることがあるようです。
以下の部分を、LINE Developer Consoleで払い出された値を記載しておきます。
・【チャネルアクセストークン】
・【チャネルシークレット】
LINEの処理はユーティリティ(line-utils.js)にまとめてあります。
app.messageに受信したメッセージが届くので、それに対してGoogleアシスタントに問い合わせています。
間に以下の処理を入れています。これが、ツンデレの語尾変換です。
var text = tsundere(response.text);
以下、中身です。
'use strict';

var table = [

["こんにちは", "ねえ"],
["あなた", "あんた"],
["どういたしまして", "別にあんたのためにやったわけじゃないし。。"],
["またいつでもどうぞ", "まったく世話が焼けるわ"],
・・・・
["ありがとうございます", "おだてたって何もないわよ"],
["ありますか", "あるわよね"],

];

function Decode(s){
	for( var i = 0 ; i < table.length ; i++ ){
		var regExp = new RegExp(table[i][0], "g");
		s = s.replace(regExp, table[i][1]);
	}

	return s;
}

module.exports = Decode;
変数tableに語尾変換元と変換後の文字列をたくさん追加すれば、よりそれっぽくなります。
それでは、起動させます。
$ node app.js
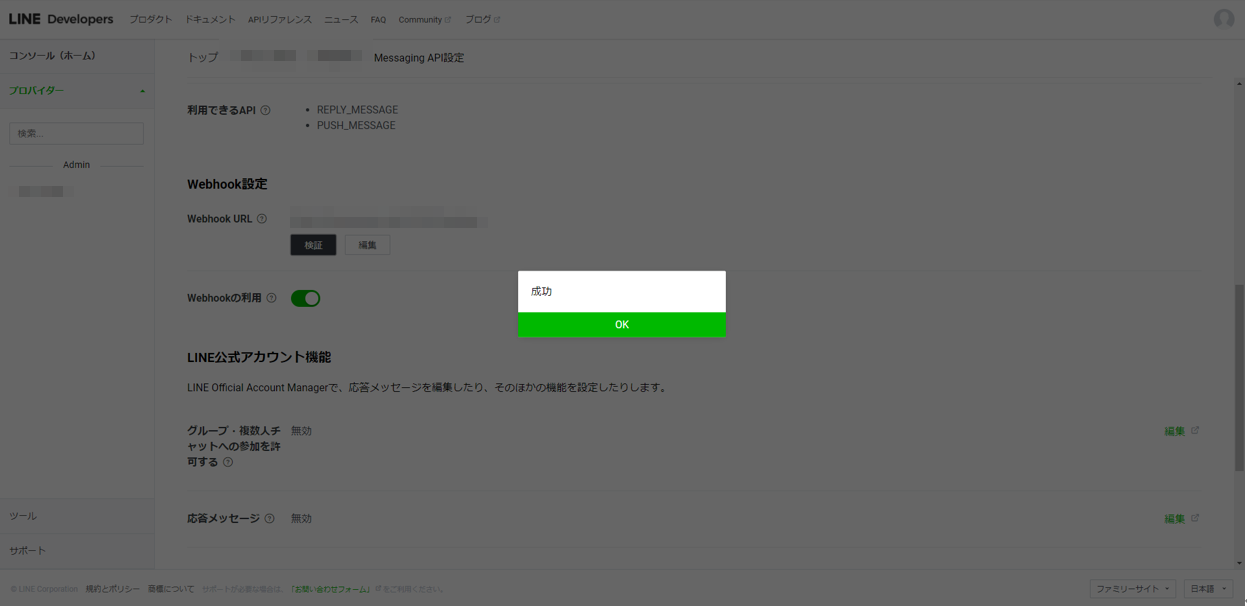
もう一度、LINE Developer ConsoleのMessaging APIに戻ります。
Webhook URLの部分です。特に問題なければ、「検証」ボタンを押下するとOKが返ってくるはずです。
LINEアプリに友達登録する
同じMessaging APIのところに、QRコードが表示されています。
このQRコードを、お手持ちのLINEアプリで友達追加してみましょう。
友達追加ができたら、さっそく会話してみましょう。
たとえば、「ありがとう」と伝えてあげてください。
終わりに
自分でやってみて、ちょっとにやりとしてしまいました。。。
LINEからだけでなく、POSTでも受け付けるようにしていますので、そちらも使ってみてください。
https://【立ち上げるサーバのURL】/assistant-talk
以下もぜひ参考にしてください。
・SwaggerでLambdaのデバッグ環境を作る(1)
・LINE Beaconを自宅に住まわせる
以上