第1回投稿で、SwaggerでLambdaのデバッグ環境を作りました。
今回は、Alexaスキルをデバッグしてみます。
AlexaはバックエンドにLambdaを想定しているのですが、HTTPSが喋れるRESTfulサーバでもよいので、そこにSwaggerのデバッグ環境を使います。
ちなみに、HTTPSである必要があります。さらに、オレオレ証明書ではなく正規のSSL証明書が必要です。
お持ちでない方は以下も参考にしてみてください。(私はこのために取得しました)
Alexaスキルを作る
早速、Alexaスキルを作成しましょう。
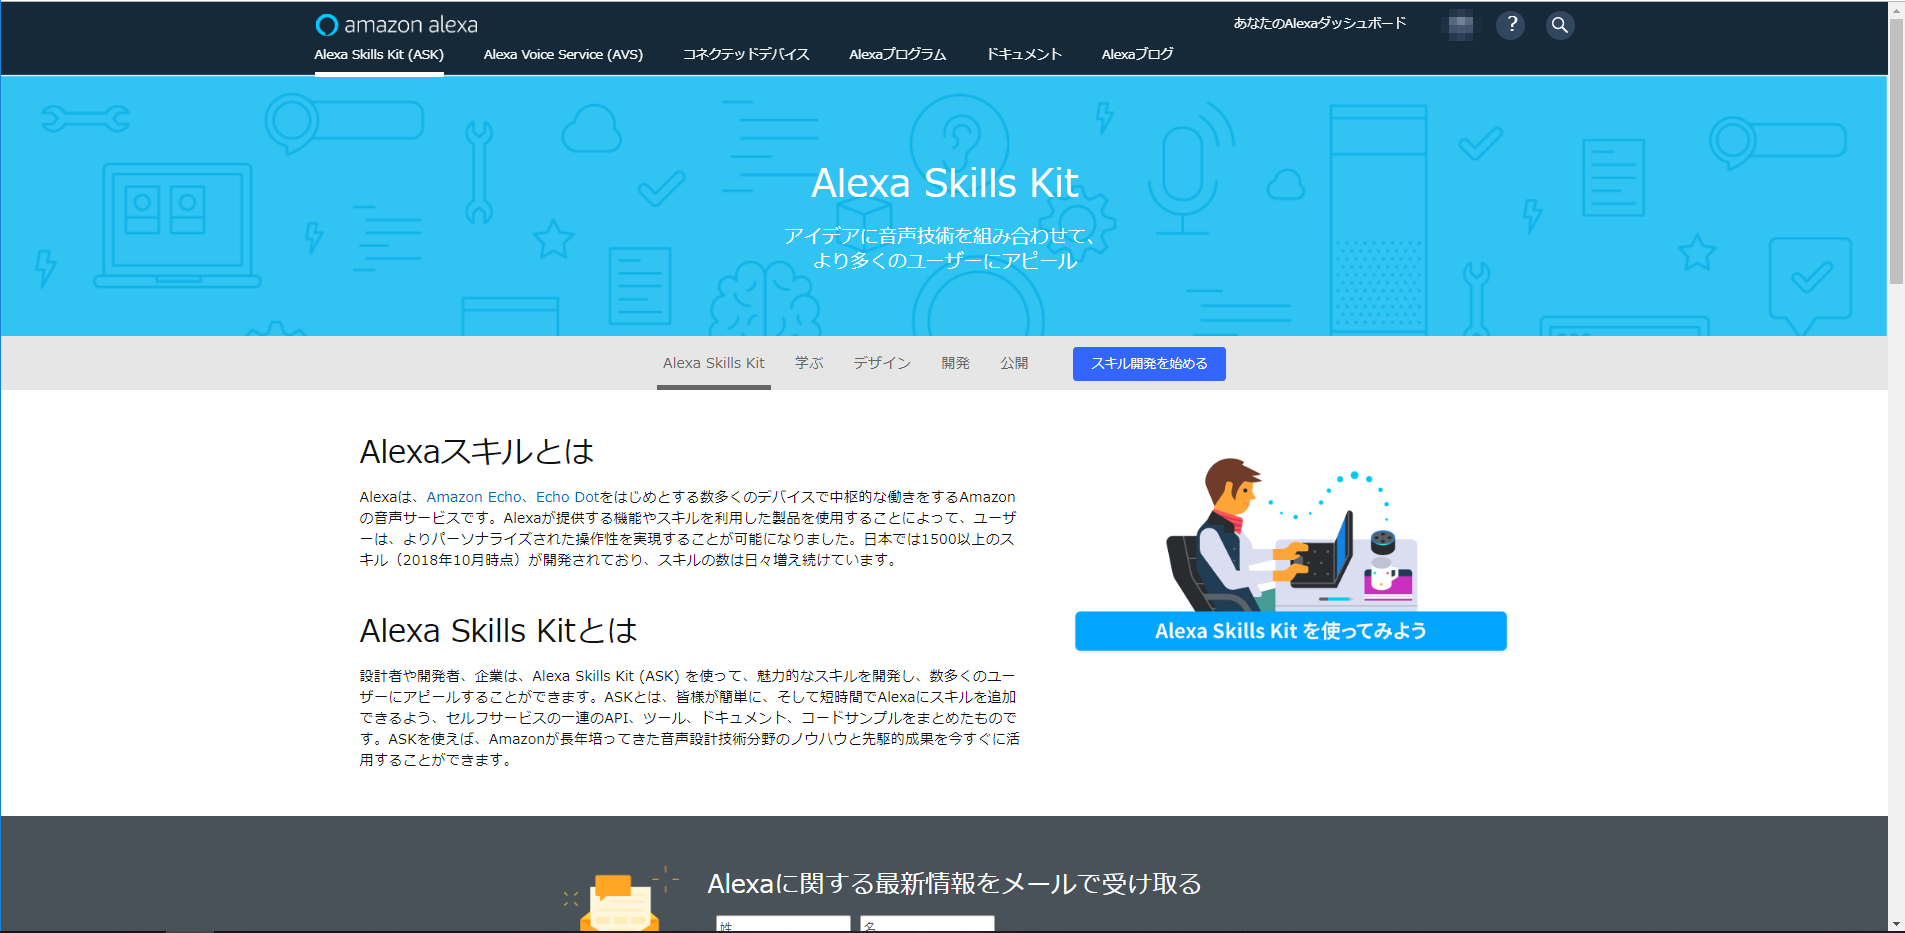
Alexa Skill Kitダッシュボード
https://developer.amazon.com/ja/alexa-skills-kit
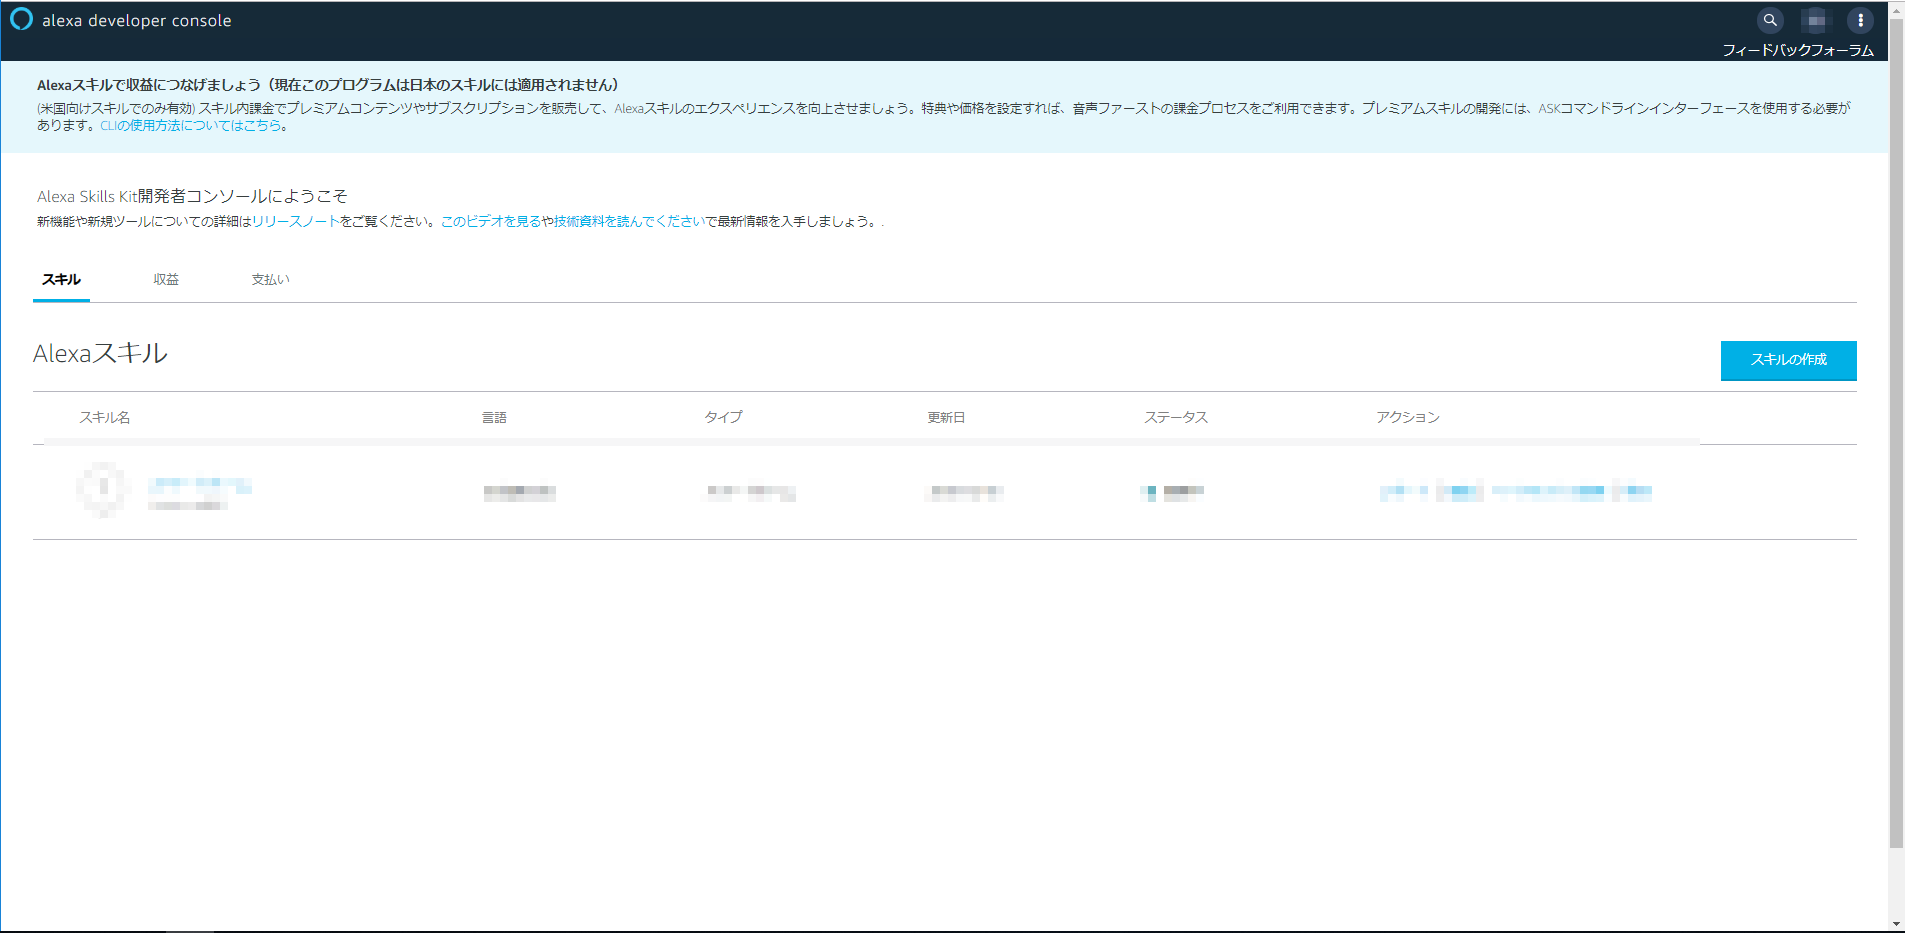
右上の「あなたのAlexaダッシュボード」から「Skills」を選択します。
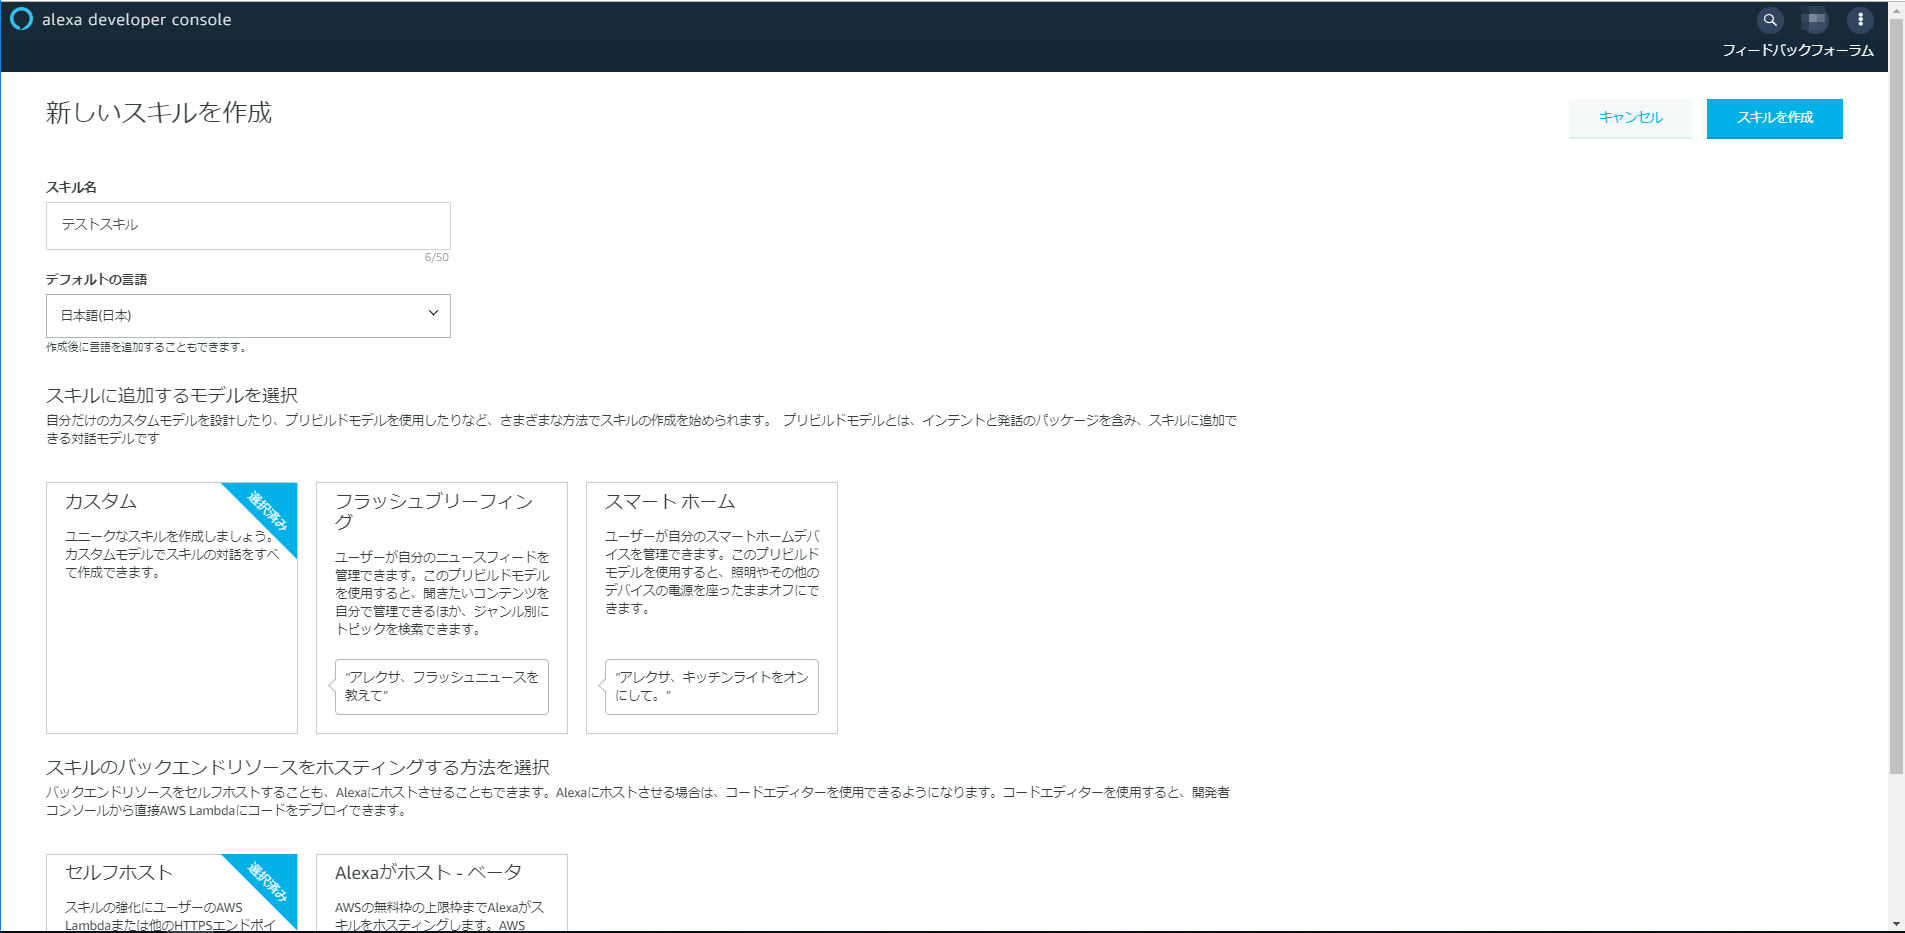
このページで、「スキルの作成」で作成を開始できます。
スキル名は適当に「テストスキル」としました。
スキルに追加するモデルは、「カスタム」を選択します。
(補足)
スマートホームを作りたい方は以下もあります。
スマートホームスキルを作る(2):いよいよスマートホームスキルを作成する
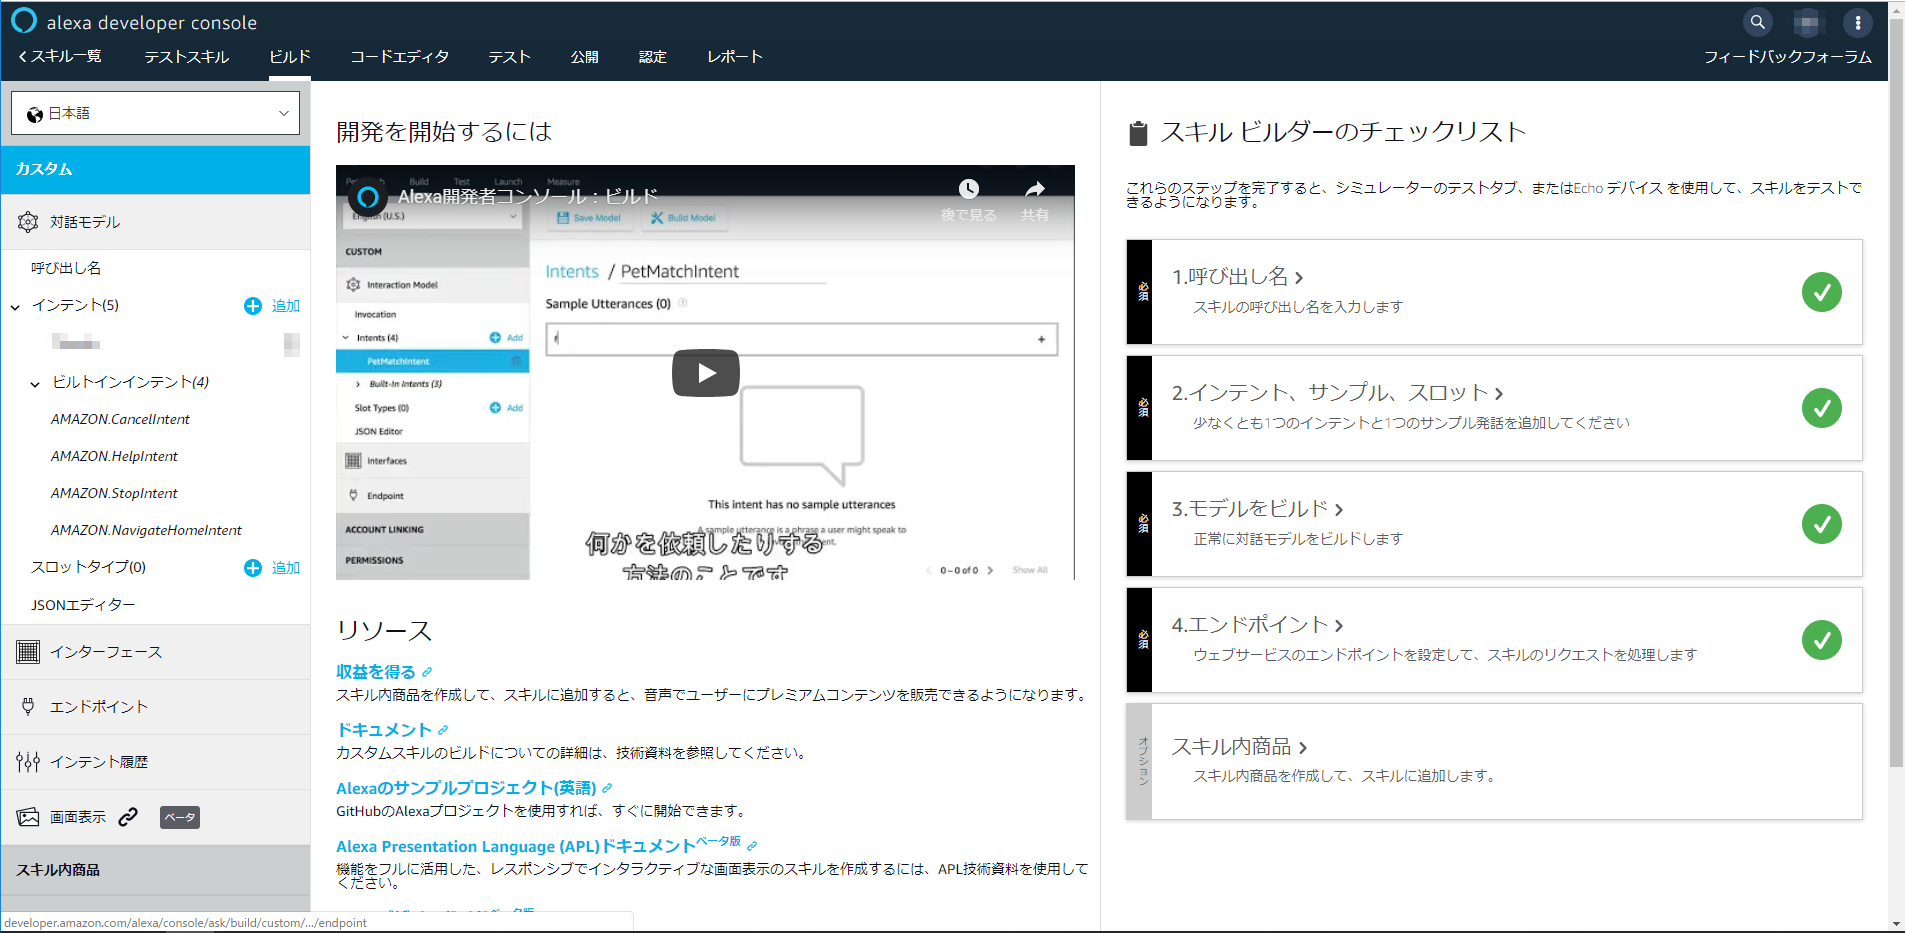
以下が、以降お世話になるスキル開発のメイン画面です。
右側にあるスキルビルダーのチェックリストの順番に作業していきましょう
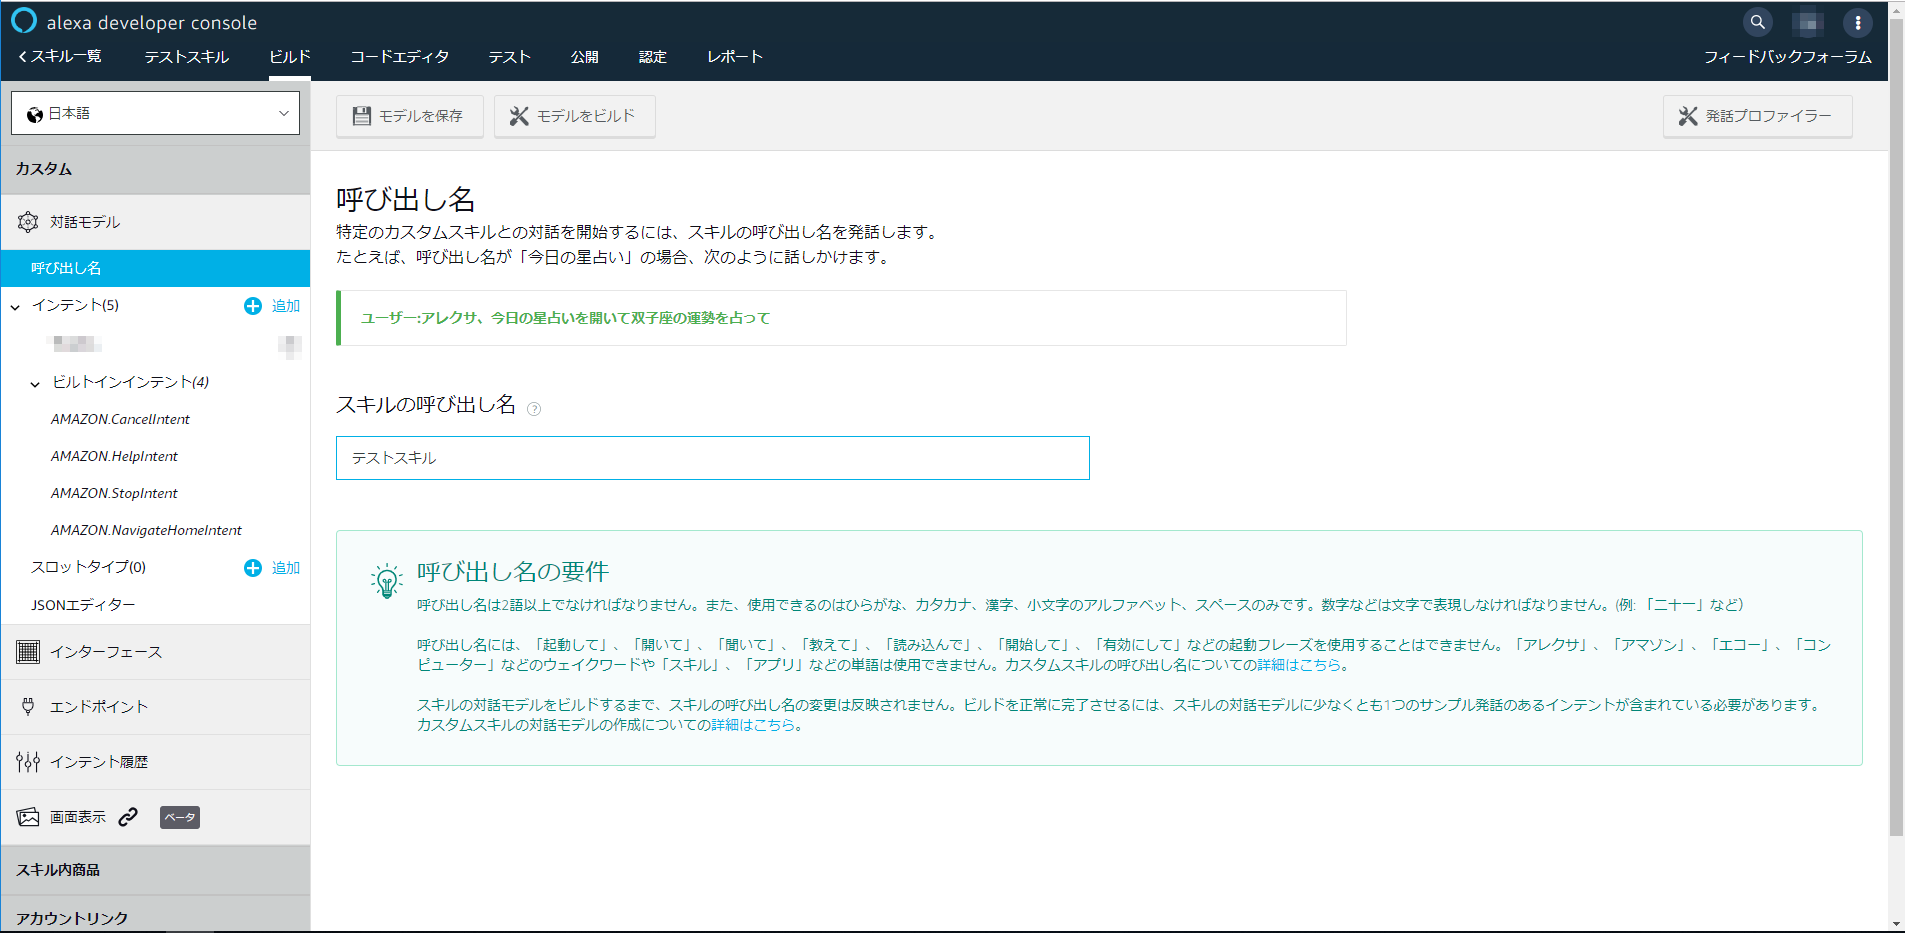
まずは、呼び出しスキル名の設定です。
呼び出し名は、このスキルを選択するときに呼ぶスキルの名前です。
呼び出し名は、あまり汎用的すぎると認識しにくいので、できれば特徴的な名称を入れた方がよいと思います。
今回は適当に「テストスキル」としました。
ですので、後でこのスキルを呼ぶときには「テストスキルを開いて」となります。
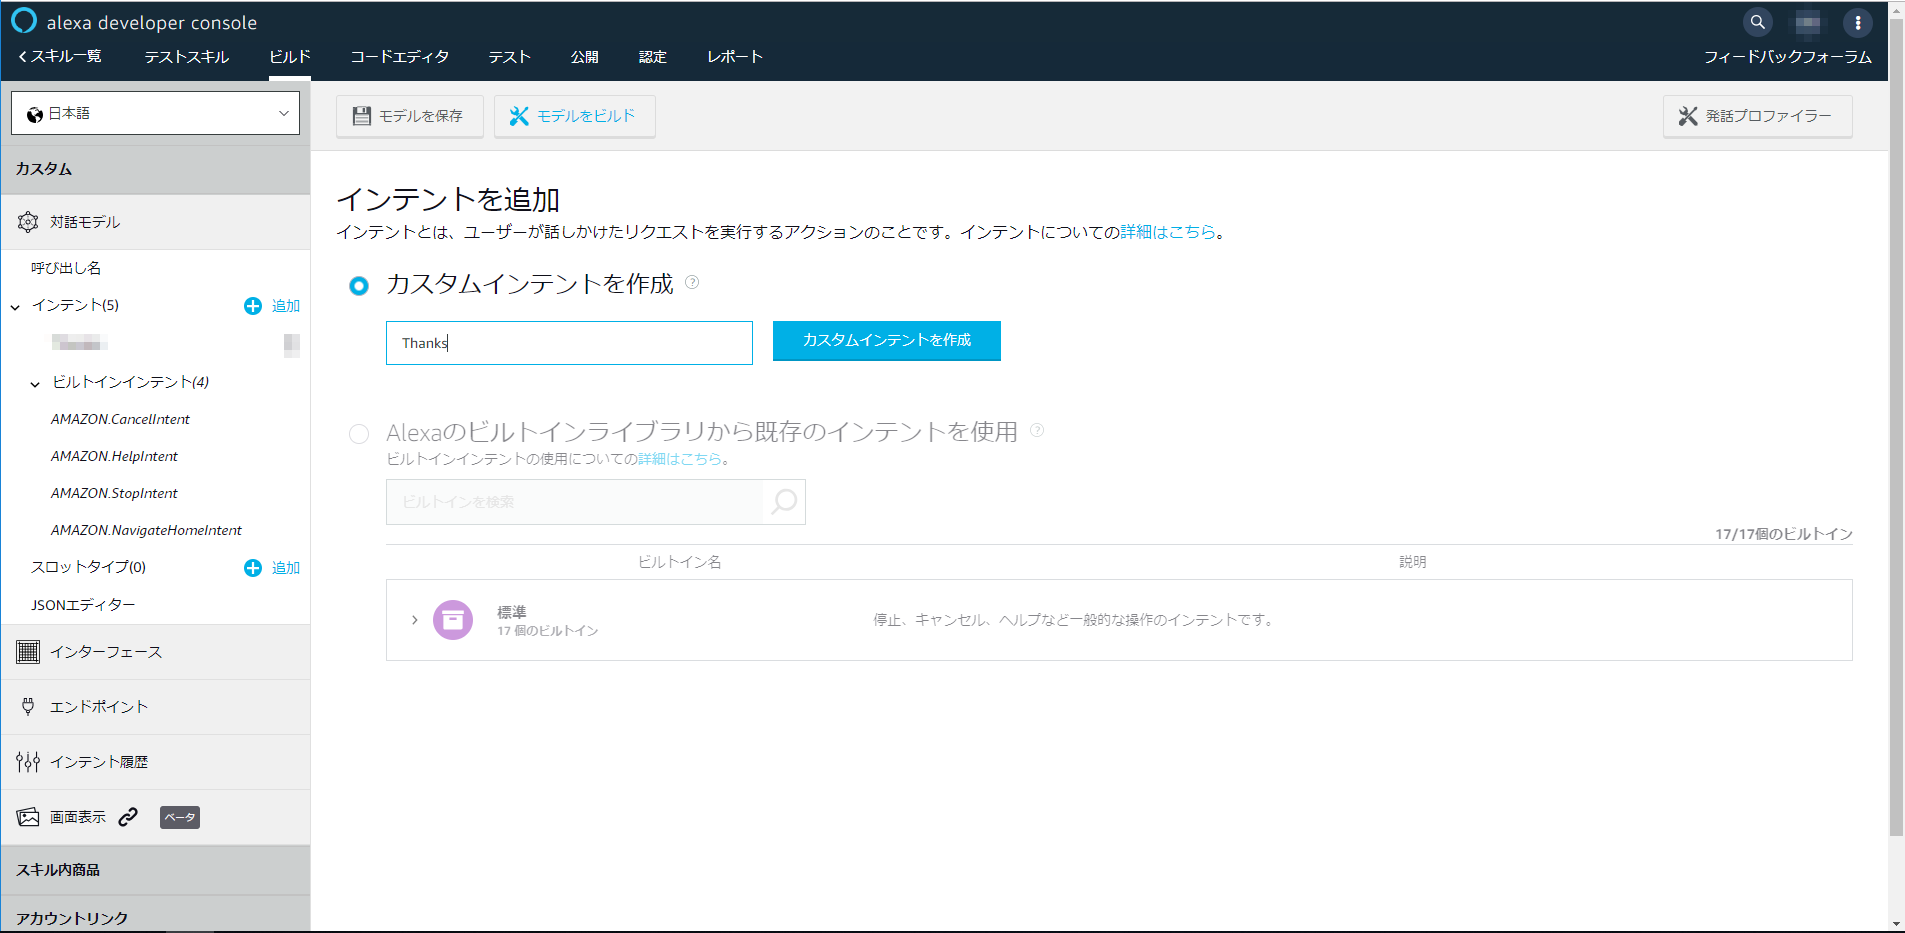
次に、インテントの追加です。
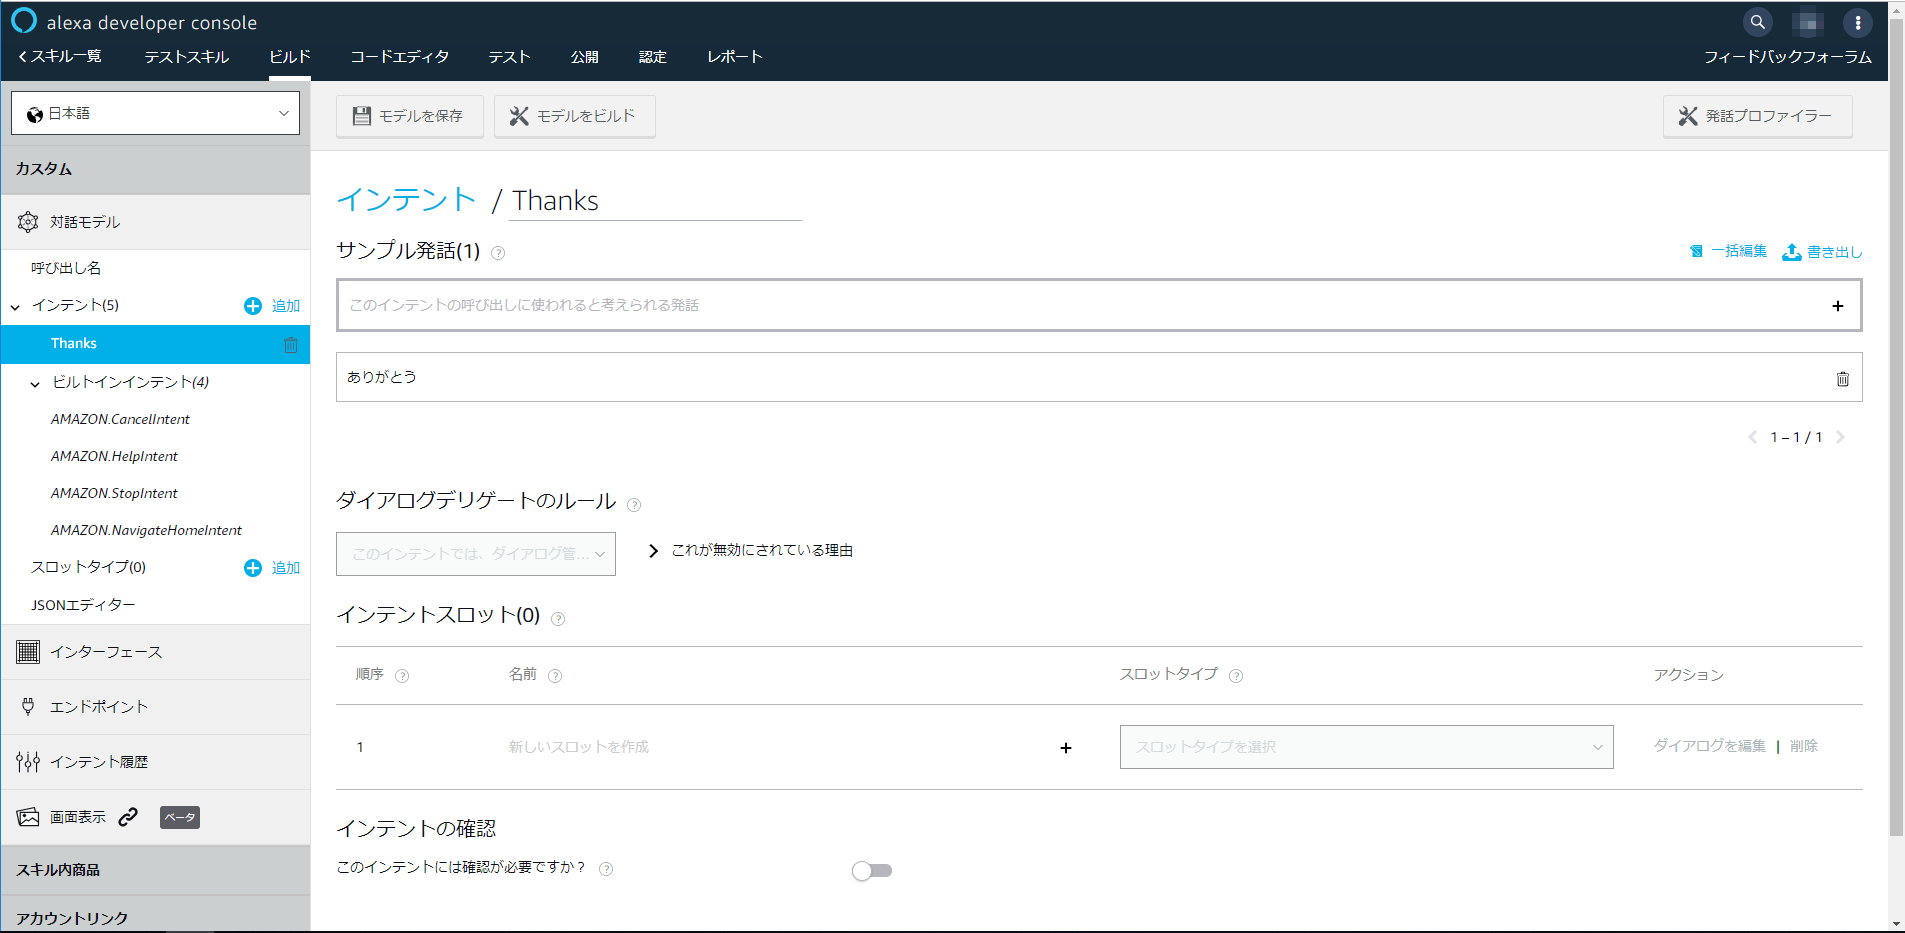
今回は、「ありがとう」というと「どういたしまして」と返すようにしてみましょう。
したがって、インテント名は「Thanks」、サンプル発話に「ありがとう」と入力します。最後に、「モデルを保存」ボタンを押下します。
そして、「モデルをビルド」しておきましょう。ちょっと時間がかかります。
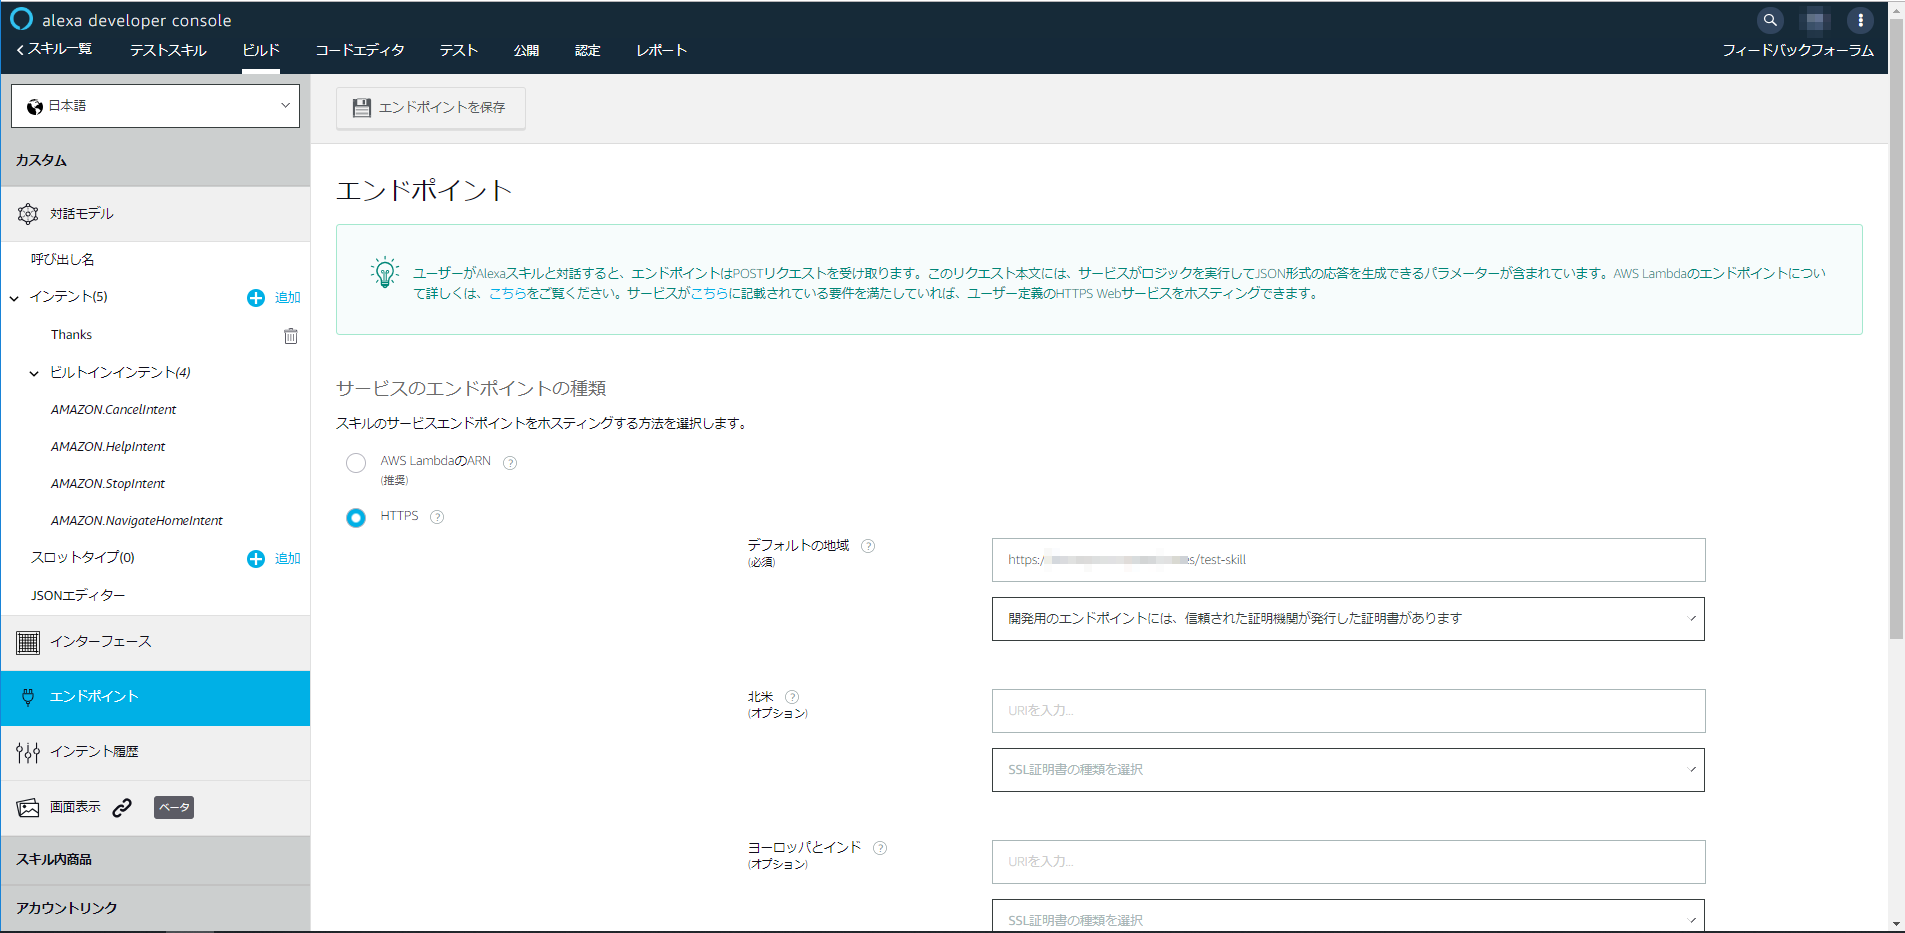
その間に、エンドポイントを設定します。
あとでAWS Lambdaにするのですが、まずはデバッグのためHTTPSの方を選択します。
デフォルトの地域のところにURLを入力するのですが、ここにこれから立ち上げるあるいは立ち上げてあるデバッグ環境のURLを指定します。
また、「開発用のエンドポイントには、信頼された認証機関が発行した証明書があります」を選択しておきます。そうそう、ポート番号は必ず443である必要があります。
最後に、エンドポイントの保存です。
さあ、Alexa側の準備ができました。
次は、デバッグ環境側です。
デバッグ環境を立ち上げる
デバッグ環境側で、要求を受け付けるエンドポイントを決めます。
こんな感じでどうでしょう。
  /test-skill:
    post:
      x-swagger-router-controller: routing
      operationId: test-skill
      parameters:
        - in: body
          name: body
          schema:
            $ref: "#/definitions/CommonRequest"
      responses:
        200:
          description: Success
          schema:
            $ref: "#/definitions/CommonResponse"
次に、実装の場所を指定します。
routing.jsに記載するのですが、通常のPOST/GETの受け口とはちょっと違うところに設定します。
const alexa_table = {
//  "test-alexa" : require('./test_alexa').handler,
"test-skill" : require('./test-skill').handler,
};
これから実装に入っていくのですが、必要なモジュールのセットアップが必要です。
以下のnpmモジュールを使います。
npm install --save ask-sdk-core
npm install --save ask-sdk-model
npm install --save ask-sdk
npm install --save aws-sdk
npm install --save ask-sdk-dynamodb-persistence-adapter
※ ask-sdk-dynamodb-persistence-adapter 必須ではありません。必要に応じてインストールします。
次に、ask-sdkを利用するのに便利なヘルパーを用意しました。
以下の場所に配置します。
api/helpers/alexa-utils.js
'use strict';

var AWS = require('aws-sdk');
AWS.config.update({region: 'ap-northeast-1'});

//const Adapter = require('ask-sdk-dynamodb-persistence-adapter');
//const config = {tableName: 'AskPersistentAttributes', createTable: true};
//var adapter = new Adapter.DynamoDbPersistenceAdapter(config);

class AlexaUtils{
    constructor(alexa, adapter){
        this.alexa = alexa;
        this.skillBuilder = alexa.SkillBuilders.custom();
        this.DynamoDBAdapter = adapter;
    }

    intent( matcher, handle ){
        this.skillBuilder.addRequestHandlers(new BaseIntentHandler(matcher, handle));
    }

    errorIntent( handle ){
        ErrorHandler.handle = handle;
    }

    getAttributes( handlerInput ){
        return handlerInput.attributesManager.getSessionAttributes();
    }

    setAttributes( handlerInput, attributes){
        handlerInput.attributesManager.setSessionAttributes(attributes);
    }

    async getPersistentAttributes( handlerInput ){
        return handlerInput.attributesManager.getPersistentAttributes();
    }

    setPersistentAttributes( handlerInput, attributes){
        handlerInput.attributesManager.setPersistentAttributes(attributes);
    }

    async savePersistentAttributes( handlerInput ){
        handlerInput.attributesManager.savePersistentAttributes();
    }

    getSlotId(slot){
        if( slot.resolutions.resolutionsPerAuthority[0].status.code != "ER_SUCCESS_MATCH" )
            return null;
        return slot.resolutions.resolutionsPerAuthority[0].values[0].value.id;
    }

    getSlots( handlerInput ){
        return handlerInput.requestEnvelope.request.intent.slots;
    }

    getAccessToken(handlerInput){
        return handlerInput.requestEnvelope.context.System.user.accessToken;
    }

    lambda(){
        if( this.DynamoDBAdapter ){
            return this.skillBuilder
            .addErrorHandlers(ErrorHandler)
            .withPersistenceAdapter(this.DynamoDBAdapter)
            .lambda();
        }else{
            return this.skillBuilder
            .addErrorHandlers(ErrorHandler)
            .lambda();
        }
    }
};

class BaseIntentHandler{
    constructor(matcher, handle){
        this.matcher = matcher;
        this.myhandle = handle;
    }

    canHandle(handlerInput) {
        if( this.matcher == 'LaunchRequest'){
            return handlerInput.requestEnvelope.request.type === 'LaunchRequest';
        }else if( this.matcher == 'HelpIntent' ){
            return handlerInput.requestEnvelope.request.type === 'IntentRequest'
                && handlerInput.requestEnvelope.request.intent.name === 'AMAZON.HelpIntent';
        }else if( this.matcher == 'CancelIntent' ){
            return handlerInput.requestEnvelope.request.type === 'IntentRequest'
                && handlerInput.requestEnvelope.request.intent.name === 'AMAZON.CancelIntent';
        }else if( this.matcher == 'StopIntent'){
            return handlerInput.requestEnvelope.request.type === 'IntentRequest'
                && handlerInput.requestEnvelope.request.intent.name === 'AMAZON.StopIntent';
        }else if( this.matcher == 'SessionEndedRequest'){
            return handlerInput.requestEnvelope.request.type === 'SessionEndedRequest';
        }else if( this.matcher == 'NavigateHomeIntent'){
            return handlerInput.requestEnvelope.request.type === 'IntentRequest'
                && handlerInput.requestEnvelope.request.intent.name === 'AMAZON.NavigateHomeIntent';
        }else{
            return handlerInput.requestEnvelope.request.type === 'IntentRequest'
                && handlerInput.requestEnvelope.request.intent.name === this.matcher;
        }
    }

    async handle(handlerInput) {
        console.log('handle: ' + this.matcher + ' called');
        return await this.myhandle(handlerInput);
    }
}

const ErrorHandler = {
    canHandle() {
        return true;
    },

    handle(handlerInput, error) {
        console.log(`Error handled: ${error.message}`);
        console.log(`type: ${handlerInput.requestEnvelope.request.type}, name: ${handlerInput.requestEnvelope.request.intent.name}`);
        return handlerInput.responseBuilder
            .speak('よく聞き取れませんでした。')
            .reprompt('もう一度お願いします。')
            .getResponse();
    },
};

module.exports = AlexaUtils;
肝心の実装をします。
以下の場所にフォルダとファイルを作成します。
api/controllers/test-skill/index.js
'use strict';

const Alexa = require('ask-sdk-core');

const HELPER_BASE = process.env.HELPER_BASE || '../../helpers/';
const AskUtils = require(HELPER_BASE + 'alexa-utils');
const app = new AskUtils(Alexa);

app.intent('LaunchRequest', async (handlerInput) =>{
    var builder = handlerInput.responseBuilder;
    builder.speak('こんにちは');
    builder.reprompt('どんな御用ですか');
    return builder.getResponse();
});

app.intent('Thanks', async (handlerInput) =>{
    var builder = handlerInput.responseBuilder;
    builder.speak('どういたしまして');
    return builder.getResponse();
});

exports.handler = app.lambda();
以下のような感じで記述しておくと、インテント名に当てはまる発話が来ると、そこに指定した関数が呼ばれます。
app.intent(【インテント名】, async (handlerInput){
・・・
});
ここらへんのディスパッチをヘルパーがやってくれているわけです。(複雑なことはしていないので、詳細はソースを見てみてください)
以下のあたりからは、Amazonが提供しているASK SDK for Node.jsの作法に従っています。
var builder = handlerInput.responseBuilder;
(参考情報)
https://ask-sdk-for-nodejs.readthedocs.io/ja/latest/Processing-Request.html
スキルを起動すると「LaunchRequest」が呼び出されるので、とりあえず「こんにちは」と返します。repromptを返しているので、Alexaは次の言葉を待ち受けます。
そのあと、「ありがとう」と言うと「Thanks」が呼び出されるので、「どういたしまして」と返して会話が終了します。
それでは、デバッグ環境を立ち上げておきましょう。
Alexaスキルをシミュレータで試してみる。
Alexa Developer Consoleに戻ります。
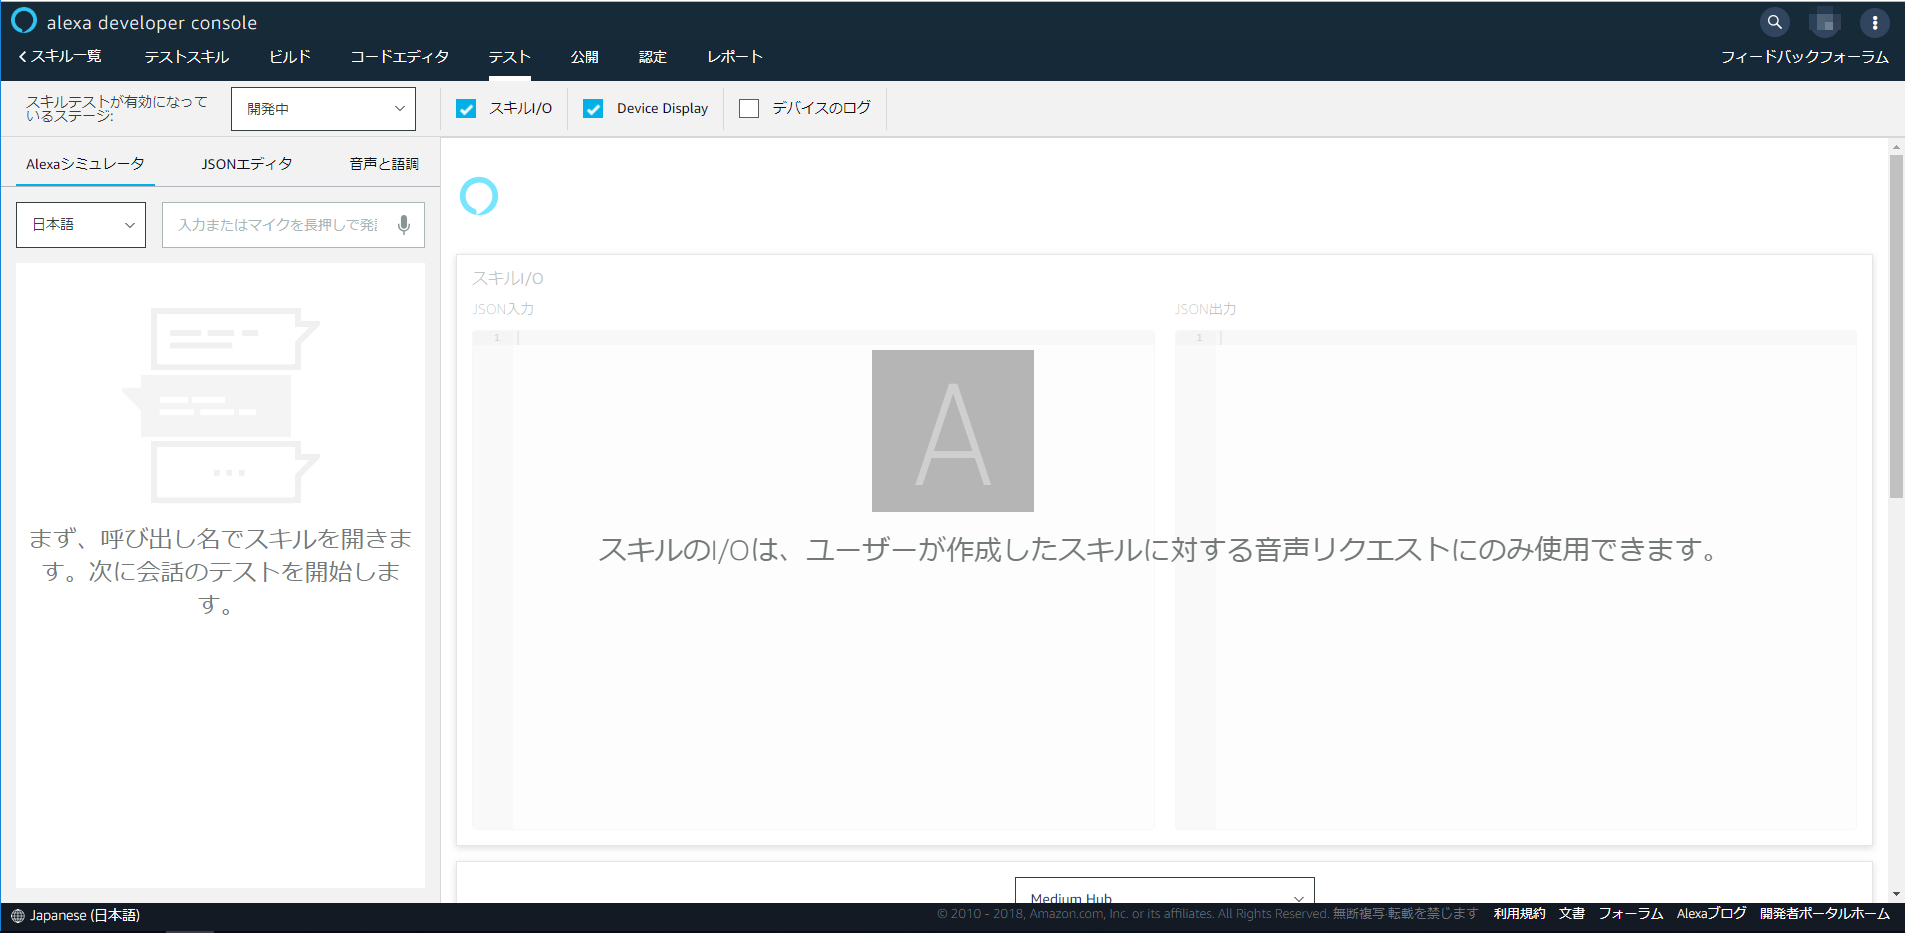
上の方にある「テスト」を選択します。ステージを「開発中」にします。
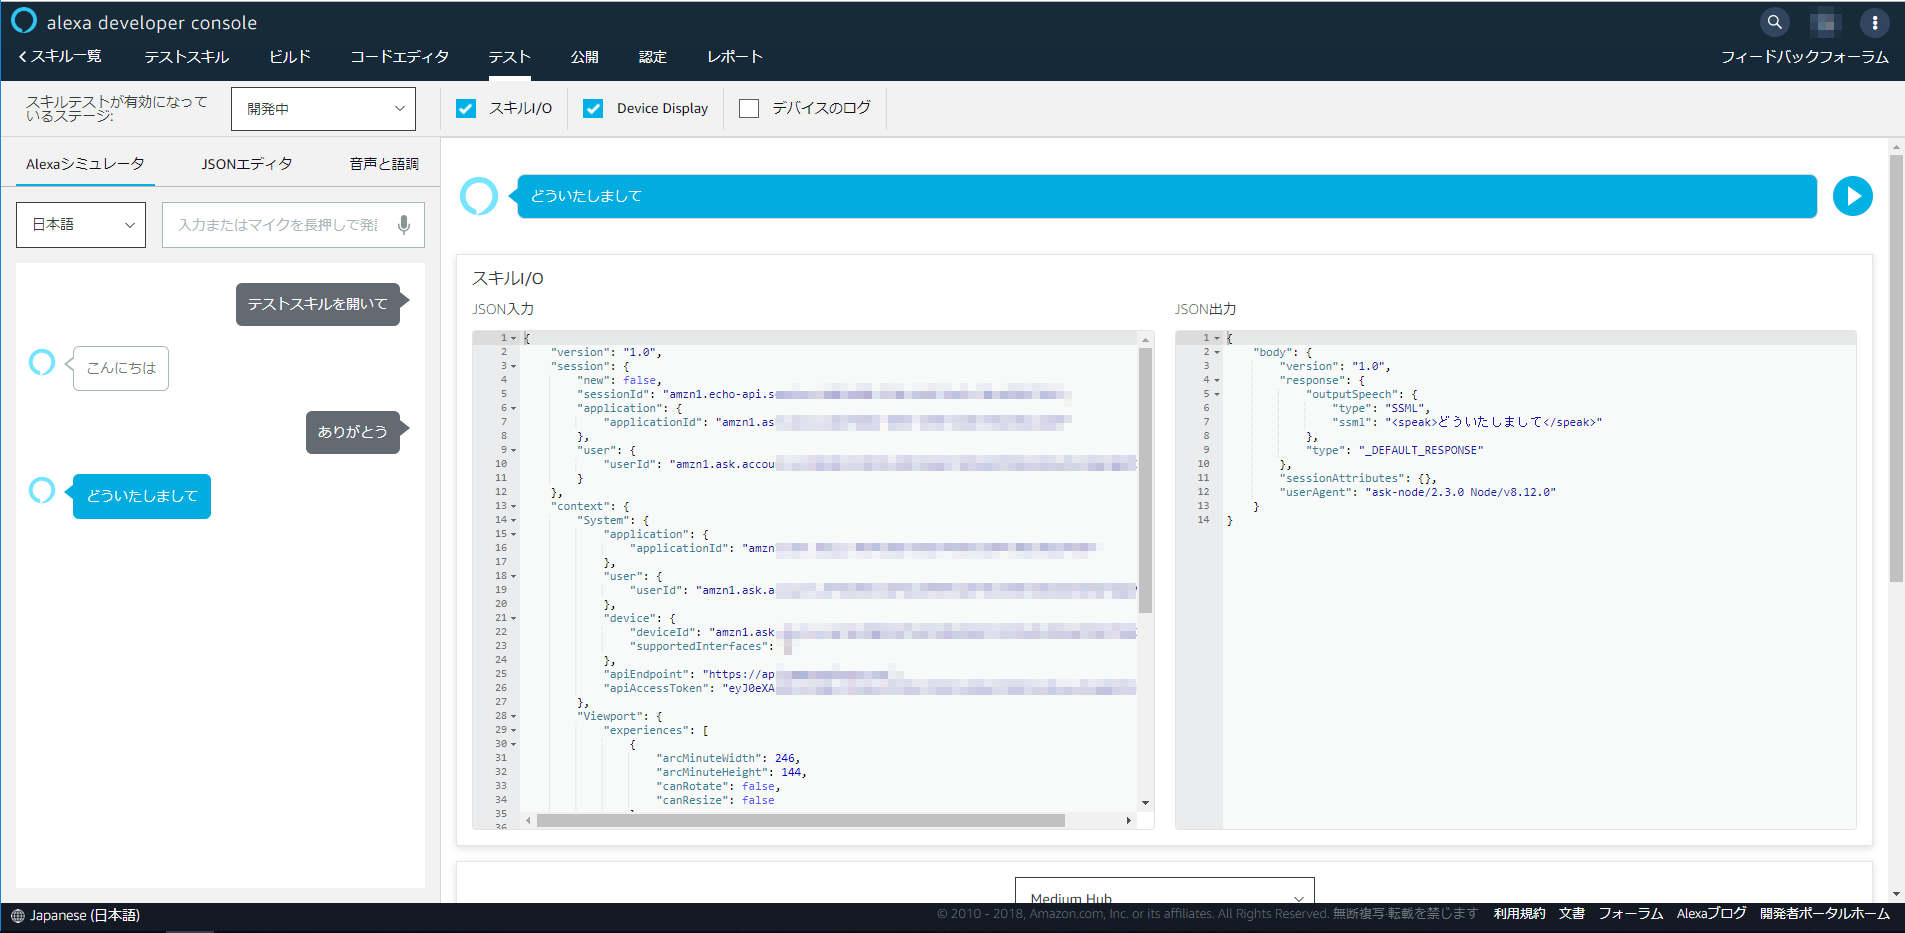
「テストスキルを開いて」→「ありがとう」と入力すると期待通りに動いているはずです。
デバッグ環境で、適当な場所にブレイクポイントを設定すれば、やり取りの模様を見ることができます。
公開設定をする
これから、いよいろEcho DotやスマホにインストールしたAlexaアプリで、このやり取りをやってみようと思うのですが、その前に、公開設定をしておく必要があります。
上の方にある、「公開」を選択します。
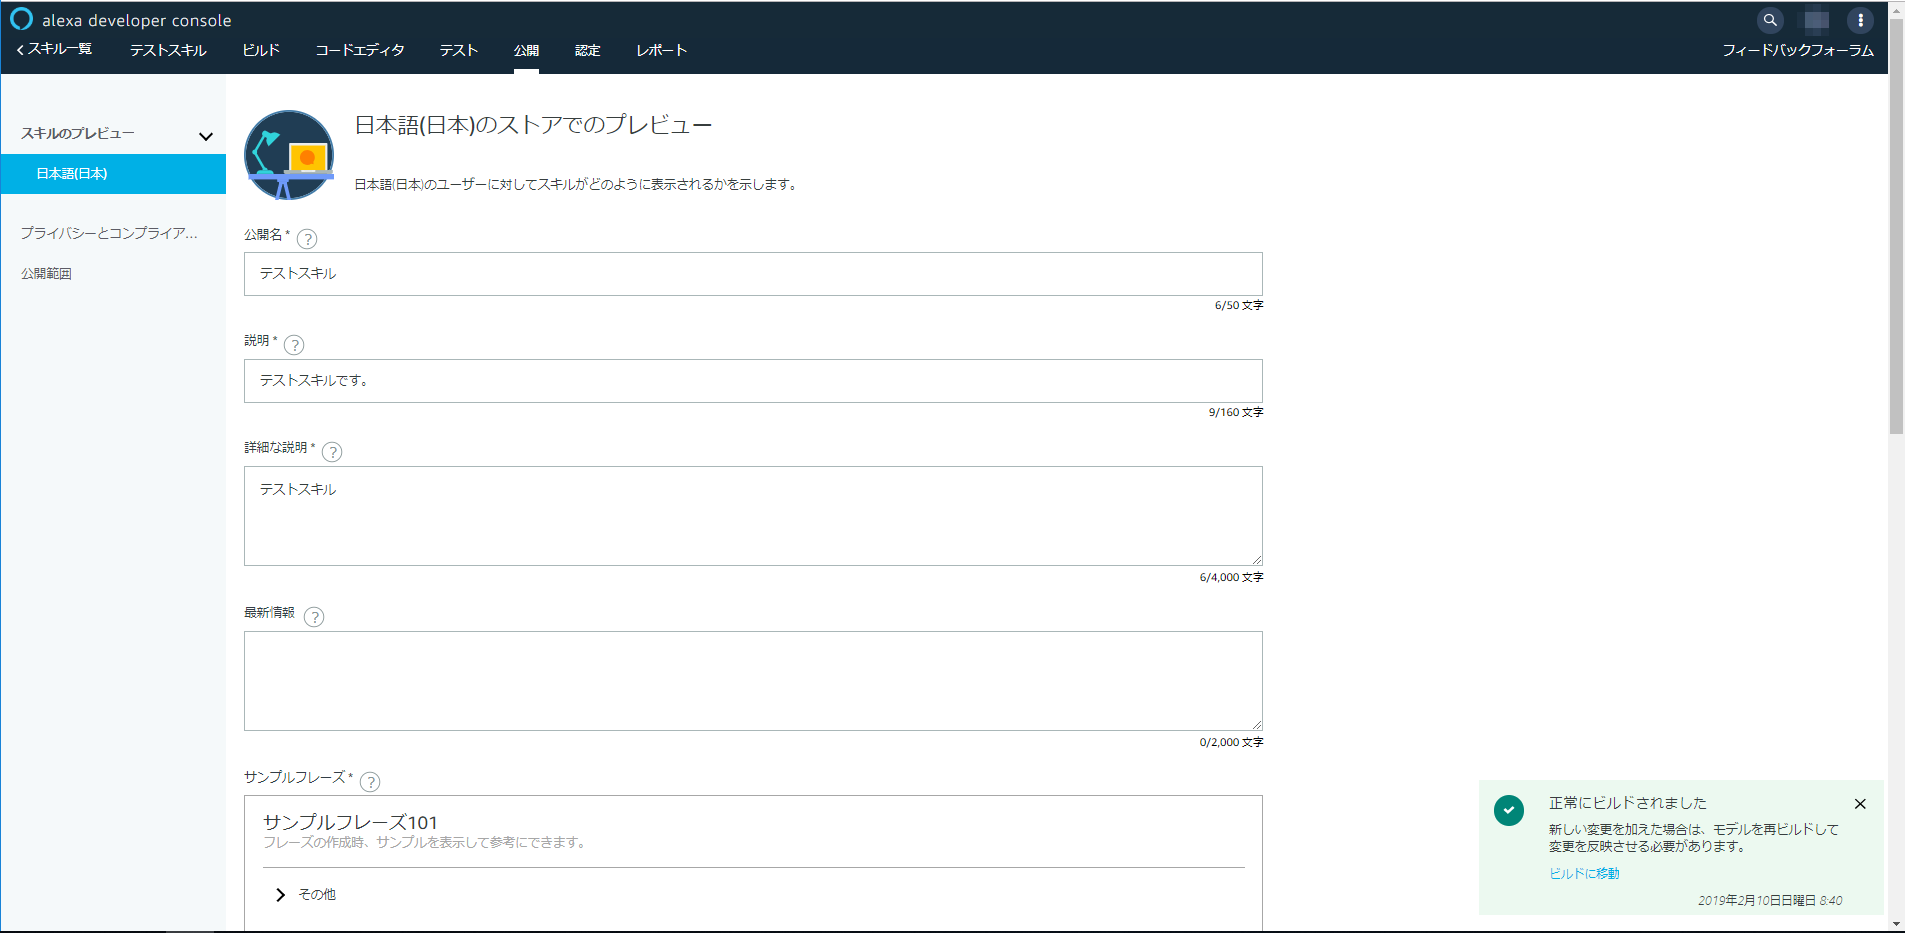
ちょっともろもろ指定する必要があって面倒なのですが、*と書いてあるところだけでも入力して進めましょう。
途中、512x512と108x108ピクセルのアイコン画像が必要なので、適当に見繕います。
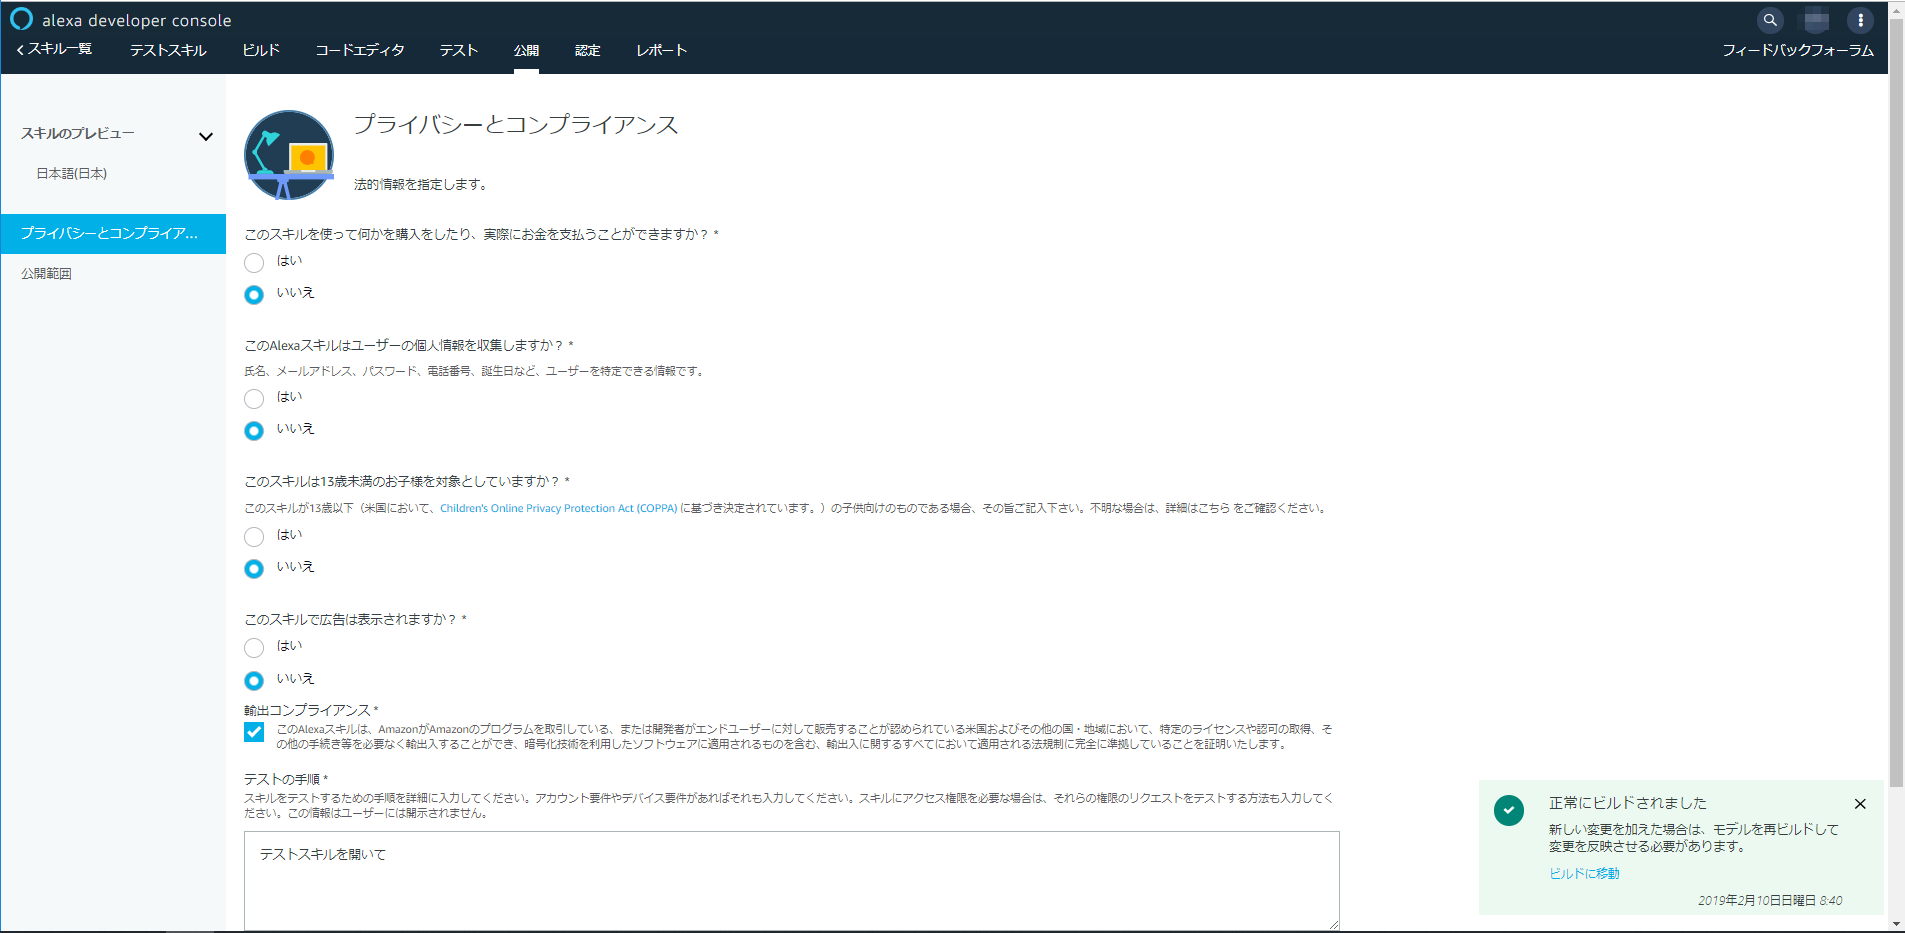
2ページ目。
3ページ目。
ここはとりあえず何も変更しなくてもよいですが、後で戻ってきます。
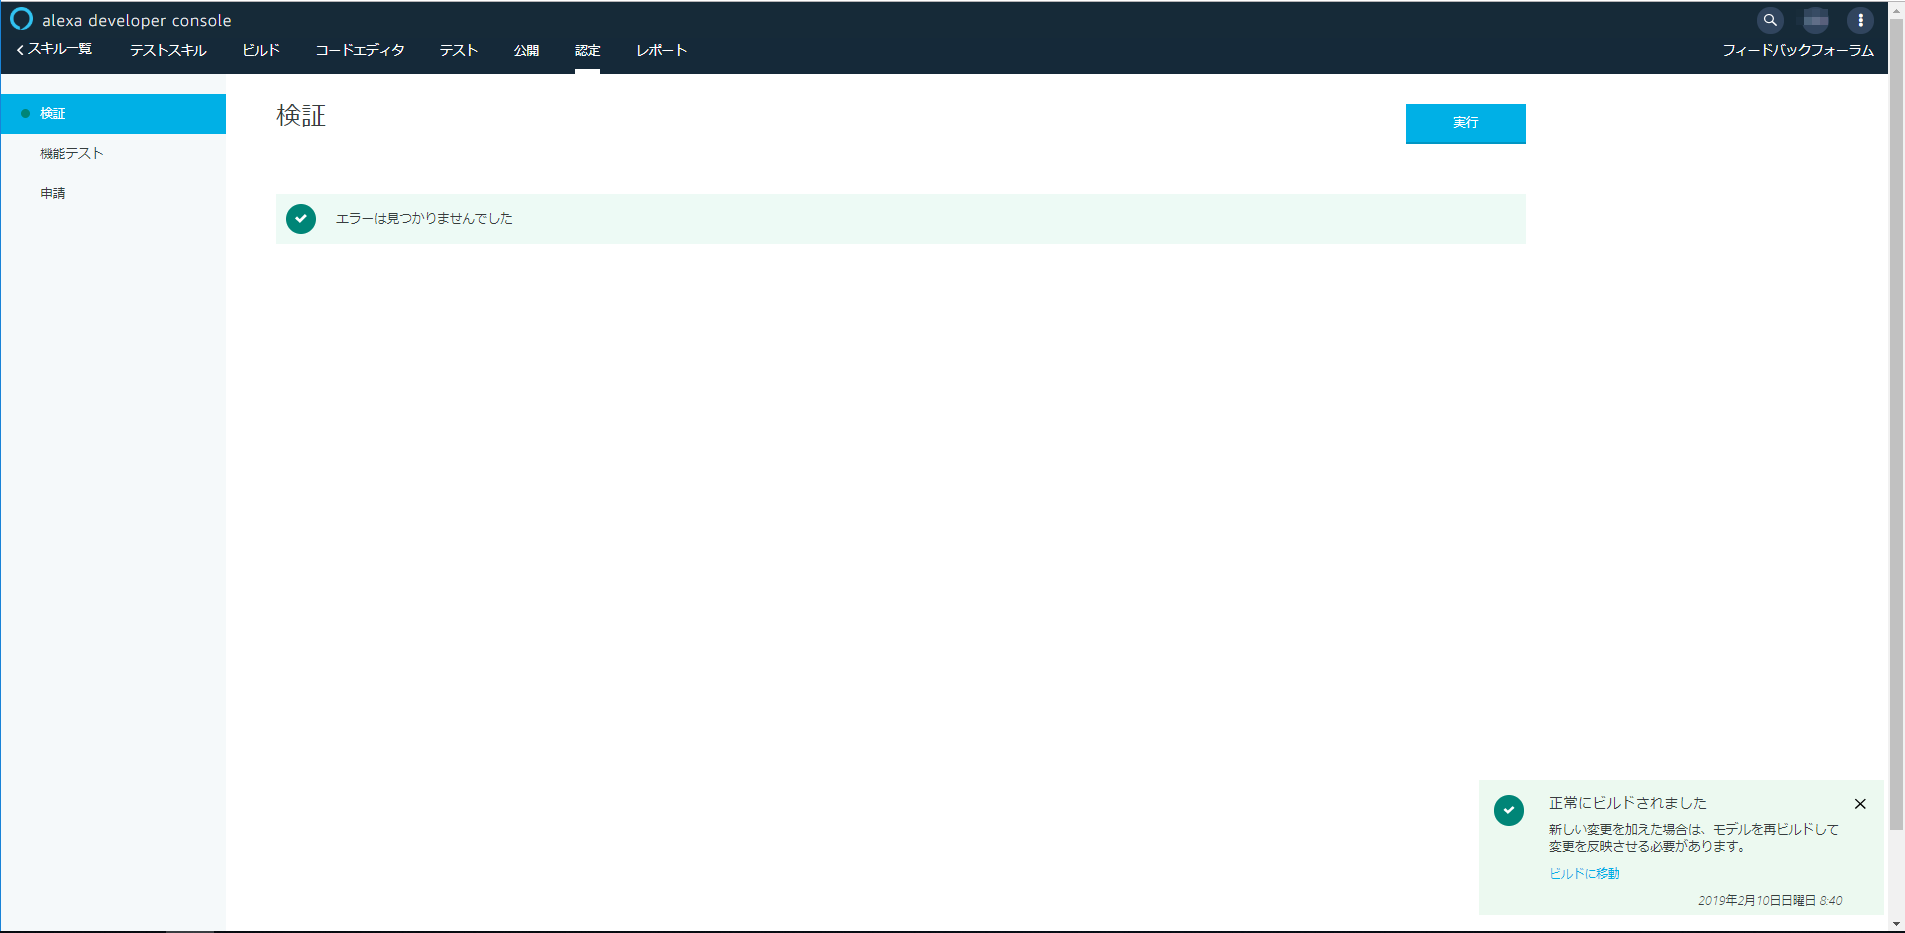
特に問題がなければ、検証でエラーは見つかりませんでした、となります。
エラーが出ている場合は戻って修正します。
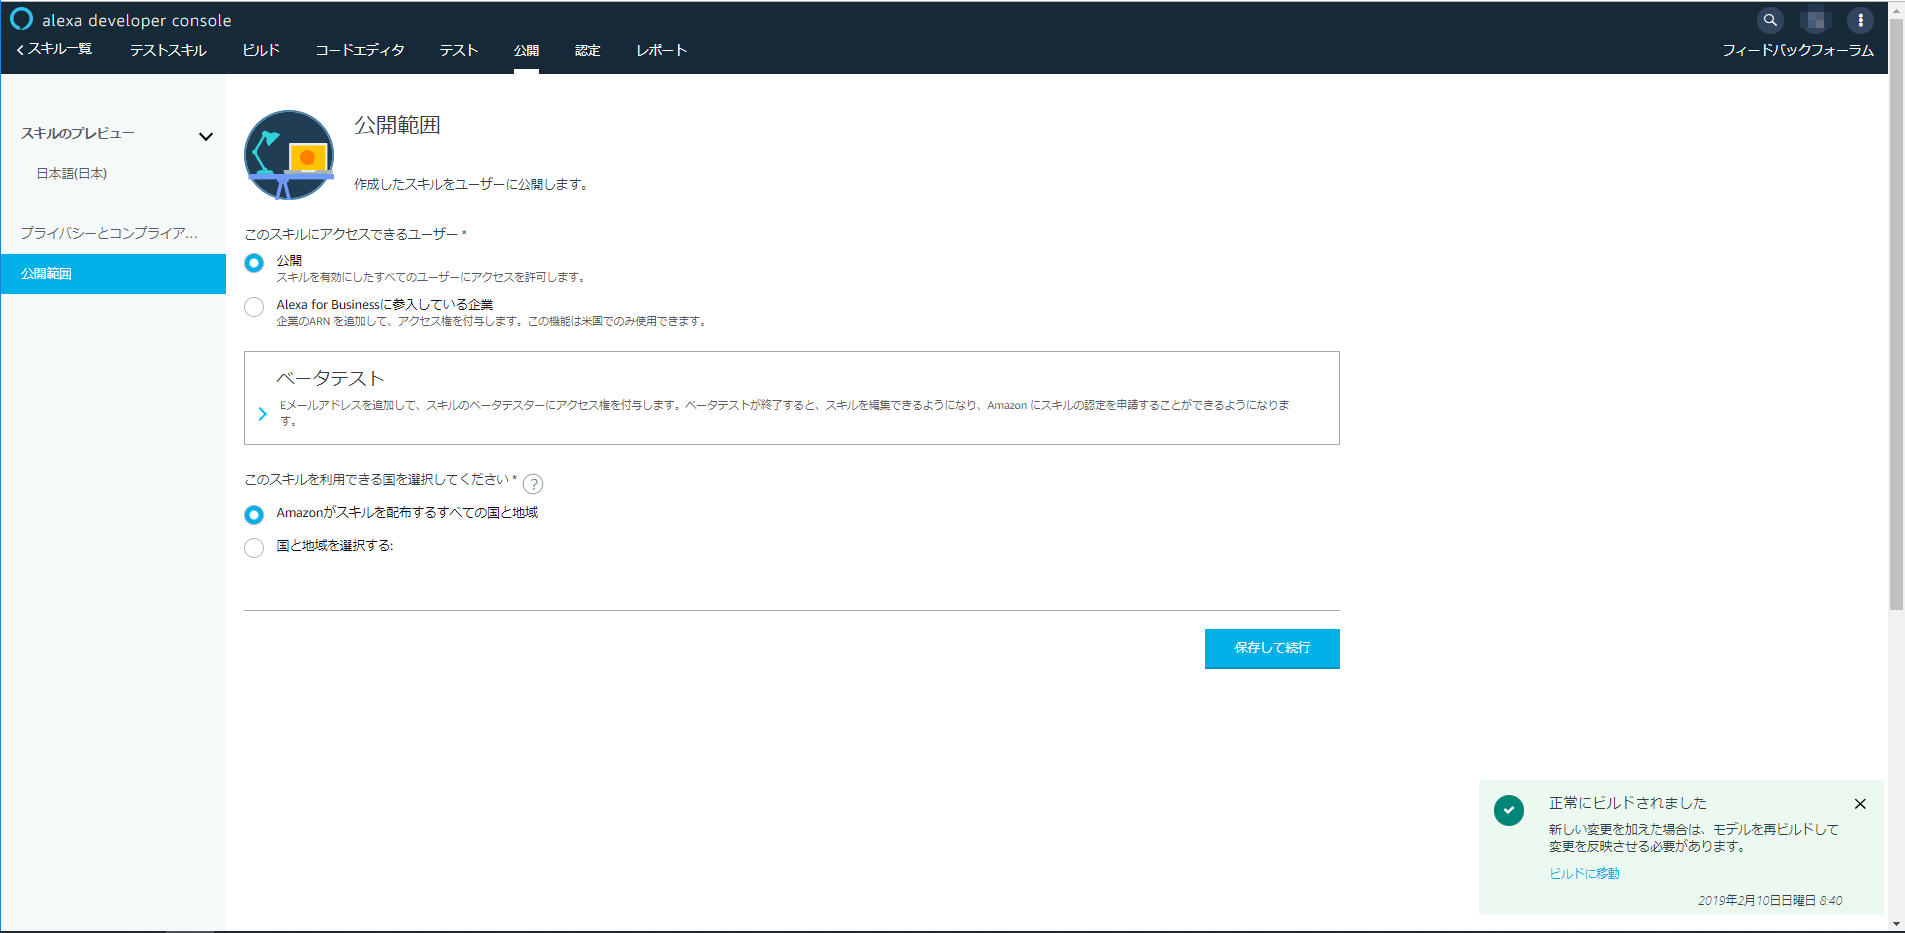
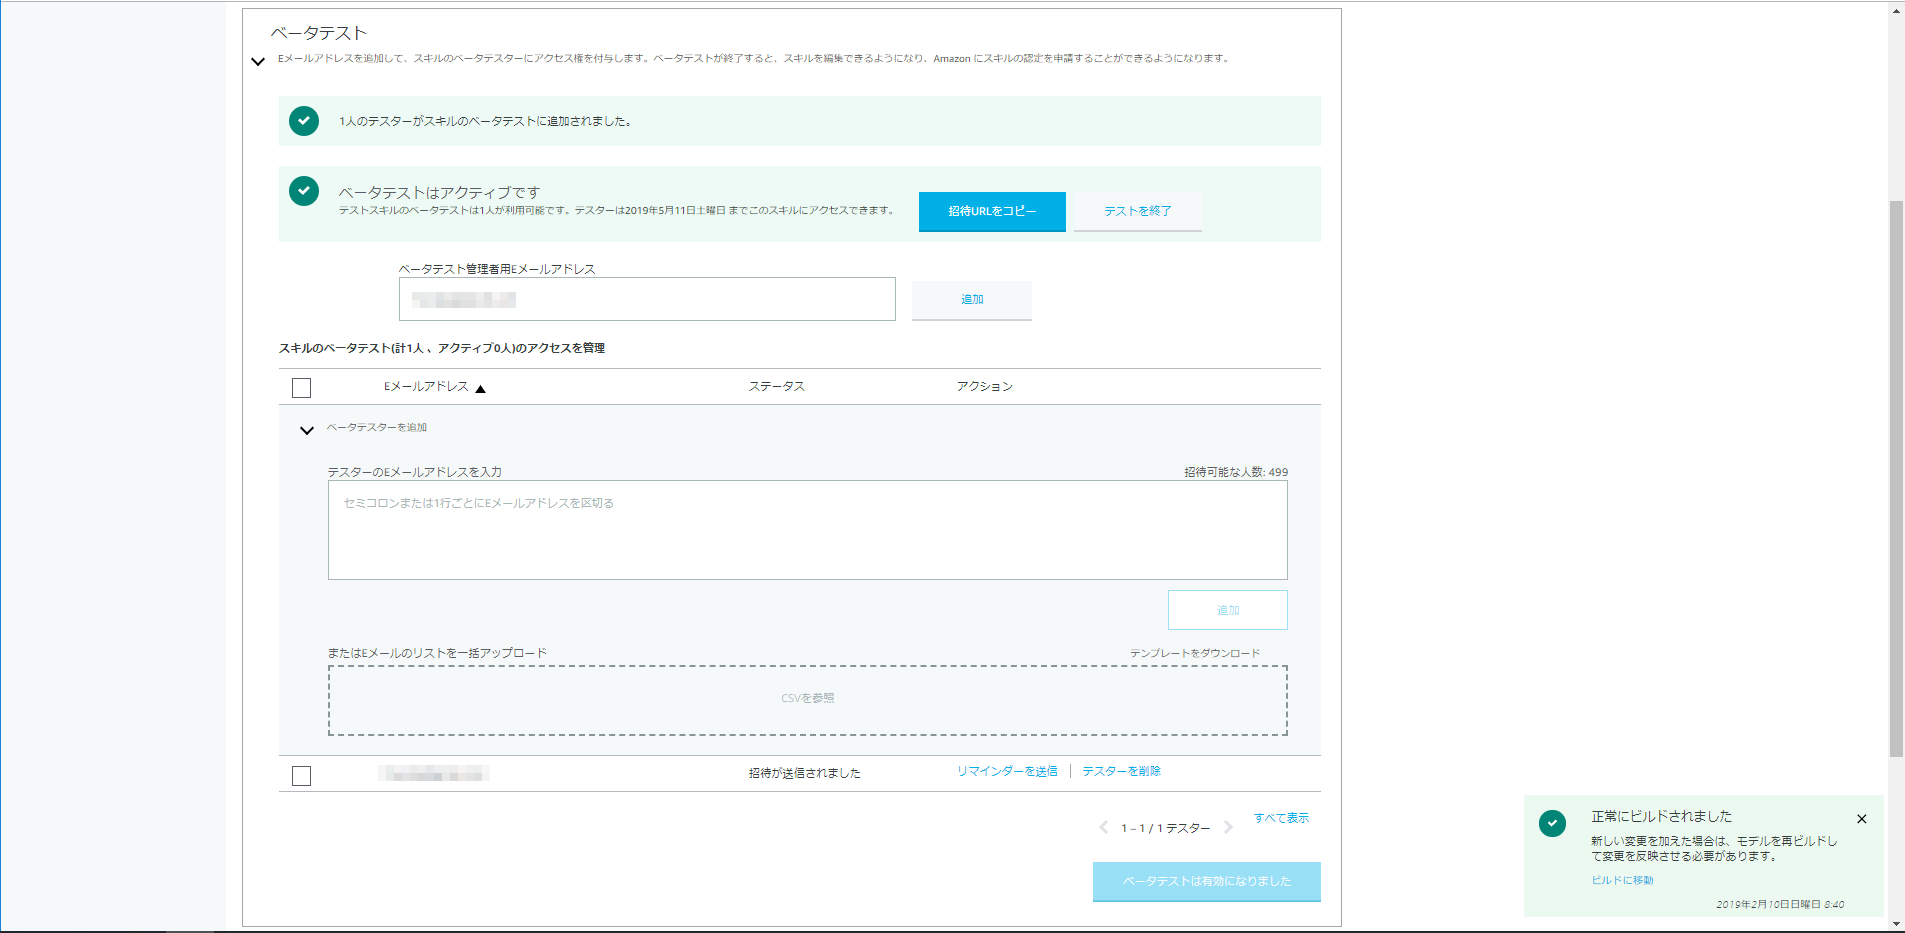
次に、テスト用に公開する人のメールアドレスを指定します。上側にある公開を選択後、左側の「公開範囲」を選択します。
開発中ではありますが、公開できる人は限定しなければならないようで、限定先は、以下で指定したAmazonアカウントに登録したメールアドレスの持ち主です。
上記の指定が終われば、ベータテスタに入力したメールアドレスの人にメールアドレスが送信されます。
スマホのAlexaアプリで試してみる
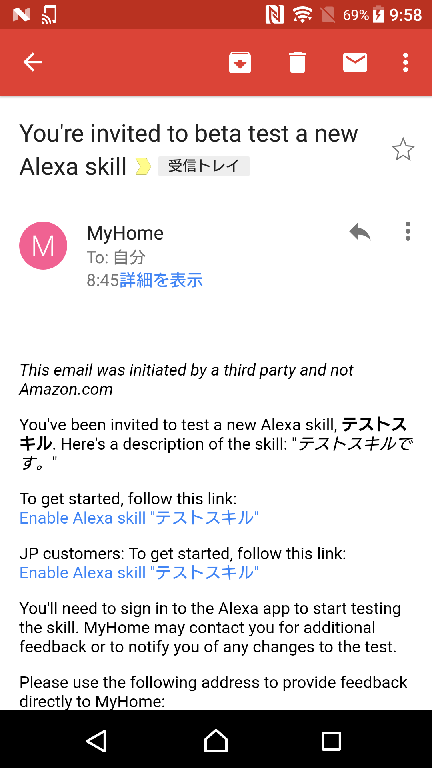
こんな感じでメールが飛んできます。
Enable Alexa skill "テストスキル" のリンクをクリックします。
こんな感じでブラウザが開きます。
Alexaアプリをインストールしてあれば、Open Alexa ボタンをクリックします。
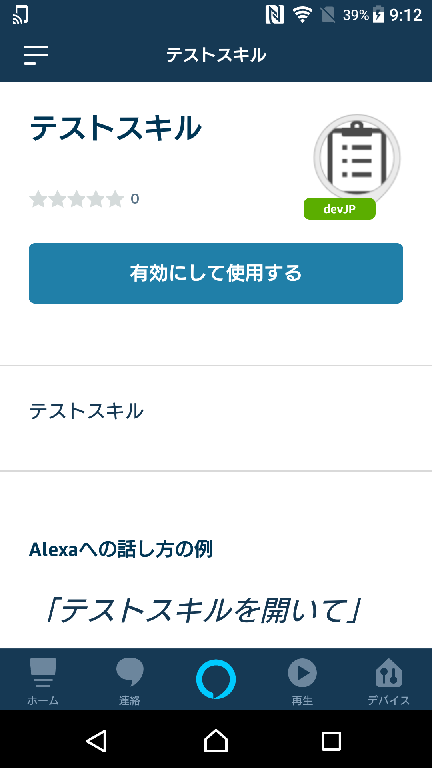
「有効にして使用する」ボタンを押下すると、このスキルを使える状態になります。
さあこれで準備ができました。早速呼び出してみましょう。
まずは、下側の真ん中にある丸いボタンを押下します。
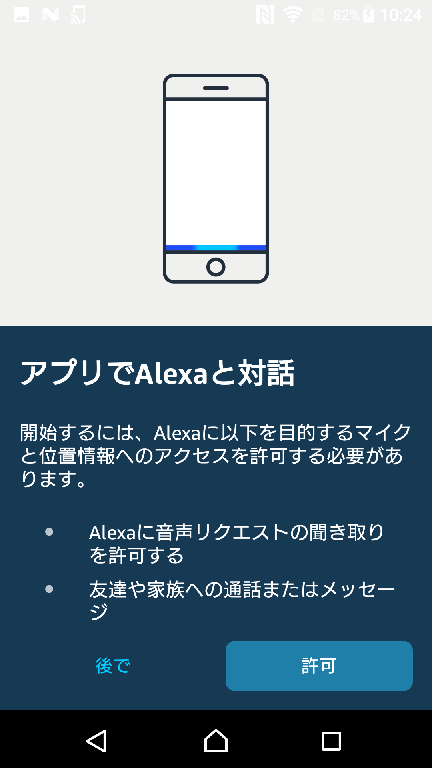
そうすると何やら許可を求めてきます。当然録音が必要なので許可してあげましょう。(これは最初に1回だけ済ませればよいです)
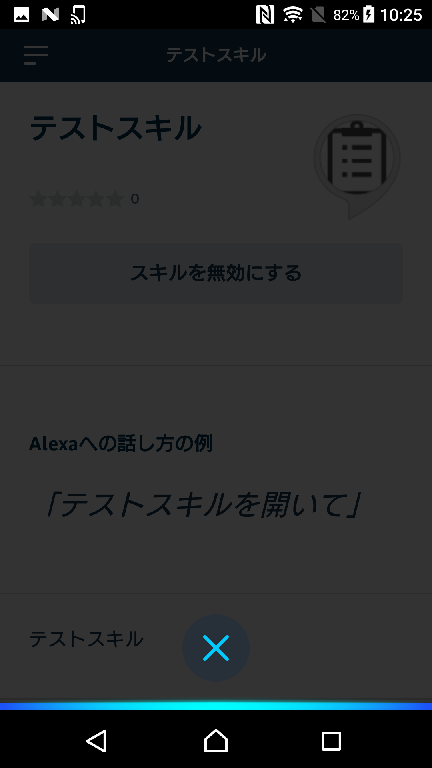
許可が終わると、こんな感じで暗い画面になって、発話待ちになります。
ここで、
→「テストスキルを開いて」
← 「こんにちは」
→ 「ありがとう」
← 「どういたしまして」
てな感じのやり取りができたましたでしょうか?
Echo Dotで試してみる
Alexaアプリとやり方は同じです。「Alexa、」を付け加えてください。
→「Alexa、テストスキルを開いて」
← 「こんにちは」
→ 「ありがとう」
← 「どういたしまして」
Lambdaにアップする
さあ、これで動作確認が終わりましたので、Lambdaに上げます。
やりかたは、以下と同じです。
SwaggerでLambdaのデバッグ環境を作る(1)
SwaggerでLambdaのデバッグ環境を作る(3):Dialogflowをデバッグする
SwaggerでLambdaのデバッグ環境を作る(1)の「AWS LambdaにヘルパライブラリのLayerを追加」のあたりからです。
注意点として、ヘルパーライブラリを追加していますので、レイヤは更新が必要です。
また、Alexa用にnpmモジュールを追加していますので、Lambdaに上げるときに一緒にアップしてください。それについては、SwaggerでLambdaのデバッグ環境を作る(3)の「Lambdaにアップロードする」 のあたりを参考にしてください。
(2019/2/10)
Lambdaへのアップロードに関して、いくつか注意事項があったので、補足します。
アップロード用のZIPファイルの作成で含めるnpmモジュールには、aws-sdkは不要です。
Lambdaにデフォルトで配備されているためです。
Lambdaの設定は以下のような感じです。
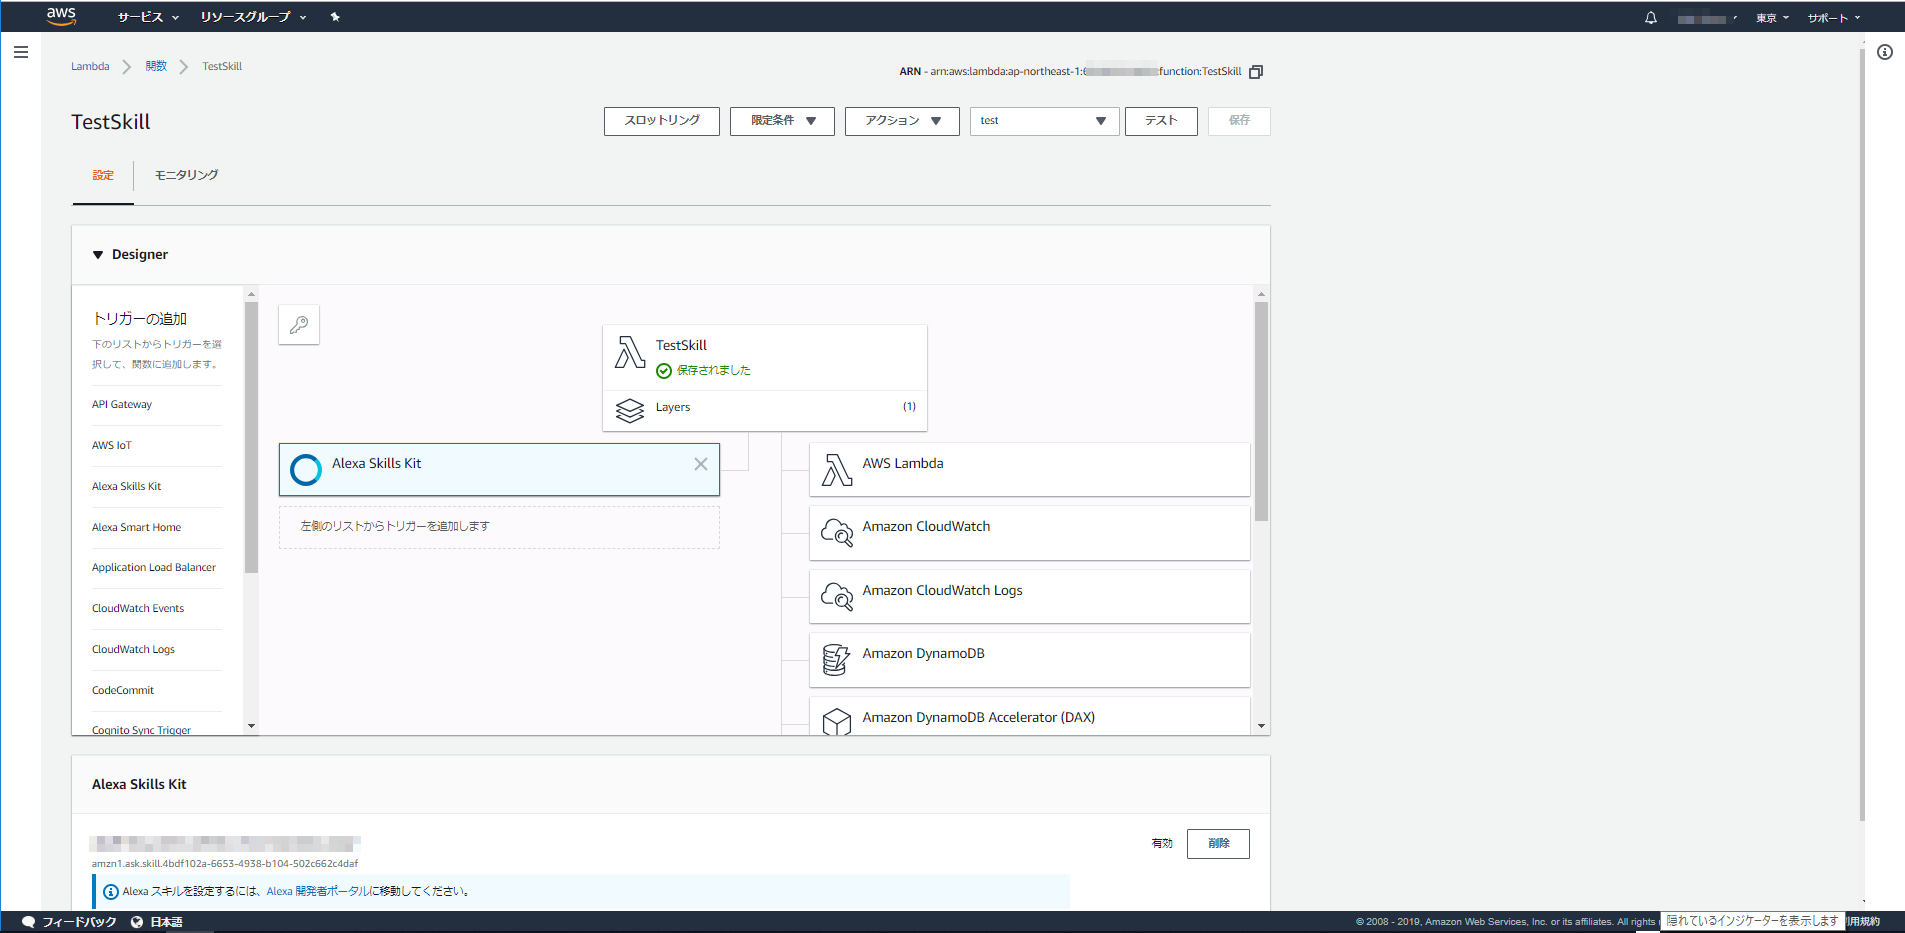
Designerにおいて、トリガは、「Alexa Skills Kit」にします。したがって、API Gatewayは使わないので、設定する必要はありません。
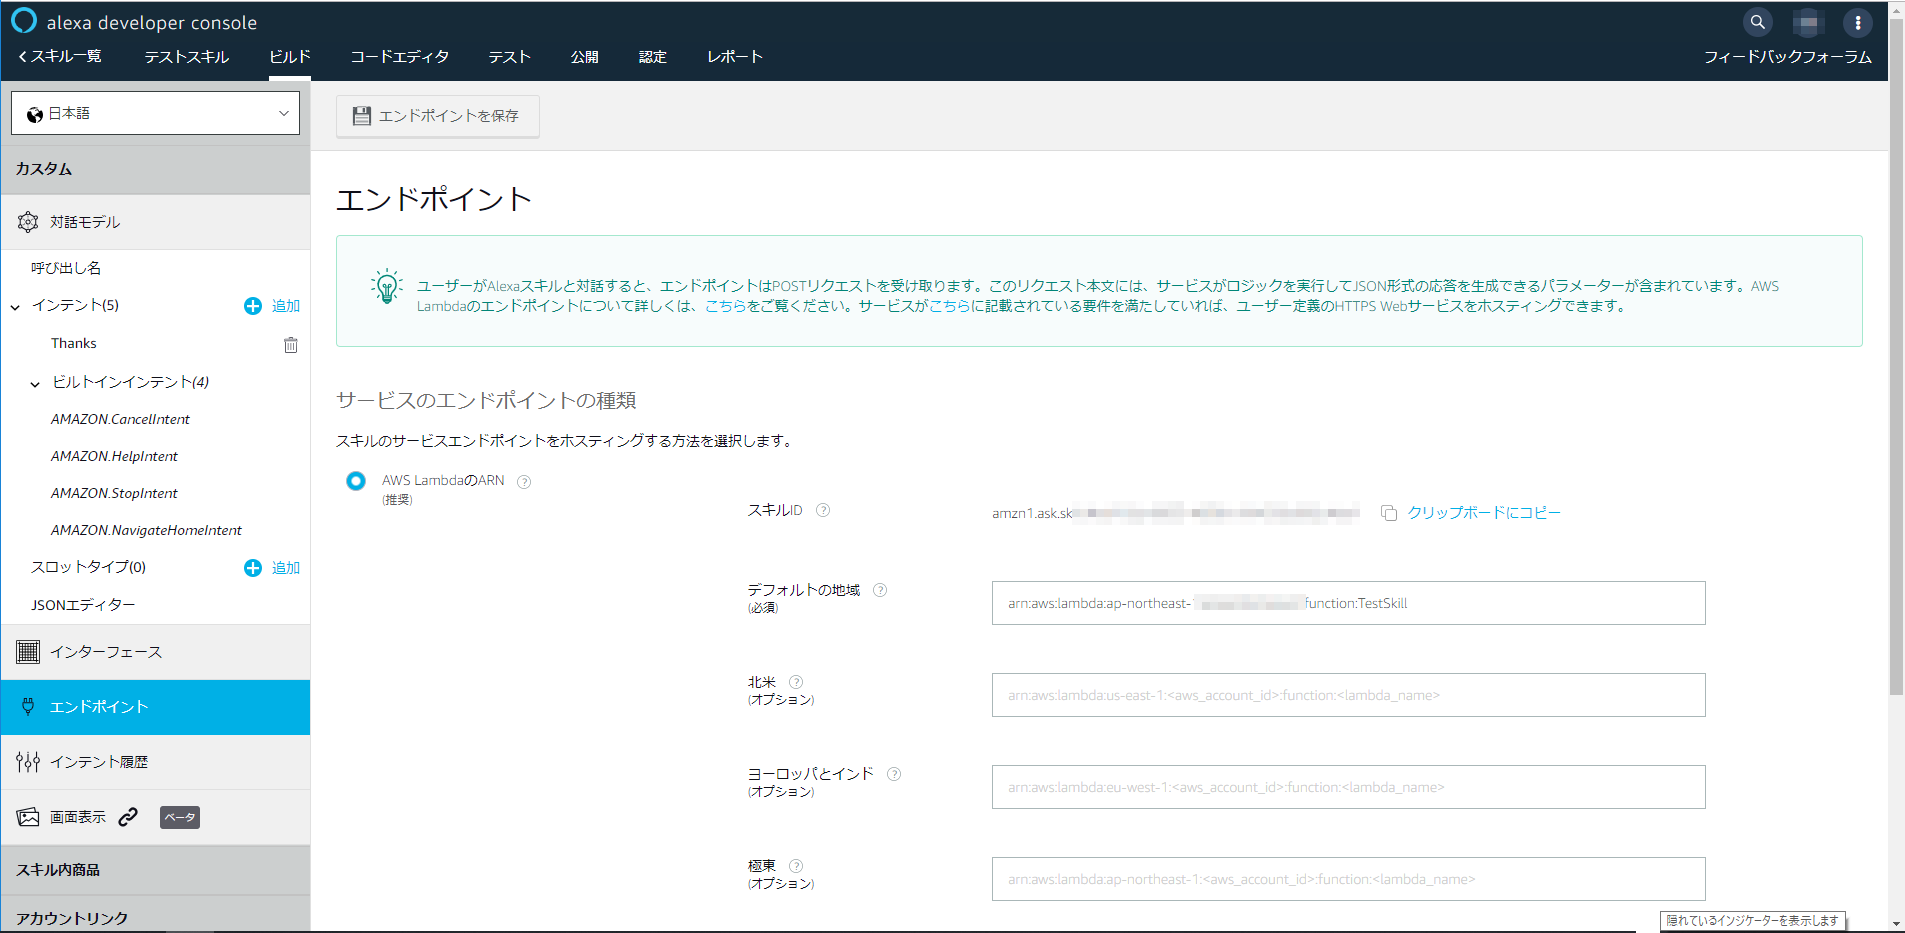
Alexa Skills KitのトリガのスキルIDは、Alexa Develper Consoleのエンドポイントに記載されいてるスキルIDを指定します。
スキルIDは以下のところです。
一方で、Alexa Develper Consoleのエンドポイントのデフォルトの地域のところに、Lamda関数のARNを指定します。Lambdaの関数の右上に記載があります。
以上です。
