確認画面が好きなのは日本人だけなのか、調べてみてもLaravelで確認画面付きフォームを作る例が少ない感じに見えたので、自分がいつもやってる方法を紹介してみる。
前準備
Laravel 5 Repositoriesは使わなくても作れるけれど、使ったほうがコントローラーがスッキリするのでオススメ。
雛形作成
artisanで雛形を作成する。
php artisan make:controller --resource ContactController
php artisan make:request ContactRequest
php artisan make:entity Contact
php artisan make:migration create_contacts_table
Database Migration
マイグレーションをこんな感じに編集して
<?php

use Illuminate\Database\Migrations\Migration;

class CreateContactsTable extends Migration
{
    /**
     * Run the migrations.
     *
     * @return void
     */
    public function up()
    {
        Schema::create('contacts', function (Blueprint $table) {
            $table->increments('id');
            $table->string('name');
            $table->string('email');
            $table->string('subject');
            $table->text('content');
            $table->timestamps();
        });
    }

    /**
     * Reverse the migrations.
     *
     * @return void
     */
    public function down()
    {
        Schema::drop('contacts');
    }
}
artisanでテーブルを作成する
$ php artisan migrate
Mass Assignment
更新するカラムを$fillableに指定する。適切に設定しておかないとMassAssignmentExceptionを吐く。
<?php

namespace App\Entities;

use Illuminate\Database\Eloquent\Model;
use Prettus\Repository\Contracts\Transformable;
use Prettus\Repository\Traits\TransformableTrait;

class Contact extends Model implements Transformable
{
    use TransformableTrait;

    /**
     * The attributes that are mass assignable.
     *
     * @var array
     */
    protected $fillable = [
        'name',
        'email',
        'subject',
        'content',
    ];
}
Routing
php artisan make:controller --resourceで作成されるRESTful Resource Controllersはこんな感じにRoutingを設定できる。
<?php

Route::resource('contacts', 'ContactController', ['only' => ['index', 'store']]);
今回はindexとstoreしか使わないため、そのように指定している。
Form Request Validation
Form Request Validationを使うと、値の検証処理を切り出せるのでコントローラーがすっきりする。
お問い合わせ画面のRequest
<?php

namespace App\Http\Requests;

class ContactRequest extends Request
{
    use ConfirmRequestTrait;

    /**
     * Determine if the user is authorized to make this request.
     *
     * @return bool
     */
    public function authorize()
    {
        return true;
    }

    /**
     * Get the validation rules that apply to the request.
     *
     * @return array
     */
    public function rules()
    {
        return [
            'name'    => 'required',
            'email'   => 'required|email',
            'subject' => 'required',
            'content' => 'required',
        ];
    }

    /**
     * Set custom messages for validator errors.
     *
     * @return array
     */
    public function messages()
    {
        return [
            //
        ];
    }

    /**
     * Set custom attributes for validator errors.
     *
     * @return array
     */
    public function attributes()
    {
        return [
            'name'    => 'お名前',
            'email'   => 'メールアドレス',
            'subject' => '件名',
            'content' => '内容',
        ];
    }
}
use ConfirmRequestTraitを追加することで、確認画面付きのフォームにしている。authorizeメソッドの返り値をtrueにしておかないと、403エラーになるので注意。Form Request ValidationのAuthorizing Form Requestsに詳しい説明が書いてある。
attributesでエラーメッセージの項目名を変更することができてとても便利なのだけれど、これを使ったコードをあげている人をあまり見ないのはなんでだろう?
確認画面の共通処理
After Validation Hookを使って確認画面用フラグの制御をしている。もっとスッキリ書く方法があるかも。
<?php

namespace App\Http\Requests;

use Illuminate\Contracts\Validation\Validator;

trait ConfirmRequestTrait
{
    /**
     * Set custom messages for validator errors.
     *
     * @param \Illuminate\Contracts\Validation\Factory $factory
     *
     * @return \Illuminate\Contracts\Validation\Validator
     */
    public function validator($factory)
    {
        // 値検証前の処理
        if (method_exists($this, 'beforeValidate')) {
            $this->beforeValidate();
        }

        // 確認画面用フラグのバリデーションを追加
        $rules = array_merge($this->rules(), [
            'confirming' => 'required|accepted',
        ]);

        $validator = $factory->make(
            $this->all(),
            $rules,
            $this->messages(),
            $this->attributes()
        );

        $validator->after(function ($validator) {
            $failed = $validator->failed();

            // 確認画面用フラグのバリデーションを除外
            unset($failed['confirming']);

            // 確認画面用フラグ以外にエラーが無い場合は確認画面を表示
            if (count($failed) === 0) {
                $this->merge(['confirming' => 'true']);
            }

            // 値検証後の処理
            if (method_exists($this, 'afterValidate')) {
                $this->afterValidate($validator);
            }
        });

        return $validator;
    }

    /**
     * Format the errors from the given Validator instance.
     *
     * @param  \Illuminate\Contracts\Validation\Validator  $validator
     *
     * @return array
     */
    protected function formatErrors(Validator $validator)
    {
        $errors = parent::formatErrors($validator);

        // 確認画面用フラグのエラーメッセージを削除
        unset($errors['confirming']);

        return $errors;
    }
}
Repository Service Provider
make:entityで生成されたContactRepositoryを登録する。
<?php

namespace App\Providers;

use Illuminate\Support\ServiceProvider;

/**
 * @SuppressWarnings(PHPMD.CouplingBetweenObjects)
 */
class RepositoryServiceProvider extends ServiceProvider
{
    /**
     * Bootstrap the application services.
     *
     * @return void
     */
    public function boot()
    {
        //
    }

    /**
     * Register the application services.
     *
     * @return void
     */
    public function register()
    {
        $repositories = [
            \App\Repositories\ContactRepository::class,
        ];

        foreach ($repositories as $repository) {
            $this->app->bind($repository, $repository.'Eloquent');
        }
    }
}
Blade Templates
共通部分
<!DOCTYPE html>
<html lang="{{ App::getLocale() }}">
    <head>
        <meta charset="utf-8">
        <meta http-equiv="X-UA-Compatible" content="IE=edge">
        <meta name="viewport" content="width=device-width, initial-scale=1">
        <title>@yield('title') - App Name</title>
        @section('styles')
            <link rel="stylesheet" href="{{ elixir('css/app.css') }}">
        @show
        <!--[if lt IE 9]>
            <script src="https://oss.maxcdn.com/html5shiv/3.7.3/html5shiv.min.js"></script>
            <script src="https://oss.maxcdn.com/respond/1.4.2/respond.min.js"></script>
        <![endif]-->
    </head>
    <body class="@yield('body-class')">
        <div class="container">
            @yield('content')
        </div>
        @section('scripts')
            <script src="{{ elixir('js/main.js') }}"></script>
        @show
    </body>
</html>
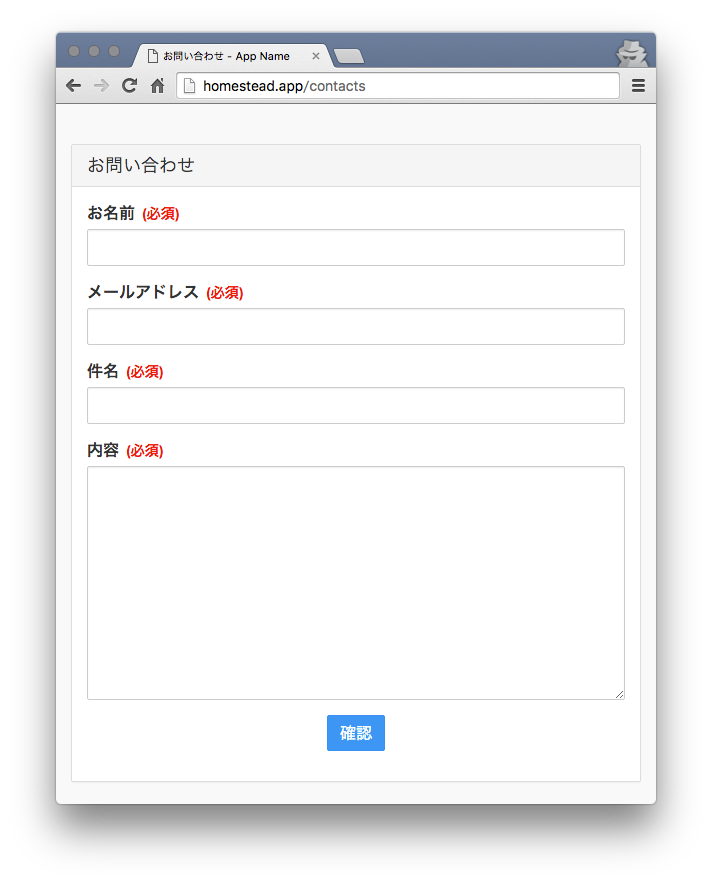
フォーム画面
@extends('layouts.master')

@section('title', 'お問い合わせ')

@section('content')
    @if(count($errors) > 0)
        <div class="alert alert-danger">
            <ul>
                @foreach($errors->all() as $error)
                    <li>{{ $error }}</li>
                @endforeach
            </ul>
        </div>
    @endif
    <div class="panel panel-default">
        <div class="panel-heading">
            <h1 class="panel-title">お問い合わせ</h1>
        </div>
        <div class="panel-body">
            {!! Form::open(['route' => ['contacts.store'], 'method' => 'post']) !!}
                <input type="hidden" name="confirming" value="{{ old('confirming', 'false') }}">
                <div class="form-group required {{ $errors->has('name') ? 'has-error' : '' }}">
                    <label class="control-label" for="name">お名前</label>
                    @if(old('confirming', 'false') === 'false')
                        <input type="text" class="form-control" name="name" value="{{ old('name') }}">
                    @else
                        <p class="form-control-static">{{ old('name') }}</p>
                        <input type="hidden" name="name" value="{{ old('name') }}">
                    @endif
                    @if($errors->has('name'))
                        <p class="help-block">{{ $errors->first('name') }}</p>
                    @endif
                </div>
                <div class="form-group required {{ $errors->has('email') ? 'has-error' : '' }}">
                    <label class="control-label" for="email">メールアドレス</label>
                    @if(old('confirming', 'false') === 'false')
                        <input type="email" class="form-control" name="email" value="{{ old('email') }}">
                    @else
                        <p class="form-control-static">{{ old('email') }}</p>
                        <input type="hidden" name="email" value="{{ old('email') }}">
                    @endif
                    @if($errors->has('email'))
                        <p class="help-block">{{ $errors->first('email') }}</p>
                    @endif
                </div>
                <div class="form-group required {{ $errors->has('subject') ? 'has-error' : '' }}">
                    <label class="control-label" for="subject">件名</label>
                    @if(old('confirming', 'false') === 'false')
                        <input type="text" class="form-control" name="subject" value="{{ old('subject') }}">
                    @else
                        <p class="form-control-static">{{ old('subject') }}</p>
                        <input type="hidden" name="subject" value="{{ old('subject') }}">
                    @endif
                    @if($errors->has('subject'))
                        <p class="help-block">{{ $errors->first('subject') }}</p>
                    @endif
                </div>
                <div class="form-group required {{ $errors->has('content') ? 'has-error' : '' }}">
                    <label class="control-label" for="content">内容</label>
                    @if(old('confirming', 'false') === 'false')
                        <textarea type="text" class="form-control" name="content" rows="10">{{
                            old('content')
                        }}</textarea>
                    @else
                        <p class="form-control-static">{!! nl2br(e(old('content'))) !!}</p>
                        <input type="hidden" name="content" value="{{ old('content') }}">
                    @endif
                    @if($errors->has('content'))
                        <p class="help-block">{{ $errors->first('content') }}</p>
                    @endif
                </div>
                <div class="form-group text-center">
                    @if(old('confirming', 'false') === 'false')
                        <button type="submit" class="btn btn-primary">確認</button>
                    @else
                        <button type="submit" name="action" value="post" class="btn btn-primary">送信</button>
                        <button type="submit" name="action" value="back" class="btn btn-default">戻る</button>
                    @endif
                </div>
            {!! Form::close() !!}
        </div>
    </div>
@endsection
<input type="hidden" name="confirming" value="{{ old('confirming', 'false') }}"> で確認画面の切替をする。
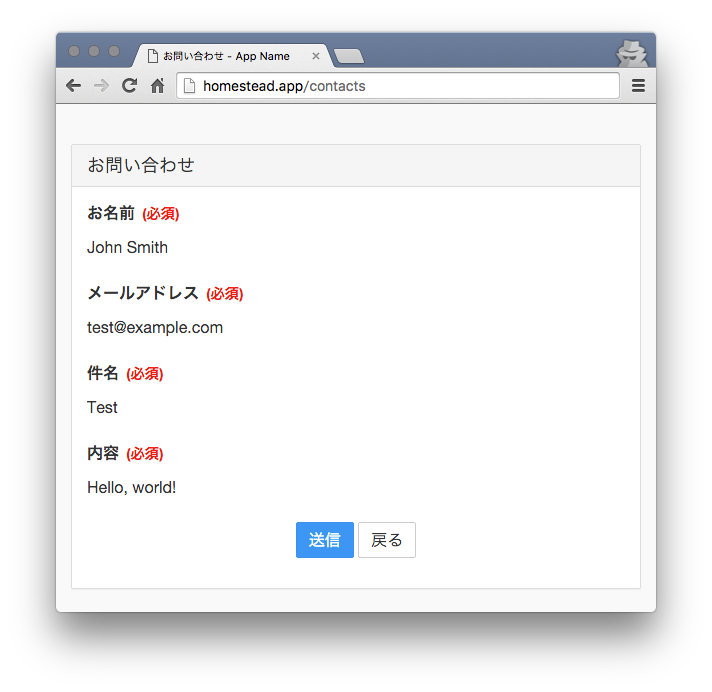
確認画面では「送信」と「戻る」で処理が別れるため、ボタンにnameとvalueを指定して分岐させる。
この例では1つのテンプレートにまとめてしまったけれど、入力パーツ毎に細かいテンプレートを作って使い回せば綺麗に書けると思う。
送信ボタンダブルクリックでの二重送信防止
こんな感じのJavaScriptを仕込んでおくといいと思う。submitを単純に無効化してしまうと、戻るボタンが効かなくなるので注意。
$('form :submit').click(function (event) {
  var TIMEOUT = 10000;
  var target  = event.target;
  var $form   = $(target).closest('form');
  var $submit = $form.find(':submit');

  // clickしたsubmitの値をhiddenに保存
  var $hidden = $('<input/>', {
    type: 'hidden',
    name: target.name,
    value: target.value
  }).appendTo($form);

  event.preventDefault();
  event.stopPropagation();

  // 全てのsubmitを無効化
  $submit.prop('disabled', true);

  // 時間経過でsubmitの無効化を解除
  setTimeout(function () {
    $hidden.remove();
    $submit.prop('disabled', false);
  }, TIMEOUT);

  $form.submit();
});
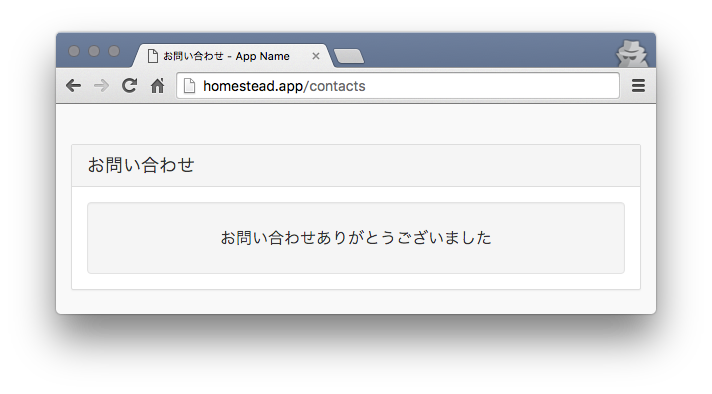
投稿完了画面
@extends('layouts.master')

@section('title', 'お問い合わせ')

@section('content')
    <div class="panel panel-default">
        <div class="panel-heading">
            <h1 class="panel-title">お問い合わせ</h1>
        </div>
        <div class="panel-body">
            <div class="well well-lg text-center">お問い合わせありがとうございました</div>
        </div>
    </div>
@endsection
Controllers
storeメソッドの引数にContactRequestを指定するとForm Request Validationで値の検証ができるので、そのままデータベースに突っ込む。
ここでは完了ページでブラウザリロードされた時に二重送信されないようにトークンの再発行も行っている。
<?php

namespace App\Http\Controllers;

use App\Http\Requests\ContactRequest;
use App\Repositories\ContactRepository;

class ContactController extends Controller
{
    /**
     * @var ContactRepository
     */
    protected $contacts;

    /**
     * コンストラクタ
     *
     * @param ContactRepository $contacts
     */
    public function __construct(ContactRepository $contacts)
    {
        $this->contacts = $contacts;
    }

    /**
     * Display a listing of the resource.
     *
     * @return \Illuminate\Http\Response
     */
    public function index()
    {
        return view('contacts.index');
    }

    /**
     * Store a newly created resource in storage.
     *
     * @param ContactRequest $request
     *
     * @return \Illuminate\Http\Response
     */
    public function store(ContactRequest $request)
    {
        // 確認画面で戻るボタンが押された場合
        if ($request->get('action') === 'back') {
            // 入力画面へ戻る
            return redirect()
                ->route('contacts.index')
                ->withInput($request->except(['action', 'confirming']));
        }

        // データベースに登録
        $this->contacts->create($request->all());

        // ブラウザリロード等での二重送信防止
        $request->session()->regenerateToken();

        // 完了画面を表示
        return view('contacts.thanks');
    }
}
ソースコード
画面サンプル
入力画面
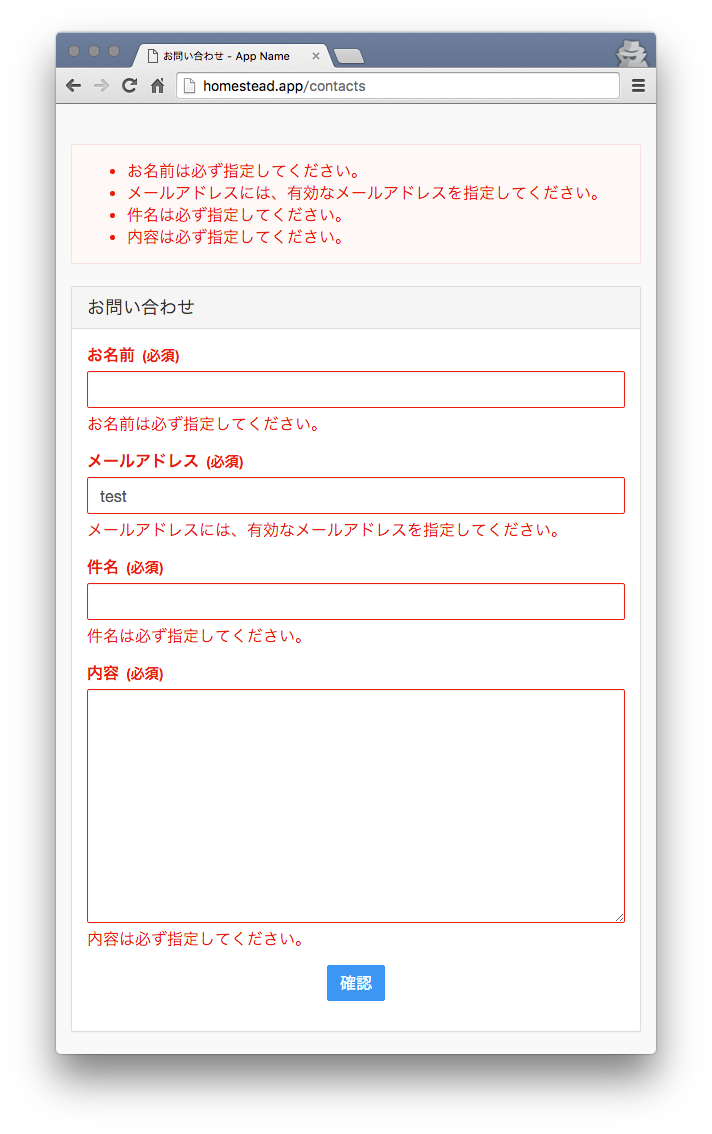
エラー画面
確認画面
完了画面