はじめに
こんにちは、つよしと申します。転職のために、railsとreactでSPAのポートフォリオを制作しました。
この記事では、railsとreactの環境構築と、githubにpushするまでを書いています。
最初の環境構築は情報が違ったりして迷うので、参考にして頂けたら幸いです!!
前提環境
- ruby 2.7.1
- node 14.3
- rails 6.0.3.7
目次
- プロジェクトフォルダ作成
- railsファイル作成
- reactファイル作成
- github登録
事前準備
- yarn
- node
- ruby,rails
以上のインストールができていることを前提にして進めます
プロジェクトフォルダ作成
プロジェクトフォルダを作成
$ mkdir [フォルダ名]
railsファイル作成
プロジェクトフォルダに移動
$ cd [フォルダ名]
rails プロジェクトを作成します。(apiモードで作成する場合は2行目を実行)
$ rails new api -d postgresql

$ rails new api --api -d postgresql  # apiモードで作成する場合はこちらを実行
reactファイル作成
reactプロジェクトを作成します。 (typescriptを作成する場合は2行目実行)
$ npx create-react-app frontend

$ npx create-react-app frontend --template typescript // typescriptを導入したい場合はこちらを実行
確認
ファイル構成確認
下記の様なファイル構成になっていたら大丈夫です。
[プロジェクトフォルダ]
  ├ api
  └ frontend
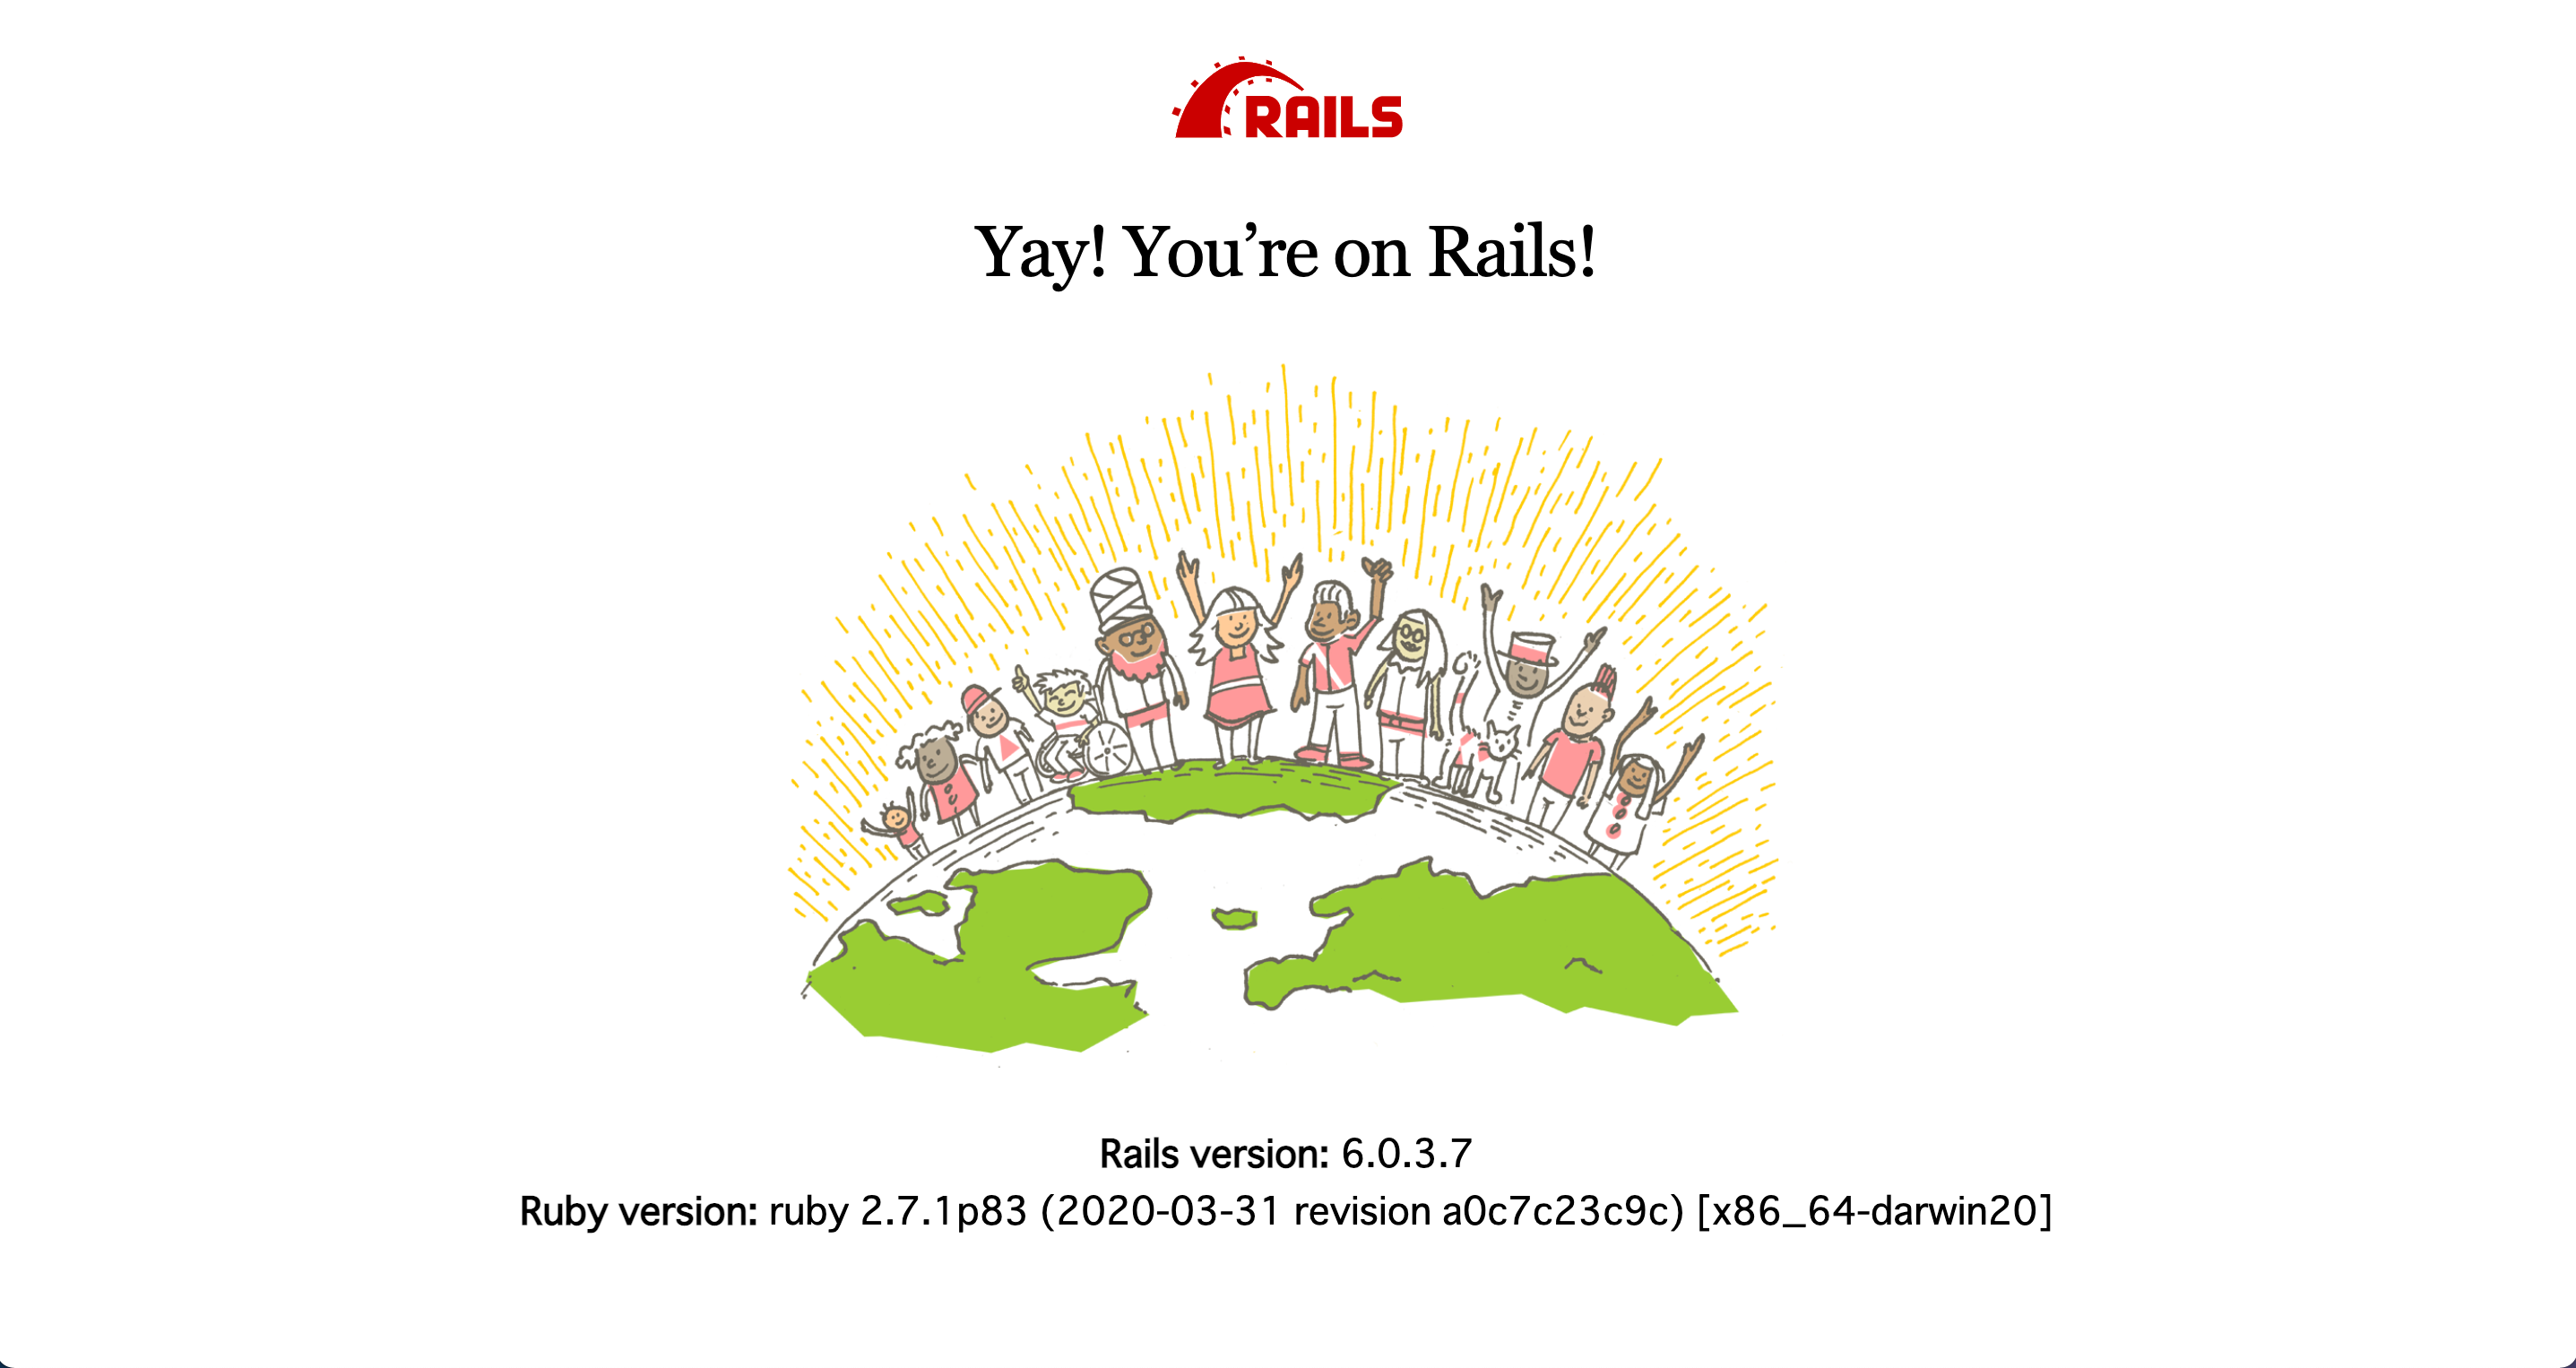
サーバーが動くか確認
rails サーバー
$ cd api
$ rails s
react サーバー
起動時にWould you like to run the app on another port instead?と聞かれますが、yesでOKです。
$ cd frontend

$ cd npm start
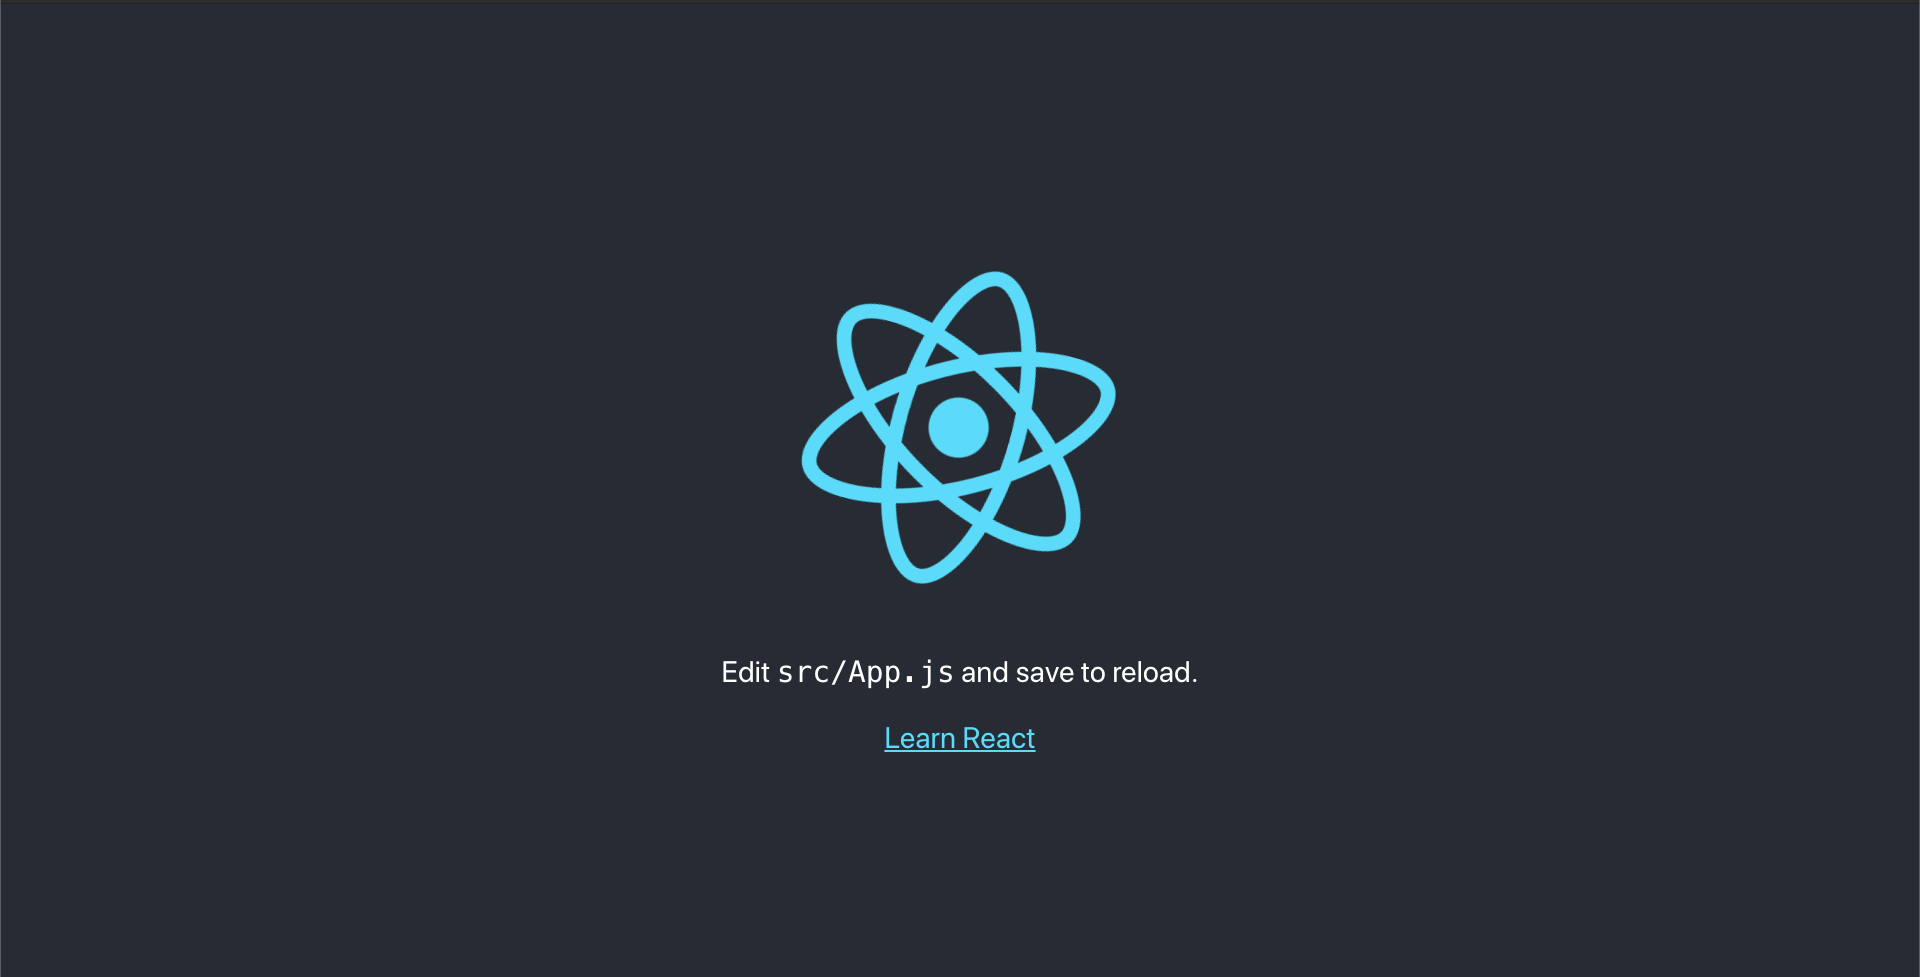
それぞれ、以上のような画面になれば大丈夫です。
npm startの度にyesと打つのは面倒なので、.envファイルを作成して、以下のように記述しましょう。
PORT=3001
CORS設定
railsとreactのローカルサーバーでデータをやり取りするために、CORSの設定をしていきます。
CORSの概要については以下の記事を御覧ください。
gemfileに以下を記述し、bundle installします。
gem 'rack-cors'
$ cd api
$ bundle install
api/app/config/initializersのcors.rbに以下を記述します。
(cors.rbがない場合は作成してください)
Rails.application.config.middleware.insert_before 0, Rack::Cors do
  allow do
    origins 'http://localhost:3001'

    resource '*',
      headers: :any,
      methods: [:get, :post, :put, :patch, :delete, :options, :head]
  end
end
これで、apiとフロント間でデータをやり取りすることができます。
以上で、railsとreactの環境構築ができたので、最後にgit hubにpushしていきましょう。
githubにpush
プロジェクトフォルダで、git add .をすると以下のエラーが起きます。
error: 'api/' does not have a commit checked out
これはapiフォルダに.gitのファイルが存在するため、エラーが起きてしまいます。なので以下のコマンドで削除します。
$ rm -rf api/.git
$ rm -rf frontend/.git
これで、gitコマンドが使えるようになりました。
ルートフォルダにgitignoreを作成しましょう。 以下のコードはrailsとreactのgitignoreをコピペしてディレクトリを編集しました。
# See https://help.github.com/articles/ignoring-files for more about ignoring files.
#
# If you find yourself ignoring temporary files generated by your text editor
# or operating system, you probably want to add a global ignore instead:
#   git config --global core.excludesfile '~/.gitignore_global'

# Ignore bundler config.
/api/.bundle

# Ignore all logfiles and tempfiles.
/api/log/*
/api/tmp/*
/api!/log/.keep
/api!/tmp/.keep

# Ignore pidfiles, but keep the directory.
/api/tmp/pids/*
/api!/tmp/pids/
/api!/tmp/pids/.keep

# Ignore uploaded files in development.
/api/storage/*
/api!/storage/.keep

/api/public/assets
/api.byebug_history

# Ignore master key for decrypting credentials and more.
/api/config/master.key

/api/public/packs
/api/public/packs-test
/api/node_modules
/api/yarn-error.log
/api/yarn-debug.log*
/api/.yarn-integrity


/frontend/node_modules
/frontend/.pnp
/frontend/.pnp.js

# testing
/frontend/coverage

# production
/frontend/build

# misc
/frontend/.DS_Store
/frontend/.env.local
/frontend/.env.development.local
/frontend/.env.test.local
/frontend/.env.production.local

/frontend/npm-debug.log*
/frontend/yarn-debug.log*
/frontend/yarn-error.log*
あとは、github上でレポジトリを作成し、ローカルでadd,commit,pushをしましょう。
最後に
以上で、rails × reactで環境構築 + gitのpushができました。
初学者の方の参考になれば幸いです!!
次の記事では、rails側でapiを実装し、react側で、データを表示する処理を紹介します。