こんにちは、@pompom0c0 です。
この記事は Enigmo Advent Calendar 2018 の18日目の記事です。
17日目の記事は @natten の はじめてのキーボード設計におけるアンチパターン でした。
今日はBUYMA内で使用している見出しデザインついて紹介して行こうと思います。
前置き
今回この記事を書こうと思った経緯
- Sassの
@mixinを実践でどんな風に使っているか知ってほしい! - 使う見出しデザインがパターン化されているので、デフォルトであると便利だと思ったから
想定読者
- LPの実装をするデザイナーの方
-
@mixinは自分から書いたことがない人。
今回扱わないこと
- FLOCSSの設計について
-
@extendや@contentでの書き方紹介
mixinのおさらい
- 別で定義したスタイルを
@includeでなんども呼び出すことができます。 - 引数を指定して、関数的な使い方もできます。
@mixin hoge($color: #fff, $size: 1rem) {
  color: $color;
  font-size: $size;
}
.ttl__1 {
  @include hoge(#000, 2rem);
}
.ttl__2 {
  // 引数は初期値のを使用
  @include hoge();
}
.ttl__1 {
  color: #000;
  font-size: 2rem;
}
.ttl__2 {
  color: #fff;
  font-size: 1rem;
}
引数を使えば初期値で出力するだけでなく、「今回はもう少し違った雰囲気で見せたいな...」という際には値を変えれば
デフォルトでCSSを設定していても、出力結果を冗長させることなく記述することができます。
あとはよくある見出しデザインをSassでまとめて記述しておきます。
よく使う見出しデザインSass
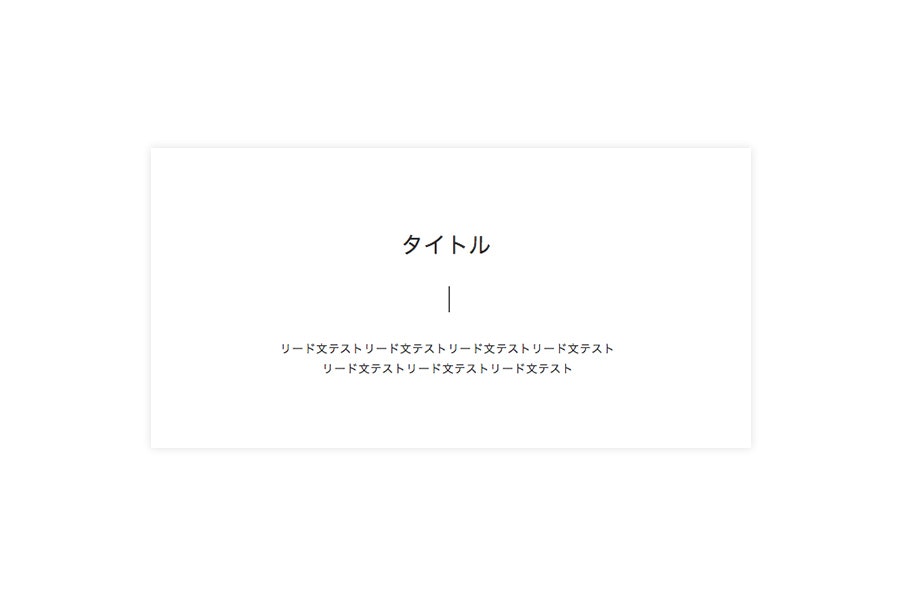
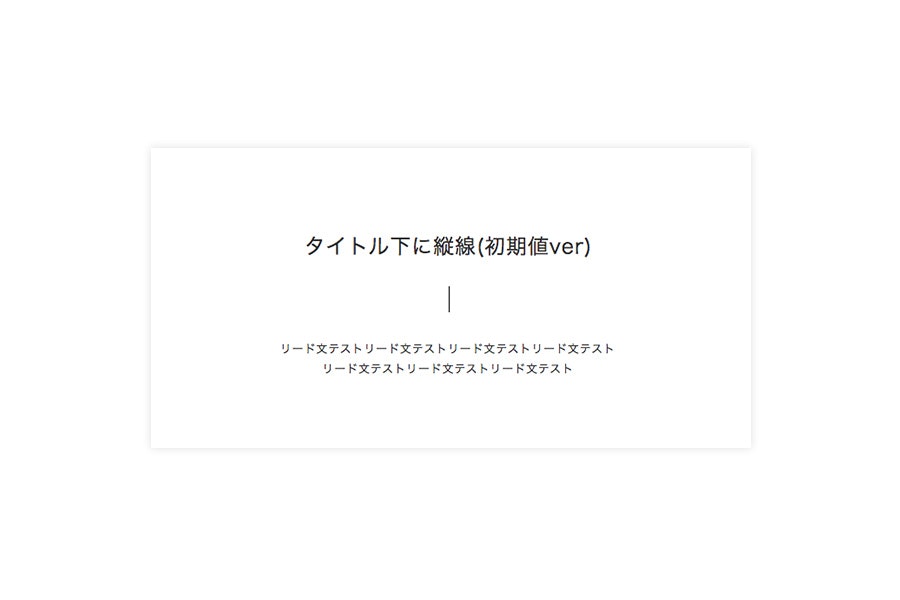
縦線
@mixin line--ver($color: #000, $size: 30px) {
  &::after {
    content: '';
    width: 1px;
    margin-top: 1em;
    margin-bottom: .5em;
    display: inline-block;
    // 線の色と長さを引数にする
    height: $size;
    border-right: solid 1px $color;
  }
}
横線
@mixin line--under($color: #000, $size: 1px) {
  position: relative;
  &::before {
    content: '';
    position: absolute;
    left: 50%;
    bottom: -15px;
    display: inline-block;
    width: 60px;
    -moz-transform: translateX(-50%);
    -webkit-transform: translateX(-50%);
    -ms-transform: translateX(-50%);
    transform: translateX(-50%);
    // 線の色と長さを引数にする
    height: $size;
    background-color: $color;
  }
}
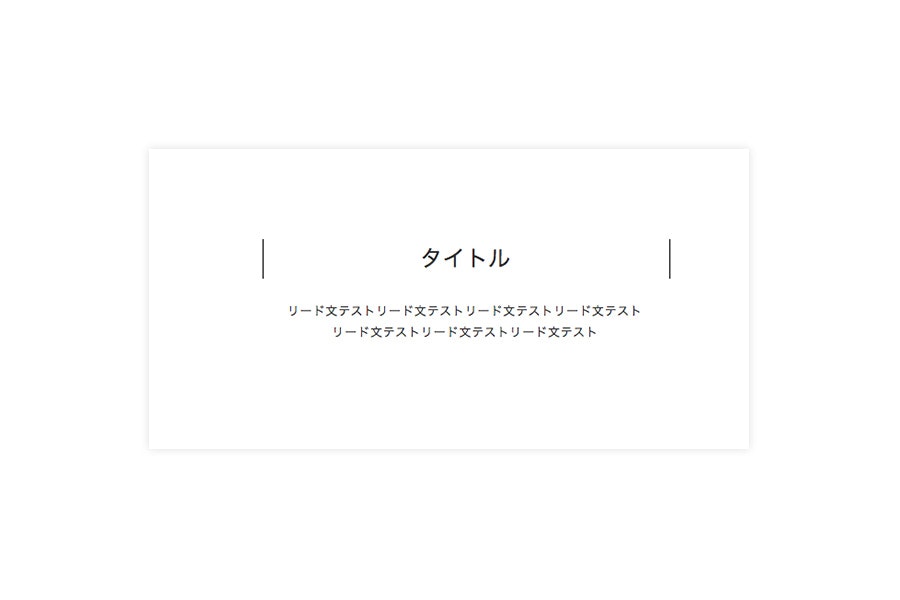
文字横に線
@mixin line--side($color: #000, $size: 1px) {
  border-left: solid $size;
  border-right: solid $size;
  width: 45%;
  margin: 0 auto 1em;
  padding-bottom: 0;
  border-color: $color;
}
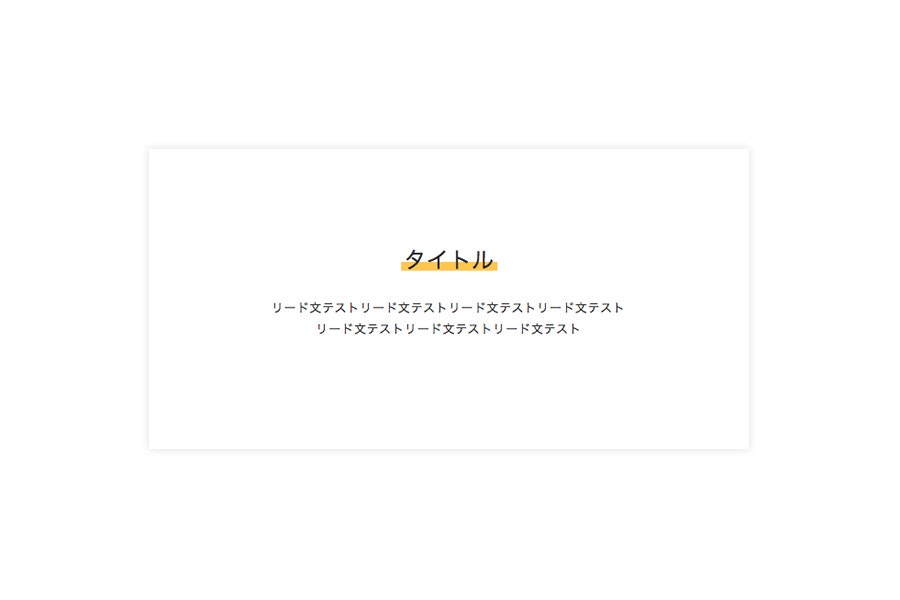
文字下に蛍光ペンでマーキング
@mixin line--maker($color: #ffc63b, $size: .2rem) {
  background: linear-gradient(transparent 60%, $color 60%);
  padding: 0 $size;
}
コンテンツの幅の分だけ色がついてしまうので、マーキングしたい箇所にのみspanタグでclass指定してください。
<div class="framework__ttl">
  <h2><span class="ttl">タイトル</span></h2>
</div>
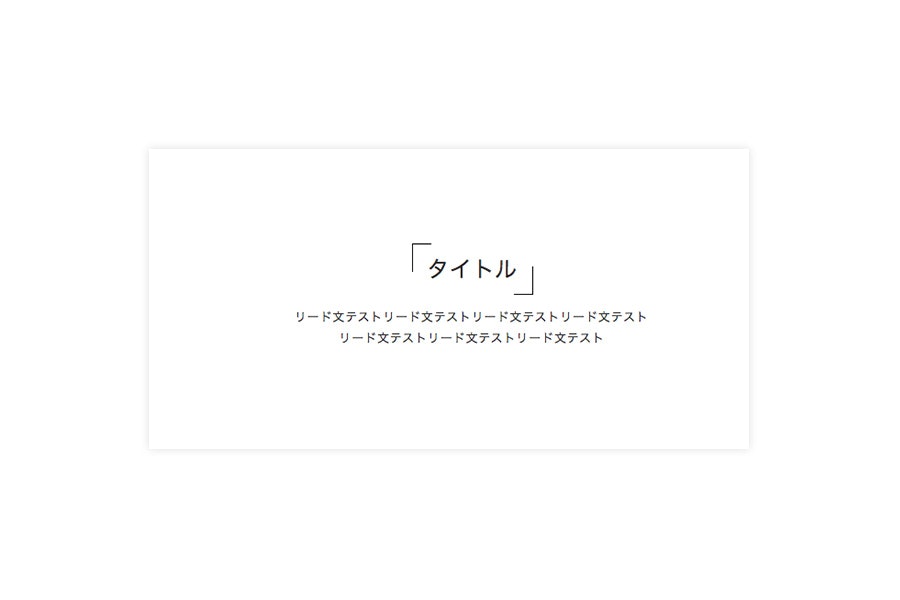
鍵カッコ
@mixin mark--quo($color: #000, $size: 1px) {
  position: relative;
  padding: 1rem;
  &::before, &::after {
      content:'';
      width: 20px;
      height: 30px;
      position: absolute;
      display: inline-block;
  }
  &::before {
      border-left: solid $size $color;
      border-top: solid $size $color;
      top: 0;
      left: 0;
  }
  &::after {
      border-right: solid $size $color;
      border-bottom: solid $size $color;
      bottom: 0;
      right: 0;
  }
}
まとめ
久しぶりに使う見出しデザインを実装する直前になって
「あ、これどうやって書くんだっけ・・・」とググるのは生産的じゃないな〜と思ってまとめてみました。
@mixin使ってるけど引数までは使ってない!使いこなしてみたい!って方に参考になればと思います。
参考サイト
Sass(SCSS)のmixin, extendなどまとめ
Sassで@mixinを作る時に知っておきたい基礎知識
より素早くCSSコーディングするための、Sass(SCSS)のmixinスニペット集
