30日でできる!OS自作入門(記事一覧)[Ubuntu16.04/NASM]
目的
"30日でできる!OS自作入門"の内容をUbuntu(Linux)で実行するには本の内容だけでは厳しいので調べた結果をメモ。
実行環境
- Ubuntu 16.04 LTS
- nasm (naskではなくより一般的なnasmを使用しました)
(追記:2018/05/29)
ソースコードは以下のGitHubにあげています。
https://github.com/pollenjp/myHariboteOS
バイナリファイル作成(helloos.img)
何らかのバイナリエディタをインストールして入力していきます。
自分はghexを使いました。
ghexのインストール
$ sudo apt install ghex
($ sudo apt-get install ghex)
helloos.img
$ touch helloos.img
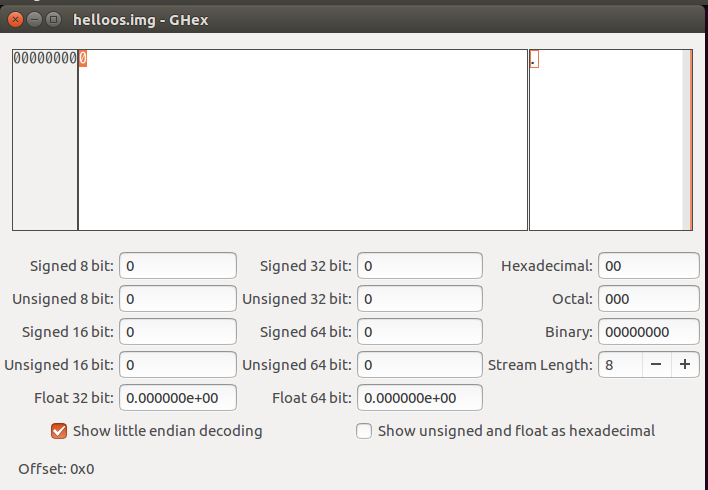
$ ghex helloos.img
Insertボタンまたは[Edit]->[Insert Mode]を押すと入力できるようになるので本に書いてあるとおりに入力していく。(自分はおよそ1日かかりました。朝からおしっぱなしに(固定)して次の日の朝くらいまで)
また、offsetは左下に表示されています。
表示
エミュレータで表示
qemuをインストールして、実行させましょう。
$ sudo apt install qemu
$ qemu-system-i386 helloos.img
Virtualboxで起動 (2019/02/02追記)
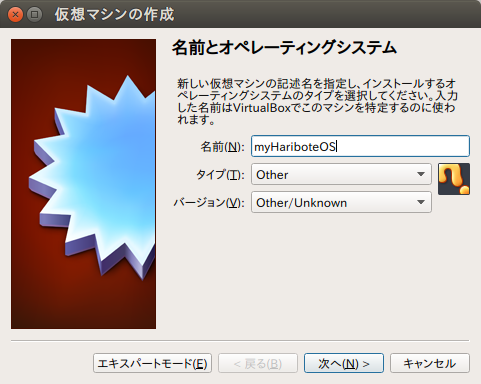
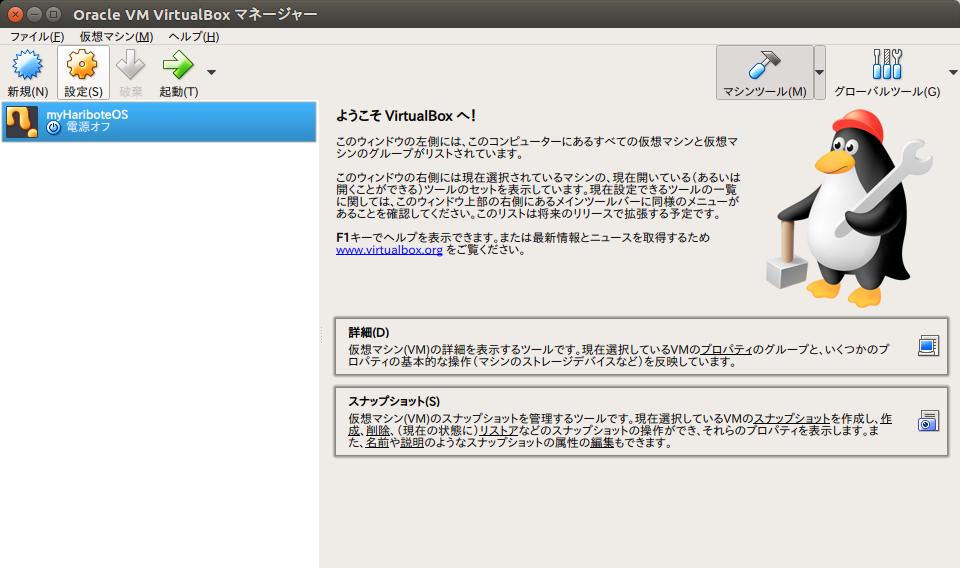
新規をクリック
- タイプ:Other
- バージョン:Other/Unknown
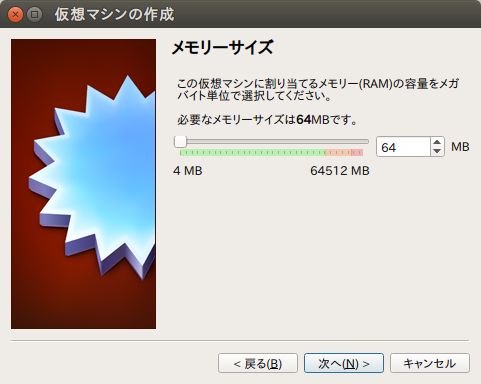
今は全然メモリいらないが、もし必要になったらまた新規に作ればいいと思います。
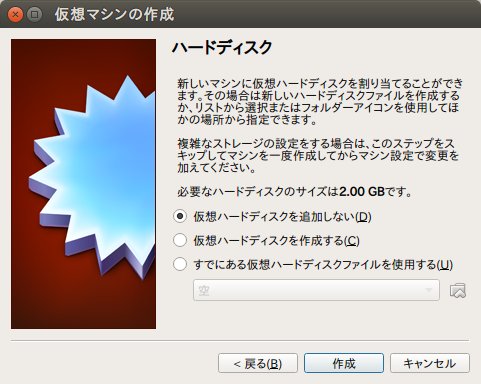
仮想ハードディスクは作成する必要が無いので「追加しない」。
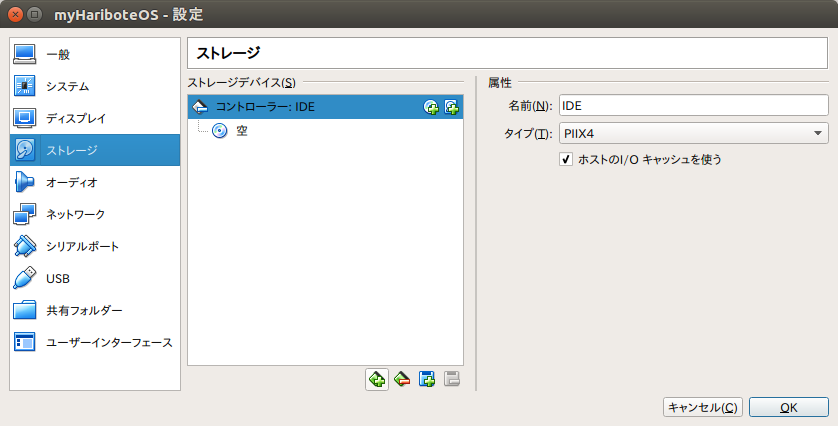
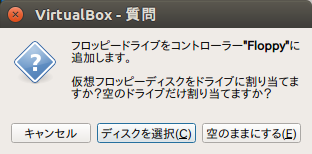
下の「+(新しいストレージコントローラを追加します)」から「フロッピーコントローラを追加を選択」

「コントローラ:Floppy」の右側にある「+」を選択し、「ディスクを選択」から自分の「helloos.img」を選択
USBブートでPC上に表示
これらの記事が参考になります。
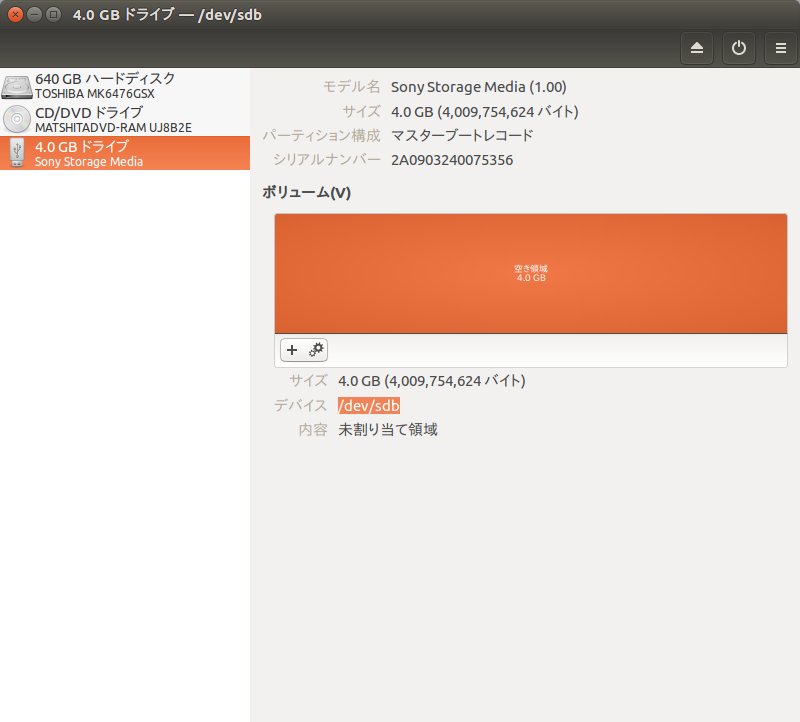
その際にUSBがsdb何なのかを以下の手順で確認できます。
USBを確認
diskを検索して実行してUSBがどこに割り当てられているのかを確認

アセンブラ
$ vi helloos.asm
; hello-os
; TAB=4

    DB      0xeb, 0x4e, 0x90
    DB      "HELLOIPL"      ; ブートセレクタの名前を自由にかいていよい  (8Byte)
    DW      512             ; 1セクタの大きさ                           (512にしなければならない)
    DB      1               ; クラスタの大きさ                          (1セクタにしなければならない)
    DW      1               ; FATがどこから始まるか                     (普通は1セクタ目からにする)
    DB      2               ; FATの個数                                 (2にしなければならない)
    DW      224             ; ルートディレクトリ領域の大きさ            (普通は224エントリにする)
    DW      2880            ; このドライブの大きさ                      (2880セクタにしなければならない)
    DB      0xf0            ; メディアタイプ                            (0xf0にしなければならない)
    DW      9               ; FAT領域の長さ                             (9セクタにしなければならない)
    DW      18              ; 1トラックにいくつのセクタがあるか         (18にしなければならない)
    DW      2               ; ヘッドの数                                (2にしなければならない)
    DD      0               ; パーティションを使っていないのでここは必ず0
    DD      2880            ; このドライブの大きさをもう一度書く
    DB      0, 0, 0x29      ; よくわからないけどこの値にしておくといいらしい
    DD      0xffffffff      ; たぶんボリュームシリアル番号
    DB      "HELLO-OS   "   ; ディスクの名前                            (11Byte)
    DB      "FAT12   "      ; フォーマットの名前                        (8Byte)
    RESB    18              ; とりあえず18バイト開けておく

; Program Main Body

    DB  0xb8, 0x00, 0x00, 0x8e, 0xd0, 0xbc, 0x00, 0x7c
    DB  0x8e, 0xd8, 0x8e, 0xc0, 0xbe, 0x74, 0x7c, 0x8a
    DB  0x04, 0x83, 0xc6, 0x01, 0x3c, 0x00, 0x74, 0x09
    db  0xb4, 0x0e, 0xbb, 0x0f, 0x00, 0xcd, 0x10, 0xeb
    db  0xee, 0xf4, 0xeb, 0xfd

; Message

    db      0x0a, 0x0a
    db      "hello, world"
    db      0x0a
    db      0

    resb    0x1fe-($-$$)

    db      0x55, 0xaa

; ブート以外の記述

    db      0xf0, 0xff, 0xff, 0x00, 0x00, 0x00, 0x00, 0x00
    resb    4600
    db      0xf0, 0xff, 0xff, 0x00, 0x00, 0x00, 0x00, 0x00
    resb    1469432
helloos.asmを書き終えたら以下を実行してアセンブリ言語をバイナリデータに変換
$ nasm helloos.asm -o helloos.img
helloos.asm:22: warning: uninitialized space declared in .text section: zeroing
helloos.asm:39: warning: uninitialized space declared in .text section: zeroing
helloos.asm:46: warning: uninitialized space declared in .text section: zeroing
helloos.asm:48: warning: uninitialized space declared in .text section: zeroing
なんかwarningが吐かれたがまだ知識の浅い自分にはわかりません。。。
分かり次第追記いたします。
バイナリデータの中身を確認したい方は以下のコマンドで確認できます。
*は同じ値が続くことを表しています。
$ hexdump -C helloos.img
00000000  eb 4e 90 48 45 4c 4c 4f  49 50 4c 00 02 01 01 00  |.N.HELLOIPL.....|
00000010  02 e0 00 40 0b f0 09 00  12 00 02 00 00 00 00 00  |...@............|
00000020  40 0b 00 00 00 00 29 ff  ff ff ff 48 45 4c 4c 4f  |@.....)....HELLO|
00000030  2d 4f 53 20 20 20 46 41  54 31 32 20 20 20 00 00  |-OS   FAT12   ..|
00000040  00 00 00 00 00 00 00 00  00 00 00 00 00 00 00 00  |................|
00000050  b8 00 00 8e d0 bc 00 7c  8e d8 8e c0 be 74 7c 8a  |.......|.....t|.|
00000060  04 83 c6 01 3c 00 74 09  b4 0e bb 0f 00 cd 10 eb  |....<.t.........|
00000070  ee f4 eb fd 0a 0a 68 65  6c 6c 6f 2c 20 77 6f 72  |......hello, wor|
00000080  6c 64 0a 00 00 00 00 00  00 00 00 00 00 00 00 00  |ld..............|
00000090  00 00 00 00 00 00 00 00  00 00 00 00 00 00 00 00  |................|
*
000001f0  00 00 00 00 00 00 00 00  00 00 00 00 00 00 55 aa  |..............U.|
00000200  f0 ff ff 00 00 00 00 00  00 00 00 00 00 00 00 00  |................|
00000210  00 00 00 00 00 00 00 00  00 00 00 00 00 00 00 00  |................|
*
00001400  f0 ff ff 00 00 00 00 00  00 00 00 00 00 00 00 00  |................|
00001410  00 00 00 00 00 00 00 00  00 00 00 00 00 00 00 00  |................|
*
00168000
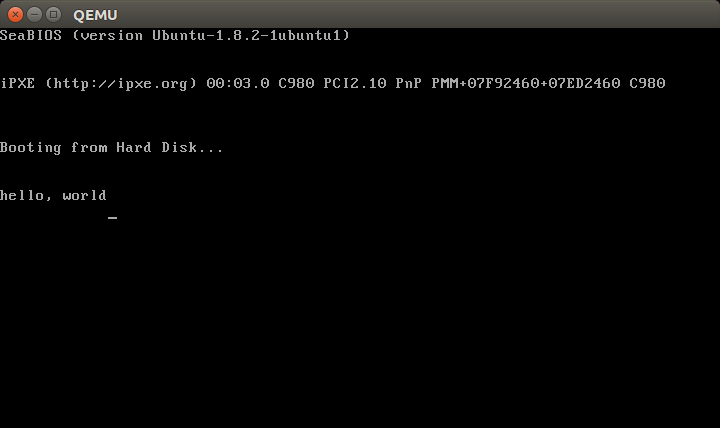
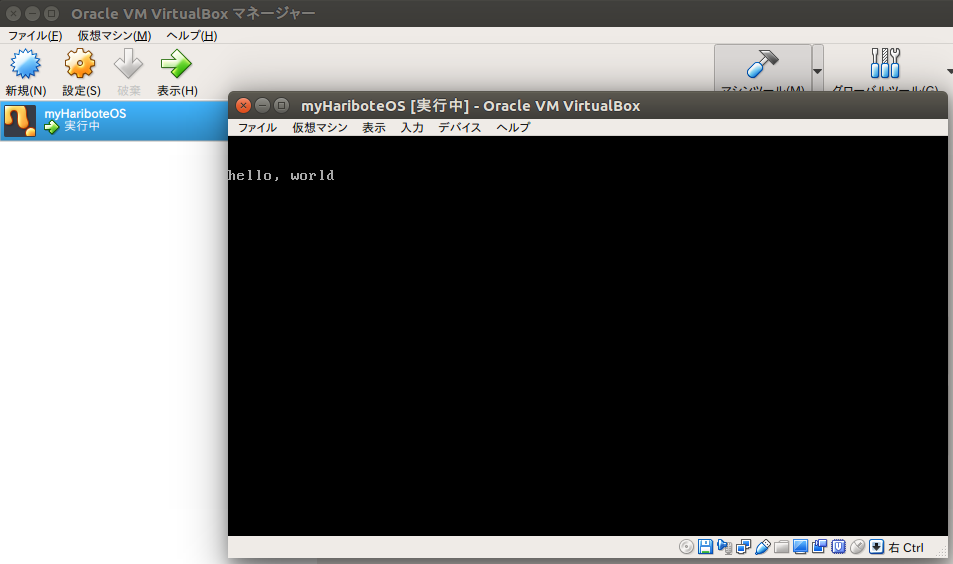
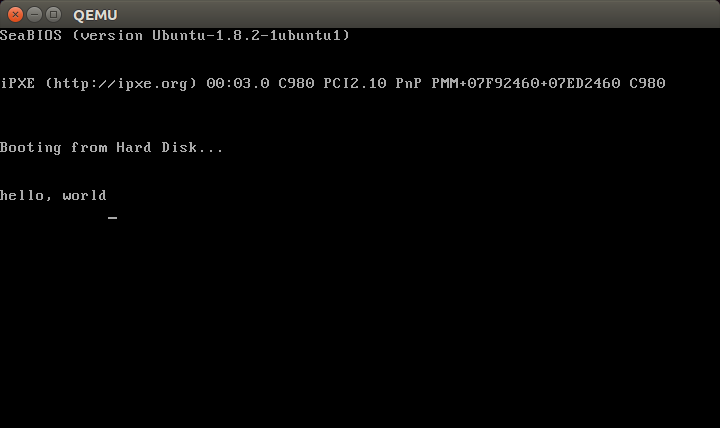
では、エミュレータで確認します。
$ qemu-system-i386 helloos.img
おまけ
アセンブル時に-lオプションをつけると対応する機械語が表示できる。
$ nasm helloos.asm -o helloos.img -l helloos.lst

