TL;DR
Node.js の python-shell パッケージを使うと VSCode 拡張機能内で Python が呼び出せます。
つくったもの
VSCode の拡張機能は TypeScript で開発しますが、JavaScript や TypeScript に不慣れなため、Python で書きたいなと思っていました。調べると python-shell という Node.js のパッケージがあり、これを使えばできるのでは?、と思いやってみました。
動かすと以下のような感じです。見栄えしないですが、右下のメッセージは Python から出したものです。
やった手順
Your First Extension を作る
VSCode 拡張機能の開発環境を作るのは、元々 VSCode を使っていれば非常に簡単です。以下の記事に従っていけばすぐにデバッグ環境が整います。
python-shell を追加
npm install python-shell
で python-shell を追加します。その他の変更点は以下の通りです。
README.md などは無視してもらって、Your First Extension を元に自分の手で変更したのは python/hello.py と src/extension.ts だけです。
Python 側
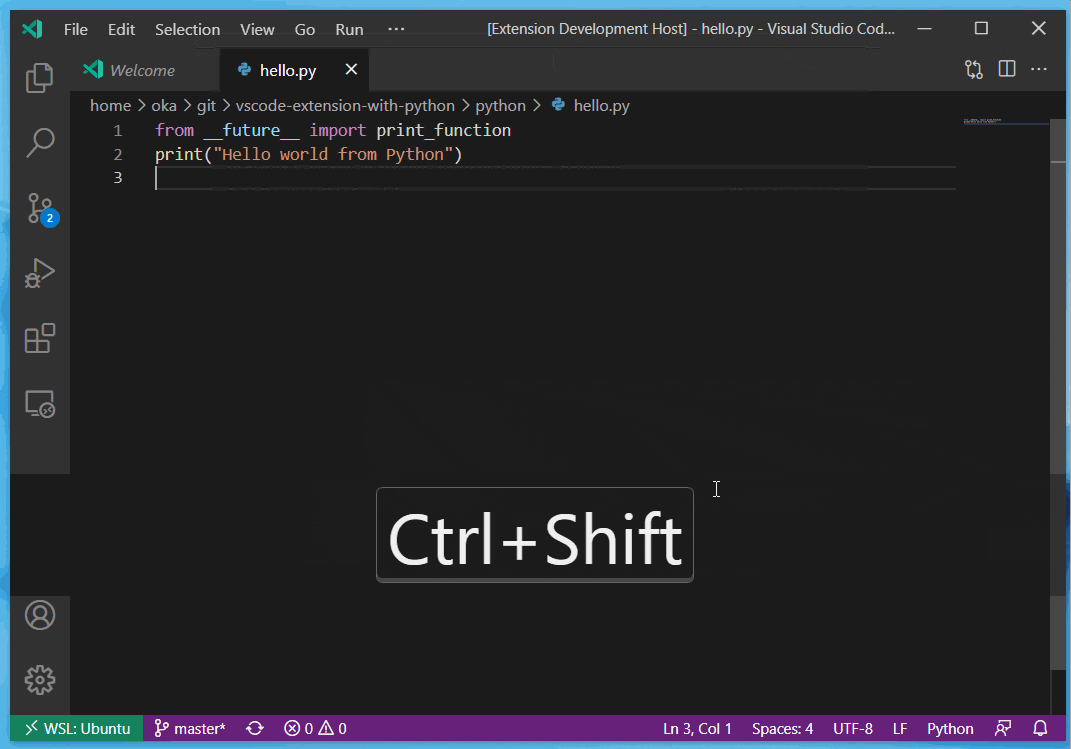
python/hello.py が拡張機能から呼び出すスクリプトで、今回は第一引数をプリントするだけのものにしています。Python2 でも Python3 でも動きます。
from __future__ import print_function
import sys
print(sys.argv[1])
TypeScript 側
呼び出し側の src/extension.ts ですが、まず L. 4 で python-shell をインポートしています。
import { Options, PythonShell } from 'python-shell';
L.24 - L.30 で インストールされた拡張機能への path と、Python インタプリタへの path を取得しています。
// ログ出力などは省略

let ext_path = vscode.extensions.getExtension('undefined_publisher.vscode-extension-with-python')?.extensionPath;

let pythonpath = vscode.workspace.getConfiguration('python').get<string>('pythonPath');
拡張機能名 'undefined_publisher.vscode-extension-with-python' は作った拡張機能によって変わります。vscode.workspace.getConfiguration('python').get<string>('pythonPath') は VSCode の現在のワークスペースで選択しているインタプリタになります。
L.31 - L.49 は Python スクリプトを作らず、Python の文をそのまま実行する例です (略)。
L.51 - L.69 が python/hello.py を呼び出しているところです。
// ログ出力などは省略

		let options2: Options = {
			mode: 'text',
			pythonPath: pythonpath,
			pythonOptions: ['-u'],
			scriptPath: ext_path,
			args: ['Hello world from Python']
		};

		PythonShell.run('python/hello.py', options2, function (err, res) {
			if (err) {
				console.log(err);
				throw err;
			}
			const res_str: string = (res || [''])[0];
			vscode.window.showInformationMessage(res_str);
		});
まず python-shell に渡すための Options オブジェクトを作り、pythonPath, scriptPath, args などを設定します。オプションについて詳細は公式情報を参照してください。
scriptPath は実行するスクリプトの置かれた path です。実行したいスクリプトは
拡張機能のインストール場所/python/hello.py
にあるので、 scriptPathを拡張機能のインストール場所に設定しておきます。
PythonShell.run('python/hello.py', options2, function (err, res)
の部分で実行するスクリプトとオプションを指定して実行しています。
実行時にエラーが起こると if (err) {} の中が実行されます。正常に実行されると res に標準出力が改行で区切ったリストで入っているので1、1つ目の要素を取得して VSCode 内に表示しているのが vscode.window.showInformationMessage(res_str); の部分です。
おわりに
VSCode 拡張機能から Python を呼び出す方法を紹介しました。筆者のように TypeScript は分からないけど、Python なら書けるという人にとっては便利なのではないかと思います2。本記事の TypeScript は雰囲気で書いているので、書き方がおかしいなどあればご指摘ください。
追記
上記のやり方で、 Evernote のノートを検索する拡張機能を作りました。
さらに追記
上記の拡張機能は結局 Python を使わないように書き換えました。