背景
スプレッドシートをデータベースとして簡易的なデータベースを作成したい、
さらにデータを引っ張るときに手間をかけずにサクッとデータを取得したいと思い作成しました。
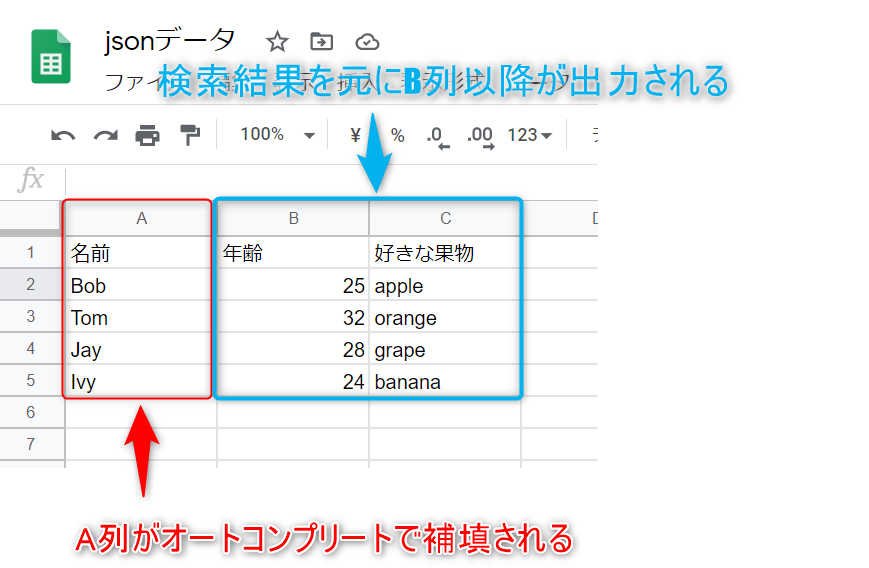
完成イメージ
スプレッドシートの準備
今回の作成した内容だとスプレッドシートのA列が
オートコンプリートの対象となる列で、それ以降で
引っ張りたいデータとなります。
取得したいデータを作成したら下記のコードを作成します。
function doGet(e) {

  const values = SpreadsheetApp.getActiveSheet().getDataRange().getValues();
  const columns = values.shift();
  const json = {};

  for(let i=0; i<values.length; i++){
    json[values[i][0]] = {};
    for(let j=1; j<columns.length; j++){
      json[values[i][0]][columns[j]] = values[i][j];
    }
  }

  return ContentService.createTextOutput(JSON.stringify(json)).setMimeType(ContentService.MimeType.JSON);
}
jsonという変数に下記を作成しています。
{ Bob: { '年齢': 25, '好きな果物': 'apple' },
  Tom: { '年齢': 32, '好きな果物': 'orange' },
  Jay: { '年齢': 28, '好きな果物': 'grape' },
  Ivy: { '年齢': 24, '好きな果物': 'banana' } }
下記のコードを作成した上で、
公開 > ウェブアプリケーションとして公開 から公開範囲を Anyone, even anonymous にして、更新し、
発行されるURLを取得します。
テキストエディタで実装
拡張機能にいきなり実装するより、テキストエディタで試した方が簡単なので、動作確認しましょう。
今回はJQuery UIにあるAutocompleteを使用して実装しています。
https://jqueryui.com/autocomplete/
<!DOCTYPE html>
<html lang="jp">
<head>
  <meta charset="UTF-8">
  <title>Document</title>
</head>
<body>
  <input type="text" id="input">
  <button id="btn">データ取得</button>
  <div id="displayText"></div>

  <script src="https://ajax.googleapis.com/ajax/libs/jquery/3.5.1/jquery.min.js"></script>
  <script src="https://code.jquery.com/ui/1.12.1/jquery-ui.js"></script>
  <script>

    const url = '{スプレッドシートの公開で取得したURL}';
    const json = fetch(url)
      .then(res => res.json());

    // オートコンプリートの実装
    $(document).ready(() => {
      json.then(res => {
        $('#input').autocomplete({
          source: Object.keys(res)
        })
      })
    });

    // ボタンクリック時のアクション
    $('#btn').click(() => {
      json.then(res => {
        // オブジェクトからテキストに入力されている名前の情報を取得
        const obj = res[$('#input').val()];

        // #displayTextに反映させる情報の作成
        let html = '▼情報';
        for(let key of Object.keys(obj)){
          html += `<br>${key}:${obj[key]}`;
        }
        $('#displayText').html(html);
      });
    });
  </script>
</body>
</html>
JQueryをCDNで取得
JQueryとJQuery UIのCDNはそれぞれ下記から取得しました。
▼JQuery
https://developers.google.com/speed/libraries#jquery
▼JQuery UI
https://code.jquery.com/ui/
これでHTMLファイルでの動きは作成できました。
Chrome拡張機能での実装
必要なデータのダウンロード
Chrome拡張機能で実装する場合はCDNは使えないみたいなので、
JQuery, JQuery UIが使用できるようにダウンロードして読み込む必要があります。
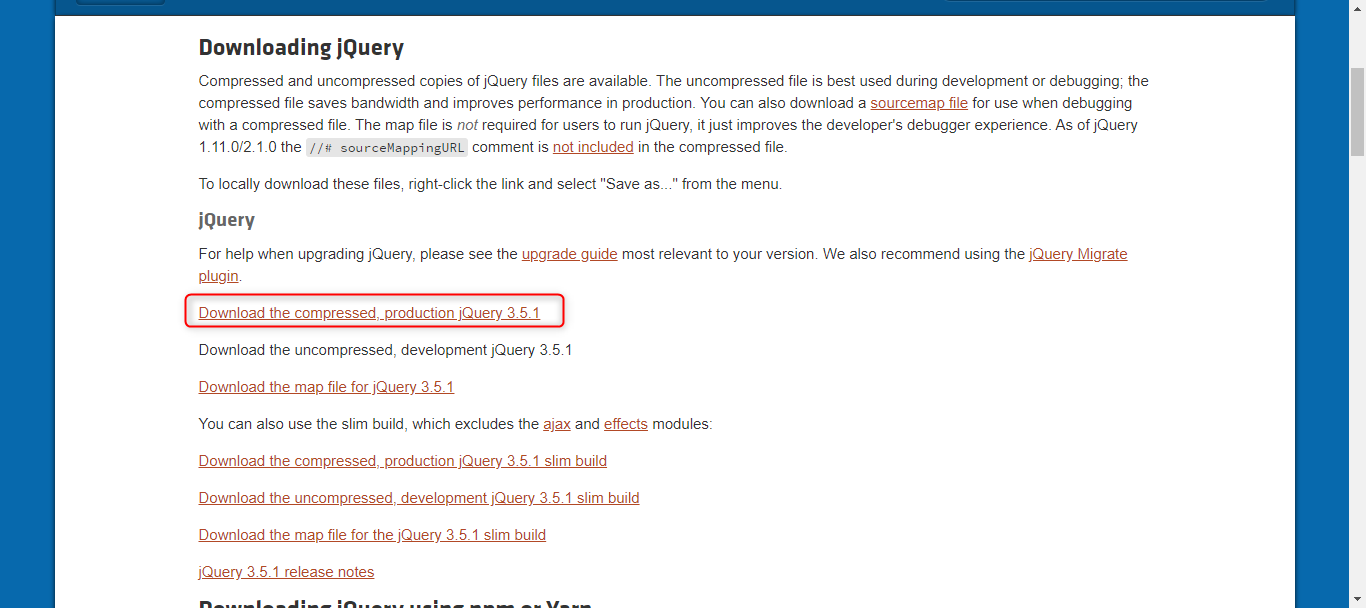
▼JQuery
https://jquery.com/download/
下記画像箇所を右クリックして名前をつけてリンク先を保存でファイル取得します。
jquery-3.5.1.min.js というファイル名が取得できると思います。
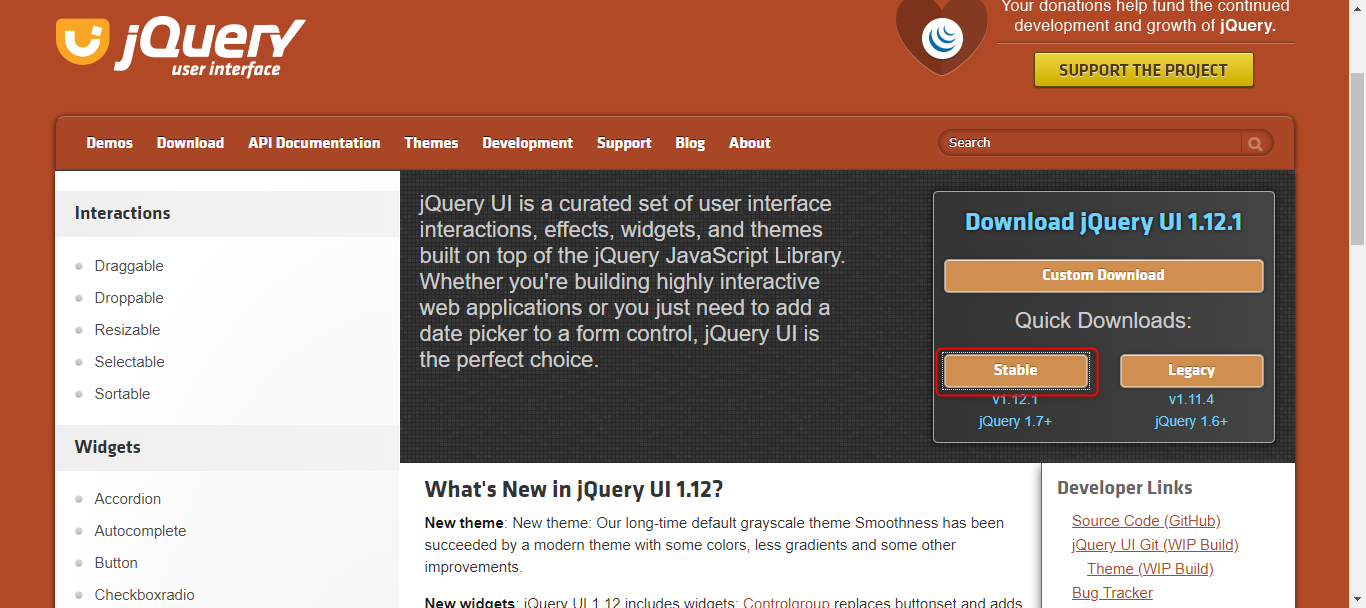
▼JQuery UI
https://jqueryui.com/
下記画像箇所をクリックしてダウンロードします。
本当は上にあるCustom Downloadから必要な箇所のみダウンロードしたかったのですが、
途中でサイトエラーになり断念しました。
jquery-ui-1.12.1.zip が取得できるので解凍しておきましょう。
フォルダの準備
manifest.jsonは下記の構造になるように用意します。
フォルダ
  ├ manifest.json
  ├ popup.html
  ├ picture.png
  ├ js(フォルダ)
  │   ├ jquery-3.5.1.min.js ※JQuery
  │   ├ jquery-ui.min.js ※JQuery UI
  │   └ popup.js
  │
  └ css(フォルダ)
      ├ jquery-ui.theme.min.css ※JQuery UI
      └ style.css
上記の内※で補足しているファイルは先ほどダウンロード中にあるので、
そこからデータを移動させてください。
manifest.jsonの作成
{
  "name": "スプレッドシートからの情報取得",
  "version": "1.0",
  "manifest_version": 2,
  "description": "スプレッドシートからの情報取得ための拡張機能",

  "browser_action":{
    "default_icon": "picture.png",
    "defalt_title": "title",
    "default_popup": "popup.html"
  }
}
html, jsファイルの用意
<!DOCTYPE html>
<html lang="ja">
<head>
  <meta charset="UTF-8">
  <link type="text/css" href="css/style.css" rel="stylesheet" />
  <link type="text/css" href="css/jquery-ui.theme.min.css" rel="stylesheet" />
</head>

<body style="min-width: 300px;">
  <div class="text">▼検索したい名前を入力</div>
  <input type="text" id="input">
  <button id="btn">データ取得</button>
  <div class="text" id="displayText"></div>

  <script src="js/jquery-3.5.1.min.js"></script>
  <script src="js/jquery-ui.min.js"></script>
  <script src="js/popup.js"></script>
</body>
</html>
htmlでは用意したcss, jsファイルの読み込みを行っています。
bodyのスタイルを変えることによって表示の幅を変更することが可能です。
const url = '{スプレッドシートの公開で取得したURL}';

const json = fetch(url)
  .then(res => res.json());

$(document).ready(() => {
  json.then(res => {
    $('#input').autocomplete({
      source: Object.keys(res)
    })
  })
});

$('#btn').click(() => {
  json.then(res => {
    const obj = res[$('#input').val()];
    let html = '▼情報';

    for(let key of Object.keys(obj)){
      html += `<br>${key}:${obj[key]}`;
    }

    $('#displayText').html(html);
  });
});
以上です。
開いてすぐだと反応しないこともあるので、スプレッドシートのデータ量が多くなったら、
あまりつかえないかもしれないなと思っています。
こちらだとスプレッドシートが公開状態になっているので、OAuthを使って認証して、
同じことができる方法を記載した記事も作成しました。


