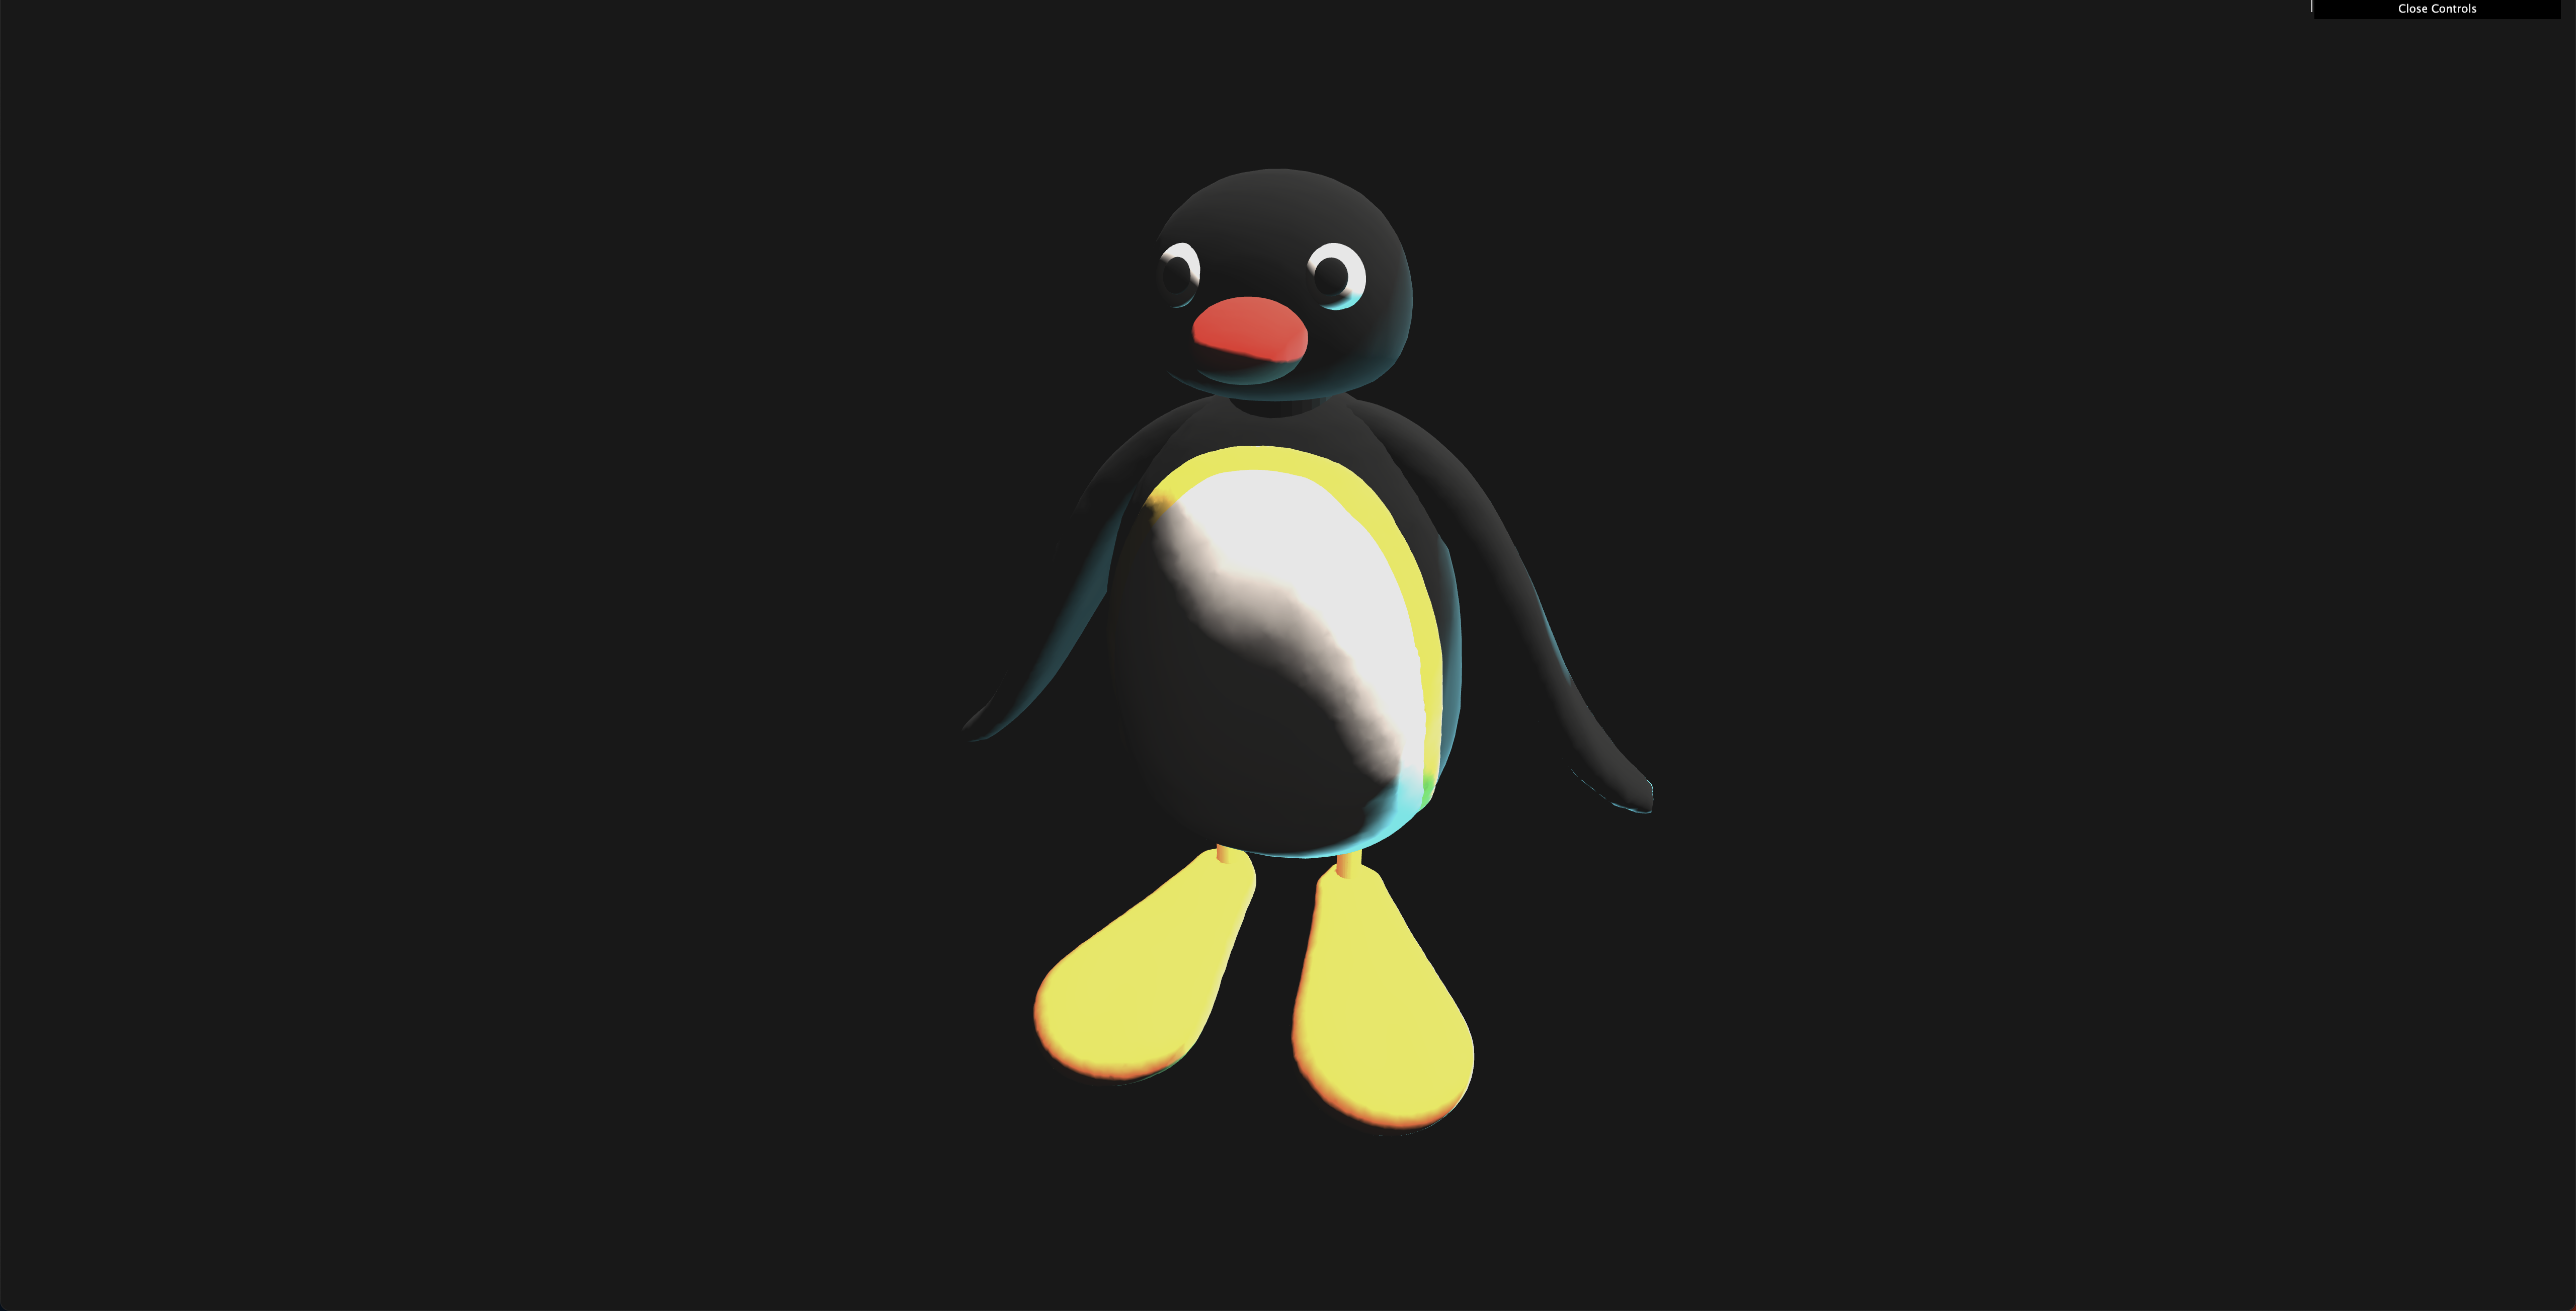
完成品
今回はピングーに活躍いただきました。
角度をマウス操作で自由に変えられるよ!


STEP1: 3Dモデルを手に入れる
3Dモデルを作りたいところだが、今回は省略。
自作でなくてもOKな人はライセンスフリーなのを適当にSketchfabから拾ってこよう
自作で作りたい!という方は無料3DモデリングソフトのBlenderがおすすめ
Three.jsを使用する
ここから本題
Three.jsとは何か
本来であれば3Dモデルの描画はWebGLで表現する必要がある
でも大丈夫
Three.jsを使えばjsだけで気軽にできる
公式ドキュメント参照
じゃあWebGLとは何か
二次元および三次元の描画をHTMLのcanvasタグにおいて行うことができるAPI
GPUにアクセスしてWeb上で表現できる幅が広がったもの
公式ドキュメント参照
Three.jsのインストール
使い方は3つ
ローカルサーバを立てないとき
- 公式サイトからダウンロードして必要ファイルを持ってくる
- CDNがあるのでそれを使う
ローカルサーバを立てるとき
- npm install three で入れる
ローカルサーバを立てなくてもCORSを許可したらjsがモデルを見に行けるが...あまりおすすめしない
今回は自前の3Dモデルピングーを使うのでローカルサーバを立てる
Three.jsでコーディング
githubに完成したのをあげましたhttps://github.com/pingu-noots/threejs-pingu
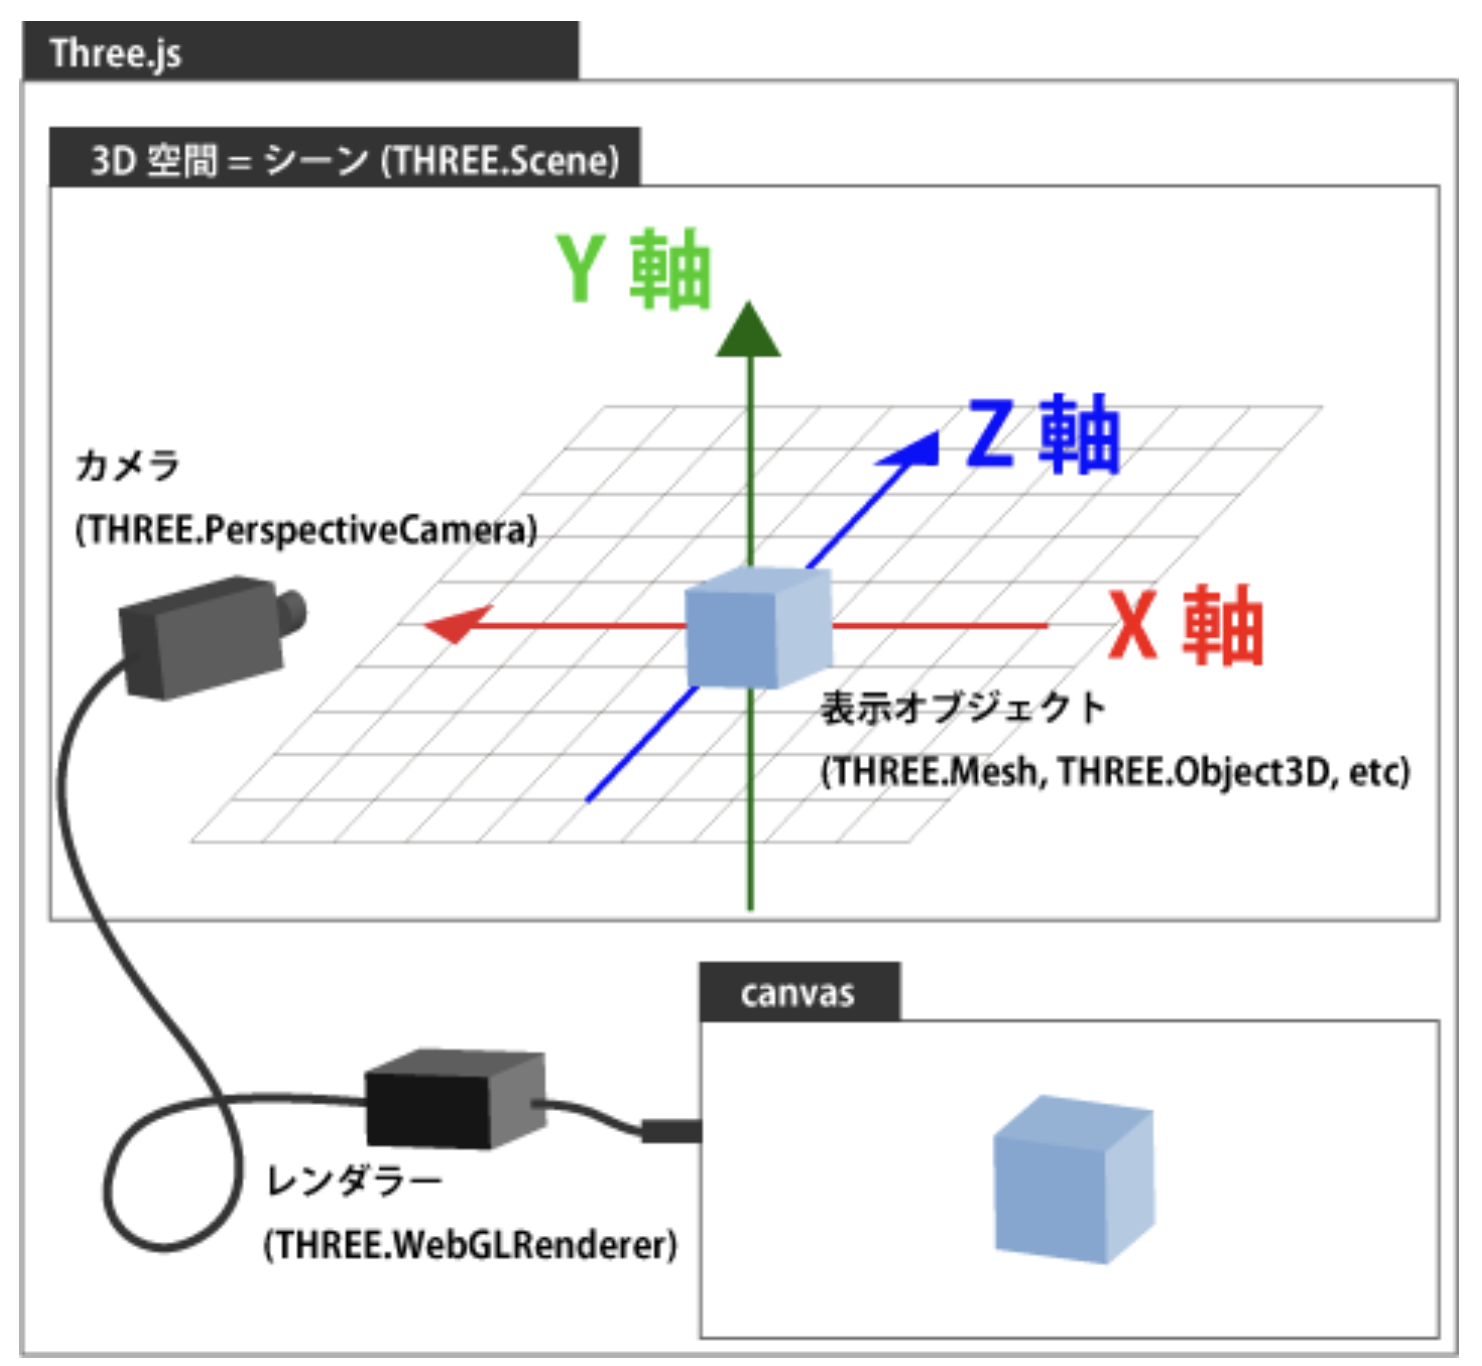
必要な要素
大きく分けて以下が必要
・レンダラー
・シーン
・カメラ
・物質(モデル)
それらの構成が上手いことまとまっている図がこちら(画像はICS MEDIAから)

コード解説
https://github.com/pingue-noots/threejs-pingu のコードの中で重要なものを抜粋して紹介
レンダラー、シーン、ライト、カメラを作る
// レンダラー
const renderer = new THREE.WebGLRenderer({
  canvas: canvas,
  alpha: true,
  antialias: true,
});
// シーン
const scene = new THREE.Scene();
// ライト
const pointLight = new THREE.PointLight();
// カメラ
const camera = new THREE.PerspectiveCamera()
モデルを読み込ませる
loader.load(
  // モデルの場所
  url,
  // 3Dモデルをsceneに入れる
  function (gltf) {
    model = gltf.scene;
    model.position.set(0, -0.5, 0);
    scene.add(model);
    //ANIMATION
    mixer = new THREE.AnimationMixer(model);
    gltf.animations.forEach((animation) => {
      actions.push(mixer.clipAction(animation).play());
    });
    tick();
  },
  function (error) {
    console.log("An error happened");
    console.log(error);
  }
);
ピングーをマウス操作できるようにするなどのアニメーションの追加
const tick = () => {
  const delta = clock.getDelta();
  mixer.update(delta);

  // Update Orbital Controls マウス操作の有効化
  controls.update();

  // Render
  renderer.render(scene, camera);

  // Call tick again on the next frame ここが大事!次フレームにアニメーションを渡す
  window.requestAnimationFrame(tick);
};
見てみよう!
githubのコードはwebpackでbundleしてます
npm run devでサーバを立ち上げlocalhost:8080に行くと...
ピングーだ!

好きな3Dモデルに置き換える
今回はピングーでしたがgithubのソースコードの /static/textures/ にお好きな3Dモデルを入れて以下の部分を変えたらお好きなものを表示できます。
const url = "/textures/pingu.glb";