この記事の目的
- Next.jsでブログを作成したときの備忘録
- 画像表示する際にエラーが出たのでその備忘録
概要
前提:Next.jsのプロジェクト内に画像を追加し、その画像を表示する
行なっていることはただプロジェクト内の画像を表示しているだけです
- ①画像を追加
- ②next.config.jsを編集
- ③next/imageインポート
- ④Image書き方
- ⑤エラーについて
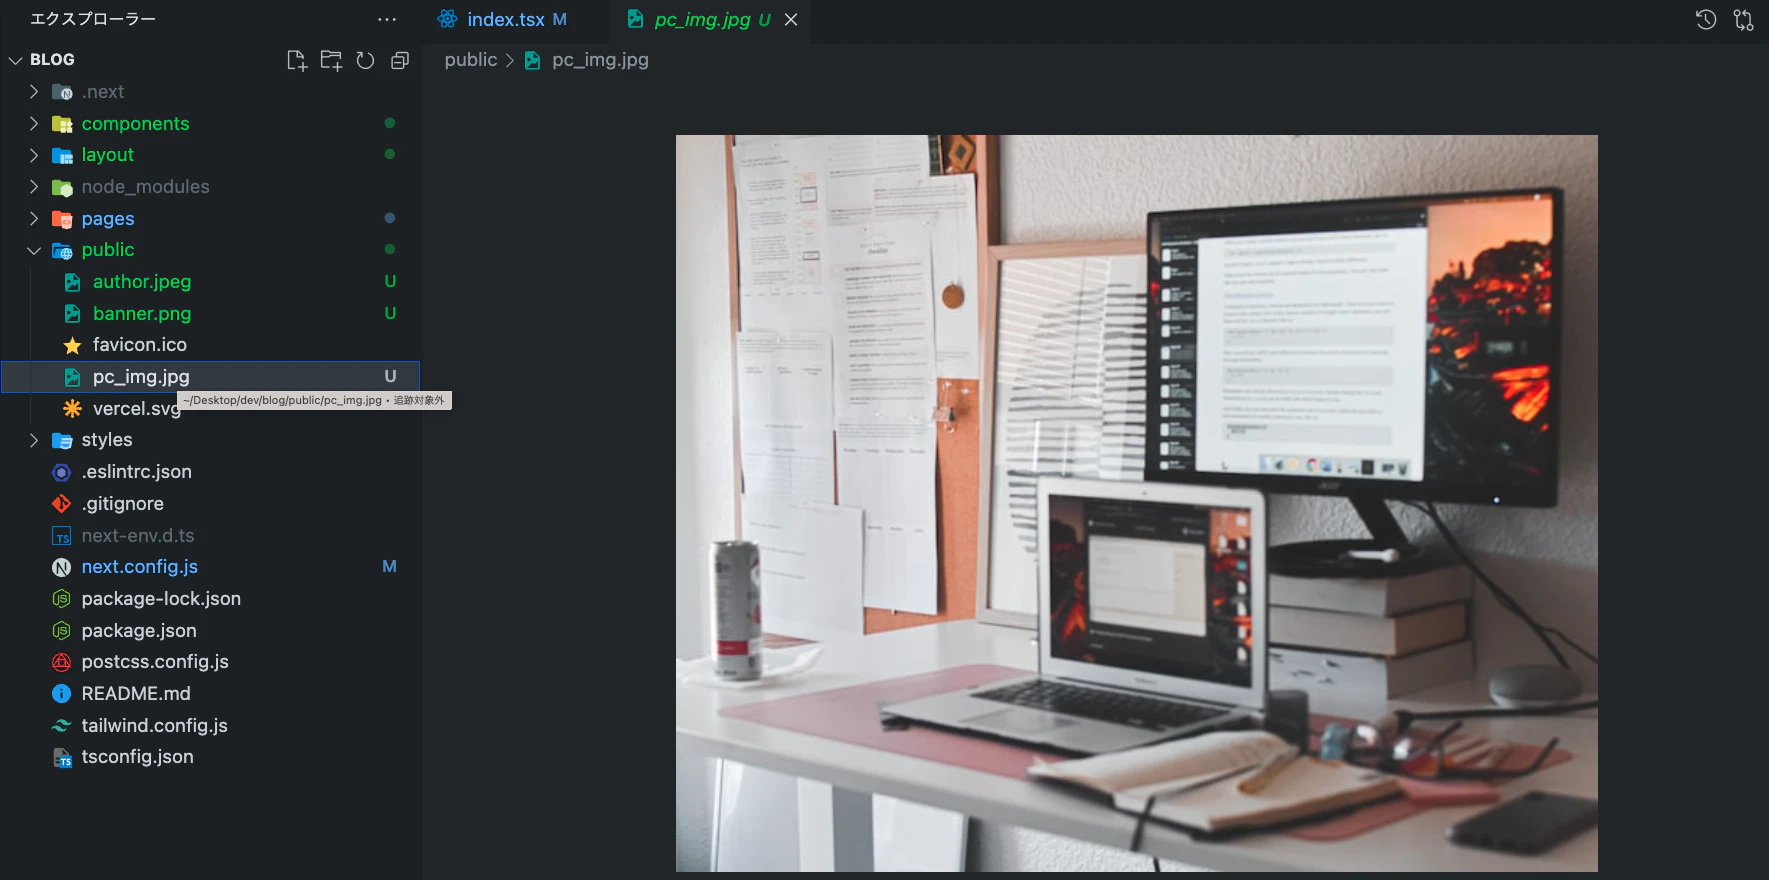
①画像を追加
publicフォルダ内に表示したい画像を追加する
②next.config.jsを編集
next.config.jsを下記のように編集
imagesの部分を追記しましたが、なくても行けました、、
外部ドメインの画像を使う場合はドメインを指定しておく必要があるみたいです。
参考→Next.js next/image で外部URLの画像を使いたいときにやること
next.config.js
/** @type {import('next').NextConfig} */
const nextConfig = {
  reactStrictMode: true,
  images: {
    domains: ['localhost'], // 画像を置いているドメイン
  },
}

module.exports = nextConfig
③next/imageインポート
画像を表示させる該当ファイルにてnext/imageをインポート
import Image from "next/image"
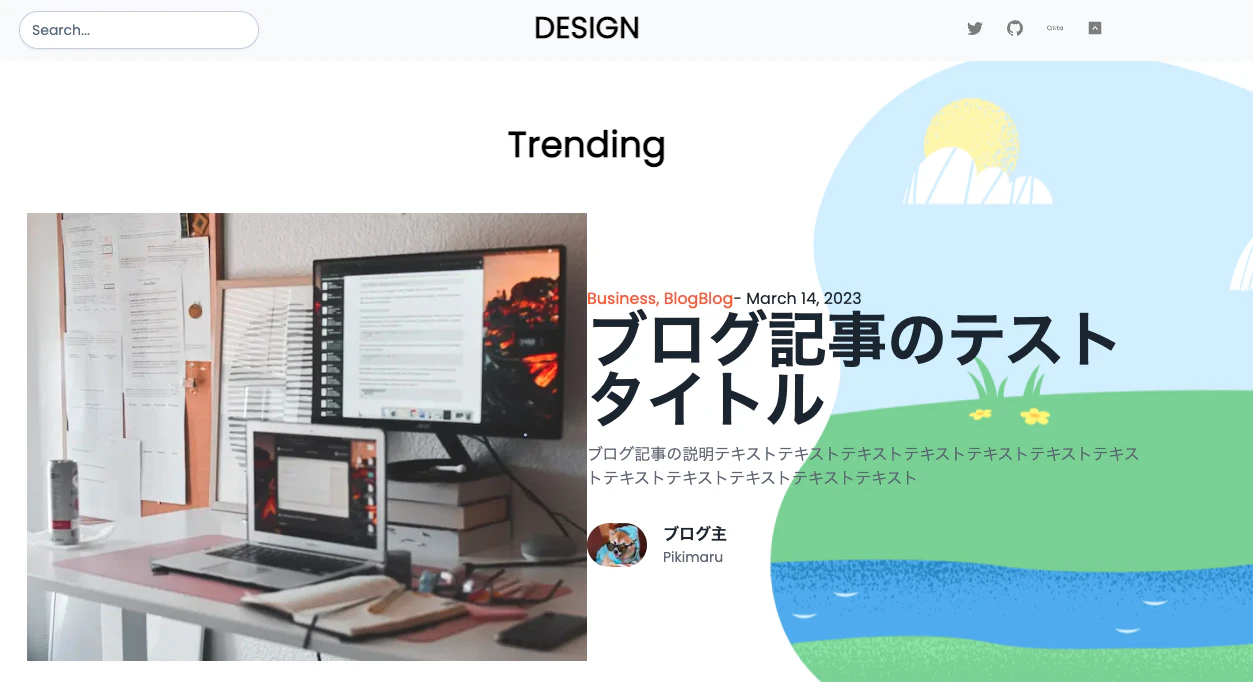
④Image書き方
コンポーネントを書いていく
※width height altをしてしないとエラーが表示されます
<div className="image">
   <Link href={"/"}>
      <Image src="/pc_img.jpg" width={600} height={600} alt="pc_img" />
   </Link>
</div>
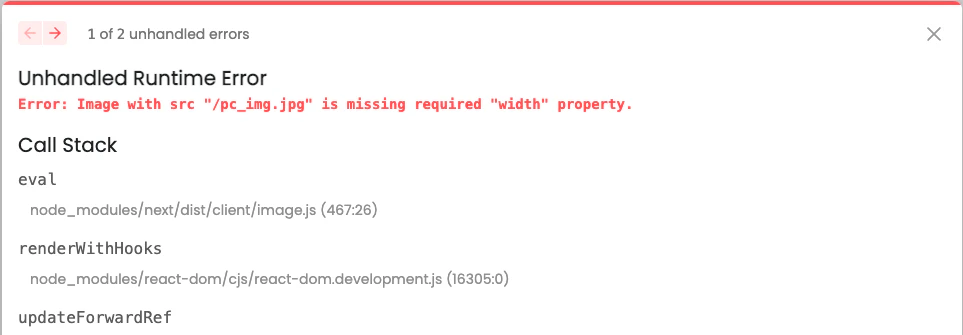
⑤エラーについて
■コンポーネントにaltが抜けていると下記のようなエラーが出る
Image is missing required "alt" property. Please add Alternative Text to describe the image for screen readers and search engines.
■コンポーネントにwidth またはheight が抜けていると下記のようなエラーが出ました